Banana Chocolate Hazelnut Cupcakes

There are a dozen or so recipes that are regarded as family recipes in my home, passed down from earlier generations. Among those held most dear are our honey cookies, which grace the dessert table when the holidays arrive, and my Grandmother Irene's orange rolls, which are made when the snow melts and stand for the hallmark beginning of spring. As I've grown older, I've quietly added a few of my mother's recipes to this coveted list, the recipes that I remember most from childhood. 

And that is what brings me to this banana cake.

My mother originally found her recipe in an old church cookbook. Written by a friend of my grandmother, the cake had just six ingredients—sugar, sour cream, eggs, flour, baking soda, and bananas. My mother played around with the basic recipe, adding an unavoidable chocolate glaze (or chocolate chips in a pinch). Eventually shortening was added to give the cake a source of fat, which produced less of a bread-like texture and more like the feel of a cake. 

After I took hold of the recipe, I couldn't help myself from giving it my own twist and took it through a few more iterations before reaching this point. The spirit of the original, however, is just the same. 

The cake is made with shortening, which may be an unusual choice in the age of "butter is best," but I can assure you that it is the right choice. Shortening gives the cake a bit of heft, the feel of a peanut butter sandwich against the roof of your mouth, without weighing the cake down. Butter is just not capable of this texture in the same situation. The addition of sour cream and buttermilk ensure the cake has a tender crumb. It is the banana cake I remember, in its purest form.

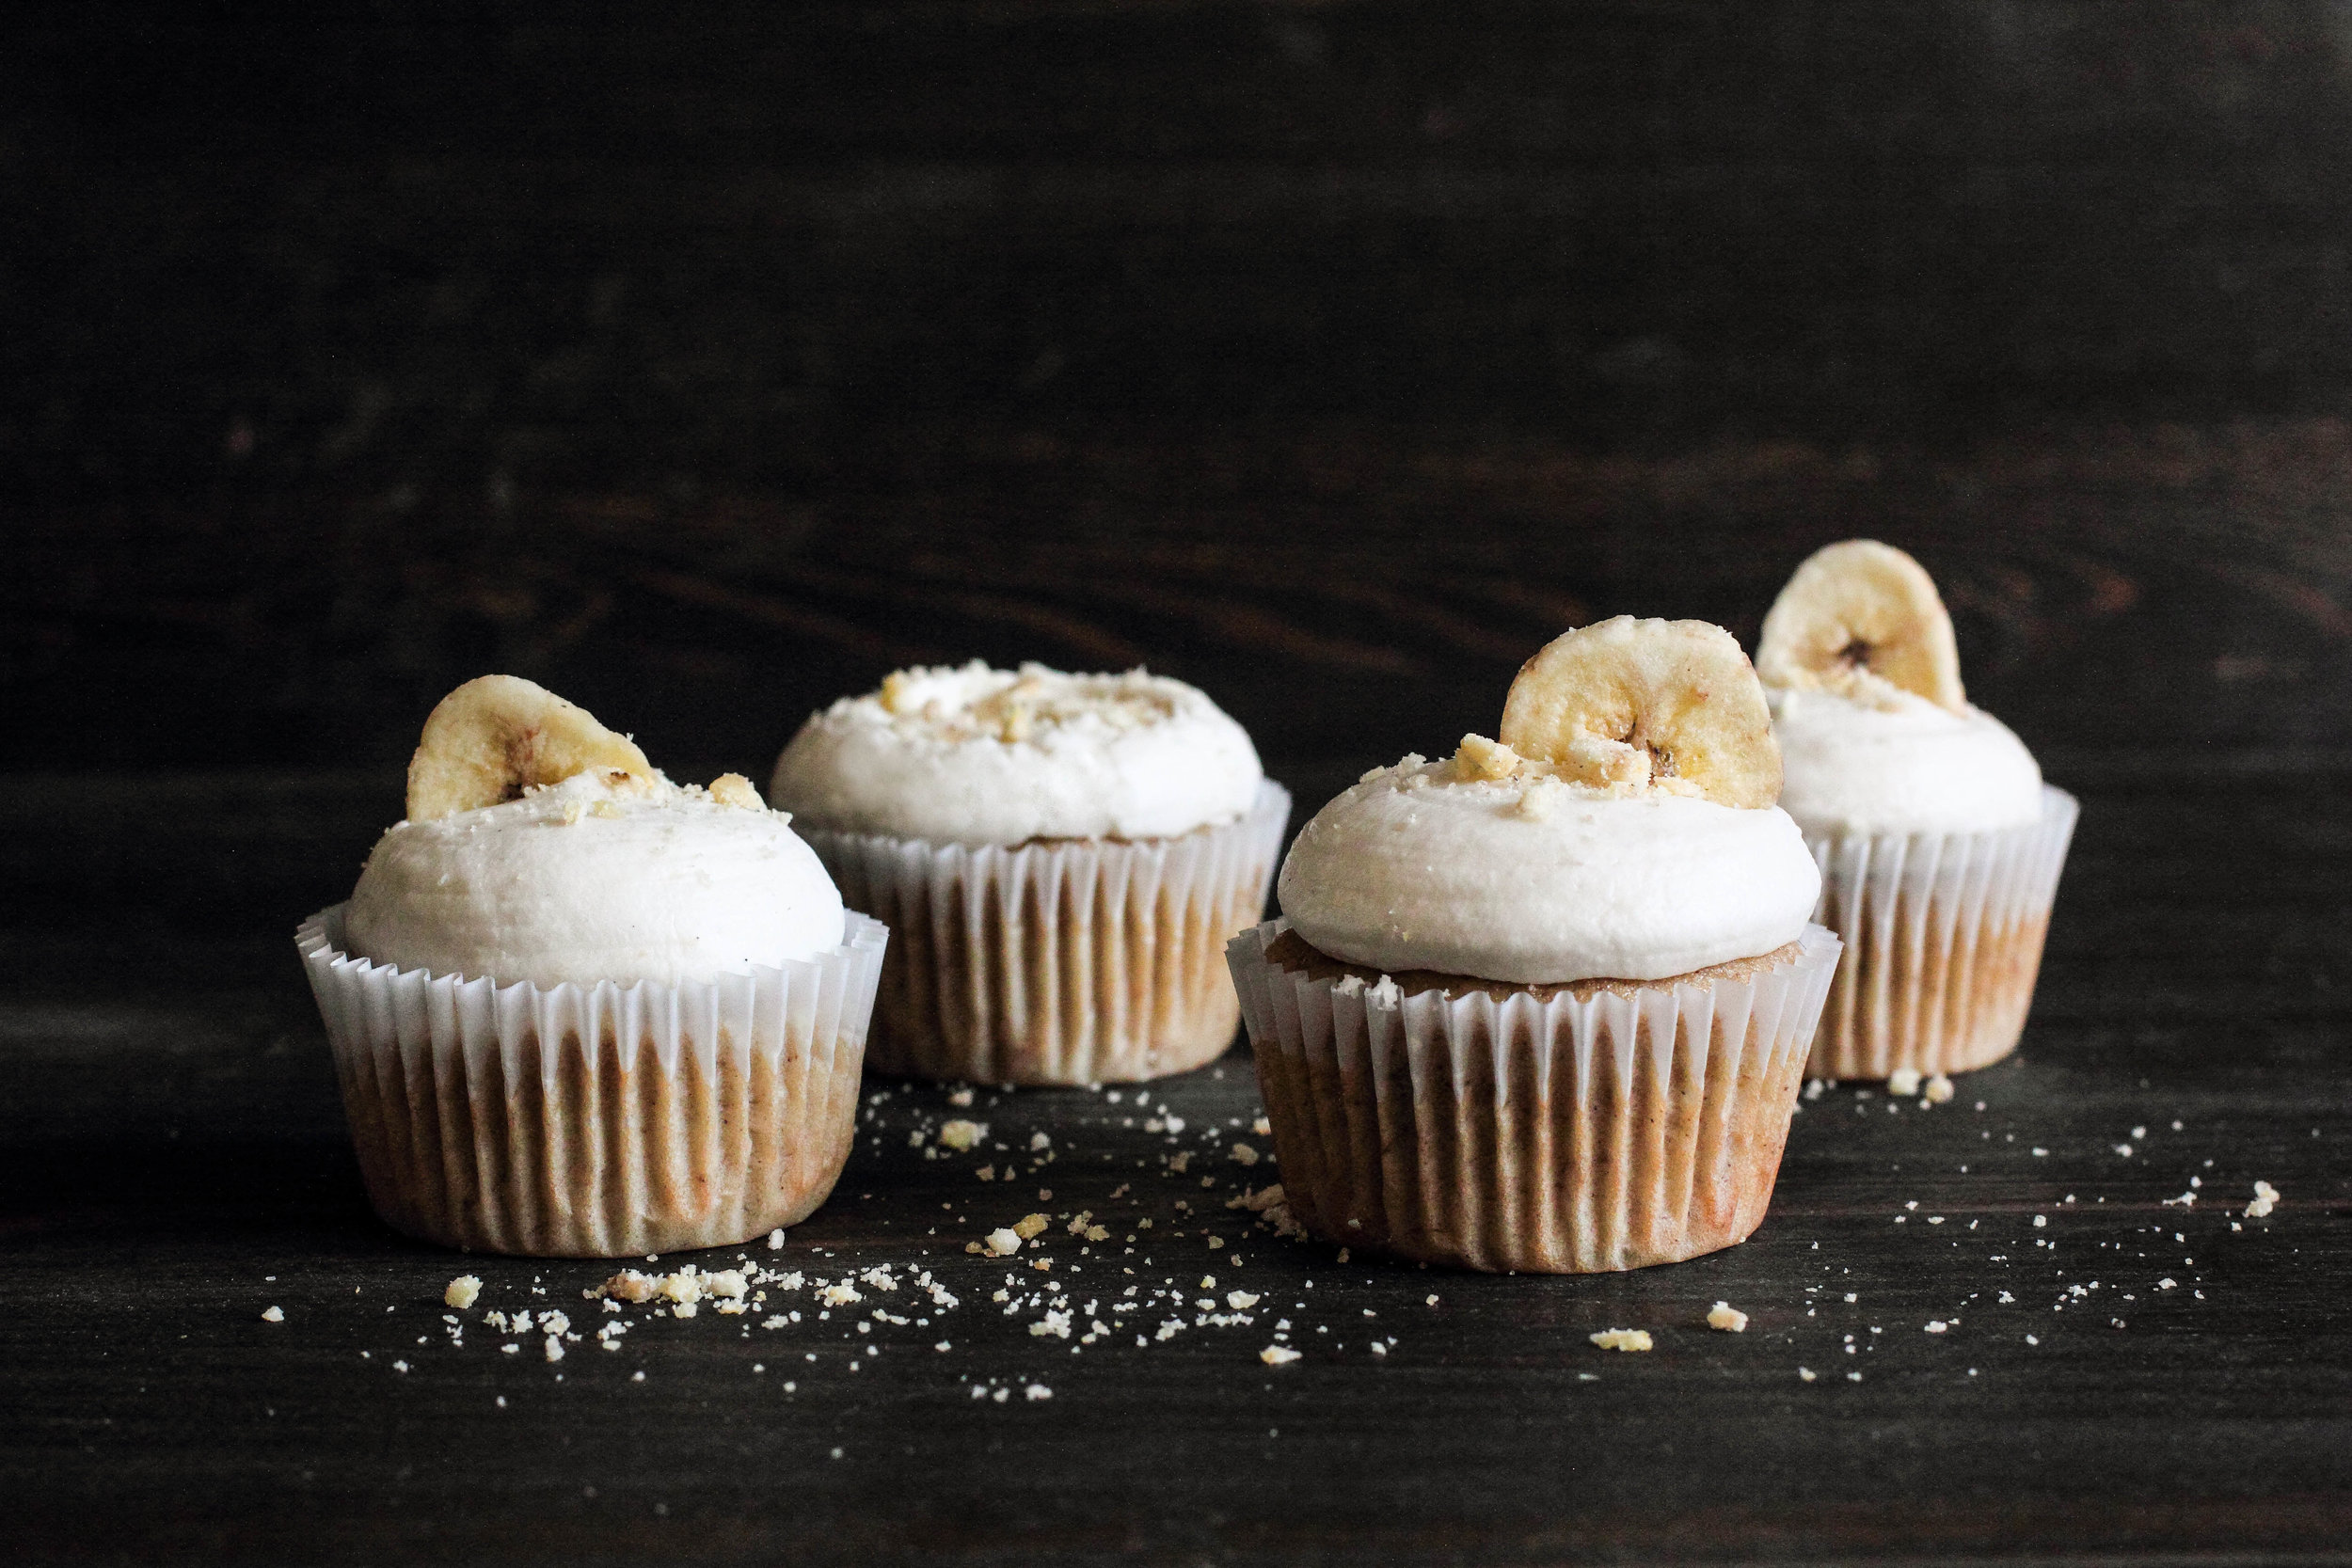
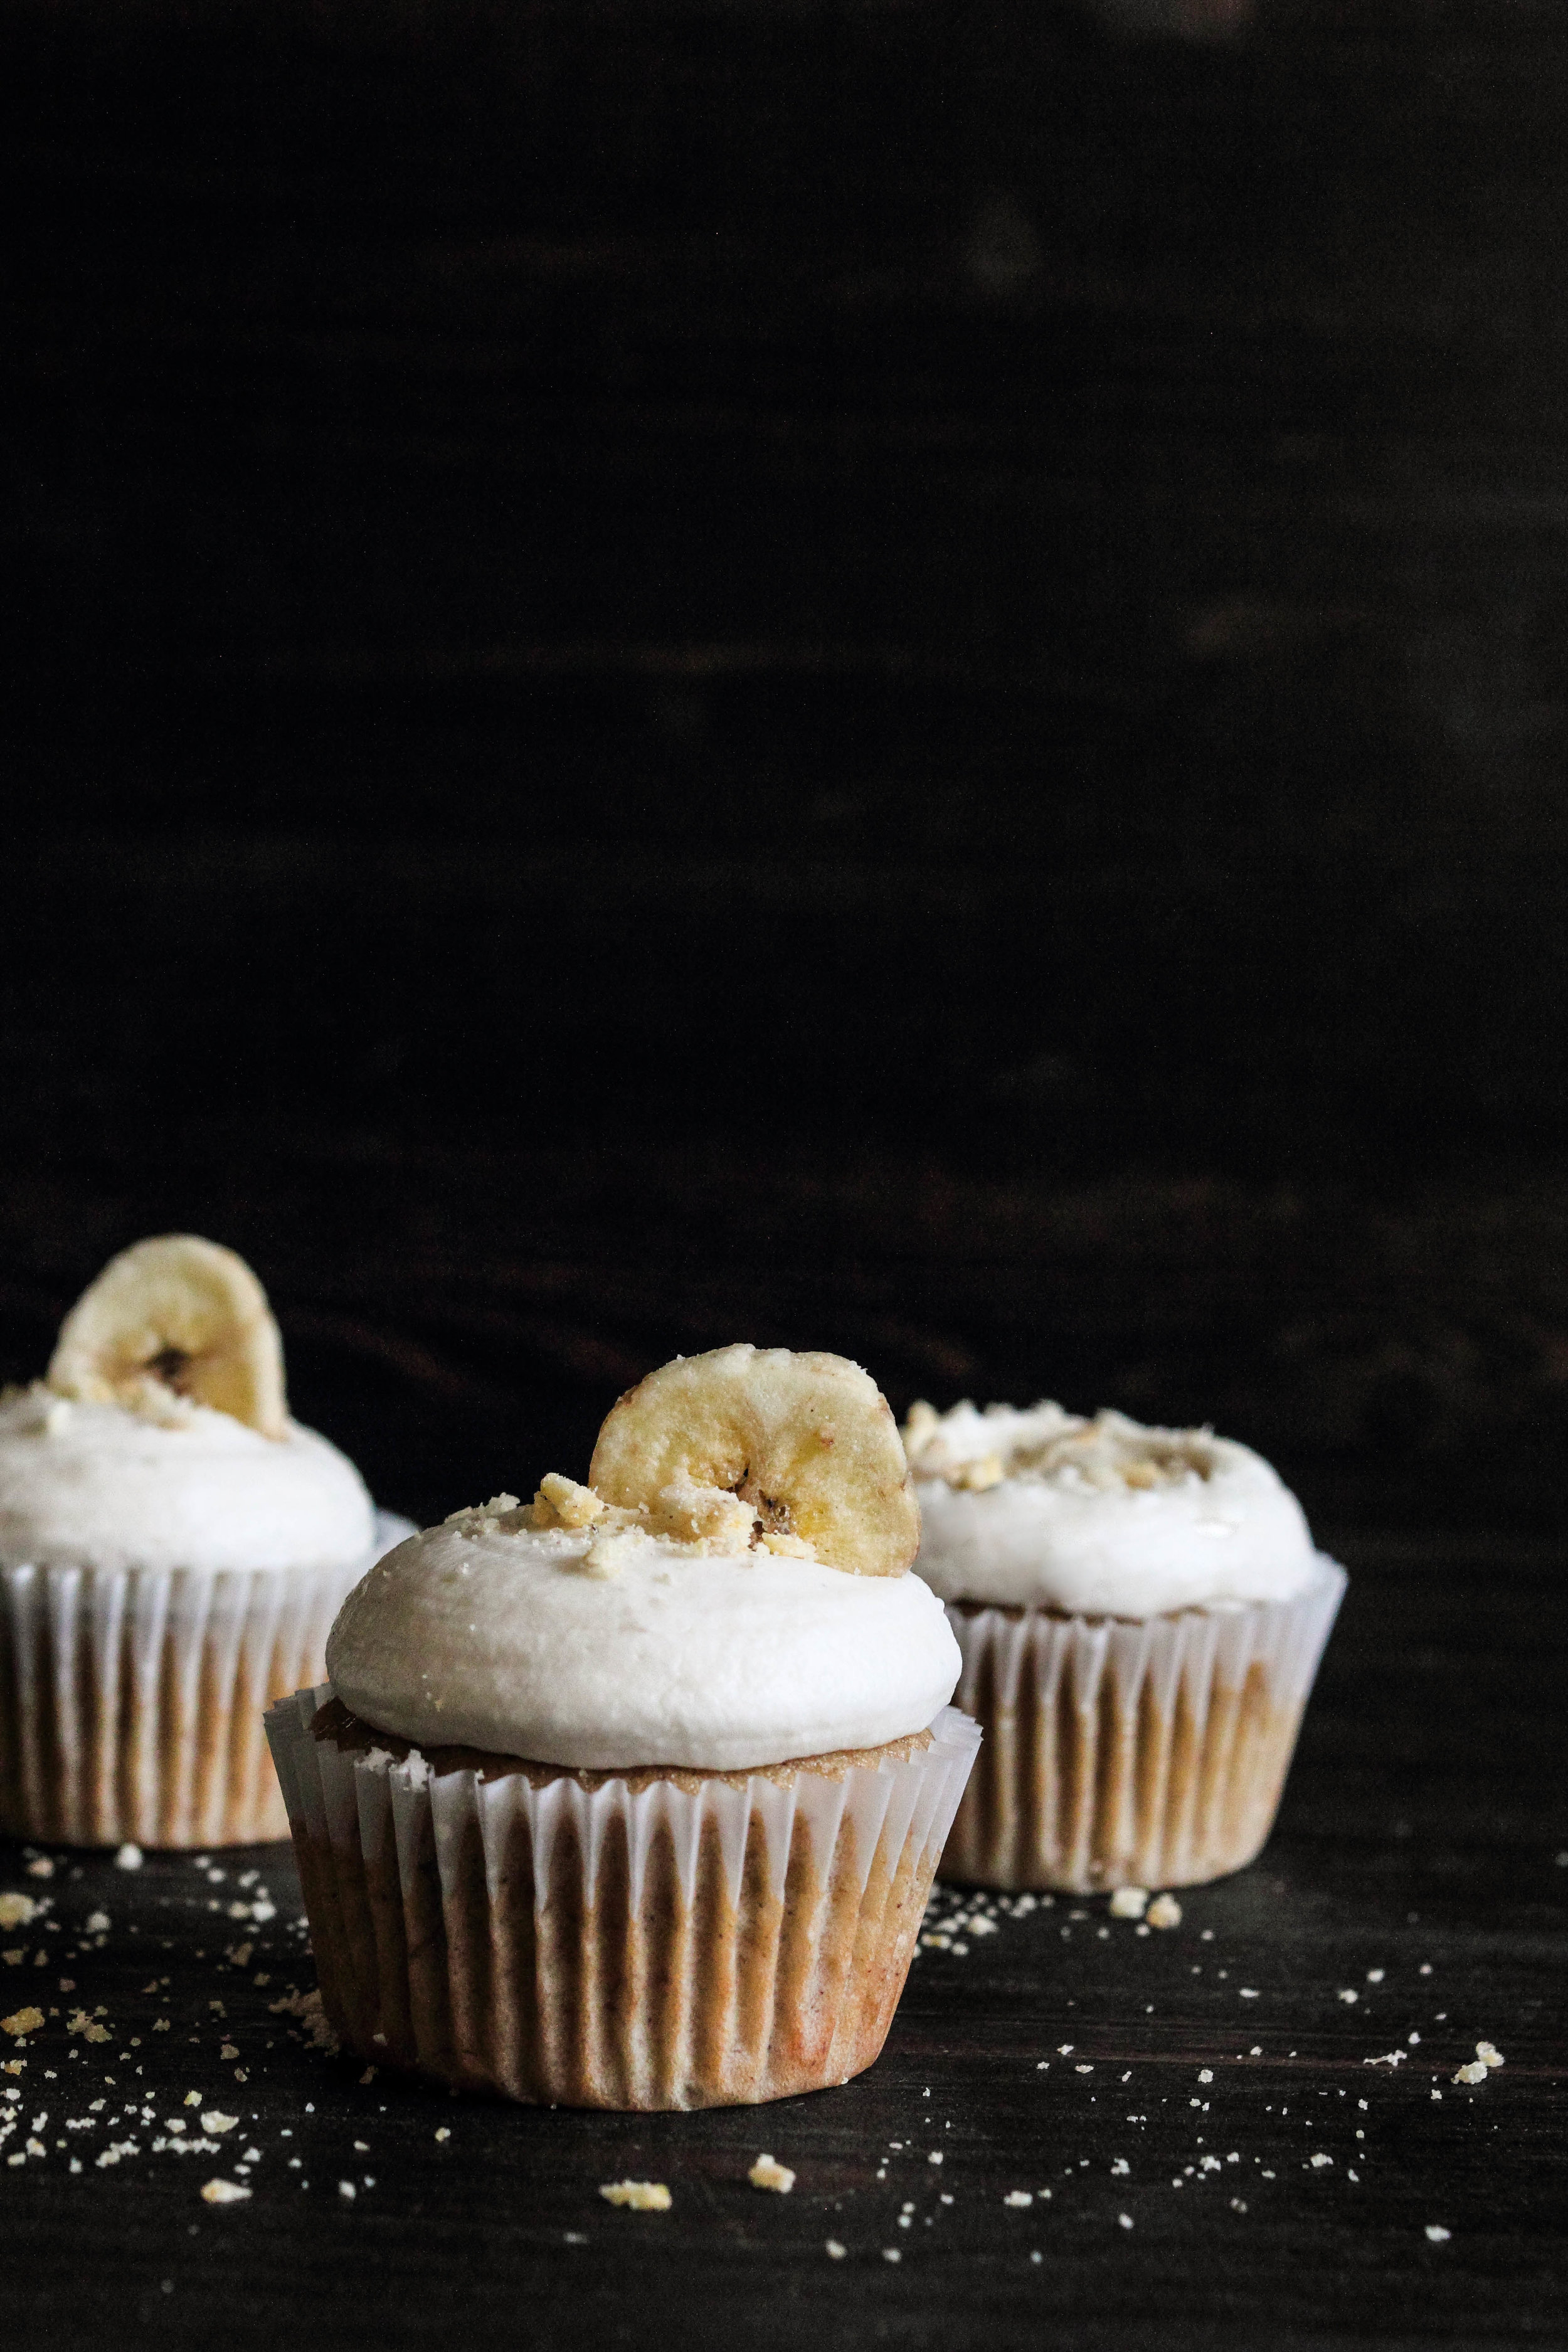
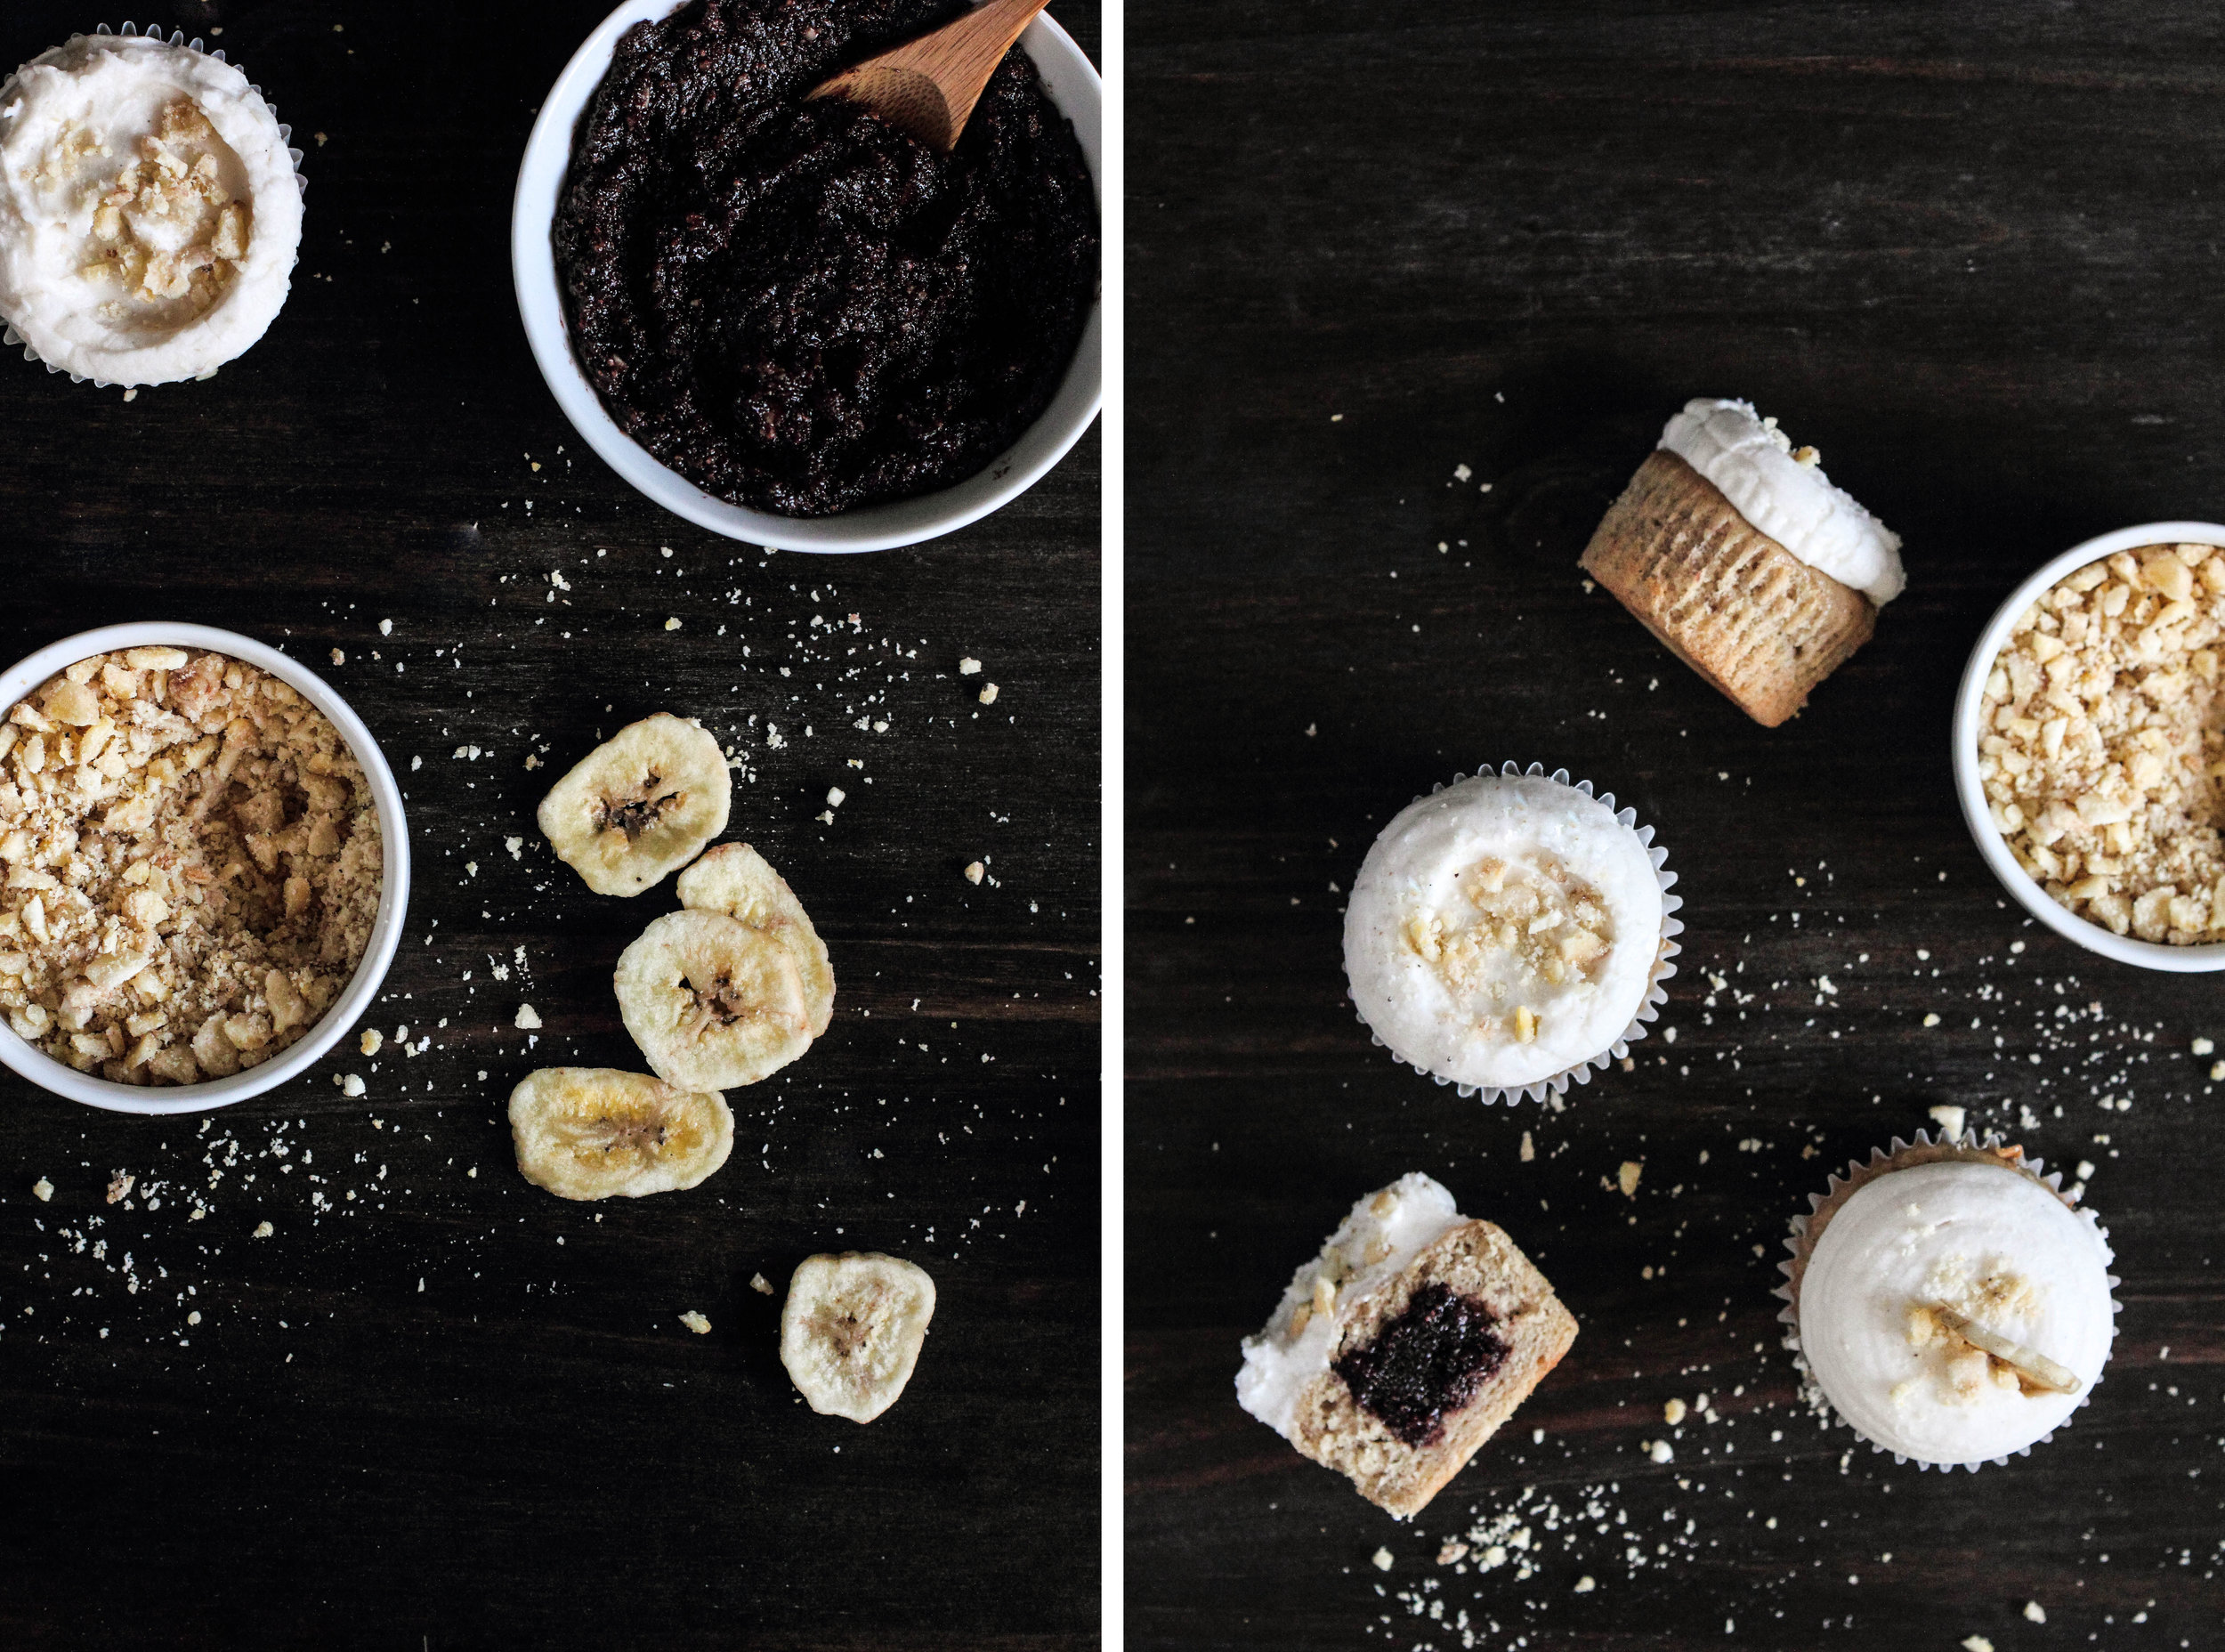
As you know by now, I can never leave anything alone for long. I filled the cupcakes with homemade chocolate hazelnut spread (though the brand name alternative would also suit). For the pièce de résistance, the cupcake is topped with a banana buttercream. A fresh banana is beat into the frosting with a little lemon juice to prevent browning. The subsequent flavor is so true and vibrant I wondered why I haven't been doing this from the beginning.

bananachocolatehazelnutcupcakes1.jpg

Banana Chocolate Hazelnut Cupcakes is one of the evolutions of my mother's banana cake. The cake itself is rich in crumb and flavor, but the sweetness does not overwhelm. Filled with chocolate hazelnut spread, the chocolate complements, but does not overpower the subtle flavor of the banana. Topped with a banana buttercream, the banana flavor is confirmed once more, providing a light texture contrast to the cake. 

One Year Ago:  Coconut Macaroons and Honey Almond Quinoa Granola
Two Years Ago: Coconut Whipped Cream, Chocolate Candied Ginger Biscotti,  Banana Cinnamon Pancakes, and Raspberry Cream Cheese Lemon Cupcakes
Three Years Ago: Chocolate Toffee Scones, Rosemary Sea Salt Crackers, Grapefruit Cake, and Chocolate Caramel Crispy Bars
Four Years Ago: Coconut Cream Cupcakes, Yeasted Waffles, Italian Breadstick Popcorn, and Peanut Butter Chocolate Chip Cookies

 Banana Cupcakes with Chocolate Hazelnut Filling and Banana Frosting

Yields 2 dozen cupcakes

Banana Cupcakes with Chocolate Hazelnut Filling
1/2 cup (100 grams) shortening, room temperature
1/2 cup (100 grams) white sugar
3/4 cup (150 grams) brown sugar
2 large eggs
3 medium to large overripe bananas, mashed
1/2 cup (115 grams) sour cream
1 teaspoon vanilla extract
2 1/2 cups (315 grams) all-purpose flour
2 teaspoons baking powder
1/2 teaspoon ground cinnamon
1/2 teaspoon salt
1/2 cup (120 ml) buttermilk
1 cup (280 grams) chocolate hazelnut spread

Preheat oven to 350 degrees F (180 degrees C). Line cupcake pan with liners.

In a medium bowl, whisk together flour, baking powder, cinnamon, and salt. Set aside.

In a large mixing bowl, cream together the shortening and sugars until light and fluffy. Add the eggs one at a time, beating well after each addition. Mix in the mashed bananas, sour cream, and vanilla extract. 

Alternatively add and beat in the flour mixture and buttermilk in 3 additions, starting and ending with the flour. Fill baking liners 3/4 full with batter. Bake for 20-30 minutes, or until golden and a toothpick inserted in the center comes out clean. Cool completely before filling and frosting.

To fill, use a sharp knife (or cupcake corer) to cut out a small cavity in the center of the cupcake. I run the knife in a circular motion, while always pointing the knife towards the center of the cupcake. Aim for the cavity to be cone shaped. Using a pastry bag filled with chocolate hazelnut spread, fill the cupcake with the spread until nearly to the top. Cut the top off the cupcake piece you removed and press it back on the cupcake to seal the filling.

Banana Frosting
1 large ripe banana, mashed (about 1/2 cup)*
1 teaspoon lemon juice
1/2 cup (113 grams) butter, room temperature
1 teaspoon vanilla extract
1/2 teaspoon salt
3 1/4 to 4 cups (400-500 grams) powdered sugar
Banana chips (for garnish)

In a small bowl, mash the banana with the lemon juice until very smooth. Set aside.

In a large mixing bowl, beat butter until smooth. Add the mashed banana, vanilla, and salt and continue beating until uniform. Gradually add the powdered sugar, stopping once a spreadable texture has been reached. Fill a pastry bag and pipe or spread frosting on the cupcakes. Garnish with a banana chip and crushed banana chip pieces.

* The banana should be ripe enough to eat, but contain no brown spots (it will stain the buttercream). If you do encounter a brown spot, cut it fully out of the banana before mashing.

Blackberry Coconut Scones

IMG_0996-2.jpg

In my early days of baking, there was a steep learning curve to overcome. A combination of inexperience and failure to read the directions caused many items to go straight from the oven and into the trash. It was the scones, however, that left me dumbfounded. Pan after pan came out dry or bitter or flavorless; they were inedible, in every possible way. It was almost absurd that I was not able to recreate this simple pastry in my own kitchen. I say almost because nothing is laughable about throwing that much butter in the bin.

It wasn't until I got a job in a bakeryand was tasked with baking dozens of scones on a daily basisthat I found my knack for this particular pastry.

In truth, scones are no more difficult to create than a biscuit. Fat is cut into flour, liquid is added to bring it together, and the servings are cut from the dough. Perhaps it was a lack of confidence that held me back long ago, but now I feel I could create a scone with my eyes closed, even years after working behind the pastry case. 

Blackberries are often discounted at my local market. Emerging from my winter cocoon, these berries feel like a bite of spring; I fill my basket each time I spot the red sale sign. With an excess of berries last Sunday, I added them to a basic coconut oil scone recipe to create a complement to brunch. Coconut oil has quickly become my favorite fat for scones because it results in a tender, delicate crumb. These (vegan!) scones may be simple, but the taste is lovely.

Blackberry Coconut Scones combine the fresh berry with coconut in three of its formscoconut milk, coconut oil, and coconut flakes. The result is a tender, flaky scone that foils the tart berry against the sweetness of the pastry. A light coconut glaze is drizzled over the top for an extra touch. While it could be omitted, I find it worth the extra effort.

One Year Ago:  Peanut Butter Chocolate Frosted Cake and Orange Coconut Pull-Apart Bread
Two Years Ago: Lemon Pudding Cake, Grapefruit Margaritas,  Chocolate Oatmeal Flaxseed Muffins, and Chocolate Chip Raisin Oatmeal Cookies
Three Years Ago: Cinnamon Sugar Muffins, Basic Caramel Sauce, Rum Raisin Ice Cream, and Butternut Squash & Spinach Tart
Four Years Ago: Yeasted Chocolate Coffee Cake, Meyer Lemon Curd, Lemon Chocolate Tart, and Peanut Butter Swirled Brownies

Coconut Scones with Coconut Glaze

Yields 6-8 scones

Blackberry Coconut Scones 
1  1/2 cups (187 grams) all-purpose flour 
1/4 cup (56 grams) granulated sugar 
2 teaspoons baking powder 
1/2 teaspoon salt 
1/3 cup coconut oil (solid state) 
1/2 cup unsweetened coconut flakes 
6 ounces (170 grams) fresh blackberries
3/4 cup (175 ml) coconut milk

Preheat oven to 375 degrees F (190 degrees C).

In a large mixing bowl, whisk together the flour, sugar, baking powder, and salt. Cut in the solid coconut oil with a pastry blender (or your fingers) until the mixture resembles coarse sand. Gently fold in the coconut flakes, fresh blackberries, and coconut milk until the mixture comes together.

Turn out dough onto a lightly floured surface and form into a disk roughly 1-inch thick. Cut the dough into 6-8 pie shaped wedges and move to a baking sheet. For extra sweetness, sprinkle granulated sugar over the top of the scones. Bake for 16-18 minutes, or until the edges take on a light color. Allow scones to cool completely before glazing.

Coconut Glaze 
1/2 cup (62 grams) powdered sugar 
1 tablespoon coconut milk
1 teaspoon vanilla extract

In a small bowl, stir together all ingredients. Using a spoon, drizzle glaze over cooled scones. Allow at least 15 minutes for the glaze to set before serving.

Chocolate Orange Cake

The feeling of spring is in the air, unusual for this time of year. Normally, the Upper Midwest is still buried in a thick layer of white, and spring is just a dream over the horizon. But now the snow has melted, and with unseasonally warm weather and longer daylight hours, I feel the anxiousness of  summer to arrive. To subdue my restlessness (and dread that winter will shortly reappear), I headed to the place where I feel calm.

With a few hours to spare, I decided on baking an everyday cake. With no occasion to celebrate or holiday to observe, a cake makes an ordinary weekend feel a little brighter.

Oftentimes, I feel that some cakesespecially cupcakesact entirely as acceptable vessels to consume frosting. When an average cake, perhaps slightly dry, is covered with a mound of buttercream, there is little complaint. Good buttercream frostings have this redeeming power (and thank goodness as it has rescued many a cake of mine).

With this particular cake, however, I prefered the cake itself to be the true star. To make the crumb tender, sour cream and buttermilk were used to soften the texture. Orange zest was rubbed into the sugar to release a vibrant orange scent and flavor. And, once the cakes were baked, the layers were brushed with fresh orange juice to give it a final touch.

As a lover of chocolate and orange flavors together, this cake managed the fusion with ease.

This Chocolate Orange Layer Cake is fresh and light. The cake is tender which balances the glaze that is thick and rich. I suggest a lighter touch of glaze than seen in the photographsjust enough to seal in the layersso it will meld with the cake instead of acting as a separate layer. For all the chocolate and orange lovers, this cake is for you.

One Year Ago:  Almond Cake
Two Years Ago:Chocolate Pudding, Black Tea Cake with Honey Buttercream,  Blueberry Lemon Pancakes, and Lavender Lemon Shortbread
Three Years Ago:Cappuccino Pancakes with Mocha Syrup, Hot Cocoa Cookies, Rosemary Focaccia, and Swedish Visiting Cake
Four Years Ago:Chocolate Blueberry Ice Cream, Heart Shaped Cinnamon Rolls, Mexican Hot Cocoa Mix, and Brown Butter Crispy Rice Treats

Chocolate Orange Cake with Glaze

Yields 2 layer 8-inch cake or 3 layer 6-inch cake

Chocolate Orange Cake
1 3/4 cups (350 grams) granulated sugar
Zest of 2 oranges
2 large eggs
1/2 cup (118 ml) vegetable oil
1/2 cup (115 grams) sour cream
1 teaspoon vanilla extract
1 3/4 cups (220 grams) all-purpose flour
3/4 cup (65 grams) cocoa powder
2 teaspoons baking soda
1 teaspoon baking powder
1/2 teaspoon salt
1 cup (237 ml) buttermilk
6 tablespoons freshly squeezed orange juice

Preheat oven to 350 degrees F (180 degrees C). Grease baking pans.

In a large bowl, combine granulated sugar with orange zest, rubbing it between your fingers to release the oils. Beat in the eggs, vegetable oil, sour cream, and vanilla extract until well combined. 

Gradually mix in the flour, cocoa powder, baking soda, baking powder, and salt, alternating with splashes of buttermilk. Stir until batter is uniform.

Divide batter evenly between baking pans and bake for 40-50 minutes, or until a toothpick inserted into the cake comes out clean with a few crumbs. While cakes are cooling, use a fork to poke a few holes in the top of the cake and evenly brush on the orange juice so it soaks in. Cool cakes to room temperature (or chill) before frosting.

Chocolate Orange Glaze
12 ounces (340 grams) semi-sweet chocolate
8 tablespoons (113 grams) butter
Zest of 1 orange
1/2 cup (115 grams) sour cream
1 tablespoon orange liqueur (optional)
Orange zest, for garnish (optional)

In a medium saucepan, melt the chocolate and butter on low until smooth. Remove from heat and stir in orange zest, sour cream, and orange liqueur. Allow to cool for 15-20 minutes to thicken.

To assemble, carefully place one layer of cake onto a serving platter, brushed side up. Spoon glaze onto surface until desired thickness. Arrange the second cake layer on top of the first and frost the cake with remaining glaze. I have found that a cold cake is easier to frost because the chocolate glaze will harden when it comes into contact with the cake. However, waiting until the frosting is thick and can hold its shape will also work and be easier to spread along the side. I also suggest a thinner layer of glaze than shown in the photographs to have a more even cake-to-frosting ratio.

Before serving, dust the top of the cake with orange zest.