Chocolate Chunk Coconut Oil Cookies

Perhaps it's due to the recent wedding of my younger sister, but I've been feeling stagnant in my own life lately. I'm waiting—waiting to be engaged, waiting to be married, waiting to have children. The clock ticks and my number hasn't been called. In many ways, I feel like my "real" life hasn't started yet, as if my life is on hiatus, waiting for the next season to begin.

Realistically, I know all of this is not true. My current state of being is nothing to complain about. I have an amazing job working as a high school teacher, a delicious hobby, the freedom to travel, and few responsibilities or worries. However, knowledge of these truths and my current feelings about them are two different things. The head and the heart are often at odds. I need to remind myself that life is happening now, not in a year or two. It's time to brush off the restlessness and embrace where I am now.

This past weekend I packed up and moved again (for the sixth time since starting this blog). It's not a starter house, as I have daydreamed about, but it is into a nicer apartment with much quieter neighbors. Patience is a virtue, I'm told. Sometimes, though, it takes a bit of a push to remember.

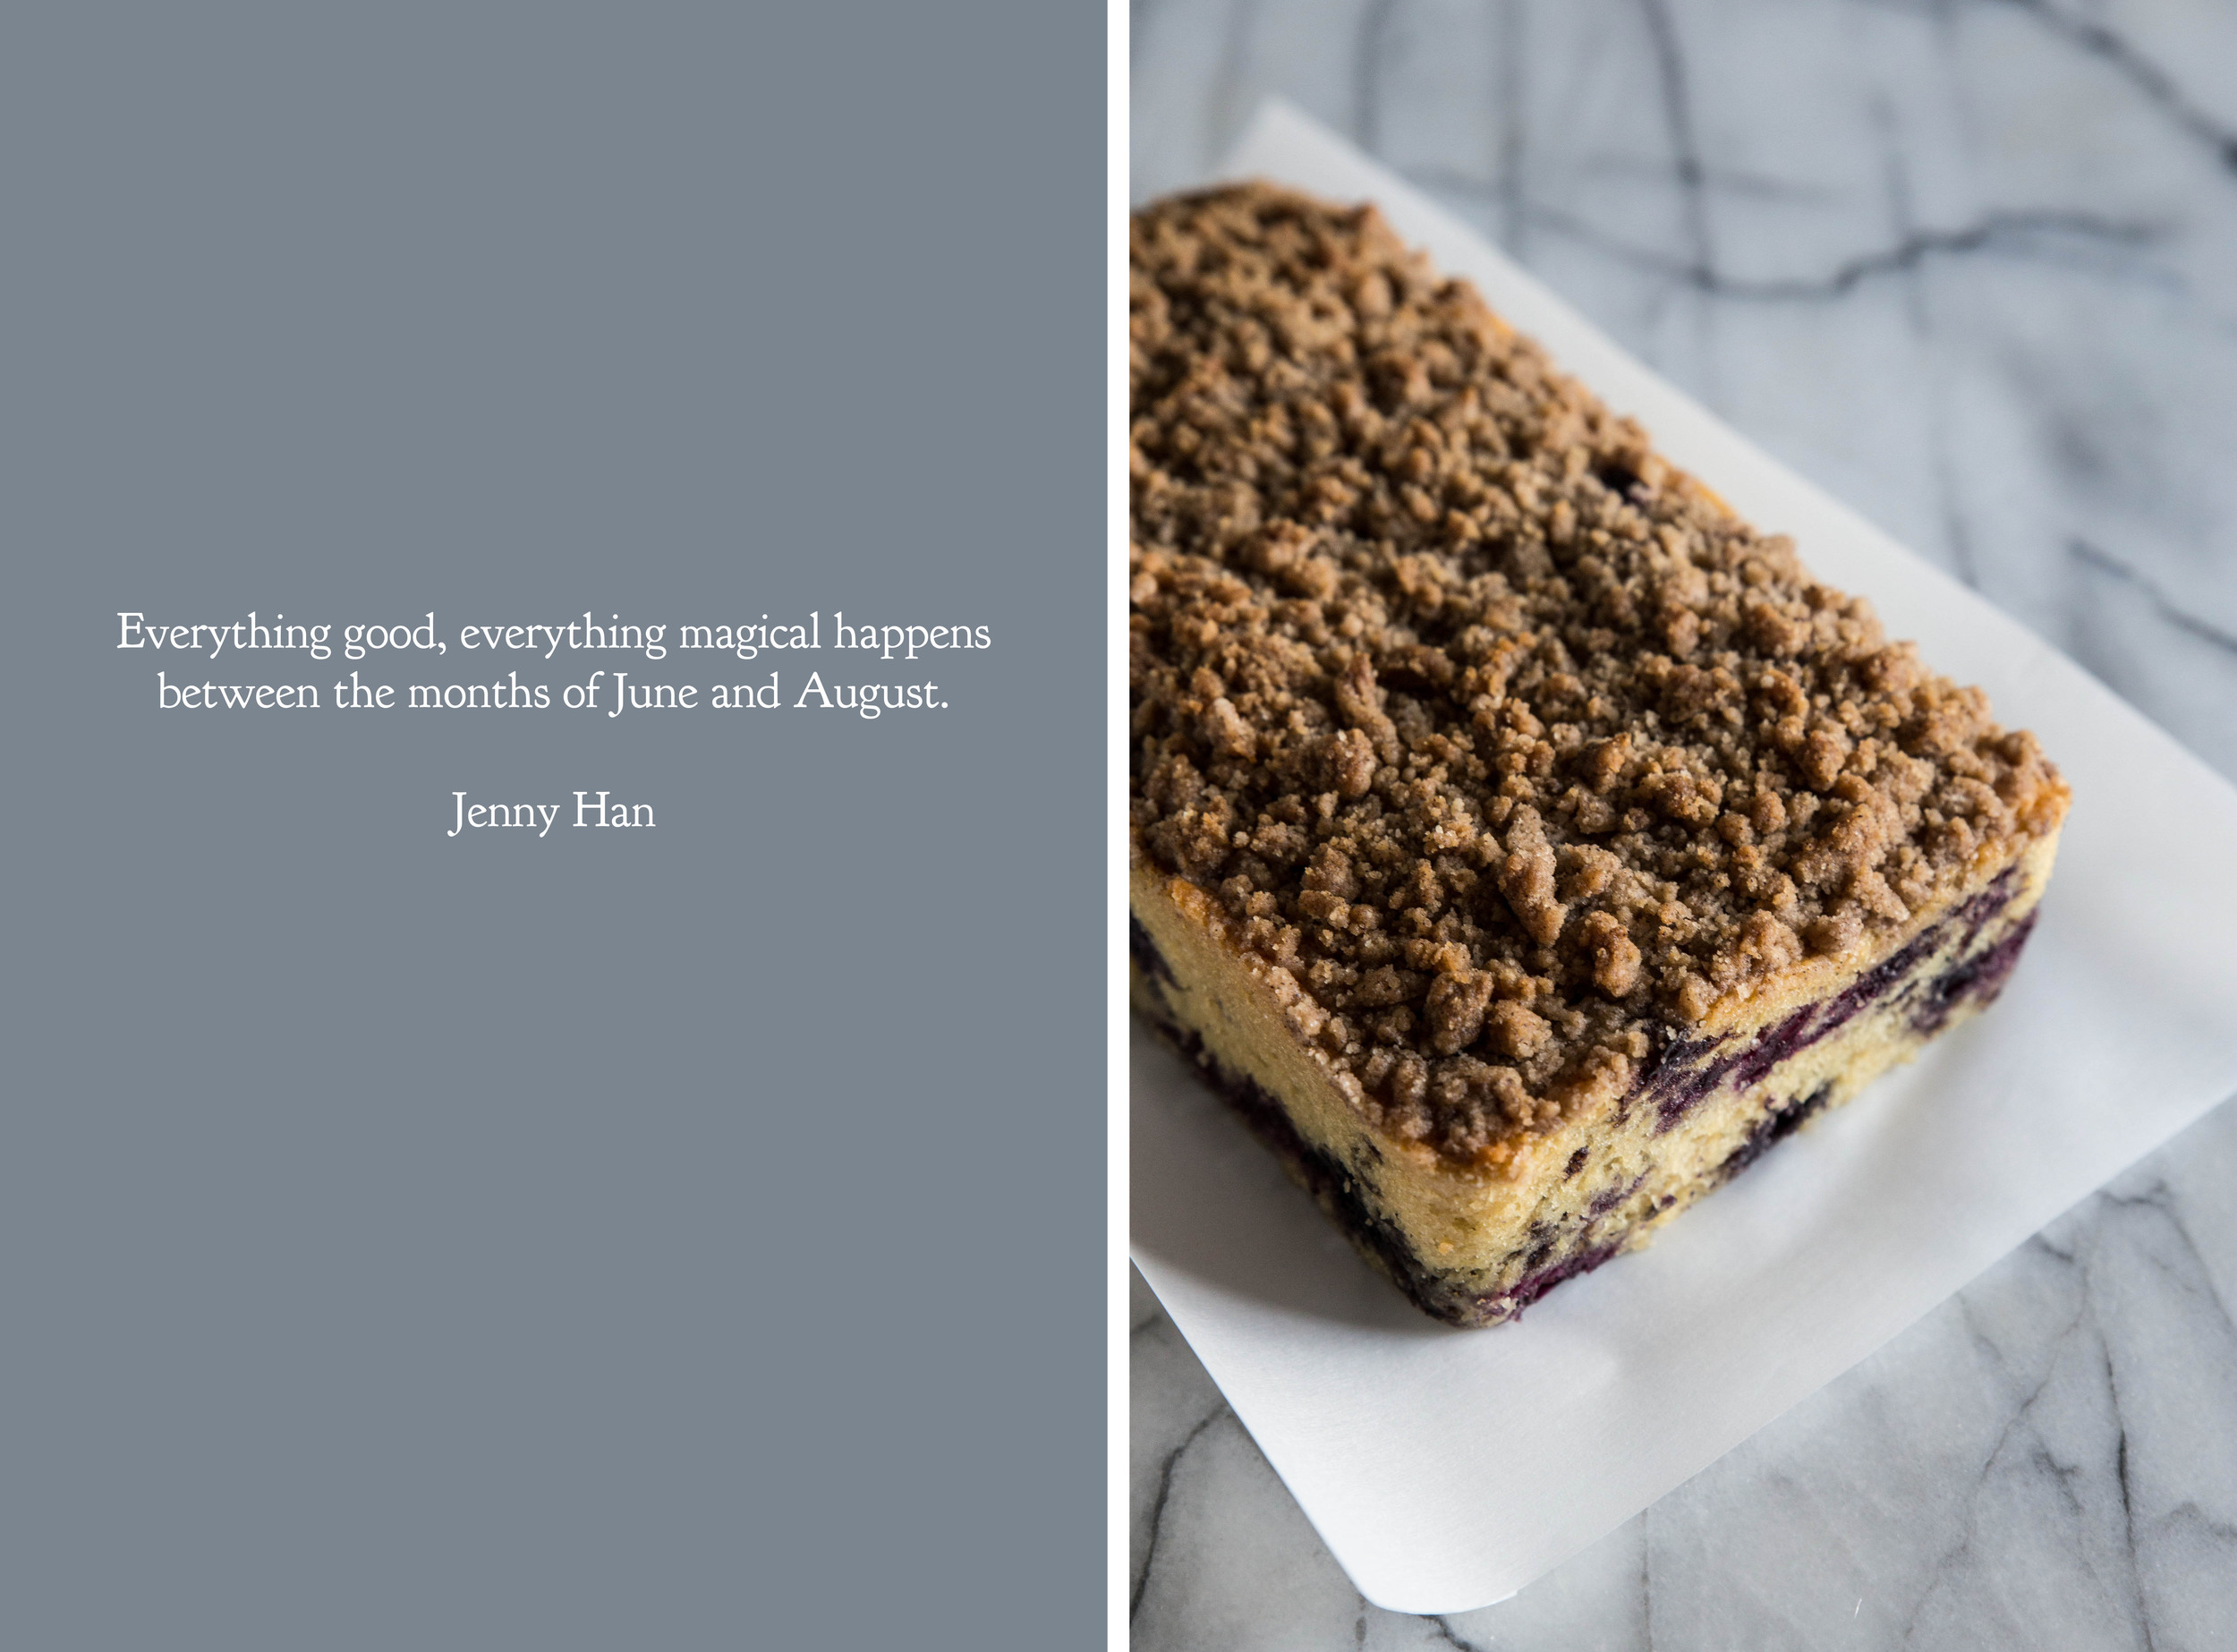
When I am feeling restless, I like to bake a batch of my favorite comfort desserts. Chocolate chunk cookies, now and always, will top the list. Since learning I was lactose intolerant a few years ago, I have been on the hunt to find a recipe sans butter or vegan butter replacement. After a dozen trials over the years, I landed on this version featuring coconut oil.

Unlike most butter recipes, the coconut oil is liquid when added. As a result, the cookies do not spread much in the oven. To combat this, the dough is rolled into balls and flattened with the palm of a hand to the desired thickness. Press the dough lightly for thick cookies with a soft center and crunchy outside, or press down firmly for thin, crisp cookies. The choice is yours.

Chocolate chunk coconut oil cookies are a dairy-free alternative to the classic. The cookies feature large chunks of chocolate and a customizable texture. To elevate the traditional cookie, espresso powder is added to enhance the chocolate flavor and flaky sea salt is sprinkled on top for a sweet and salty contrast (though both of these additions are optional). While I could not detect a coconut flavor from the oil, a subtle one may appear depending on the brand used. As always, serve with a large glass of milk.

One Year Ago: Raspberry Rhubarb Sorbet 
Two Years Ago: Cookies & Cream Ice Cream
Three Years Ago: Sparkling Lemon Drop, Berry Cheesecake Tarts, Mint Sugar, & Frozen Strawberry Bars
Four Years Ago: Chocolate Cherry CakeCoconut Scones, & Roasted Strawberry Coconut Ice Cream 
Five Years Ago: Quinoa Pudding, Blueberry Hand Pies, Harry Potter Treats, & Cauldron Cakes
Six Years Ago: Margaritas, & Chocolate Chip Raisin Oatmeal Cookies

Chocolate Chunk Coconut Oil Cookies
Adapted from Seven Spoons by Tara O'Brady

Yields about 2 dozen

1/2 cup (113 grams) coconut oil, liquid state*
3/4 cup (150 grams) brown sugar, packed
1/4 cup (50 grams) granulated sugar
1 large egg
2 teaspoons vanilla extract
1 3/4 cups (215 grams) all-purpose flour
1 teaspoon baking soda
1/2 teaspoon espresso powder, optional
1/2 teaspoon salt
6 ounces (170 grams), semi or bittersweet chocolate, coarsely chopped **
Flaky sea salt, optional

Preheat oven to 350 degrees F (180 degrees C).

In a large mixing bowl, stir together the coconut oil and sugars until uniform. Beat in the egg and vanilla extract. Stir in the flour, baking soda, espresso powder, and salt until uniform. Stir in the chopped chocolate.

Roll the dough into balls, about 1 1/2 tablespoons in size, and place 2 inches apart on a cookie sheet. Press down the dough with the palm of your hand until the dough is disk-shaped, about 1/2-inch in height. Sprinkle with flaky sea salt, if desired. Bake for 10-12 minutes, or until golden.

*Coconut oil melts at a temperature of 76 degrees F (24 degrees C). Microwave oil for a few seconds to melt, if necessary.

**Use dairy-free chocolate to keep the cookies fully dairy-free.

Blueberry Crumble Bread

My younger sister was married last weekend in a beautiful flora-filled, woodland-themed wedding. As the maid of honor, I spent the last couple weeks dedicated to last minute wedding planning. Along with throwing a bridal shower, my waking hours were filled with running errands, assembling welcome boxes, and crafting table decorations to minimize the stress on the bride. All the behind-the-scenes work was worthwhile, as the wedding day went by effortlessly and my sister and new brother-in-law never stopped smiling.

As a gift to the happy couple, I baked all of the cupcakes for the wedding—vanilla bean, chocolate, coconut, and dulce de leche. Even though I used to work in a bakery and could whip up large numbers of cupcakes in a few hours, it was a new experience doing so with the single-batch equipment of a home baker. Eighteen pounds of butter later, I breathed an audible sigh of relief that the recipes held up when quadrupled and hugged my KitchenAid mixer after it whipped Swiss meringue buttercream on high for a solid three hours. At the wedding, the cupcakes disappeared quickly, which is the best compliment a baker can receive.

After a busy couple of weeks, it feels good to take time for myself to relax. One of the benefits of being a teacher is the summer vacations, and I have been treating this week as a much needed holiday. Stretching out under the sun with a good book, and spending time in the kitchen playing around with new ideas has consumed my time. As an extension to these lazy mornings, I baked up this Blueberry Crumble Bread and have been enjoying a slice as I fill out Sudoku puzzles in the daily paper.

My productive side will come out soon, but for now I'm enjoying this rare slow, languid pace of life.

Blueberry Crumble Bread is a great addition to breakfast or served as an afternoon snack. A moist, vanilla-scented bread is bursting with fresh blueberries. The sweet crumble on top features ground cinnamon, which enhances the natural flavor of the berries. Serve the bread alongside a cup of coffee or tall glass of milk, and share with a good friend. 

One Year Ago: Scenes from NYC, Blueberry Oat Crumble Muffins, & S'mores Tarts
Two Years Ago: Chocolate Cacao Banana Bread, Chocolate Espresso Custard & Mixed Berry Quinoa Crumble
Three Years Ago: Boozy Margarita Lime Cake, Double Chocolate Muffins, Rhubarb Ginger Bars, Nutty Rhubarb Oatmeal, & Dill Dinner Rolls
Four Years Ago: Cherry Almond Granola, Vegan Chocolate Chunk Cookies, Cherry Cream Cheese Muffins, Blueberry Breakfast Quinoa, Vegan Brownies, & Banana PB Smoothie
Five Years Ago: Cinnamon Raisin Baked French Toast, Chocolate Almond Oat BarsTropical Vacation Cocktail, Dried Blueberry Granola, & Bizcochitos
Six Years Ago: Bittersweet Chocolate Sherbet, Rhubarb Jam, & Tapioca Pudding

Blueberry Crumble Bread

Yields 1 loaf

Blueberry Bread
1/2 cup (113 grams) butter
2/3 cup (130 grams) granulated sugar
1 large egg
1 tablespoon vanilla extract
2 teaspoons baking powder
1/4 teaspoon salt
2 cups (240 grams) all-purpose flour
1 cup (250 mL) milk
2 cups (340 grams) fresh blueberries*

Crumble Topping
3 tablespoons (45 grams) butter
1/3 cup (65 grams) granulated sugar
2/3 cup (83 grams) all-purpose flour
1 teaspoon ground cinnamon

Preheat oven to 350 degrees F (180 degrees C). Grease a 9 x 5-inch loaf pan and set aside.

For the blueberry bread, beat together butter and sugar until light and fluffy in a large mixing bowl. Add the egg and vanilla and beat to combine. Stir in baking powder, salt, flour, and milk. Gently fold in blueberries. Transfer batter to the prepared pan and set aside.

For the crumble topping, beat together butter and sugar until well combined. Stir in flour and cinnamon. Crumble the topping evenly over the batter. Bake for 45-60 minutes, or until crumble topping browns and a toothpick inserted into the center comes out clean. Cool in pan for 15-20 minutes before transferring to a cooling rack to cool completely.

*Frozen blueberries can also be used, but note that the berries will dye the entire bread a shade of indigo.

Dulce de Leche Cake

Pastry Affair recently turned six years old. I can hardly believe it. Six years. Even though this space has transformed significantly since the beginning, the real evolution was within myself. Looking back now, I have a new perspective of where I've been, the recipes acting as a timeline of life's many changes, as well as my own ambitions and emotions. The blog originally started as a lifeline—a place of stability in a life in transition—but grew into a space of passion and community, where we can share our love of butter and sugar together. 

Cheers to another year, my friends. Thank you for your love and endless support—you make this place feel like home. 

Dulce de leche is a sauce with Latin American roots. The name itself translates to "sweet milk." Although the flavor profile is similar to caramel, dulce de leche is created with different ingredients and techniques. Traditional caramel is made by heating sugar until it reaches the firm ball stage, or has the appearance of caramel, before adding heavy whipping cream to create a sauce. Dulce de leche, on the other hand, starts with a sweetened milk which is cooked down until it caramelizes. For a quick, semi-homemade version of dulce de leche, a can of sweetened condensed milk can be submerged in water over low heat for several hours to achieve a similar effect.

This cake blends dulce de leche in both the batter and frosting to give it a strong caramel flavor. To create the two-toned appearance, I frosted the cake traditionally and dotted small amounts of dulce de leche against the top half of the cake. When smoothed out, the light brown shade of the frosting blends with the golden sauce, creating a layered, ombré presentation.

Dulce de Leche Cake is an anchor for sweet celebrations. The cake is made with brown sugar and swirled with dulce de leche to provide a defined caramel profile. A dulce de leche Swiss meringue buttercream covers the cake, lending a soft texture and buttery flavor without becoming too sweet. Though I may be celebrating Pastry Affair's big day, I hope you'll make this cake to celebrate your own special day, big or small. 

Dulce de leche can be purchased in some grocery stores (call ahead or check the ice cream topping aisle) and online, or made at home.

One Year Ago: Strawberry Layer Cake
Two Years Ago: Berry Topped Angel Food Cake & Mango Margarita
Three Years Ago: White Chocolate Espresso Cake, Pineapple Jam, Vanilla Chia Pudding, & Rhubarb Cake
Four Years Ago: Blueberry Lemon Crumble, Vanilla Cupcakes, Toffee Chocolate Cookies, Coconut Nutmeg Pudding, Lavendar Lemonade, & Vegan Chocolate Cupcakes
Five Years Ago: Citrus Roasted Rhubarb, Roasted Cherry Brownies, Honey Peach Boba Tea, Whole Wheat Chocolate Chip Cookies, & Garlic Parmesan Pull-Apart Bread
Six Years Ago: Chocolate Coconut Granola, Sour Cream Sugar Cookies, & Lemon Tarts

Dulce de Leche Cake

Yields 2 9-inch cakes

Dulce de Leche Cake
6 tablespoons (85 grams) unsalted butter, room temperature
1 cup (200 grams) brown sugar, packed
1/2 cup (100 grams) granulated sugar
3 large eggs
1/2 cup (120 grams) sour cream (or plain, non-fat yogurt)
1/3 cup (75 grams) vegetable oil
3/4 cup (325 grams) dulce de leche sauce
1 teaspoon vanilla extract
2 2/3 cups (320 grams) cake flour
2 teaspoons baking powder
3/4 teaspoon baking soda
3/4 teaspoon salt
3/4 cup (180 mL) milk of choice

Preheat oven to 350 degrees F (180 degrees C). Grease two 9-inch cake pans and set aside.

In a large mixing bowl, cream together the butter and sugars until light and fluffy. Add the eggs one at a time, beating well after each addition. Beat in the sour cream, vegetable oil, dulce de leche, and vanilla extract. Gradually add baking powder, baking soda, salt, and half of the cake flour. Stir in the milk, and add the remaining cake flour, mixing until batter is uniform and smooth.

Divide the batter evenly between the prepared baking pans and bake for 35-40 minutes, or until a toothpick inserted into the center comes out clean. Remove from the oven, transfer cakes to a cooling rack, and allow to cool to room temperature before frosting or serving.

Dulce de Leche Swiss Meringue Buttercream
5 large egg whites (150 grams)
1 1/4 cups (250 grams) granulated sugar
1 1/2 cups (340 grams) unsalted butter, room temperature
1 teaspoon vanilla extract
1/4 teaspoon salt
1/2 cup (215 grams) dulce de leche sauce, divided

Wipe a large bowl with a paper towel soaked in a small amount of lemon juice or vinegar to remove traces of grease. Add egg whites and sugar and, over a double boiler, whisk constantly over hot water until the sugar dissolves. When rubbed between your fingers, the egg whites should feel hot and smooth (approximately a temperature of 140 degrees F/60 degrees C). This will generally take 3-5 minutes.

Using a mixer, whip the egg whites until thick, glossy peaks form. This may take anywhere from 8-10 minutes. The bottom of the bowl should feel neutral to the touch before moving on to the next step.

Place the mixer on low speed and add the butter in small pieces, one at a time, mixing until smooth. The frosting should reach a silky texture. Beat in the vanilla. If the butter is too warm and the frosting is too runny, place in the refrigerator for approximately 15 minutes to firm up the butter before mixing again. If the mixture curdles, continue mixing and it will come back together. Stir in 1/3 cup of the dulce de leche sauce.

Place the bottom cake layer on a serving plate. Place approximately 2 cups of frosting on the cake and smooth evenly. Place the second layer on top and smooth frosting onto the top and sides of the cake. Using a spoon, dot the remaining dulce de leche sauce on the outside of the cake and  smooth to create the ombré look.