
Poached Pear Gingerbread Loaf
/
The holiday season has arrived, with lights glowing and bells jingling. I spent the week of Thanksgiving visiting family, enjoying the food, and spending time in each other's company. It felt wonderful to get away from the everyday for awhile, to refresh and unwind in a familiar presence. Now that I am back home, I am finding it difficult to fall back into the daily routine (and even harder to wake up to the morning alarm). However, the excitement of the holiday season is in the air—on television, in stores, and on the faces of my students—which keeps the energy high.
I haven't caught the holiday spirit yet, but I imagine spending more time in the kitchen baking up holiday classics will make the spirit easier to find.
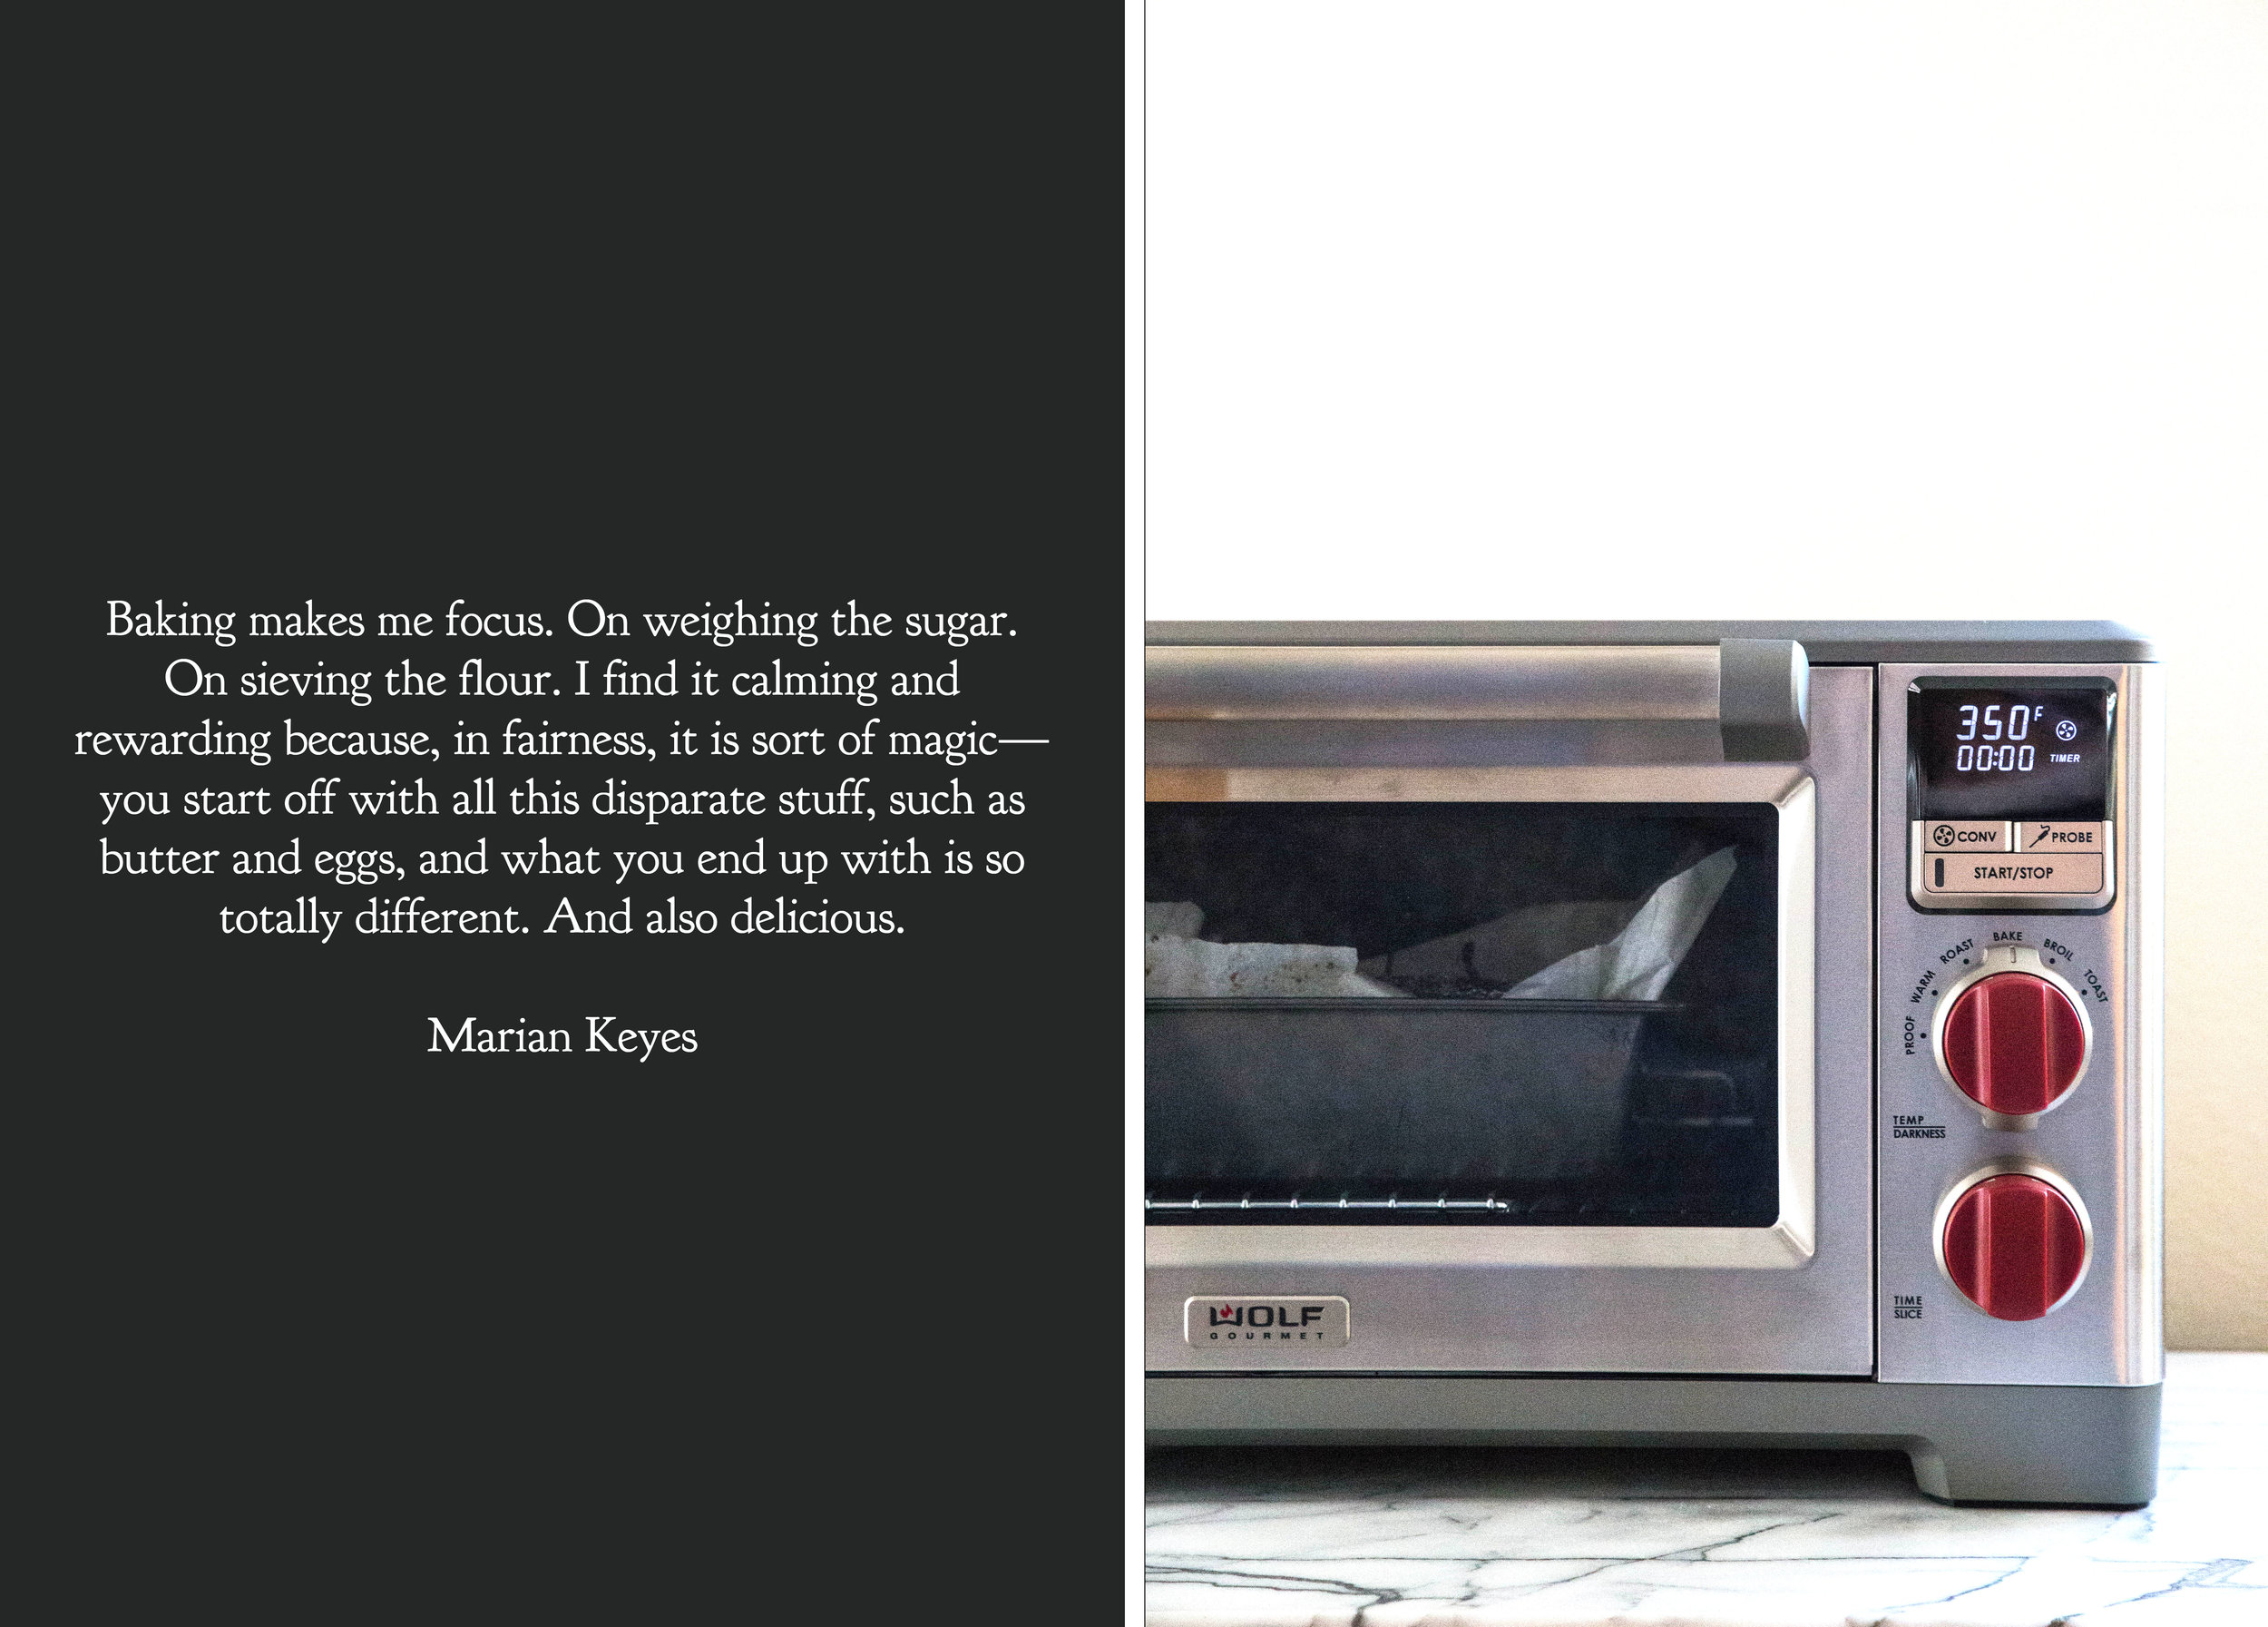
The holiday season is one of my favorites for baking. While there will always be the traditional foods (like Grandma's Honey Cookies), I like to use the holidays as an excuse to try new ideas. When Wolf Gourmet asked me to test their countertop oven, it felt like permission to play in the kitchen. I currently live in a small, one bedroom apartment, where space comes at a premium. I initially thought I would store the countertop oven in the closet when it wasn't in use, but I use it so often now that it found a permanent place in my kitchen.
This countertop oven is great for baking, but I use it just as often to heat up a quick dinner. It takes much less time to heat up (and is much more energy efficient than my current standard conduction oven). The countertop oven also has a "Proof" setting, which is a low-temperature setting that helps yeast dough rise faster than it would at room temperature. I have tried to mimic this setting in my standard oven without success, so my yeast doughs—whether pizza or bread—find their way in the countertop oven too.
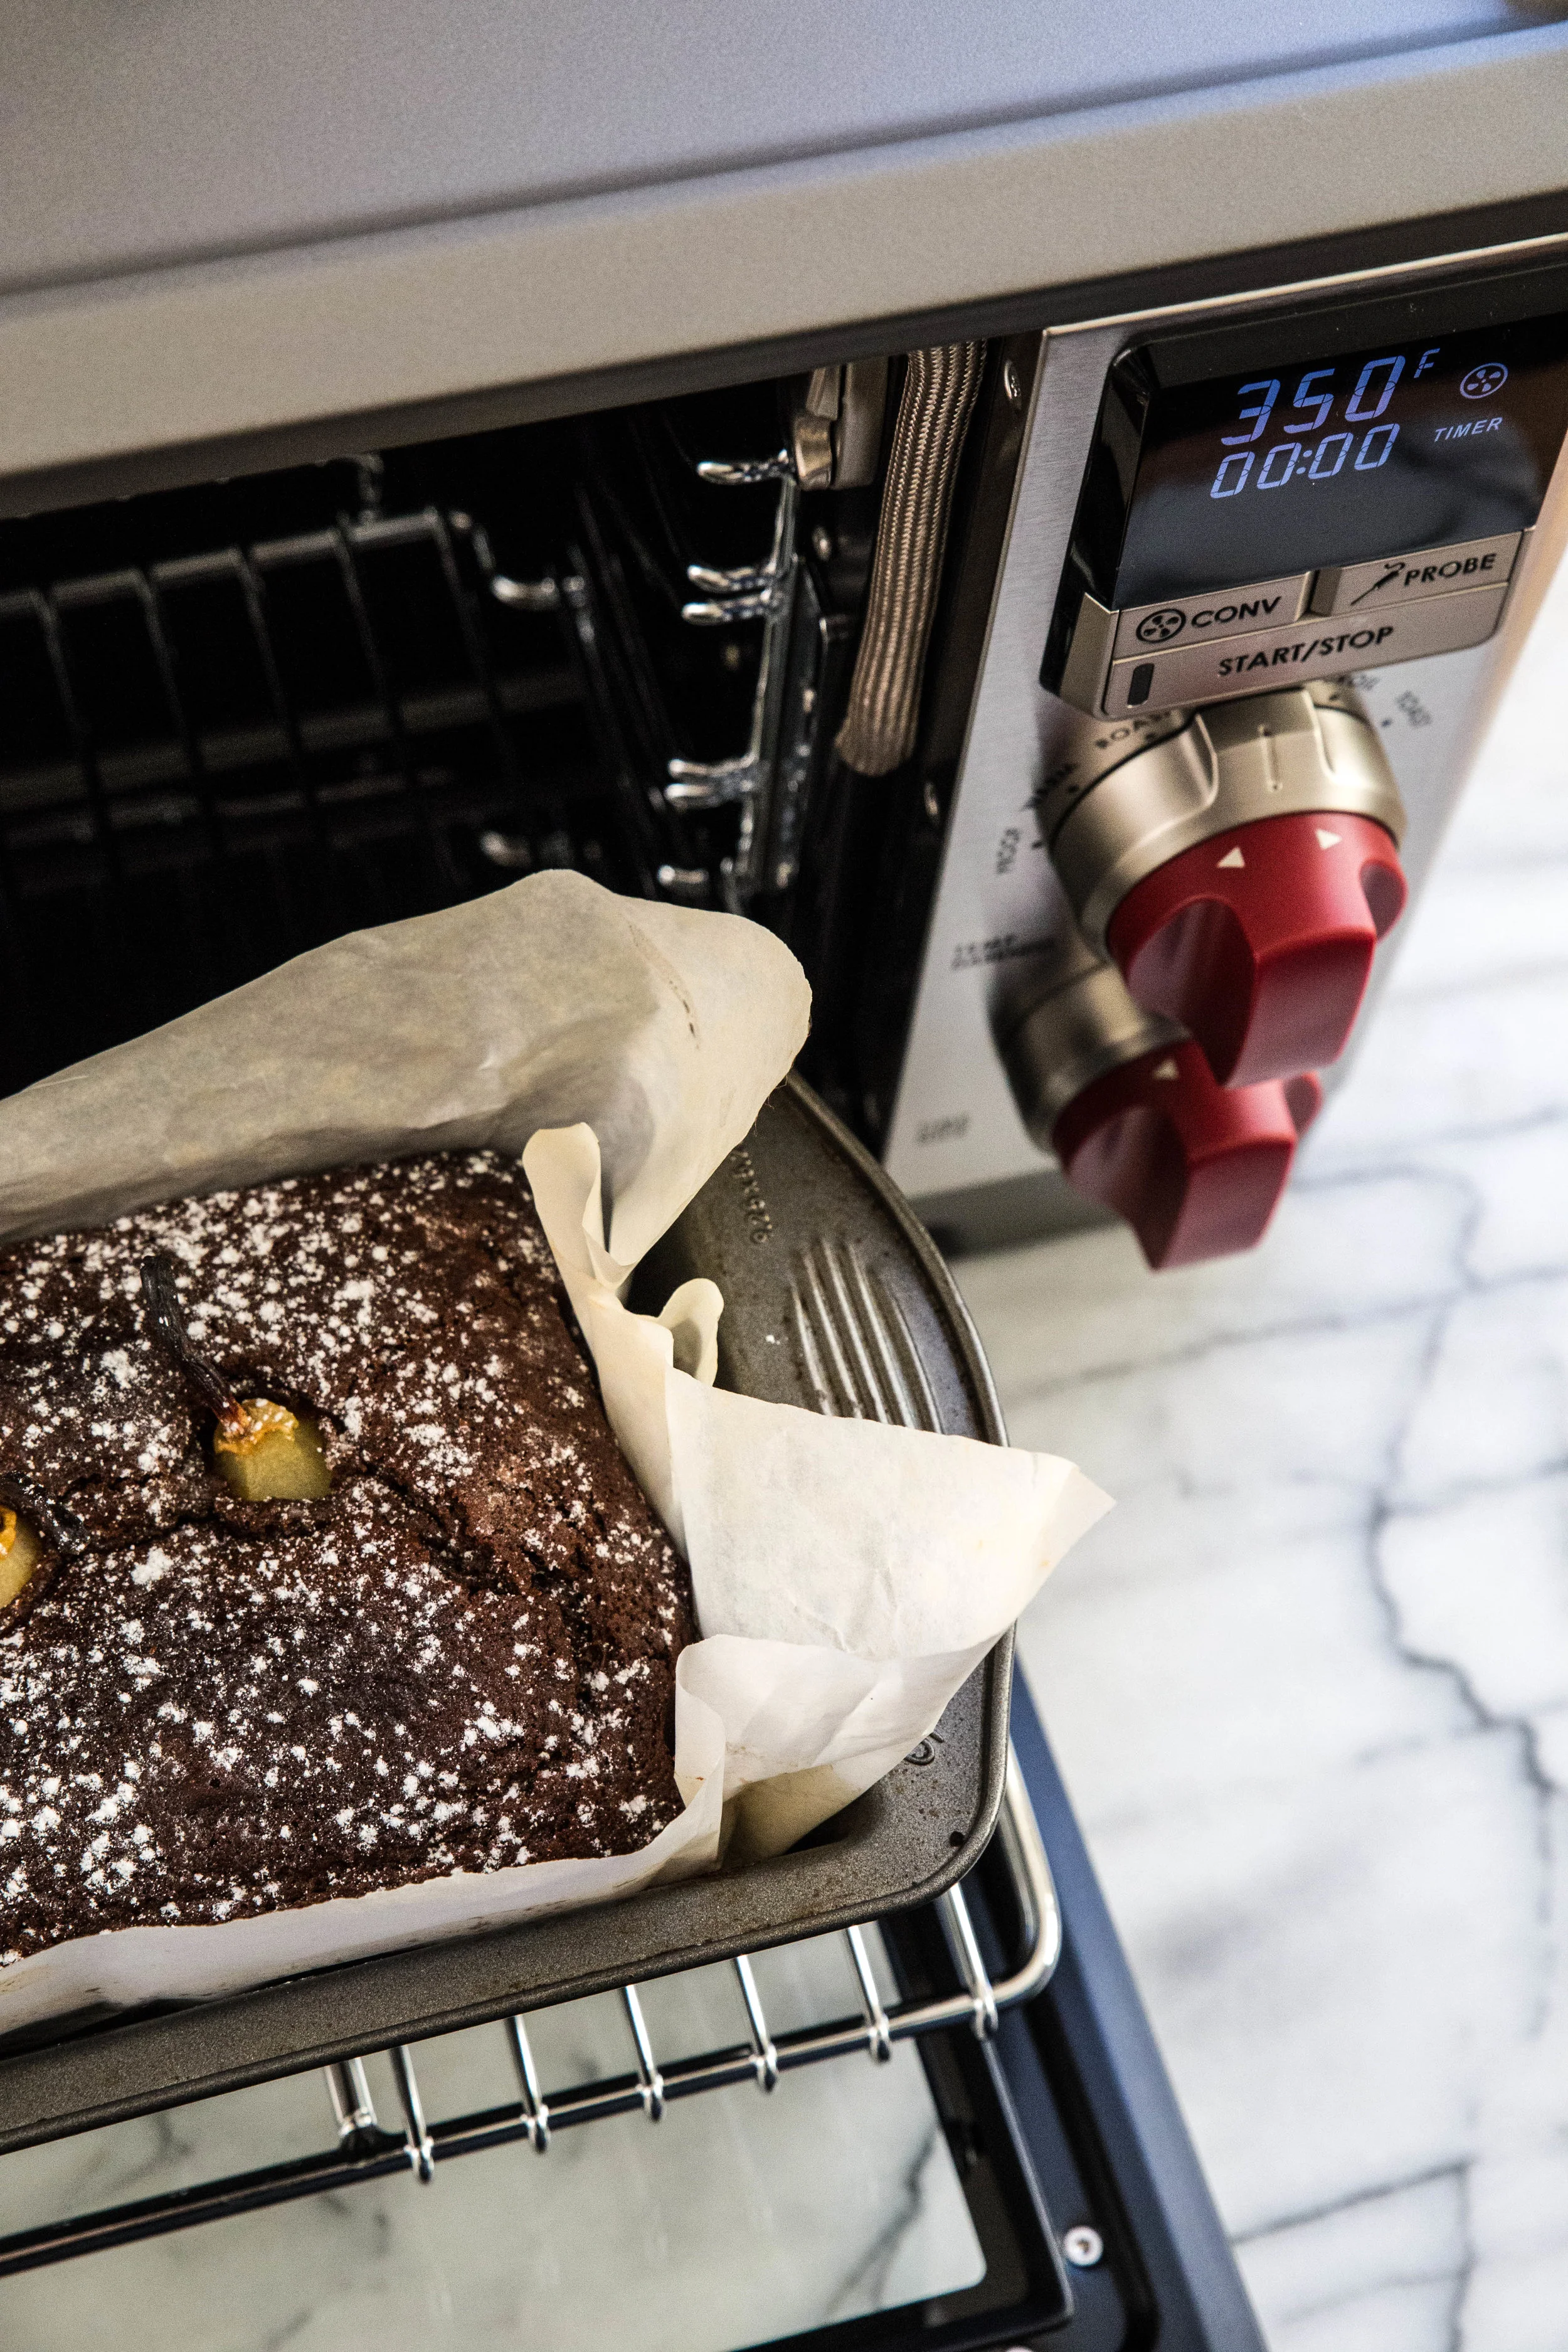
My favorite oven setting by far is convection. The convection setting circulates the air in the oven, which provides more uniform heating and reduces baking time up to twenty-five percent over a standard conduction oven. When I first made this Poached Pear Gingerbread Loaf, the loaf cake baked in 40 minutes instead of the usual 55 minutes. The convection setting also allows the food to bake more evenly, which means that my loaf cake was tender all the way through (my standard conduction oven tends to overbake the outside before the inside is done).
The countertop oven is relatively small (after all, it does fit on the countertop), which limits what you can fit inside. It will not fit half sheet pans or a few of my unusually shaped pans, but it will fit a standard 9 x 13-inch pan, which accomodates most dishes or desserts you will bake. The standard kitchen oven is not replaced, but the countertop oven can complement your current oven, especially during the holiday season when having more than one oven for baking or entertaining is ideal.

Edit: Giveaway closed.

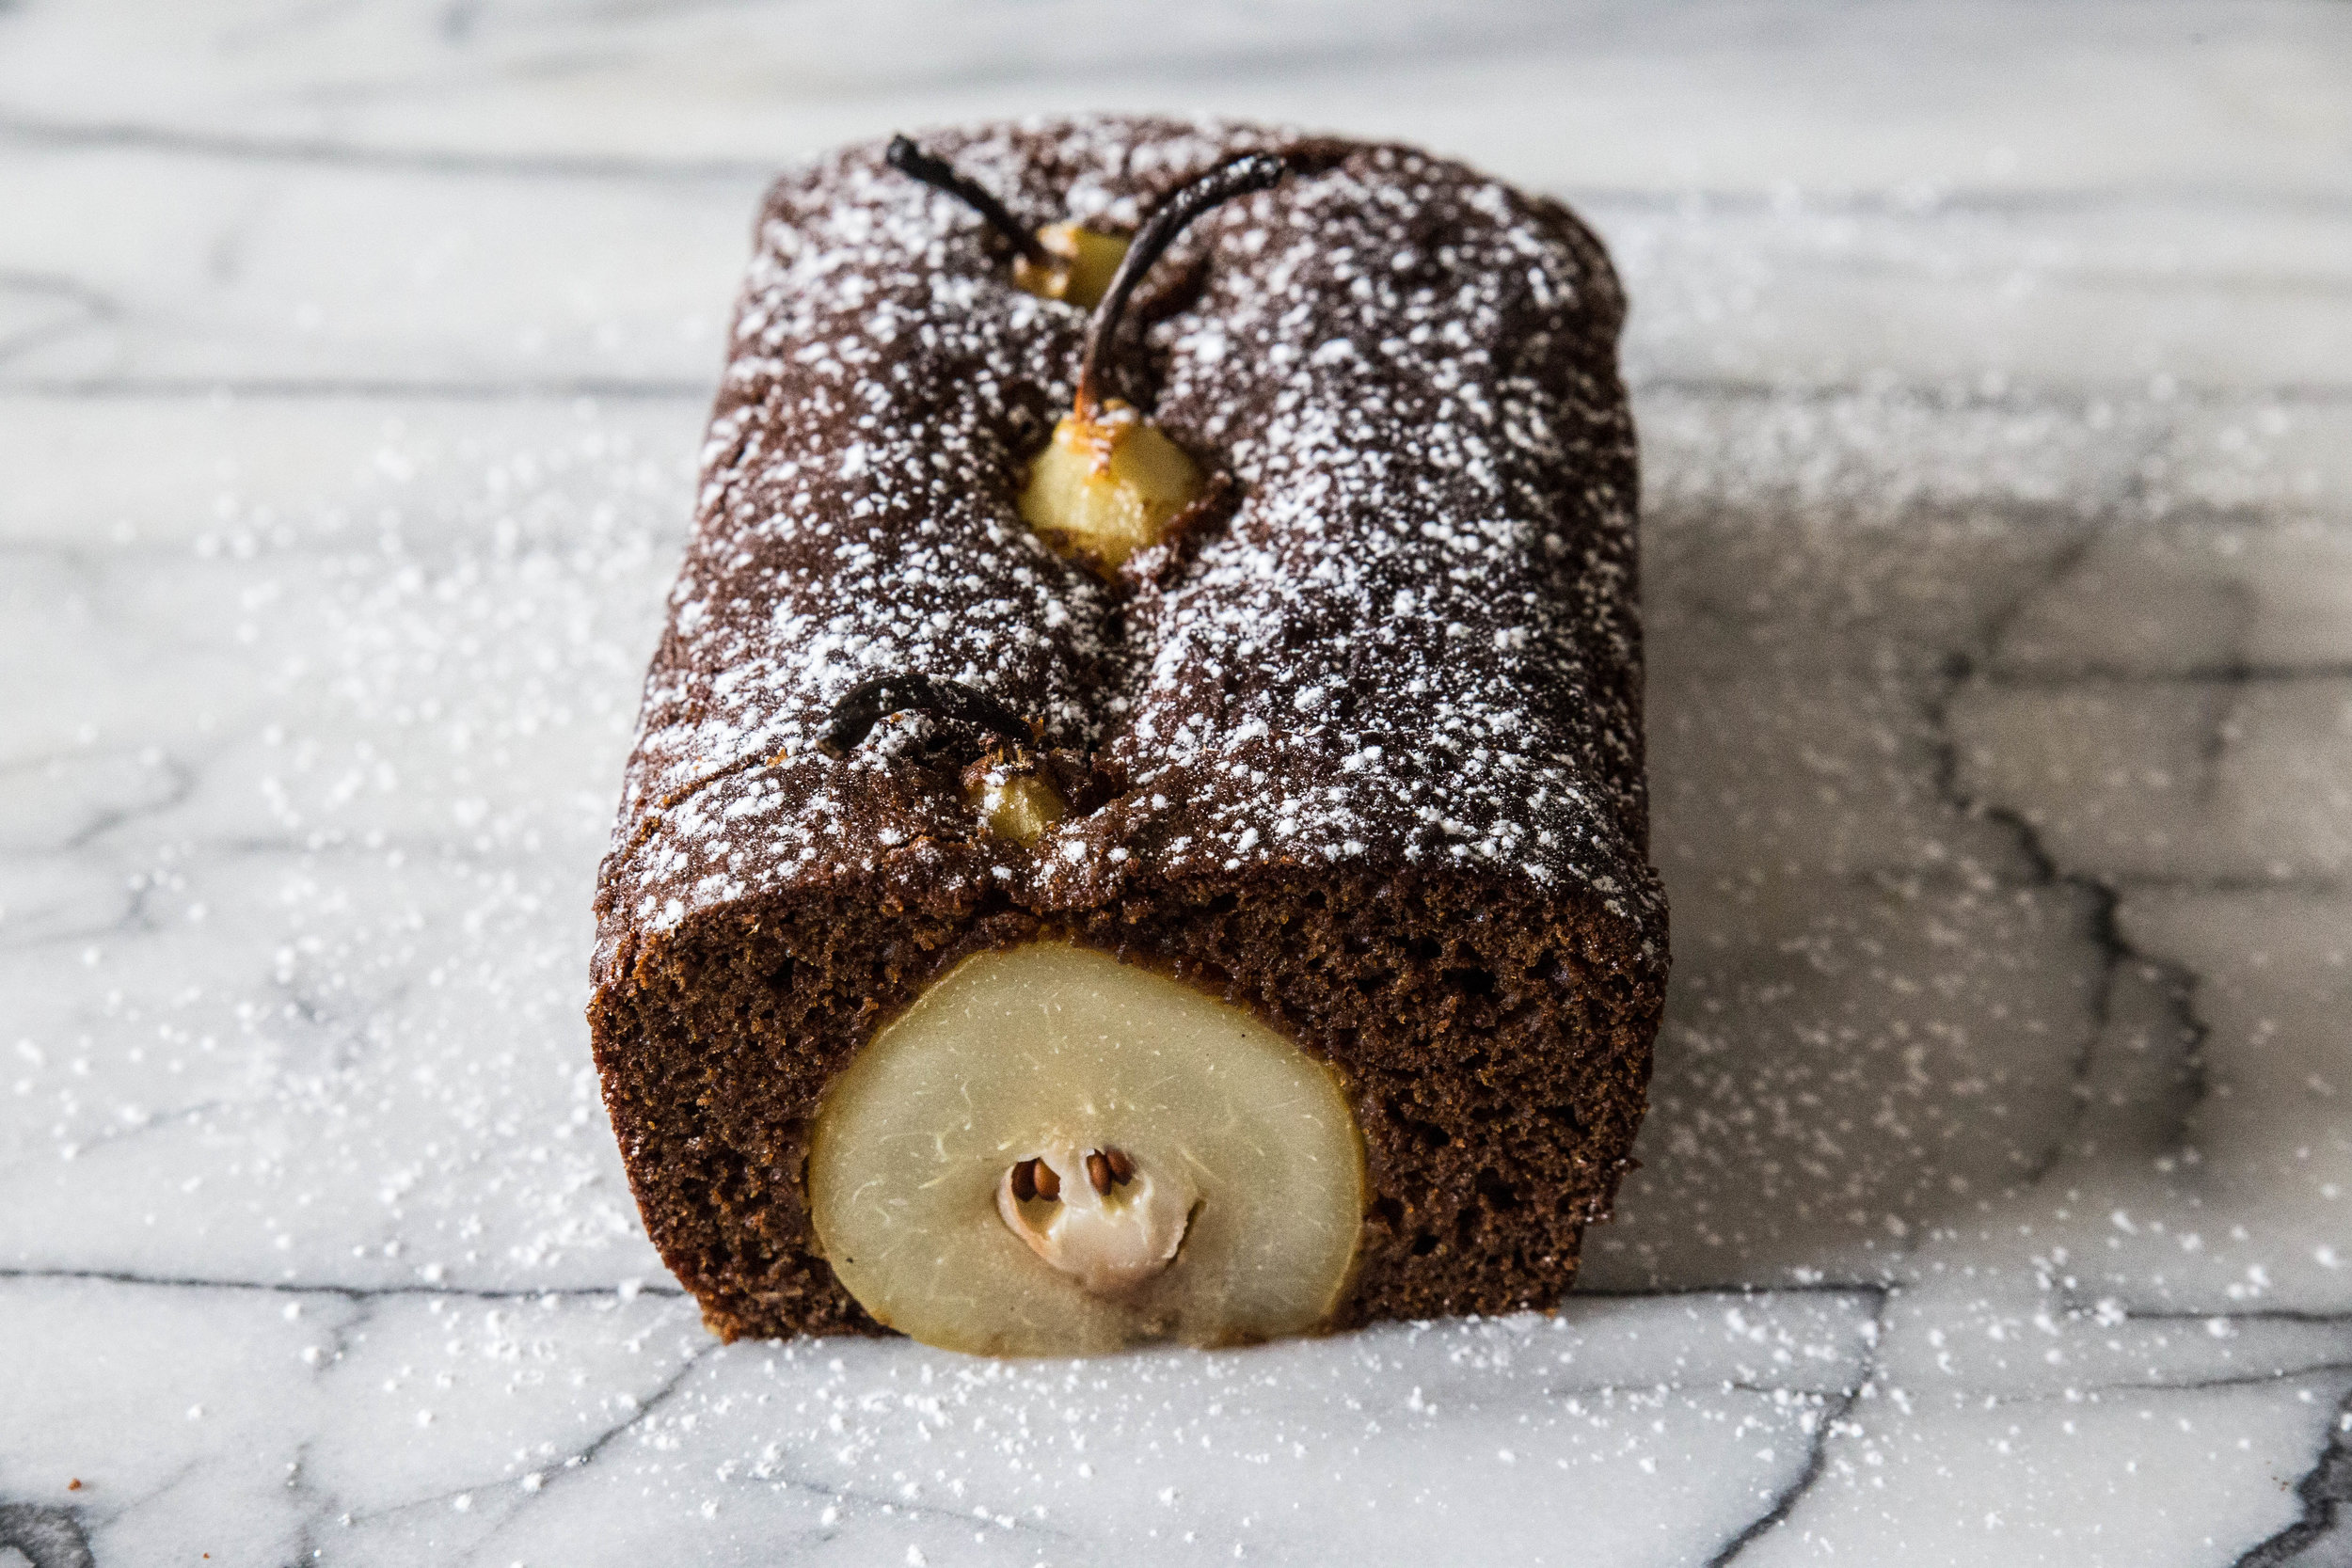
Poached Pear Gingerbread Loaf is a cake with sophisticated flavors. Pears are poached in spices and white wine, rendering them soft and sweet. The poached pears are placed in a loaf pan and surrounded with gingerbread cake batter. The gingerbread is made with fresh ginger, which lends a bold, spiced profile to the cake. The pears bake up beautifully in the loaf cake, adding a soft contrast to the strong flavors of the cake. Drizzle each slice with white wine syrup before serving.
Two Years Ago: Almond Espresso Cookies
Three Years Ago: Pumpkin Streusel Muffins & Cranberry Upside Down Cake
Four Years Ago: Gingerbread Muffins, Persimmon Cake, Lemon Cranberry Scones, & Chocolate Pomegranate Tart
Five Years Ago: Pumpkin Chocolate Granola Bars, Banana Cocoa Smoothie, Pumpkin Panna Cotta, & Honey Cookies
Six Years Ago: Sugar-Coated Daydreams, Blueberry Brownies, & Pear Chips
Poached Pear Gingerbread Cake
Yields 1 loaf
Poached Pears
3 Bosc or Bartlett pears, peeled with stems left on
1 bottle (750 mL) white wine
1/2 cup (100 grams) granulated sugar
1 cup (250 mL) water
1 vanilla bean, cut in half and seeds scraped
Peel from 1/2 an orange
3 cinnamon sticks
In a medium saucepan, combine all ingredients and heat until boiling. Reduce heat and simmer for 15-20 minutes, or until a knife easily pierces the pears. Remove pears and set aside.
Run remaining liquid through a fine mesh strainer to remove solids and continue to simmer the liquid until it thickens into a syrup that can coat the back of a spoon, about 45 minutes.
Gingerbread Loaf Cake
1/2 cup (120 mL) dark molasses
2/3 cup (140 grams) dark brown sugar, packed
1/2 cup (120 mL) vegetable oil
2 large eggs
1 teaspoon baking soda
1 teaspoon baking powder
1 1/2 tablespoons freshly grated ginger, lightly packed
1 teaspoon ground cinnamon
1/2 teaspoon ground nutmeg
1/2 teaspoon ground cloves
1/4 teaspoon ground black pepper
1/4 teaspoon salt
2 cups (240 grams) all-purpose flour
2/3 cup (170 mL) milk
Preheat oven to 350 degrees F (180 degrees C). Line a 10 x 4-inch loaf pan with parchment (it helps to transfer the loaf after baking), grease lightly, and set aside.
In a large mixing bowl, mix together the molasses, brown sugar, and vegetable oil. Whisk in the eggs. Stir in the baking soda, baking powder, spices, and salt. Alternately, fold in the flour and stir in the milk until uniform.
Place poached pears in prepared pan and spoon gingerbread batter around the pears. Bake for 50-60 minutes, or until a tester inserted into the cake comes out clean. Cool for 10 minutes before using parchment to transfer loaf to a cooling rack to cool completely.
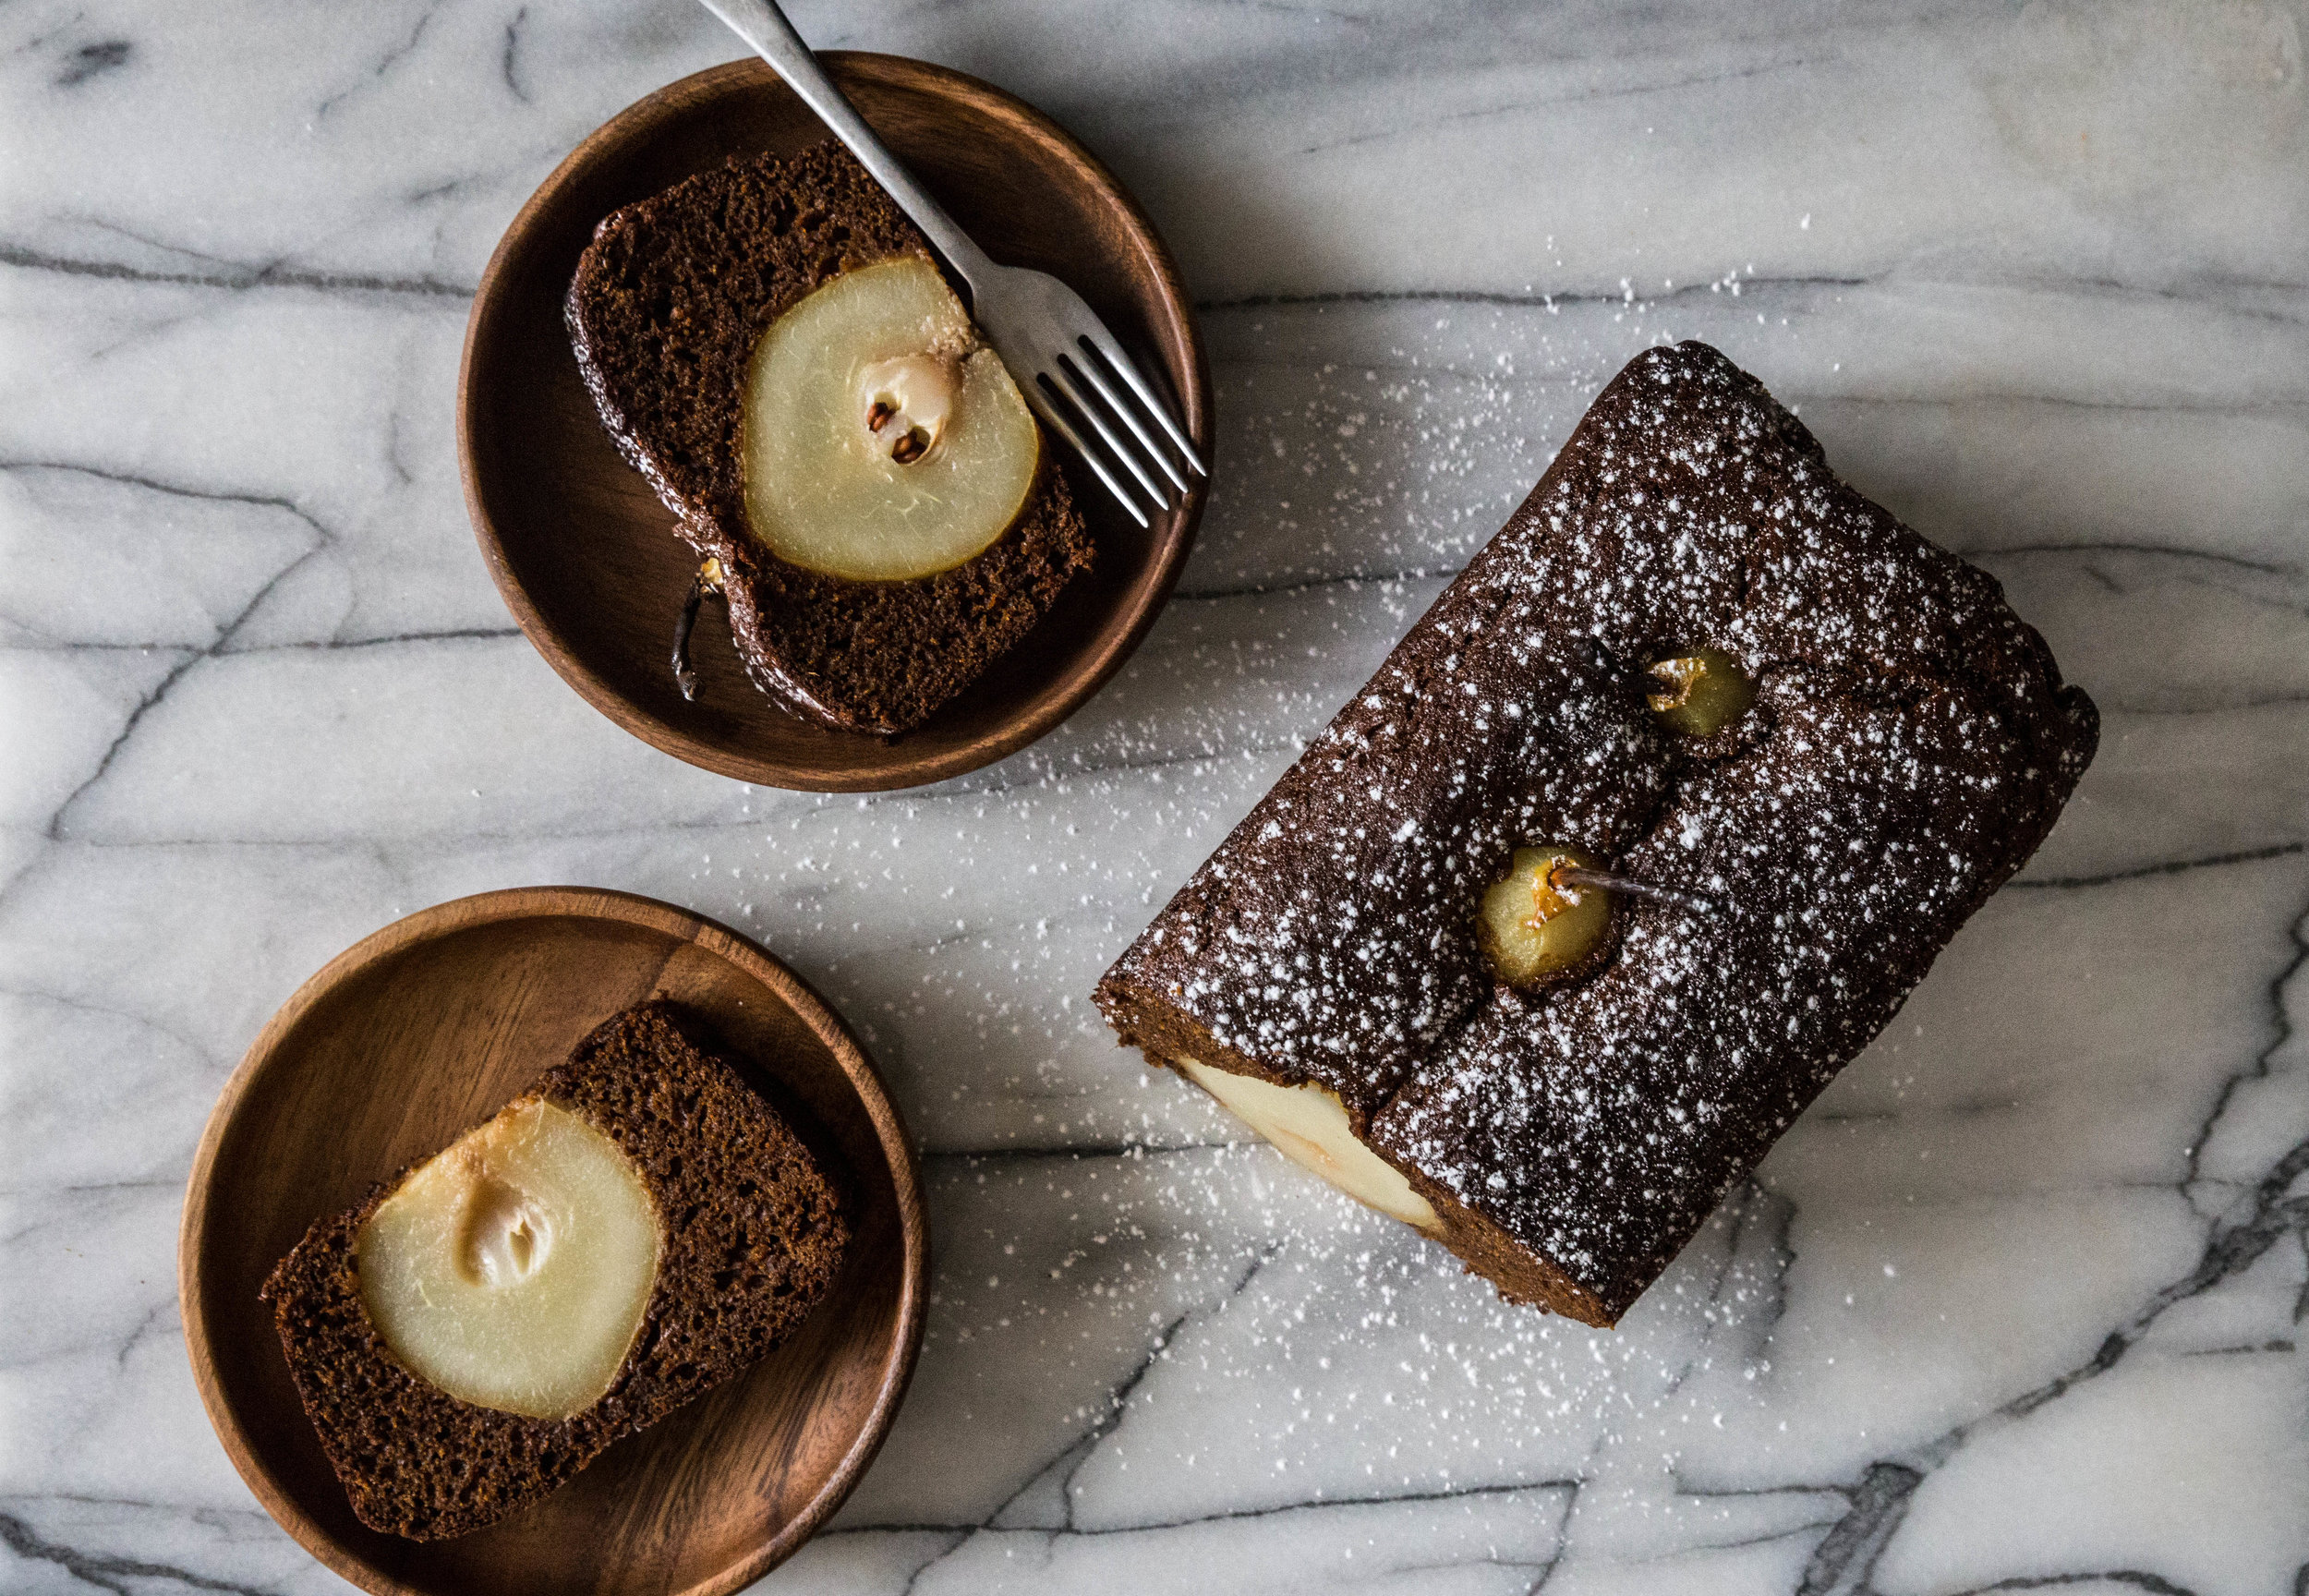
To serve, dust loaf with powdered sugar and drizzle each slice with poached pear syrup.
Disclosure: A complimentary countertop oven was provided for review by Wolf Gourmet. As always, all thoughts and opinions are my own.


