Almond Cardamom Rolls

Almond Cardamom Rolls

Almond Cardamom Croissants

In a hidden gem of a bakery in the vibrant city of Montreal, I sat down to my first almond croissant. The tiny bakery, Kouign-Amann, held only 3 tables, but the atmosphere felt so cozy and inviting it made me feel as if I belonged. The bakery was open to the kitchen where the bakers rolled out beautiful sheets of homemade puff pastry. The pastries were classically French, but the bakery had a vibe that could only come from the soul of Montreal. Despite its small size, I had never encountered a more active bakery in my life (and I doubt I will again) as the door swung open so often I rarely saw it close for more than a moment.

On this particular day, I was lucky enough to find myself a seat at a table. The almond croissant was larger than my two fists put together, standing tall from the flaky layers. Covered with powdered sugar and sliced almonds, I found it a mess to eat as the tender crumbs scattered over the table and onto my lap as the croissant gradually disappeared. Somehow, though, it was perfect.

Perfect for the moment, perfect for the city, perfect for the place I was at in my life.

Almond Cardamom Croissants Almond Cardamom Croissants

My roommate introduced me to the bakery a few days earlier. I had just moved into an apartment a few blocks down and to break up the rush of a trip to buy furniture, she pulled me into the small bakery on our walk to the metro, ordered me a plain croissant, and warned me that it would be the best I would ever eat. She was right.

From then on, I walked past the bakery regularly as I made my way around the city. The bakery, to its credit, kept the ovens on throughout the day so it was possible to get warm pastries any time of day. The temptation to resist, I found, was often too much. Every time I made my way through the bakery door, I fell a little more in love with pastries, more smitten with baking.

Almond Cardamom Croissants

It was a cold fall afternoon when I stepped in the bakery after a rush of holiday shopping. The bakery was humid, as the hot air from the ovens mixed with the frigid air from outdoors. I ordered an almond croissant and managed to snag one of the coveted seats in the busy room, dropping my packages by my feet. French language bounced off the walls as the windows fogged over with steam, condensation running down the panes to reveal the bustling street outside. An old man sat across from me, a newspaper spread across the table, a coffee in hand. The moment itself made me feel so rich, so alive. Emboldened by the atmosphere and a mouthful of croissant, I made up my mind about a decision that had been haunting me for quite some time.

It was the moment I made the decision to pursue pastries.

Almond Cardamom Croissants

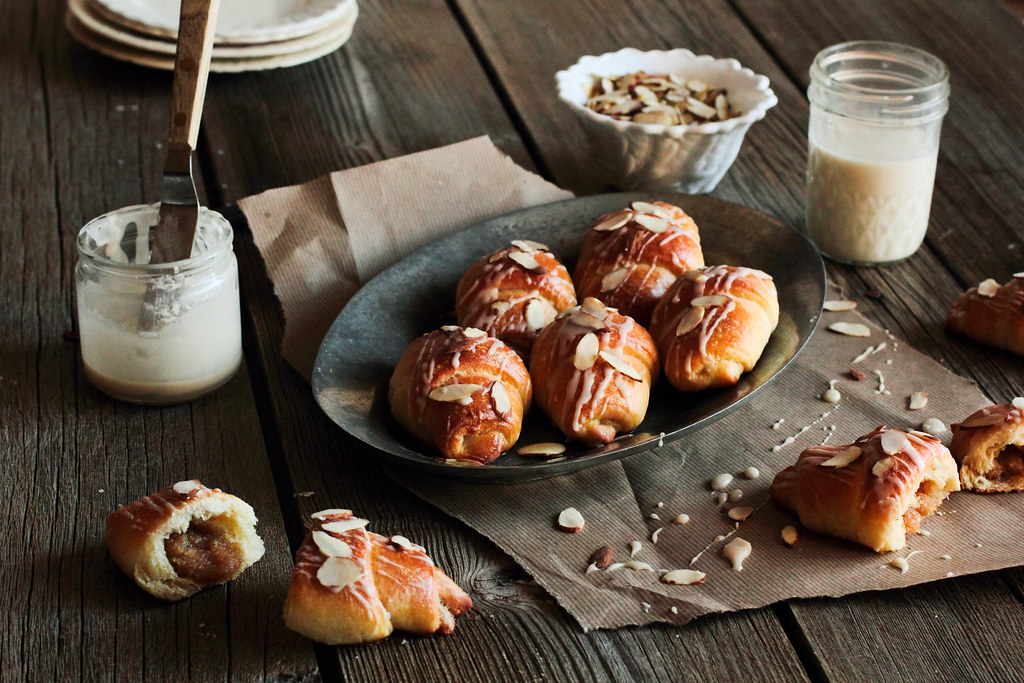
Almond Cardamom Rolls are inspired from the pastries I fell in love with in Montreal. The dough is no-knead, which makes it much less work than its traditional counterpart. A touch of sour cream brings a tenderness to the rolls and the addition of cardamom adds the right amount of spice. The rolls are filled with a mixture of almond paste and brown sugar, which is rich and deeply flavorful. A simple vanilla glaze and a sprinkle of sliced almonds finishes off the light rolls. The rolls can also be made the night before and baked the next morning to serve warm for family and friends.

Read More

Sugar Cookie Tips & a Giveaway!

'Tis the season for sugar cookies shaped like trees and snowflakes. I recently spent an afternoon making 6 dozen cookies and, for the first time in my life, only a handful of cookies didn't turn out just right. After years of making sugar cookies that spread too much or baked unevenly, it seemed I had finally figured out the trick to perfect sugar cookies. It would be selfish not to share these tricks with you.

The real secret to perfect cookies? Refrigeration.

  • Refrigerate the sugar cookie dough for at least 1 hour before making the cookies. This helps the dough roll out cleanly and helps the cutout cookies keep their shape when transferring them to the baking sheet. Any dough you are not currently using should be kept in the refrigerator.
  • Roll out the dough on a lightly floured surface. You want the cookies to easily release from the surface, but you also do not want to incorporate much flour into the dough or it will give you problems later. Roll out the dough at least 1/4-inch thick and take care to keep it even. This keeps the cookies thick and soft, helping to prevent over-baking.
  • Once the cookies have been transferred to a baking sheet, immediately place the baking sheet in the freezer for at least 5 minutes. This helps solidify the butter in the cookies and it will prevent the cookies from spreading at all during baking. The cookies should be hard to the touch before going into the oven. (If you live in a cold climate, I suggest taking advantage by placing the cookies outside on a deck or back porch if you don't have much freezer space).
  • Do not over-bake the cookies! Most recipes call for the cookies to bake for 6-8 minutes. You want to pull the cookies out of the oven before you see the edges begin to brown. A hint of brown means the cookies have already over-baked. To prevent this, you may need to do a test batch with a cookie or two to find the perfect time for your oven. Set a timer to keep the baking time consistent.
  • Allow the baked cookies to rest on the baking sheet for a few minutes to firm up before transferring to a cooling rack. Immediately put the empty baking sheet back into the freezer to cool down for at least 5 minutes. This prevents the warm cookie sheet from melting the butter in the next batch of cookies and causing the cookies to spread.
  • When rolling out the dough for a second time, I like to knead half the previously rolled out dough with fresh dough for at least a minute until they are completely mixed together. Usually when dough is rolled out a second or third time, the quality of the dough decreases because it becomes warm or the flour from the surface makes pockets in the dough, causing uneven cookies to form. Kneading the dough gets rid of the flour pockets and the addition of the fresh, cold dough helps bring the temperature back down.

Repeat, repeat, repeat. The refrigeration between batches might seem like a bit of extra work at first, but you will truly see the results when you find yourself with a batch of perfect cookies. I prefer to bake the cookies on an insulated baking sheet because it keeps the bottoms of the cookies from browning. Non-insulated baking sheets may slightly brown the bottom of the cookies in the same length of time.

To freeze cutout cookies, layer them in an airtight container by placing wax or parchment paper between each layer to prevent the cookies from sticking together. To thaw, place the frozen cookies on a baking sheet and thaw for 5-10 minutes. Cookies can be frozen for 1-3 months.

Pssst. Here is a link to my favorite sugar cookie recipe.

Christmas Sugar Cookies

And now, for something completely different, it's time for a cookie giveaway! I thought it would be fun to send out a tin of homemade holiday cookies to you. Yes, you! And so this holiday season, three lucky readers will find a box of handmade cookies sitting in your mailbox. I did something quite similar last year and found it so lovely I wanted to do it again. I want to share in the season of giving with you!

To find a box of cookies on your doorstep...

  1. Leave a comment below and tell me about your favorite holiday tradition. Make sure to include your email address when filling out the comment form so I can get ahold of you!
  2. You must live in the United States or Canada. I unfortunately cannot afford to send the cookies any further at this point (and I fear they may arrive shattered/stale if they traveled overseas).
  3. The contest will end on Wednesday, December 12th at 10 pm (CST). The winners will be chosen randomly and announced on Facebook and Twitter immediately thereafter (and on here Thursday morning).

Edit: The contest is closed and the winners have been chosen.

Chocolate Pomegranate Tart

Chocolate Pomegranate Tart

Chocolate Pomegranate Tart

December is riddled with dinner parties and friend and family get-togethers. While I love a good reason to eat great food and spend time with loved ones, there is always pressure on me to bring a fabulous dessert. Truth be told, the largest contributor to the pressure is myself. I want to find a way to outdo myself, to wow the guests with unexpected flavor combinations or an elaborate dish. The baker inside me wants to be a bit of a show-off. However, as time has shown me again and again, the pressure I place on myself to perform tends to backfire.

For Thanksgiving a couple years ago, I created a wonderful caramel pumpkin bread pudding. It took me two attempts to get it right, once because I burned the pudding in the oven and the second because I burned the caramel on the stove. Pressure, it seems, brings about rookie mistakes. One year I attempted to create a meringue cake to share with you on my blog's first birthday. A year and a half later, I haven't recovered from the misfortune that happened in my kitchen (contrary to what my mother may believe, I'm still not ready to discuss it).

Chocolate Pomegranate Tart Chocolate Pomegranate Tart

This year, I've decided to learn from my past mistakes. While I can't erase the small part of me that wants to create brilliant, impressive desserts, I want to avoid disaster, disappointment, and rushing to the grocery store to grab more ingredients an hour before the event takes place (no one needs that kind of stress). This year, I am planning ahead. It seem like an obvious decision, but I've always been a last minute kind of girl, making the desserts the day or morning ahead and panicking if something goes awry.

I've gotten too good at panicking.

Chocolate Pomegranate Tart

A month ago, my boyfriend convinced me we needed to buy pomegranates. After bringing them home and prying them open, I quickly decided they would be heavenly with a bit of chocolate. It took a bit of convincing for my skeptical boyfriend (and a mouth full of chocolate chips and pomegranate seeds to prove my point), but he ultimately came to the same conclusion. I put this idea on the back burner for the last month, mulling it over and trying to figure out the best presentation. I've always thought pomegranates looked like gems so the last thing I wanted to do was hide them in a dessert.

This Chocolate Pomegranate Tart is the result of all the reflection and, well, reflect it does.

Chocolate Pomegranate Tart

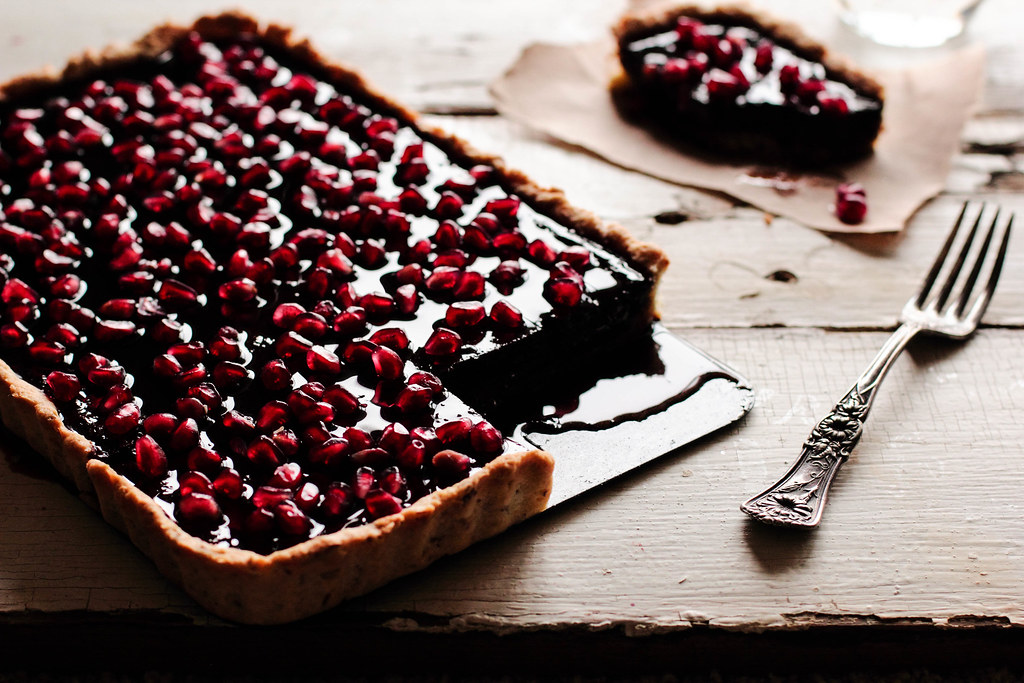
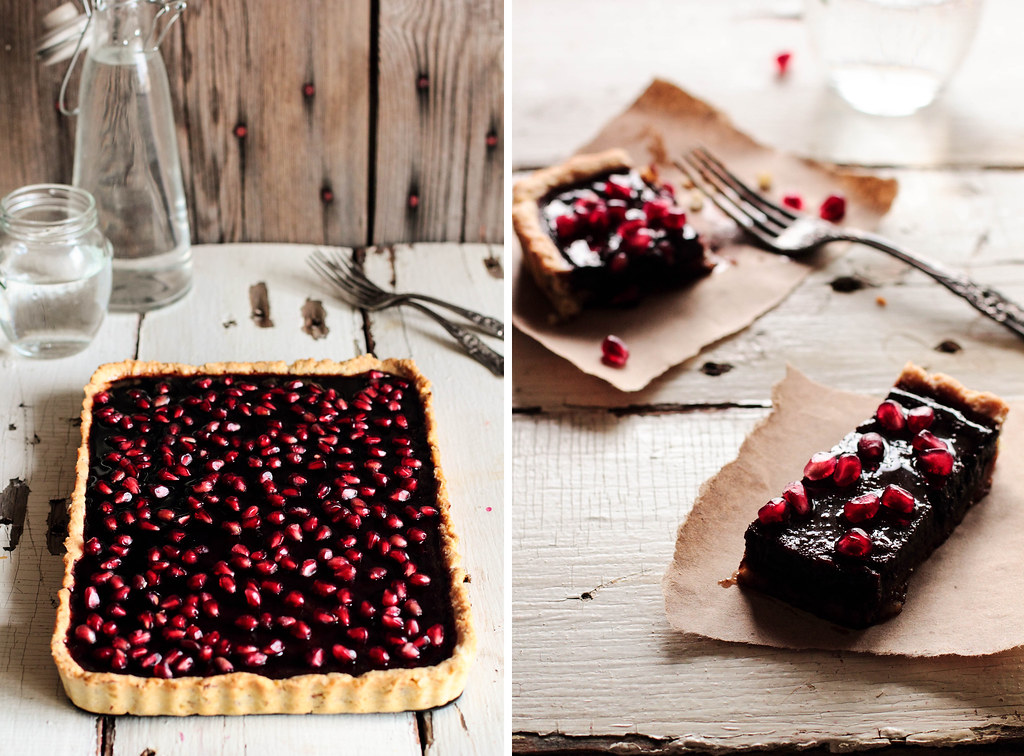
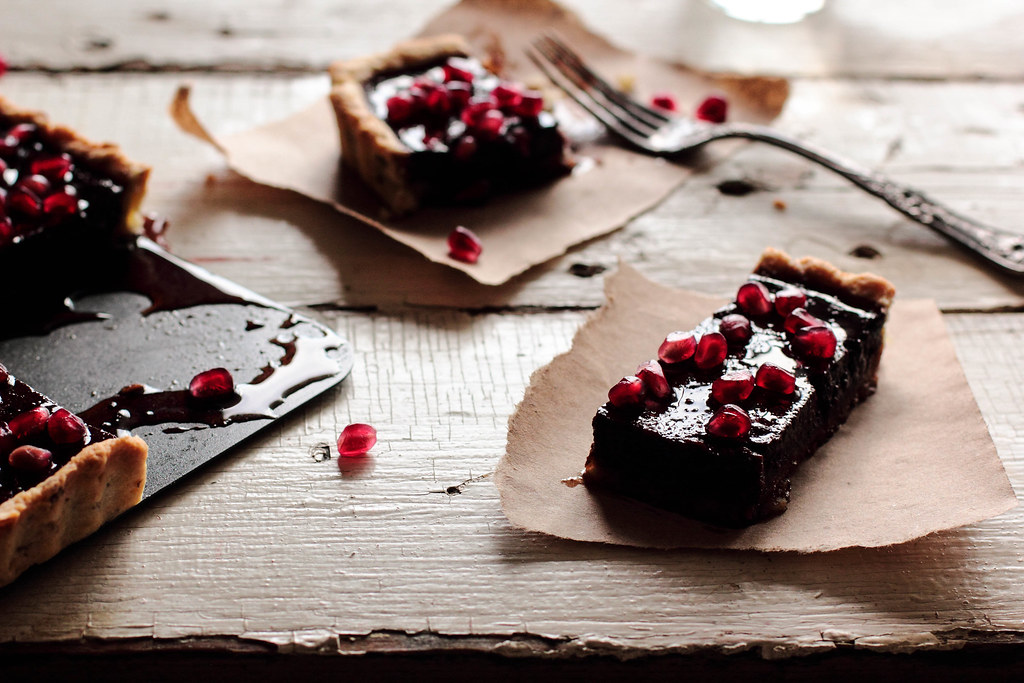
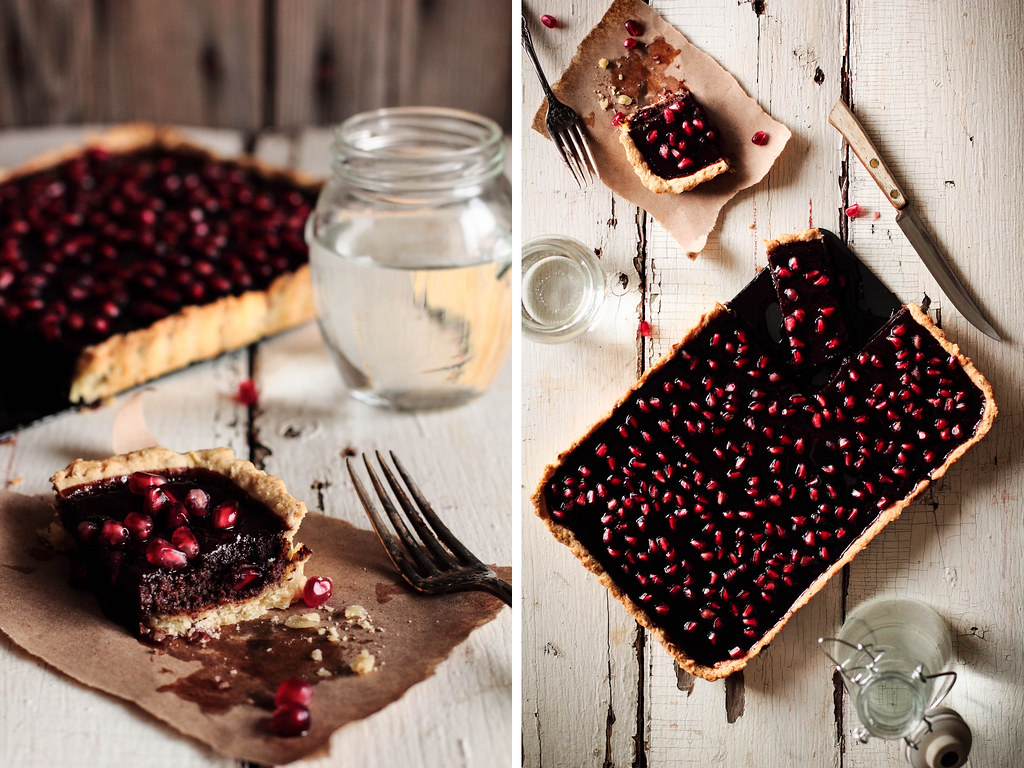
A slice of this Chocolate Pomegranate Tart brings a hint of pomegranate to a decadent chocolate tart. The crust is made with ground almonds, reminding me a bit of sugar cookies. A rich chocolate truffle filling is baked in, setting like a thick custard. The finished tart is glazed with pomegranate juice (thickened to a syrup to strengthen the flavor) and dotted with pomegranate arils. The pomegranate seeds catch the light just so, making this a lovely tart to impress guests.

Read More