Plum Almond Galette

It's been a week since I've returned from my holiday in France. I'm still sorting through the photographs, setting aside a picture here or there to share with you. The jet lag has passed and the normalcy of life is returning, piece by piece. I adore travel and the ability to explore the intricacies of different cultures that it affords. For this reason, I am a bit sad to come home when a trip ends. Though my own bed feels wonderful, I have a hard time letting go of the idea that rocky beaches of the French Riviera and the pastries of Paris are half a world away.

During the summer months, I have a tendency to go a bit overboard when in-season fruits and vegetables show up at the market. After the Midwest's endless winters, my eagerness appears in the form of an abundance of stone fruits and melons. With more plums than I could eat in a week on my kitchen counter, I needed to find a way to use them before they were forgotten in favor of other fruits.

And thus, this galette was born.

I often prefer galettes to pie. Galettes feel simpler to me, a natural extension of a Sunday afternoon or a weeknight dessert. They use a single round of pie dough instead of two, but still hold a wealth of fruit within the pleated walls. A pie is more fussy to me, time consuming and brought down by a certain pressure to make them appear perfect. There is no such thing as a perfect galette, as their nature is to appear freeform and rustic. It is this truth that appeals to me most, this lack of an ideal, as well as the ease in which they can be thrown together.

There is a time and a place for pie, certainly, but the galette is my everyday version of this pastry and therefore the type I am most likely to prepare when the fruit is generous.

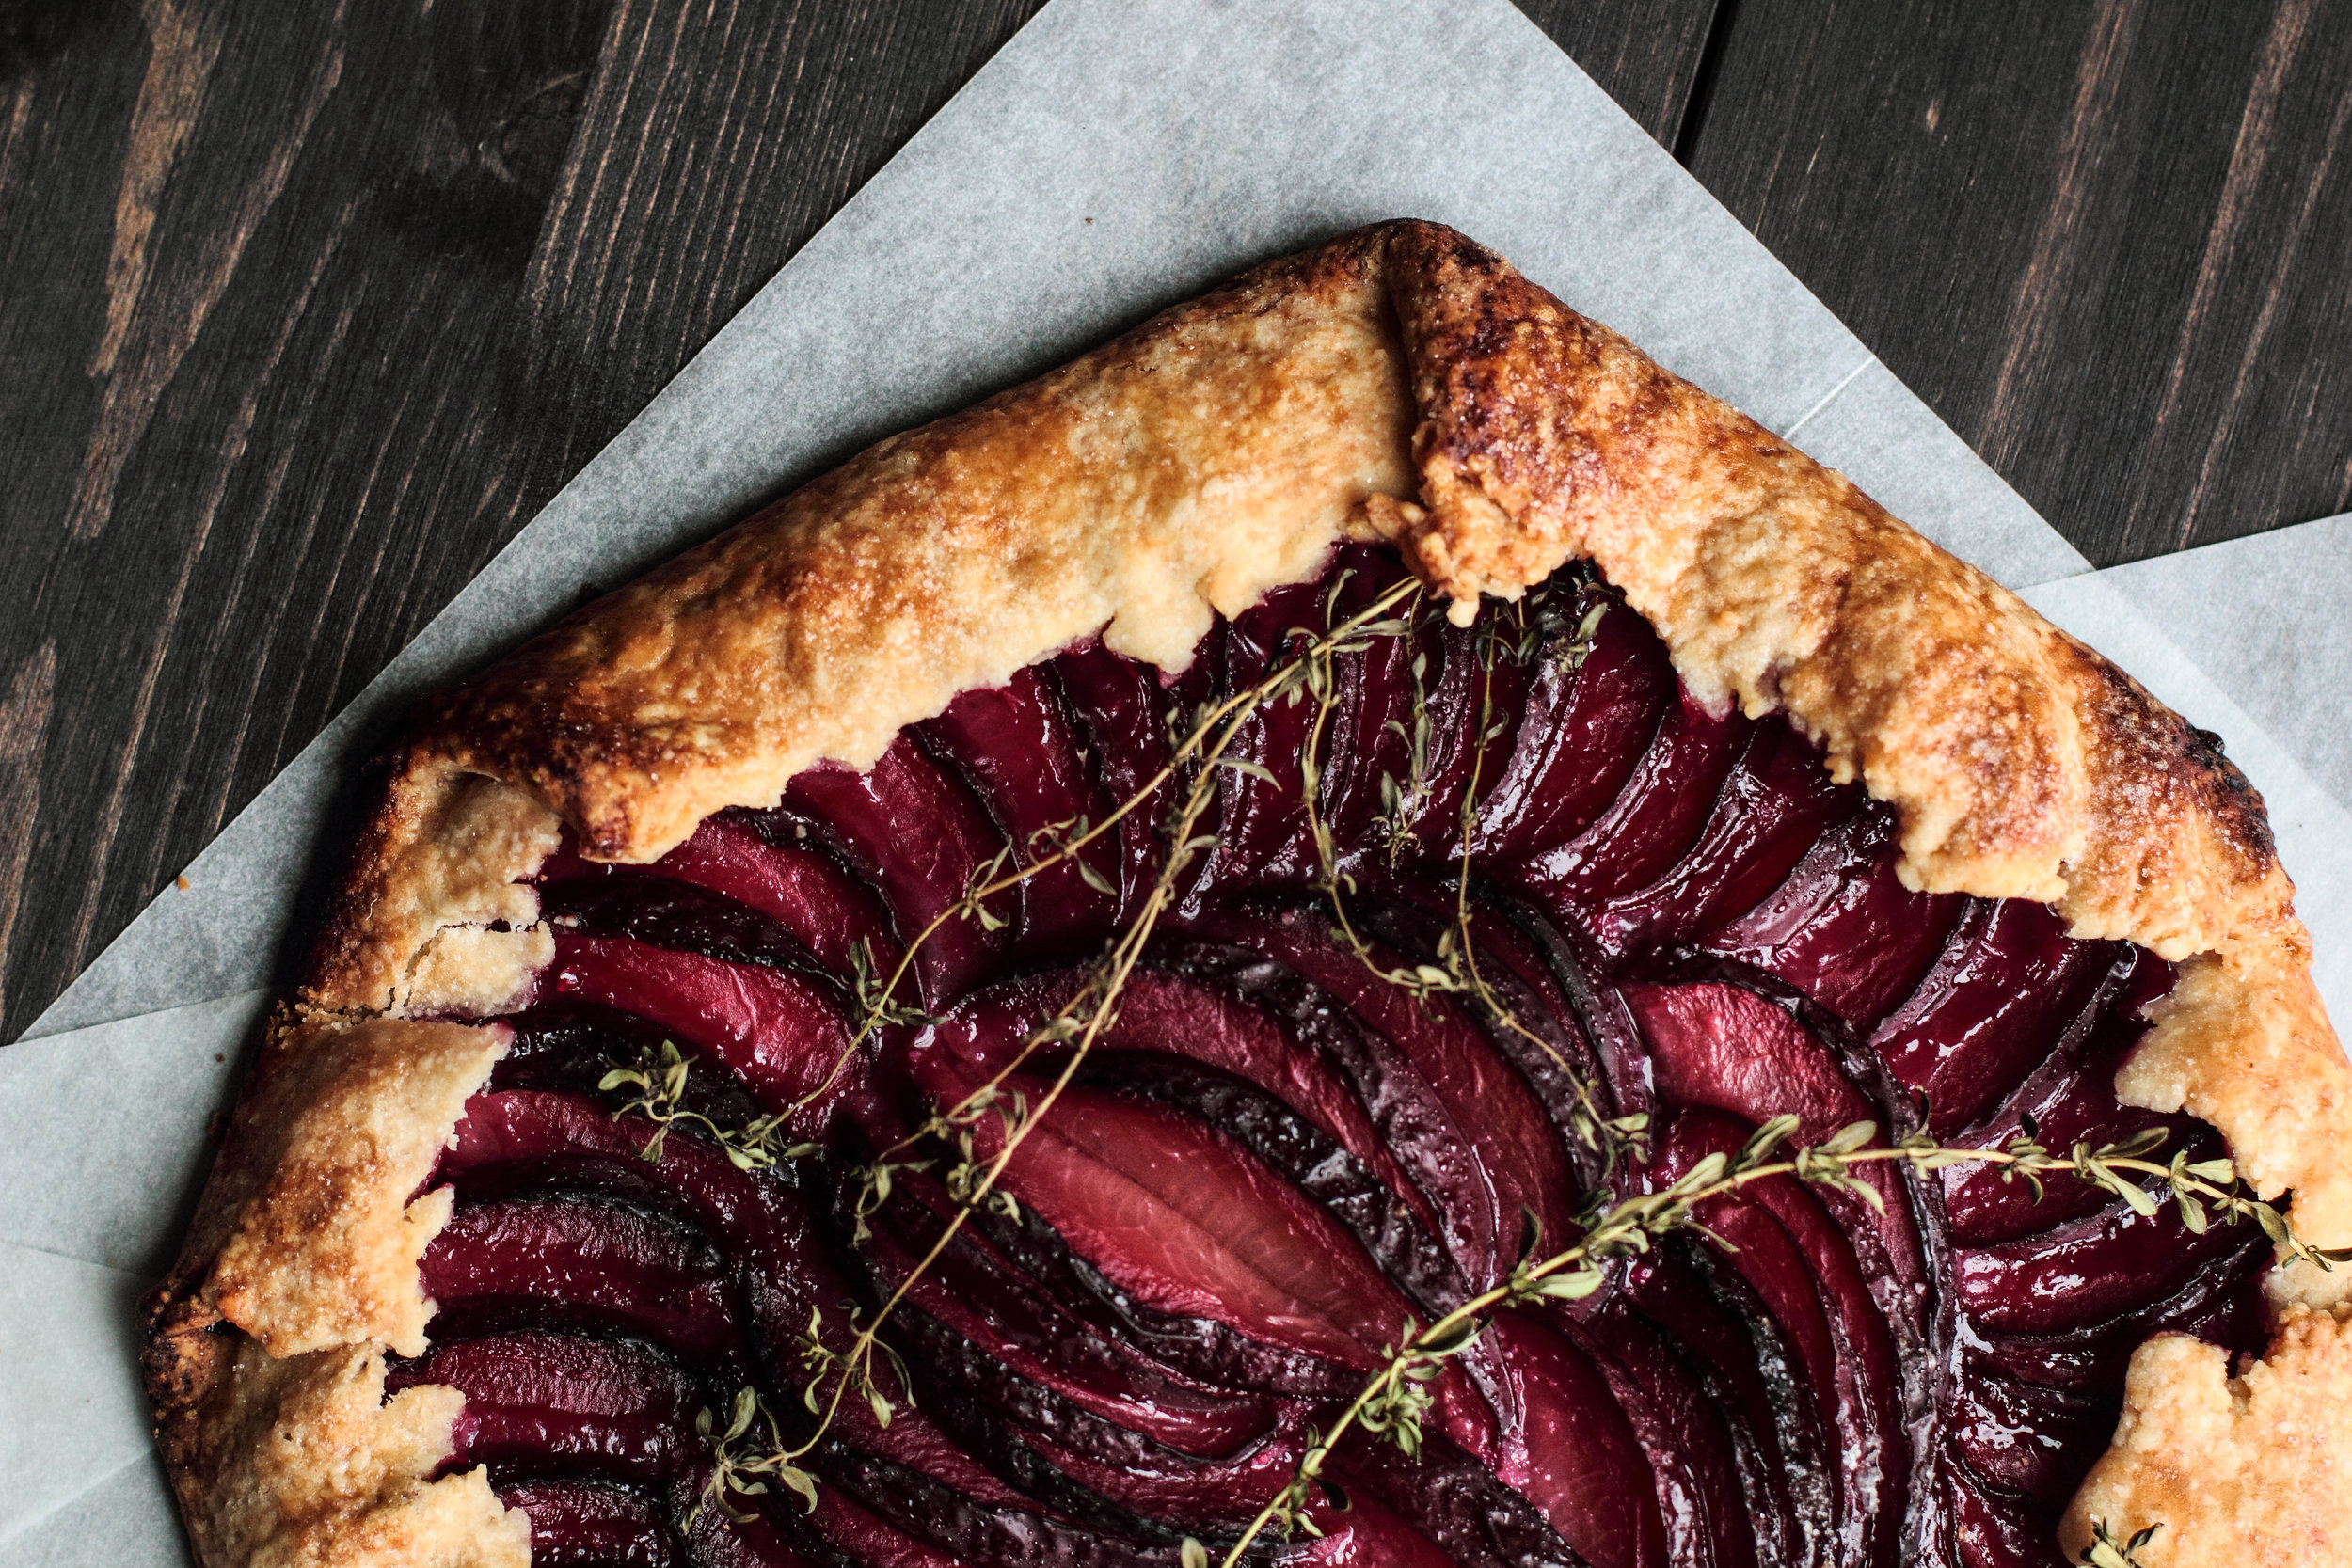
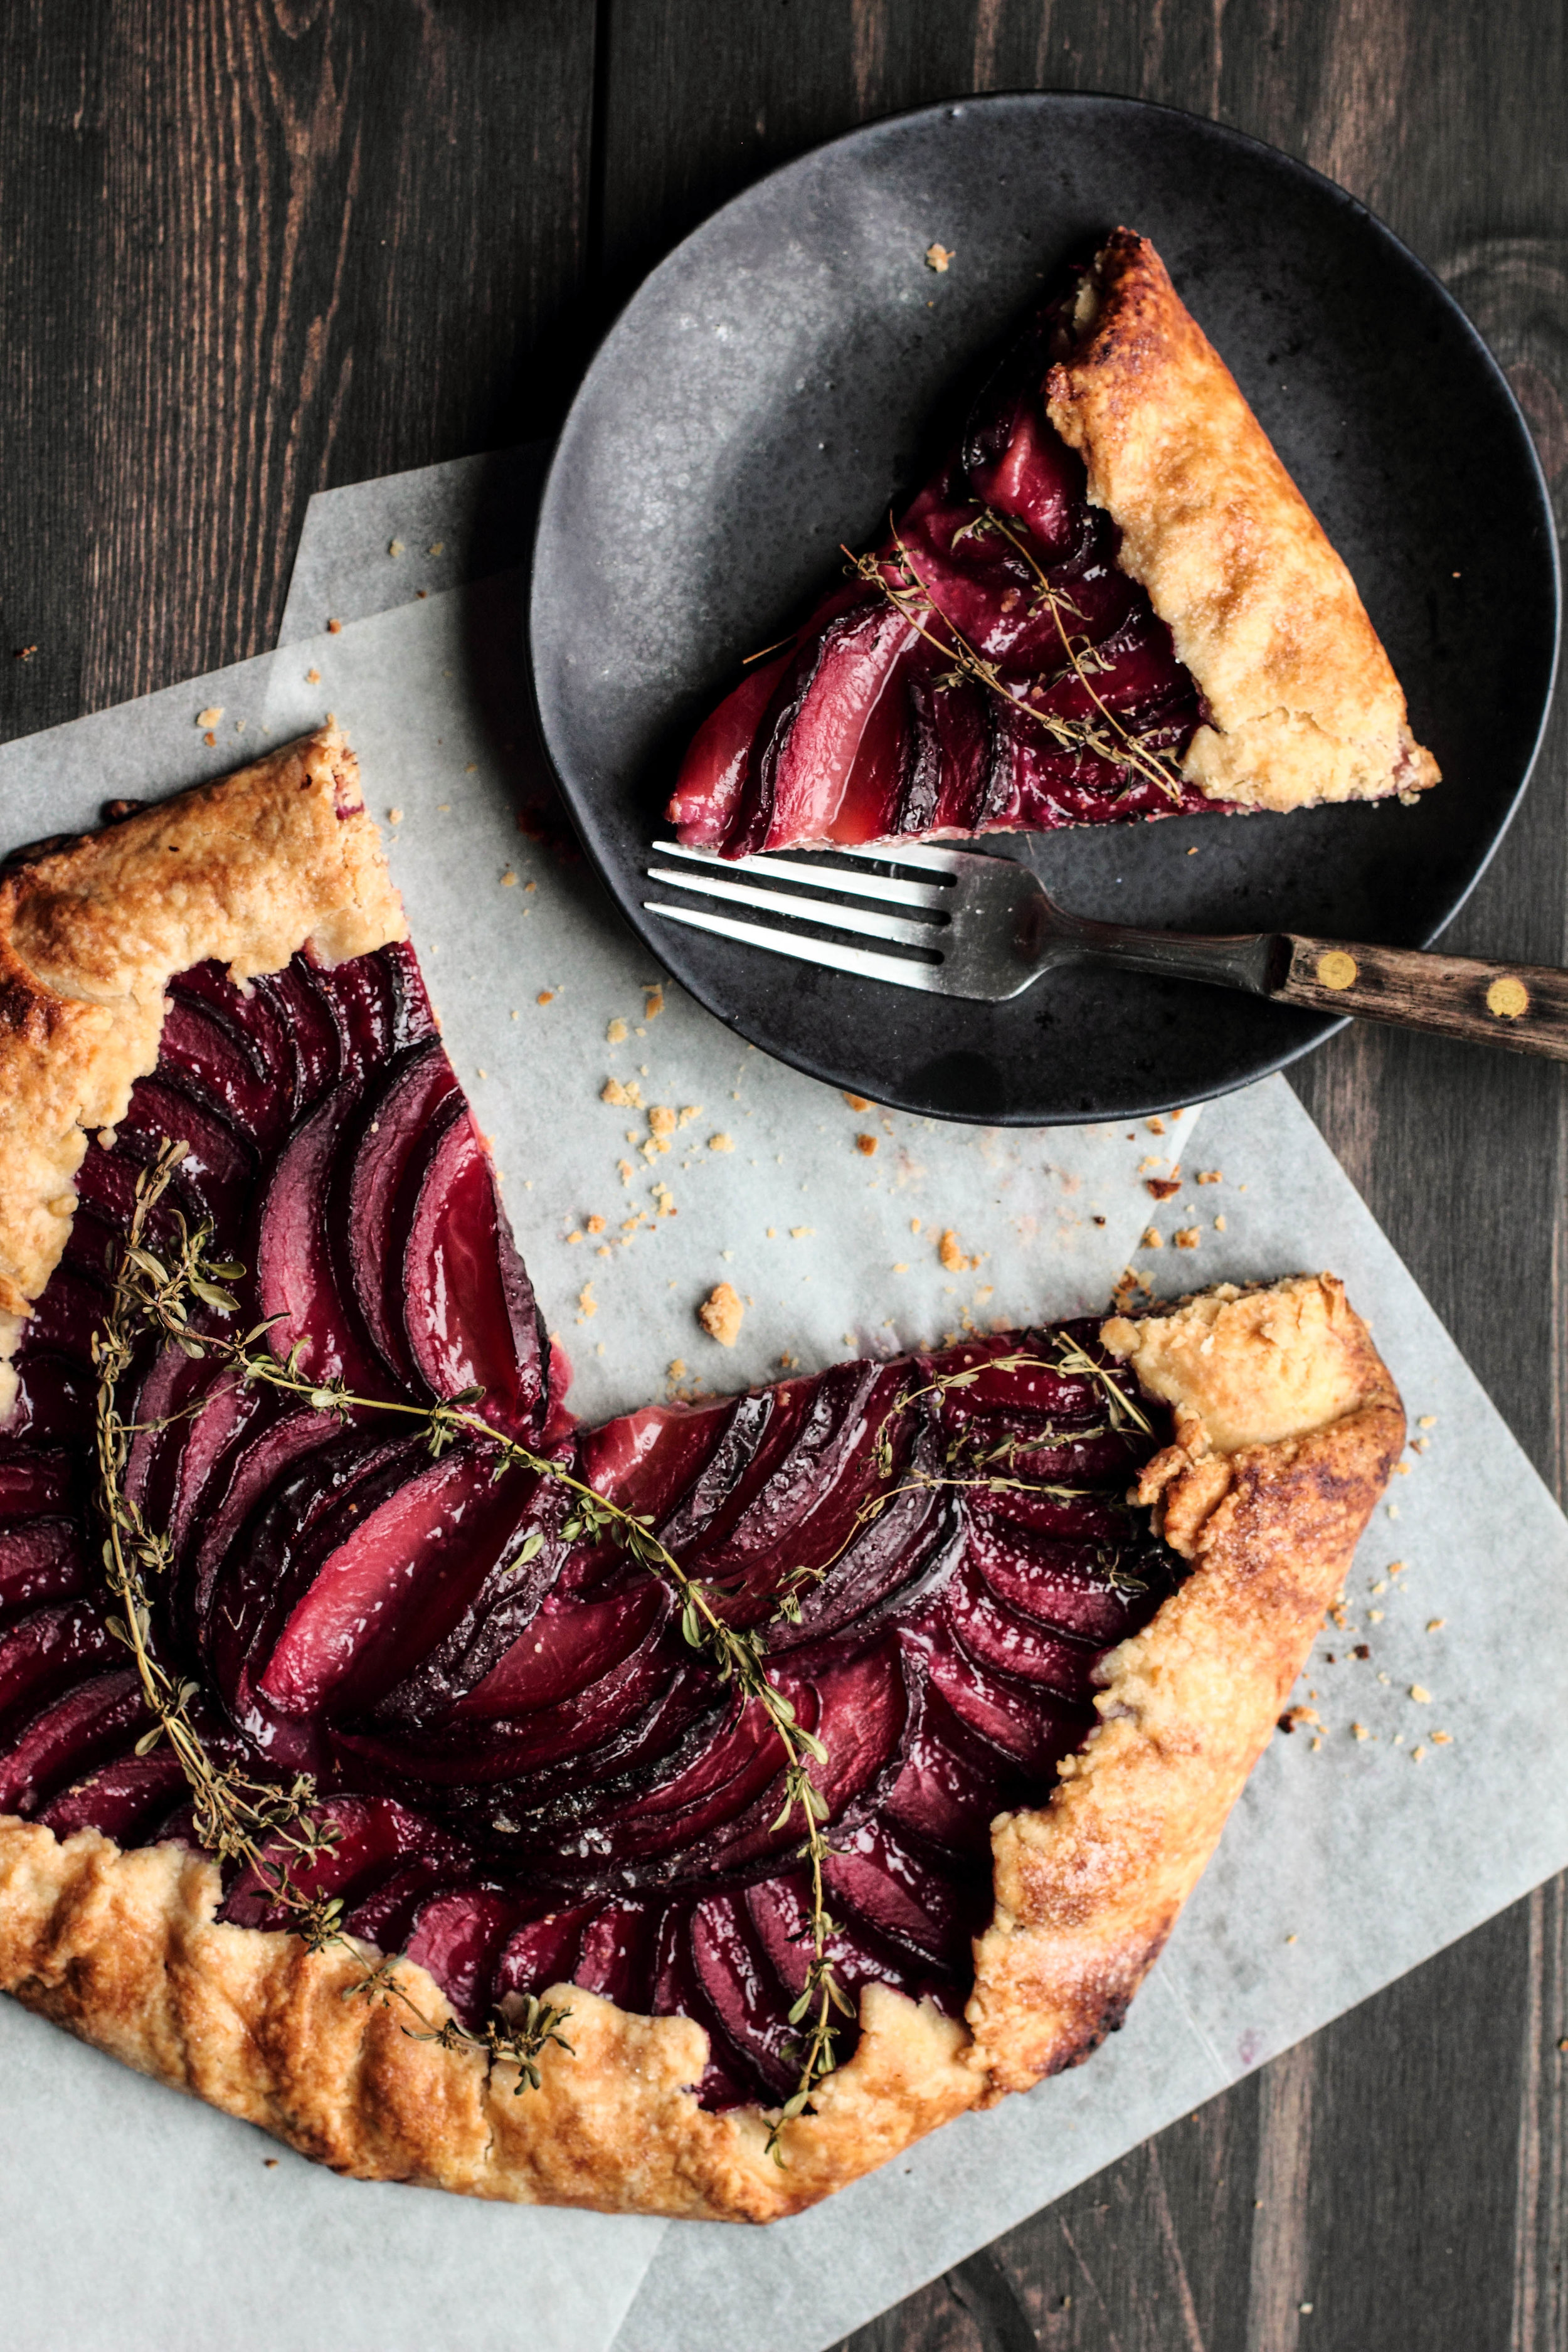
This Plum Almond Galette is a sweet, flaky pastry with a bold fruit flavor. Plums are layered over the top of an almond base, which not only absorbs any stray plum juices, but provides a flavor foil against the bright plum. A few sprigs of thyme are scattered over the top, which lends the tart a subtle, complimentary flavor without standing out too boldly. This galette can be dressed up with whipped cream or ice cream or left plain and simple. Served warm or chilled, this is a wonderful way to use up any excess fruit in your kitchen.

One Year Ago: Cookie Dough CakeNutella Espresso Rolls, and Brownie Cookies
Two Years Ago: Cherry Cream Cheese Muffins, Blueberry Breakfast Quinoa, and Vegan Brownies
Three Years Ago: Chocolate Almond Oat Bars, Tropical Vacation Cocktail, and Portrait of a Town
Four Years Ago: Roasted Cherry Coconut Ice Cream

Plum Almond Galette

1/3 cup (38 grams) whole almonds
2 tablespoons all-purpose flour
5 tablespoons granulated sugar, divided
Recipe for single crust pie dough 
3 large plums, pitted and sliced thinly
Milk or cream, for brushing
Fresh thyme (optional)

In a food processor, process the almonds, flour, and 3 tablespoons granulated sugar together until it resembles a coarse flour. Set aside.

On a lightly floured surface, roll out the pie dough to roughly a 14-inch circle. Spread the almond flour out evenly over the pie dough, leaving a 2-inch border around the outside. Place the sliced plums over the almond filling, arranging them in overlapping patterns. Fold up the pie dough over the filling, pleating the dough every two or so inches. Brush the visible pie dough with milk and sprinkle the remaining 2 tablespoons of sugar evenly over the dough and the filling. Arrange a few sprigs of fresh thyme over the top. Refrigerate for 20-30 minutes to firm up the crust.

Preheat oven to 400 degrees F (204 degrees C).

Bake for 40 to 50 minutes, or until the crust is golden and the plums have visibly softened. Cool slightly before serving. Serve with a topping of whipped cream or side of vanilla ice cream.

Lavender Vanilla Bean Cake

It was one of those summer afternoons where the sun beats down and the air swells with heat. A few years ago I was settling into a new apartment, unpacking the expectations and hopes of a recent college graduate. It was the earnest love of a new experience that lead me to the city of Montreal and the promise of the unfamiliar that rooted me. My heart and mind were open and waiting.

The summer heat quickly crept through the cracks in the doors and windows, overwhelming the small space with oppressive warmth. When the sweat began to bead on my forehead, I escaped outdoors for the hint of a breeze. During summer, the streets of Montreal are filled with colorful stoops and the fierce spirit of potted plants in bloom. While I thought the center of such a large city would be all brick and concrete, I was surprised by the amount of life, growing and thriving, to be found.

Back indoors, cheeks red from my walk, my roommate treated me to a glass of homemade lemonade to cool me down. A neighbor had gifted her a bundle of dried lavender and she used the buds to infuse the latest batch. Lavender lemonade. I was hesitant at first. The scent of lavender reminds me of soap and summer meadows, not sweet refreshments. However, I was in the market for new experiences and, though small, this would be one of the first. After I took a sip of the pale drink, my opinion changed. The subtle tones of lavender felt the perfect match for lemon's tart disposition. I finished the glass and wished for more.

Though I have hundreds of memories from those first few months on my own, this one has gripped me closely. Perhaps it was the heat or simply the beginning of a new adventure, but that cold glass of lemonade remains one of the fondest.

Since my first introduction to both flora and food, I have become smitten with the combination. I am often searching for new ways to combine herbs and floral scents with my favorite desserts. The key to baking with flowers or herbs is to keep it subtle—too much and it quickly becomes overpowering. Chocolate cupcakes infused with lavender buds and peaches cooked down with thyme are a couple of my recent favorites. And, as always, recreating that memorable lavender lemonade.

Until this point, I enjoyed buds and blossoms primarily for their bold colors, soft lines, and honeyed aromas, but it had not occurred to me just how delicate they could become in food. The subtle aromas, the muted tones, the calmness they brought to a flavor storm of complexity—it was beautiful.

It opened a new door to how I perceive and interact with food.

This Lavender Vanilla Bean Cake rests at the intersection between my love for sweet scents and sweet eats. The milk in the batter is infused with lavender, adding a delicate tone that is neither too perfumed nor overwhelming. Both floral individually, the flavor of lavender compliments the vanilla bean well, but together they create a combination that is gentle, yet surprising.

One Year Ago: Cherry Almond Crumble, Nutella Espresso Rolls, and Brownie Cookies
Two Years Ago: Vegan Chocolate Cupcakes, Cherry Almond Granola, and Vegan Chocolate Chunk Cookies
Three Years Ago: Whole Wheat Chocolate Chip Cookies, Garlic Parmesan Pull-Apart Bread, and Cinnamon Raisin Baked French Toast
Four Years Ago: Blueberry Lime Panna Cotta and Grilled Peaches

Lavender Vanilla Bean Cake

Yields double layer 9-inch cake

4 teaspoons dried culinary lavender
1 1/2 cups (350 ml) milk
6 tablespoons (85 grams) unsalted butter, room temperature
1 1/4 cups (280 grams) granulated sugar
3 large eggs
1/3 cup (75 grams) vegetable oil
1 tablespoon pure vanilla extract
2 2/3 cups (300 grams) cake flour
2 teaspoons baking powder
1 teaspoon baking soda
3/4 teaspoon salt

Preheat oven to 350 degrees F (180 degrees C). Grease 9-inch cake pans and set aside.

Using a mortar and pestle or spice grinder, crush the lavender to release the oils.

In a small saucepan, heat the milk until just boiling. Stir in the lavender, cover and remove from heat. Allow it to steep for at least 30 minutes. Strain out lavender.

In a large mixing bowl, cream together the butter and sugar until light and fluffy. Add the eggs one at a time, beating well after each addition. Beat in the vegetable oil and vanilla extract. Gradually add in the cake flour, baking powder, baking soda, and salt. Mix in the lavender infused milk, stirring until batter is uniform and smooth.

Divide batter between cake pans and bake for 35-40 minutes, or until a toothpick inserted into the center comes out clean. Allow to cool to room temperature before frosting.


Vanilla Bean Buttercream

1 cup (115 grams) unsalted butter, room temperature
2 1/2 cups (312 grams) powdered sugar
1 teaspoon vanilla bean paste (or the seeds from 1 vanilla bean)
1/2 teaspoon salt
2 tablespoons milk

In a large mixing bowl, beat the butter until creamy. Add the powdered sugar and beat to combine, scraping down the bowl if necessary. Mix in the vanilla bean paste, salt, and milk. If frosting is too soft, add more powdered sugar until it reaches a spreadable consistency. Likewise, if the frosting is too stiff, add a touch of milk or cream until it reaches a spreadable consistency.

To assemble, place the cooled bottom cake layer on a serving platter. Spread a layer of buttercream on top before placing the second layer. Spread a thin layer of frosting along the top and edges.

Cookies & Cream Ice Cream

Growing up, I thought ice cream trucks were a concept from movies, widely seen in theaters, but rarely present in reality. Ice cream trucks were as mysterious to me as superheros, talking animals, or something going smoothly for the main characters in a movie just once. Along with the other remnant misconceptions from childhood, my disbelief in ice cream trucks held strong into my teenage years. A truck overflowing with popsicles, ice cream, and frozen treats seemed too good to be true; it must certainly be another trick that parents and television producers played on their children.

It wasn't until I saw an actual truck ambling down my very own street, loudly playing such hits as Turkey in the Straw and The Entertainer, that I began to accept that perhaps ice cream trucks were not as fictional as I once thought.

The ice cream truck rolled down the street earlier this week, calling the children over with a round of Oh! Susanna. Even though it was just before dinner, and a few of the parents were grumbling about the timing, the children still ran around, eating popsicles and chasing each other down the road.

Even though I didn't get to enjoy these things when I was younger, I'm happy to watch the neighborhood children get excited about it, dragging their parents by the hand to pay for a little piece of happiness.

Cookies and cream ice cream seems to fall distinctly into the realm of childhood desserts. Even so, I don't believe that should stop the adults from partaking in the fun. After all, no one grows too old for a good cookie. This particular version is dairy-free, made with coconut milk instead of a combination of whole milk and heavy cream (though certainly those ingredients could be substituted in to make a more traditional ice cream). While the coconut flavor is noticeable on the first bite, it seems to hide from then on, as your palate adjusts to the cookies' sweetness.

This ice cream was a dangerous one to keep in the house. I could never seem to forget about it and often stole spoonfuls before breakfast and dinner.

As a side note, I will be in France(!) for the next two weeks as I spend time in Paris, travel through Provence, and end in Nice. I will be posting pictures and stories throughout the trip. If you'd like to keep up with my adventures, you can follow me on instagram, twitter, or facebook for updates! 

Cookies & Cream Ice Cream is a sweet dessert to enjoy any time of the year. The cookies soften in the ice cream, helping the ice cream retain a smooth texture. The flavor, however, is quite pronounced in each and every bite. For best results, allow the ice cream to thaw on the counter for 10-15 minutes before servingthe rest time transforms the texture from icy to smooth and creamy.

One Year Ago: Mint Sugar, Frozen Strawberry Bars, and Coconut Sorbet (a personal favorite!)
Two Years Ago: Toffee Chocolate Chip Cookies, Coconut Nutmeg Pudding, and Lavender Lemonade
Three Years Ago: Citrus Roasted Rhubarb, Roasted Cherry Dark Chocolate Brownies, and Honey Peach Bubble Tea
Four Years Ago: Margaritas, Chocolate Chip Raisin Oatmeal Cookies, and Mocha Frappuccino

Cookies & Cream Ice Cream

Yields about 1 quart

28 fluid ounces (828 ml) full-fat coconut milk
3 large egg yolks
1/2 cup (112 grams) granulated sugar
1/2 teaspoon salt
2 teaspoons vanilla extract
15 chocolate sandwich cookies (180 grams), lightly crushed*

In a large saucepan, bring the coconut milk to a simmer over medium-high heat.

In a separate bowl, whisk together the egg yolks, sugar, and salt. When the milk is simmering, add a small amount to the eggs and whisk quickly to incorporate. Do this a second time to temper the egg yolks. 

Transfer the ingredients back into the saucepan and simmer over medium to medium-low heat until the milk thickens enough to coat the back of a spoon, about 10 minutes. Remove from heat and stir in the vanilla. Refrigerate mixture until cold.

Freeze mixture in ice cream maker, following the manufacturer's instructions. In the final minute of churning, add the crushed cookies and shut off the ice cream maker when incorporated. Transfer ice cream to a plastic air-tight container and freeze for 3-4 hours before serving.

* Use a dairy-free sandwich cookie, like Oreos, to keep the ice cream dairy-free.