Chocolate Raspberry Tarts

Ms. Rosenau, you look exhausted, observed one of my students. And I felt it, too. My shoulders were tense, my brain was in overdrive, and the last night of good sleep was a far away memory. As with most things, there is only so much energy to be spent before nature intervenes. I spent most of the last week ill on the couch, with a box of tissues and a blanket, working my way through the Netflix queue.

Sometimes life likes to give reminders of lessons I should have learned long ago. Slow down, friends, slow down.

These Chocolate Raspberry Tarts have been in the back of my mind for months. I ordered a new set of tart pans back in July, which were backordered until October. I finally gave them a try last weekend. Luckily, this seems just the season for these tarts, with Valentine's Day coming up quickly. 

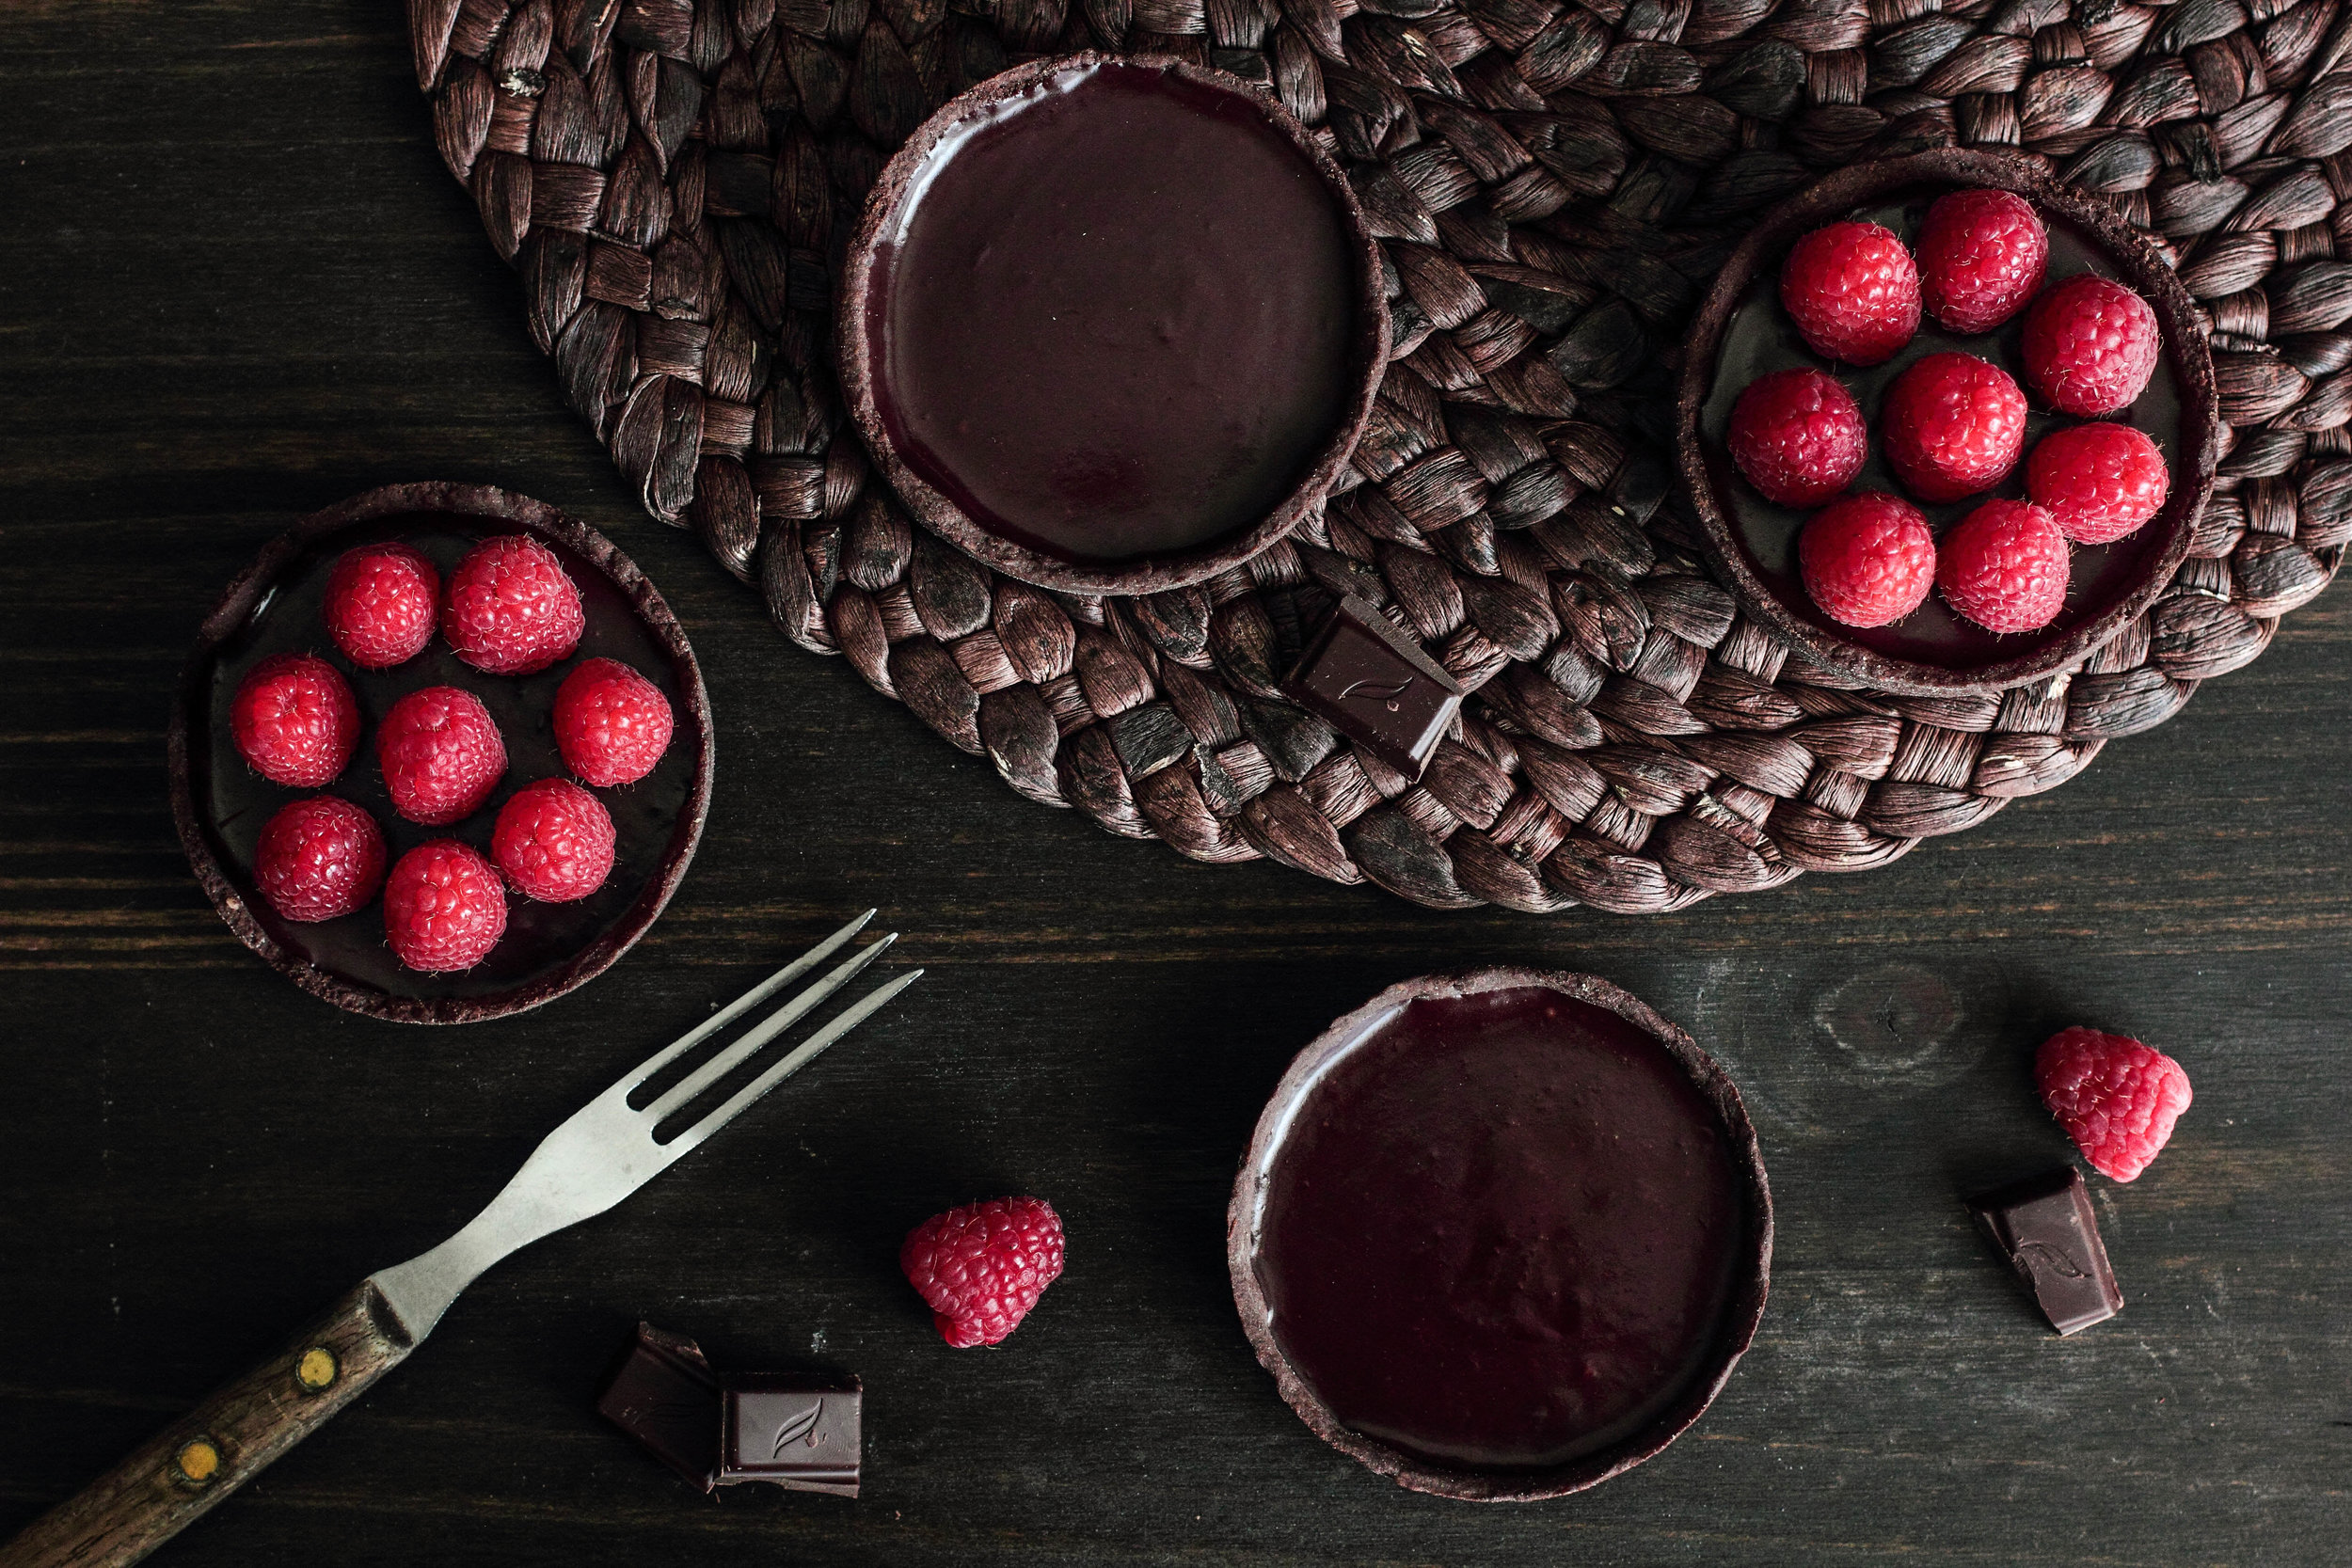
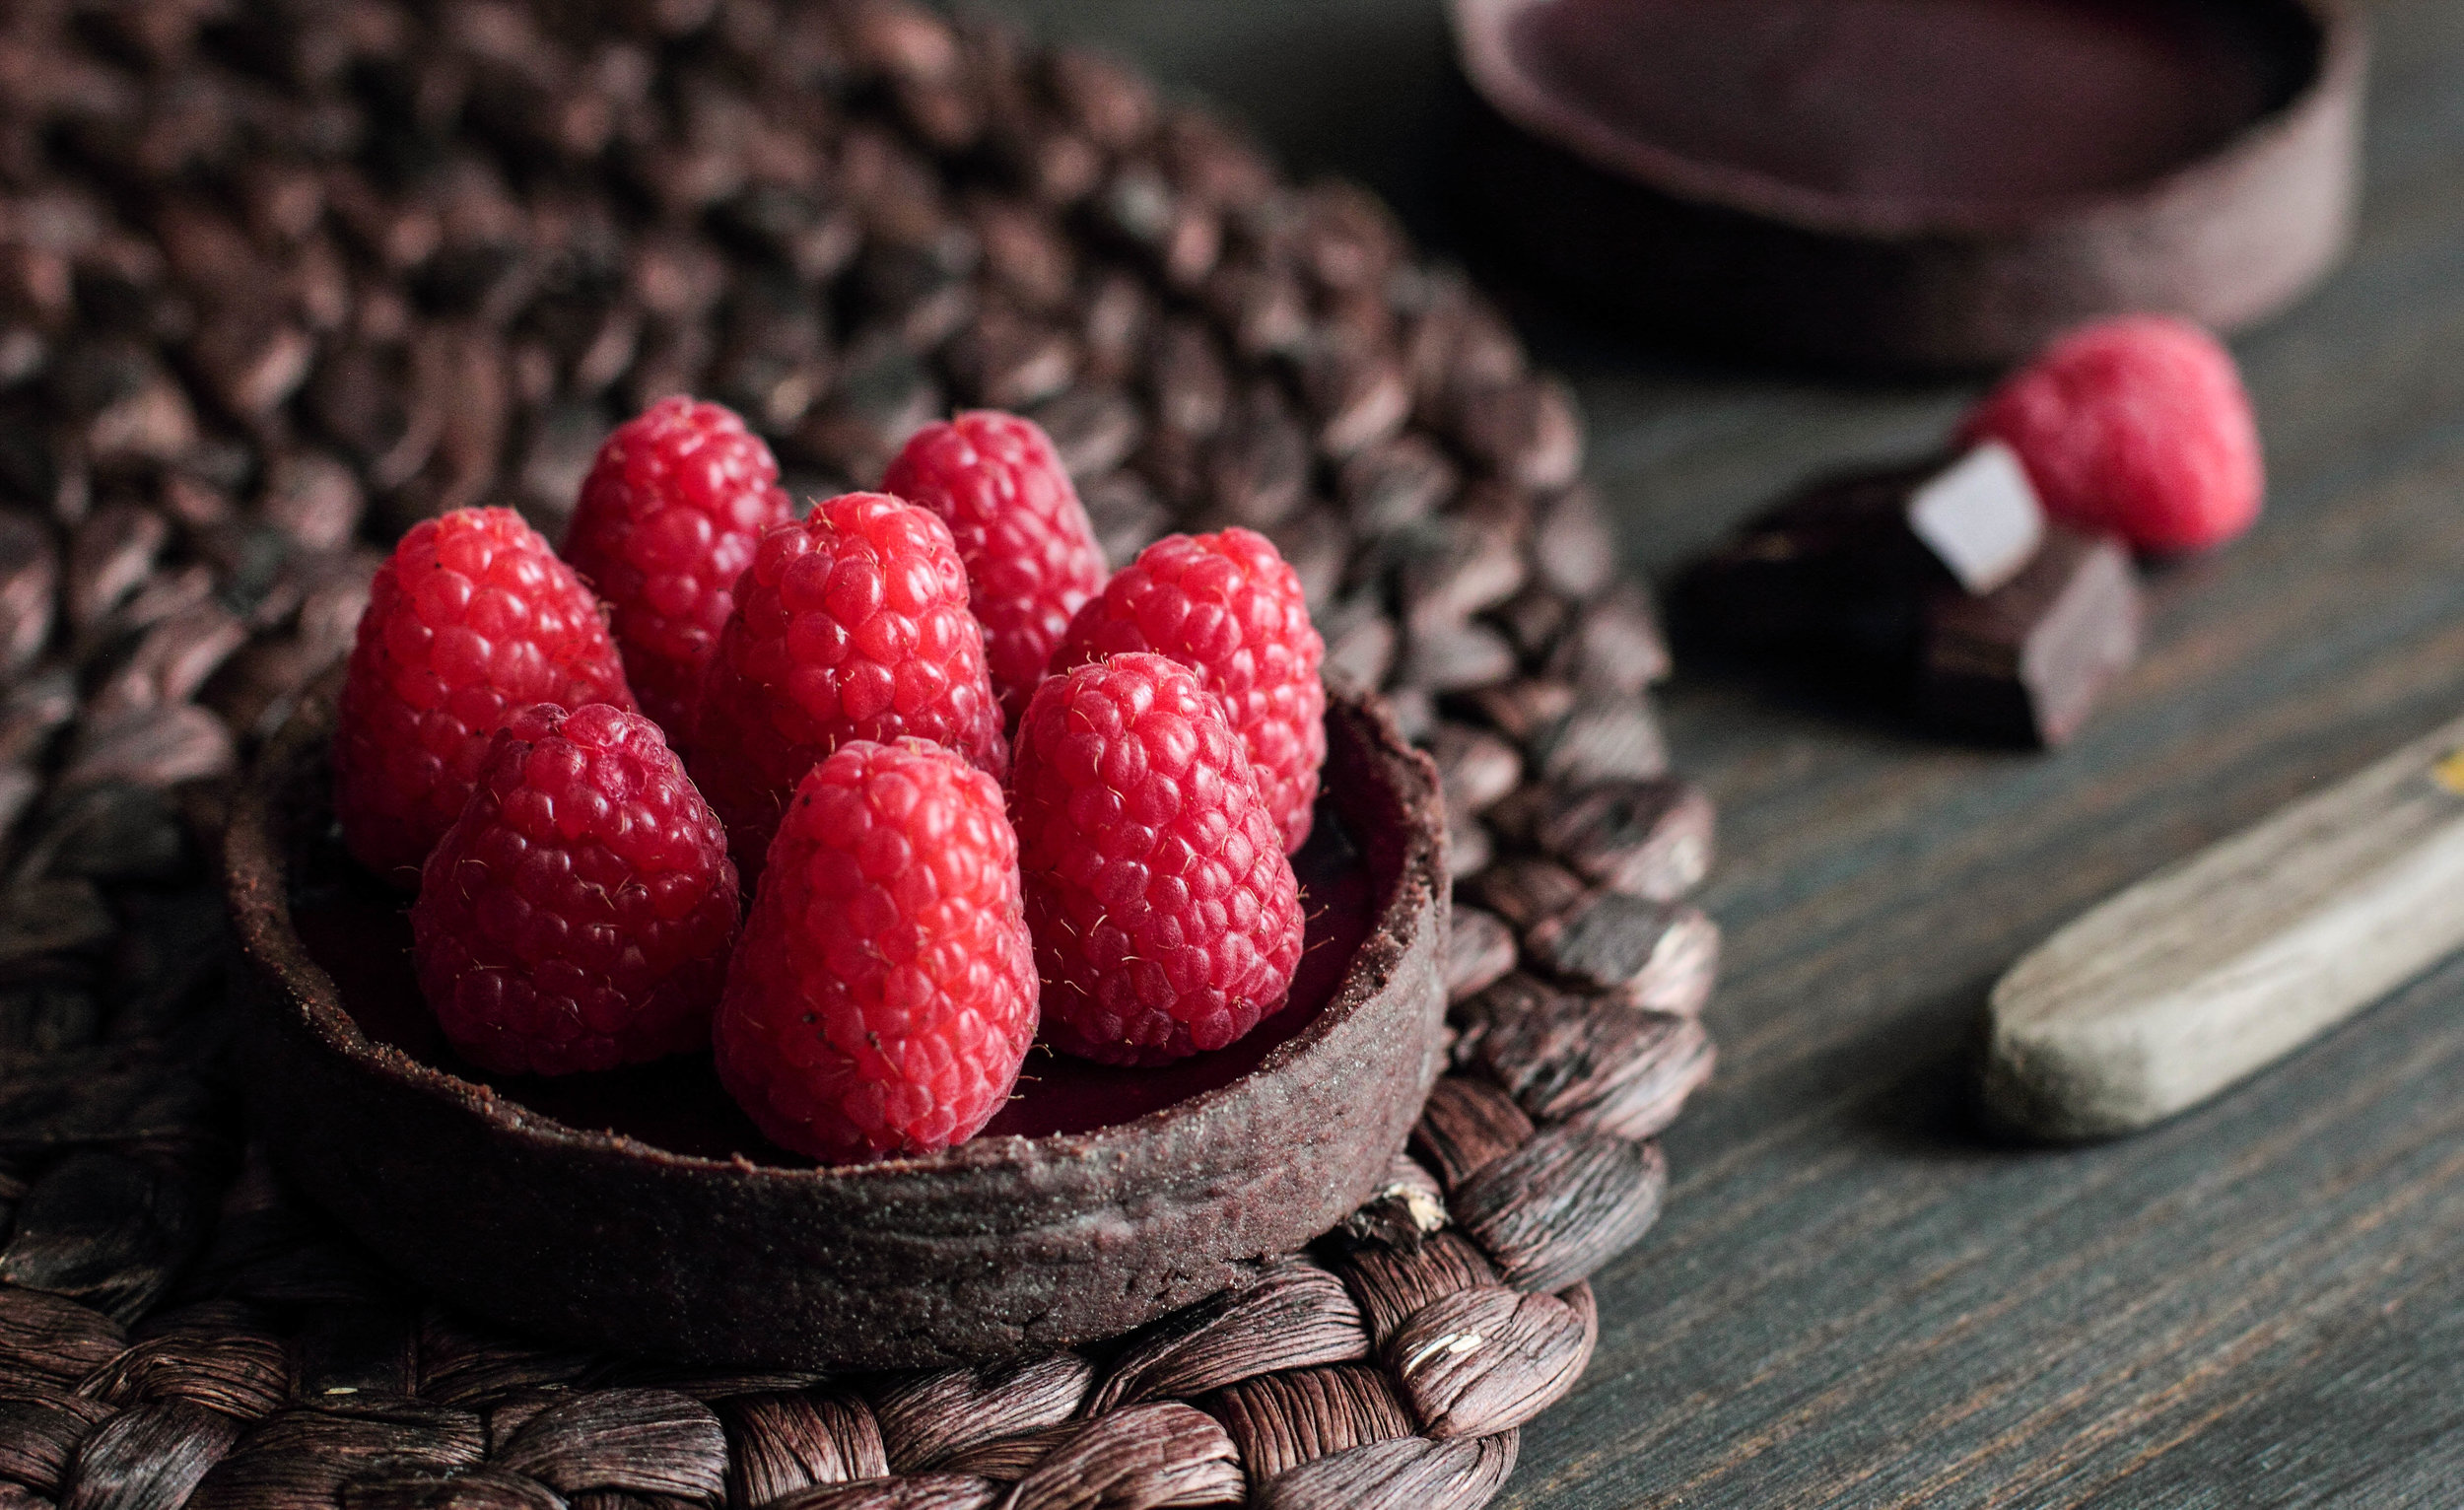
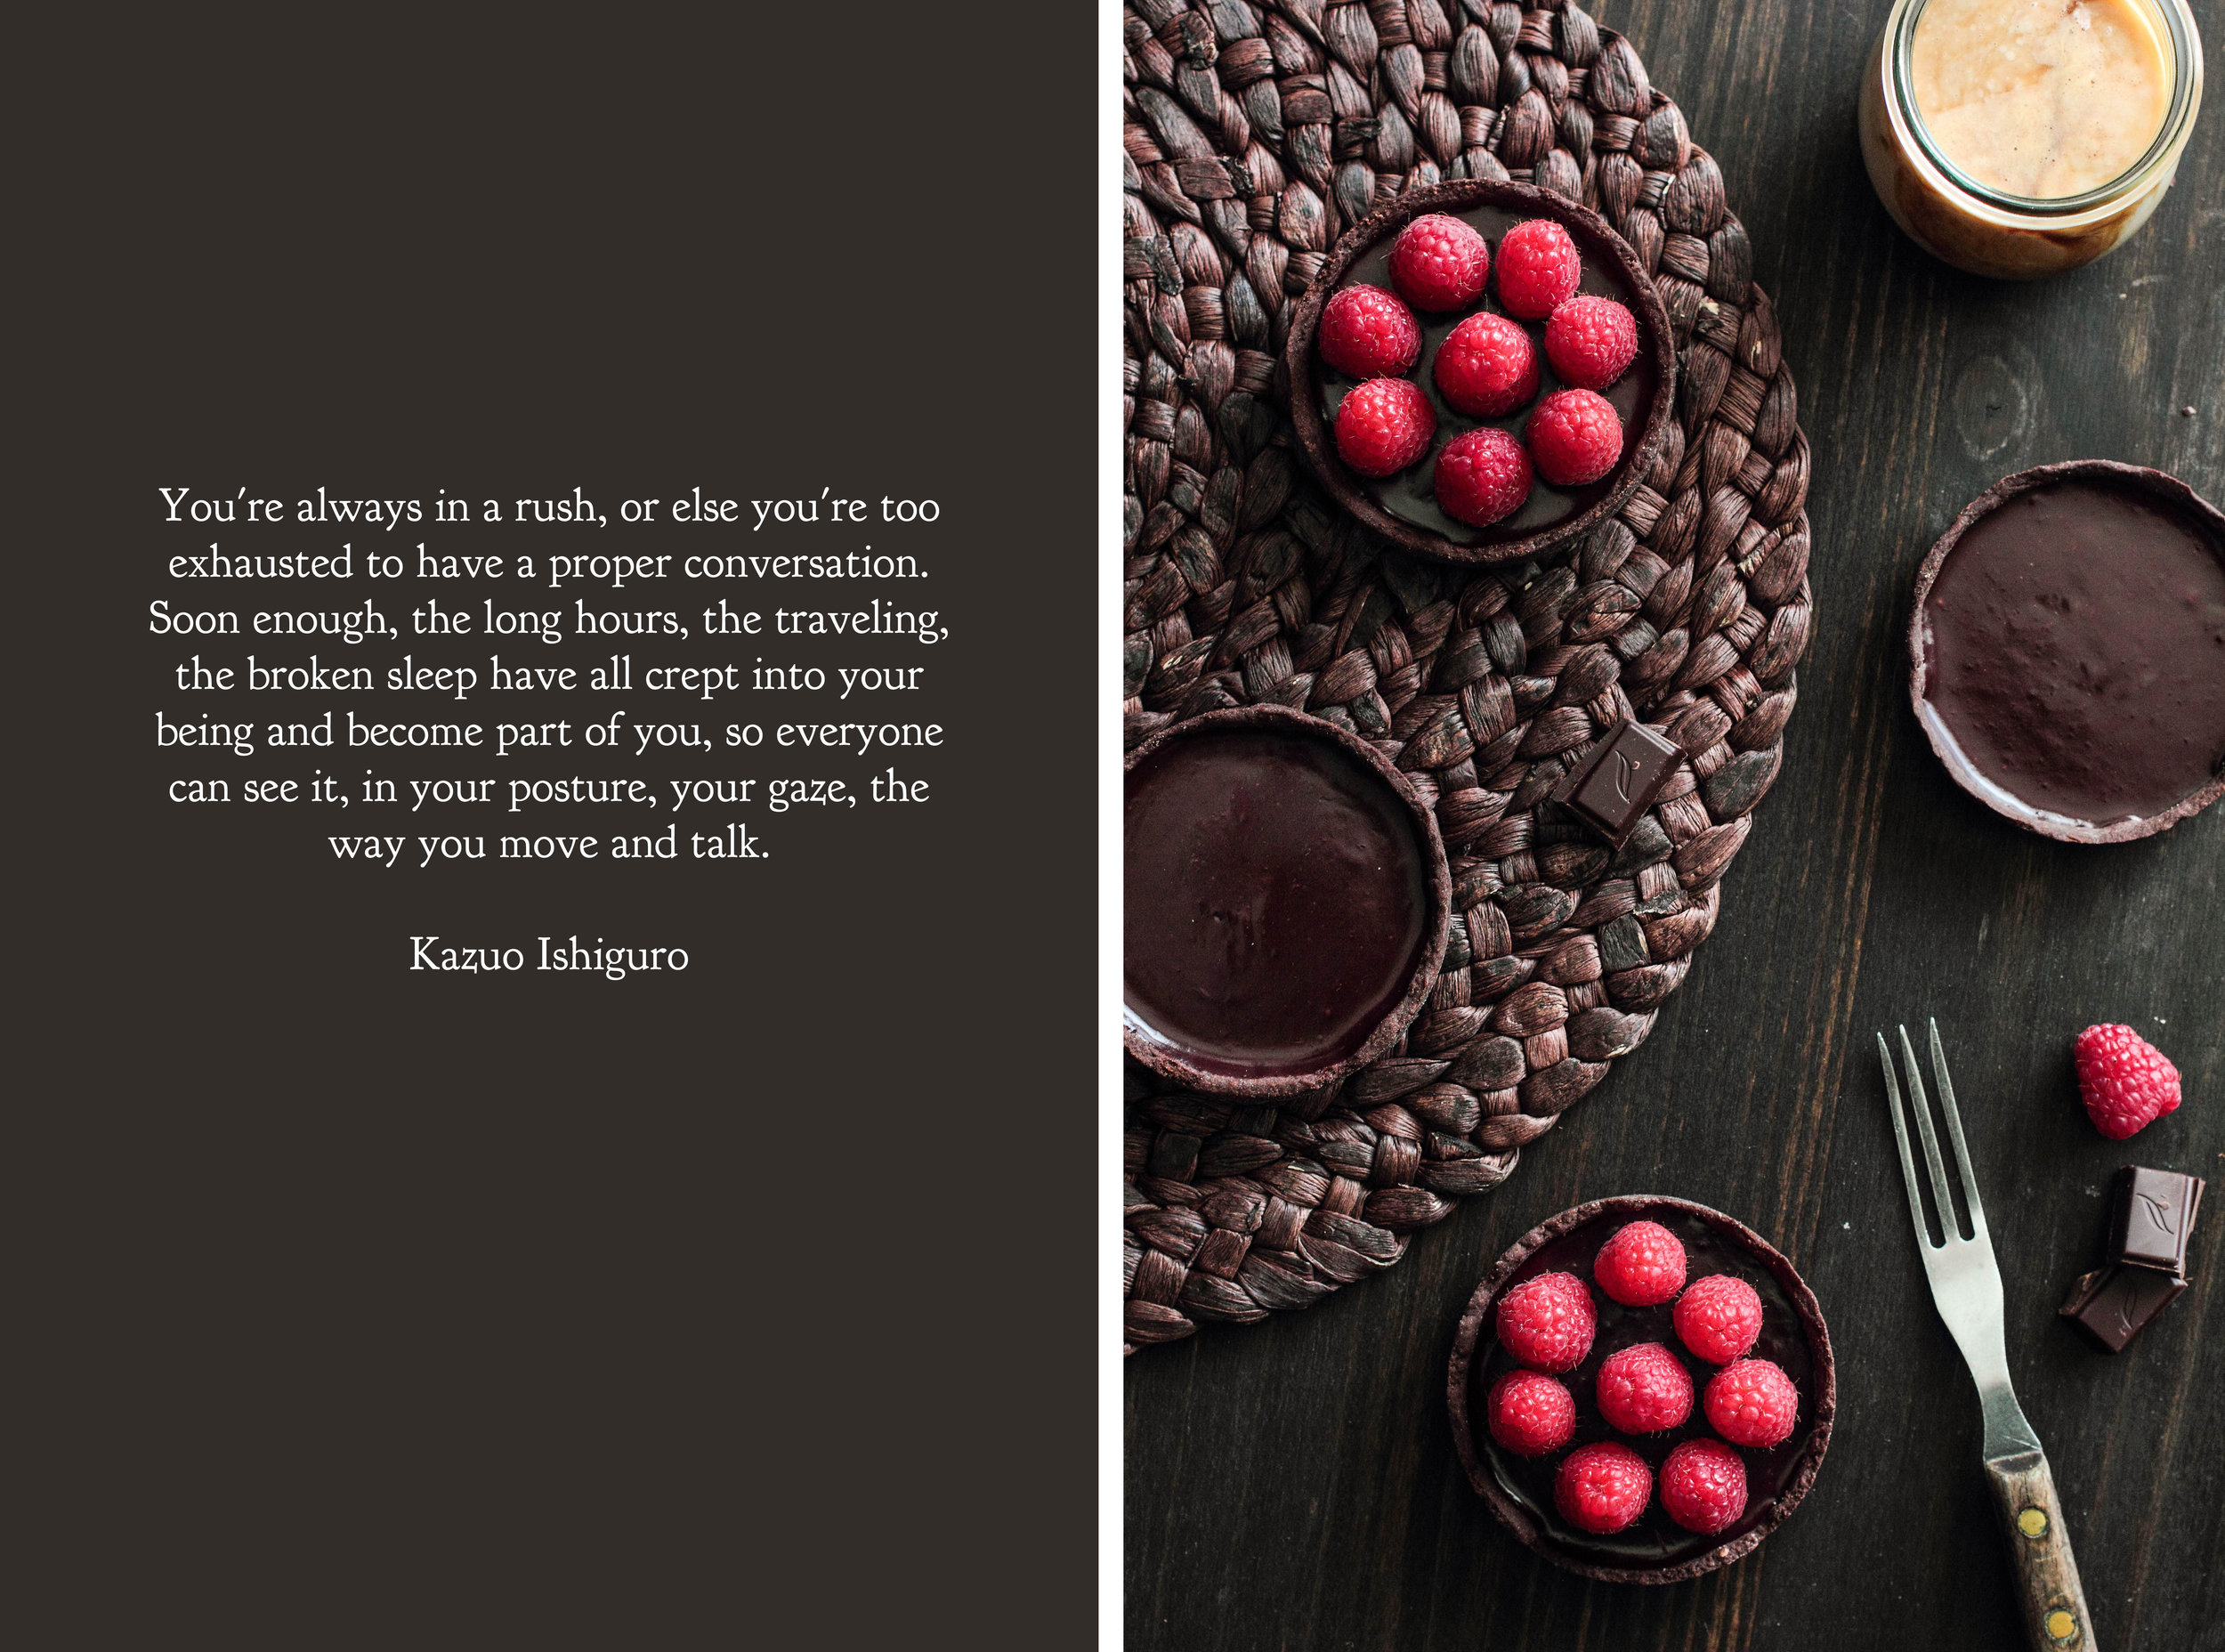
Chocolate and raspberries is a vibrant combination, both in sight and taste. The sweetness of the chocolate balances the tart berries and comes together in a rich bite. Share these with someone you love, whether it be a significant other, good friend, or yourself.

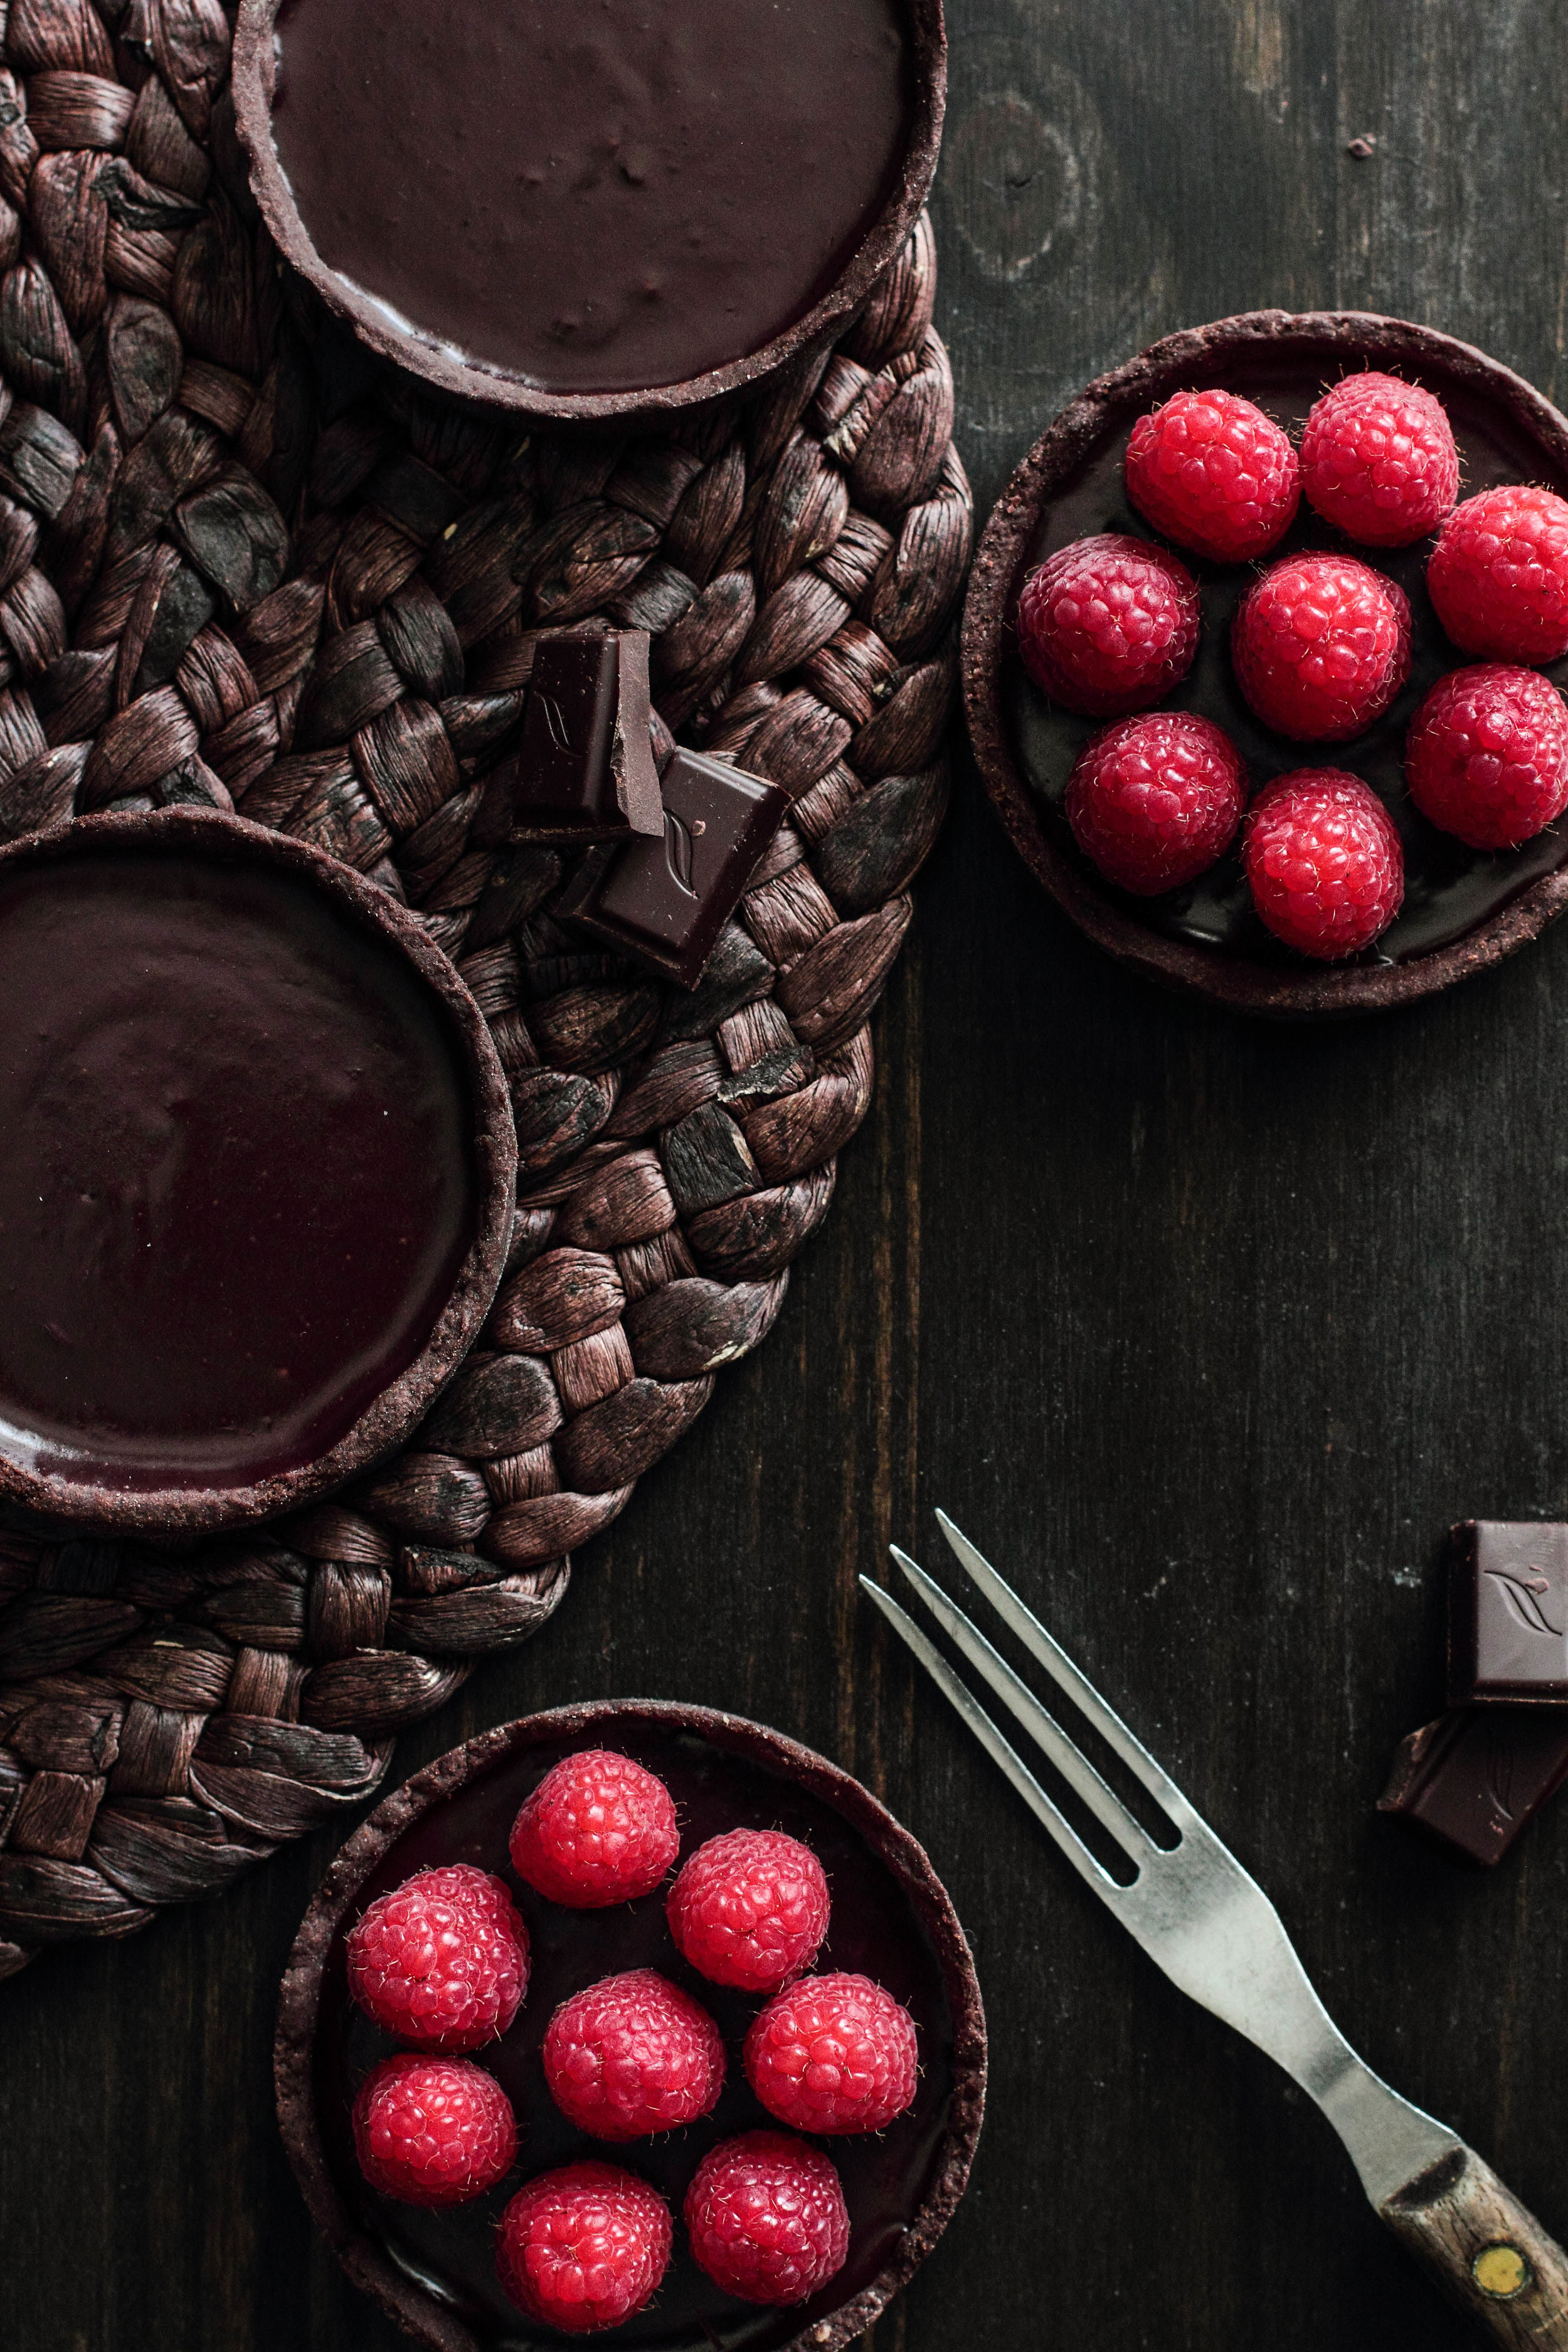
Chocolate Raspberry Tarts are dark and intense, with a pop of fresh berries to lighten the mood. The dough is made from a chocolate pastry crust, easy to roll out and manage while forming the base. The filling is a chocolate raspberry truffle filling, made with the juice of raspberries and high-quality chocolate bar. The tarts keep for a few days (add fresh raspberries before serving), but I imagine they would disappear before then.

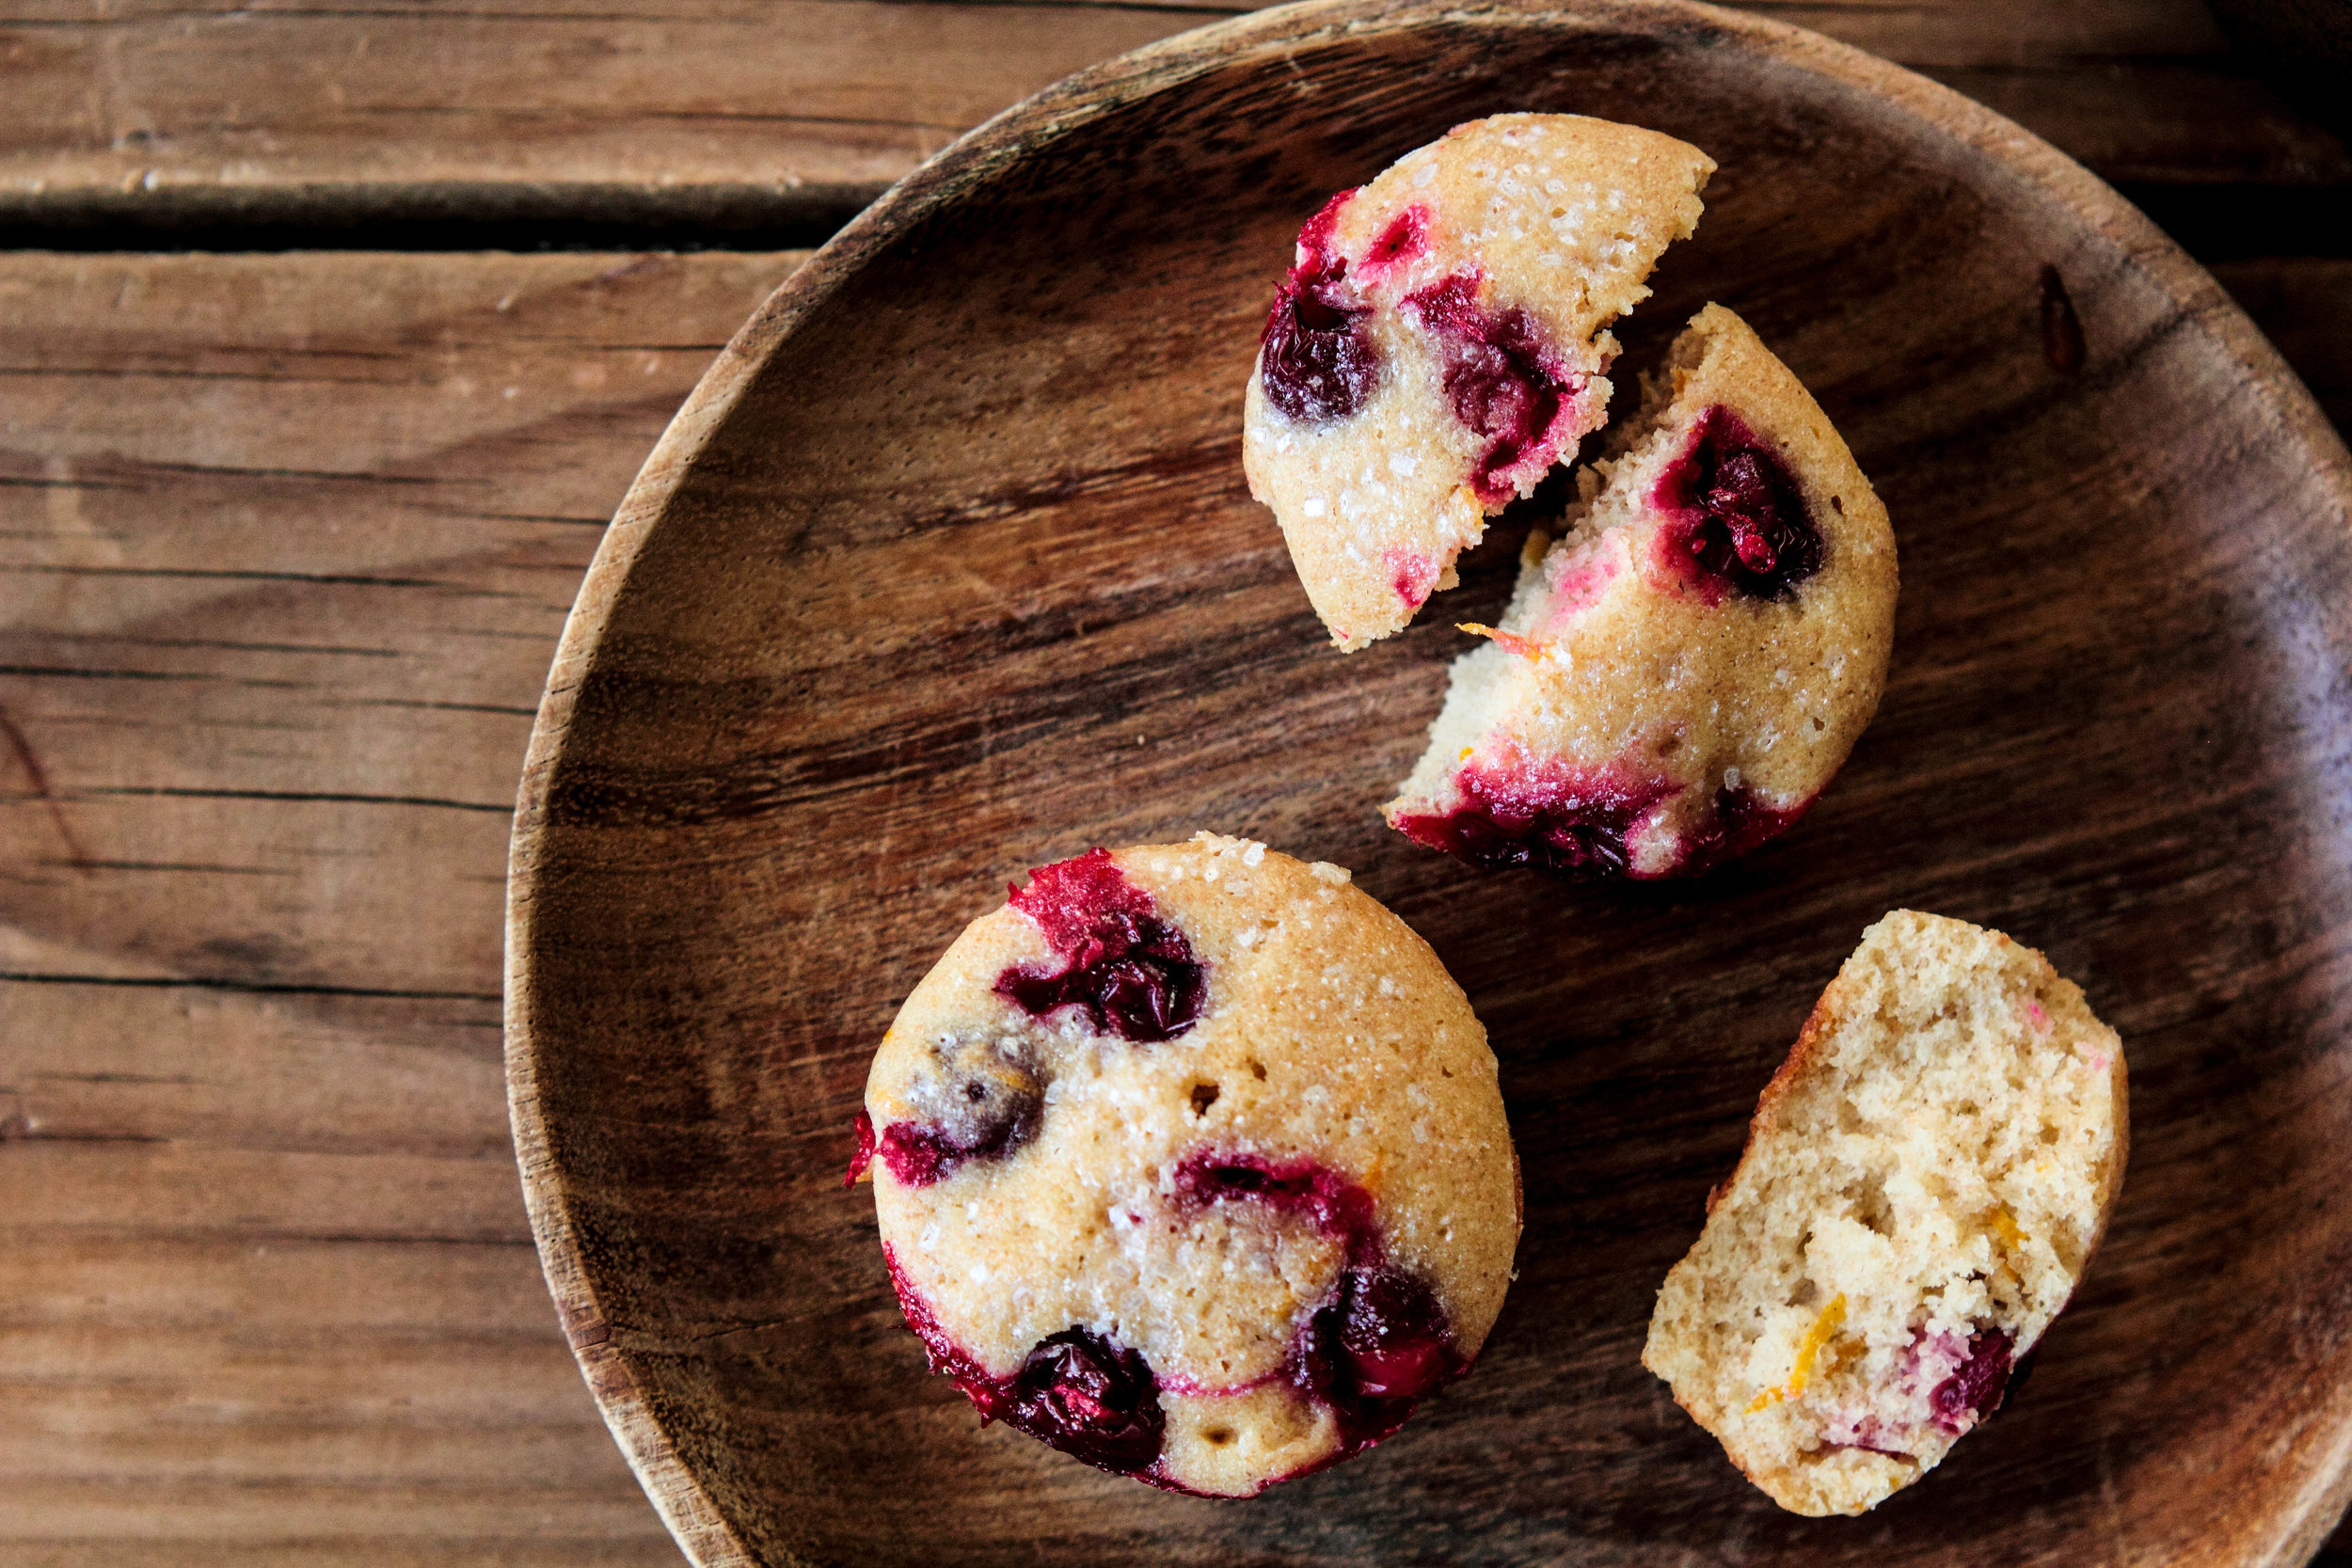
One Year Ago:  Honey Oat Bread and Banana Cacao Nib Buckwheat Muffins
Two Years Ago: Bruleed Grapefruit, Bacon & Chive Beer Bread, and Pomegranate White Wine Panna Cotta
Three Years Ago: Cheddar Dill Biscuits, Campfire S'mores Brownies, and BBQ Bacon Wrapped Water Chestnuts
Four Years Ago:Zuppa Toscana, Quick Chocolate Cake, and Chocolate Frosted Yellow Cake

Chocolate Raspberry Tarts

Yields 6 small tarts

Chocolate Tart Dough
8 tablespoons (113 grams) butter, cubed
3/4 cup (95 grams) powdered sugar
1 large egg
1 teaspoon vanilla extract
1/2 teaspoon salt
1 2/3 cups (205 grams) all-purpose flour
1/3 cup (30 grams) cocoa powder

In a food processor, place the butter and powdered sugar. Process until smooth. Add the egg, vanilla, and salt and continue processing until uniform, scraping down the sides as needed. Add the flour and cocoa powder, processing until the dough comes together and begins to gather in the bowl. A stand mixer can also be used if a food processor is unavailable.

Remove dough and shape into a cylinder. Wrap in plastic wrap and refrigerate for a minimum of 30 minutes.

Preheat oven to 400 degrees F (205 degrees C). 

Unwrap dough and slice cylinder into 6 even pieces. On a lightly floured surface, roll out each slice into a circle 2-inches larger than the tart pan. Gently place dough into pan, pressing it along the edges. If necessary, additional dough can be used to cover up cracks or tears. Using a rolling pin, roll it along the top of the pan to cut off excess dough. Use fingers to form a clean edge. Puncture a couple dozen holes into the bottom of the tart using a fork; this will prevent the dough from rising.

Bake for 15-20 minutes, or until they are dry in appearance and touch. Cool to room temperature.

Chocolate Raspberry Filling
2 1/2 cups (250 grams) fresh or frozen raspberries
3 tablespoons granulated sugar
6 ounces (170 grams) semi-sweet chocolate, finely chopped (use a higher quality for best flavor)
Fresh raspberries, for garnish

In a large saucepan, place the raspberries and granulated sugar. Bring to a boil over medium high heat, reduce to low, and simmer to release juices. Using a spoon, press down on the berries to break them up and release additional juices. 

Place berries in a fine mesh strainer over a medium mixing bowl filled with finely chopped chocolate. Drain out all juices, pressing on the berries to release juices further. Discard solids. Stir the chocolate and raspberry juice mixture. If the berry juice was not warm enough to melt the chocolate until smooth, place in the microwave in 10 second increments, stirring well between each heating, until smooth.

Spoon chocolate filling into cooled tart shells and refrigerate until set. Top with fresh raspberries before serving.  

Pear Vanilla Sorbet

Whenever I travel, the small moments stay with me longer than the big ones. The feeling of standing at the center of an ancient world in Delphi, Greece. The beauty of the fogs rolling in over the lush English countryside in springtime. A nectarine in southern France that tasted so divine that time stopped moving, just for a breath. It is the unexpected experiences that bury themselves in my memory, to be remembered and re-lived often.

I may not be able to tell you all of the landmarks I have seen or the museums I have visited, but I can tell you how it feels to sit on the steps of a church in Rome at night, the piazza lit with yellow lamps, and listen to a man softly strum a guitar. In the end, that may be more important after all.

On my recent trip to Paris and southern France, I fell in love with pear sorbet at Soleileïs, a quaint ice cream shop in Arles. The sorbet was the literal essence of pears; the texture, the delicate sweetness, and the soft flavor were all represented. From that moment on, whenever I found another ice cream cone on my travels—which was often—pear sorbet was tucked in the bottom of the cone so I could savor it in the last few bites.

While pear sorbet is somewhat of a staple in France (and perhaps most of Europe?), the United States is barren to such pleasures. Since I adore it so, I set out to create my own version of that first cone.

Not to be confused with pear ice cream (where pear is blended in more or less equal parts with cream), this sorbet stays pure to its namesake. Pears are peeled, cored, and cooked down with vanilla bean, forming the base of the dessert. There is little added sweetener in this sorbet, relying on the natural sugars of the pear to bring out the sweetness. The pear flavor reminds me of a good vanilla ice cream: satisfying spoonful after spoonful, but never overpowering. 

Make a batch to share and create your own new, small moments to remember.

Pears are cooked down with vanilla bean, lemon juice, and sugar before they are blended into a thick puree. Use a high setting to keep the sorbet silky smooth. The final sorbet will retain the flavor, sweetness, and texture of a good pear. I find that a cone full of sorbet can be used as a wonderful palate cleanser after meals, since it feels light and bright on the tongue.

One Year Ago:  Pear Chocolate Scones
Two Years Ago: Chocolate Chunk Ginger Cookies and Vanilla Bean Marshmallows
Three Years Ago: How to Freeze Cookies Dough, Soft & Chewy Chocolate Chip Cookies, and Dark Chocolate Oatmeal
Four Years Ago: Minnesota Wild Rice Soup, Cherry Chocolate Chunk Oatmeal Cookies, and Cranberry White Wine Spritzer

Pear Vanilla Sorbet

Yields about 1 quart

6 bosc (or bartlett) pears, peeled, cored, and diced into 1-inch pieces
1/2 cup (100 grams) granulated sugar
1/2 cup (120 ml) water
2 teaspoons fresh lemon juice
1 vanilla bean, cut lengthwise with seeds removed
1 tablespoon agave nectar (or honey)

In a large saucepan, place prepared pears, sugar, water, lemon juice, vanilla bean seeds, and vanilla bean pod. Bring to a boil over medium high heat, reduce heat, and simmer until the pears are soft, about 10 minutes. Remove vanilla bean pods. Stir in agave nectar. Cool until warm to the touch (it is dangerous to blend hot liquids because they expand drastically).

Transfer pears and juices to a blender or food processor, and process until smooth. Place in the refrigerator and chill 3-4 hours, or until cold.

Freeze mixture in ice cream maker, following the manufacturer's instructions. Transfer sorbet to an airtight container and freeze for 2-3 hours before serving. The sorbet will keep well for 2 weeks in the freezer.


Cranberry Orange Muffins

I have a tendency to forget about myself, to push my own needs aside in favor of others. As a novice teacher, I arrive early to school and stay late, long after the last bell rings in the afternoon. I write up dozens of notes for my students on their work, knowing that most will go unread, but still marking the page in case a stray eye happens to catch the blue ink. I fall asleep in front of the computer in the evenings, typing up powerpoint presentations for the new courses I am teaching. I love my job and enjoy my students, but some days I wonder when I can set down the textbooks and pick up something I'd actually like to read.

I wonder when my time will start to become my own. 

I often forget how important it is to set aside time for myself. With a to-do list that never ends, I cross off one item right before starting the next. Owing to the advent of a new year, I am trying to work closer towards a balance. After my first week back in school from the holidays, I woke up late on the weekend. Rubbing the sleep from my eyes, I set out to make muffins. And again and again, just to make sure I got them right. There is a peacefulness in the kitchen, of mixing ingredients and knowing how they will come together. 

The first time I mixed up a batch of these muffins I used clementines, which was a mistake. Clementines are too tart to act as a foil against the cranberries. The second batch was good, but it wasn't sweet enough to make the pockets of cranberry taste pleasant. The last batch, however, was just right. The muffins are bright in flavor, sweet in nature, and the tart cranberries can truly shine. 

If these muffins can master this balance between extremes, perhaps there is hope for me too.

IMG_0017-2.jpg

Cranberry orange muffins are a play on sweet and tart, and they perform this harmony so well. The batter is infused with orange zest and freshly squeezed orange juice to give it a vibrant citrus flavor. The cranberries add a tartness, but it is a relief against the rest of the muffin. I enjoyed these muffins with a mug of black tea and an old episode of Friends. I encourage you to find a way to sit down, relax, and savor them as well.

One Year Ago: Double Chocolate Brownies
Two Years Ago: Lemon Poppy Seed Rolls, Rosemary Sandwich Bread, and Cranberry Flaxseed Muffins
Three Years Ago: How to Make Cake Flour, Cinnamon Sugar Cake, and Vanilla Bean Pudding
Four Years Ago:Fleur de Sel Caramels, Chocolate Salted Caramel Cookies, and Chocolate Marbled Banana Bread

Cranberry Orange Muffins

Yields 1 dozen muffins

3/4 cup (150 grams) granulated sugar, plus extra for sprinkling
Zest from 1 orange
1 large egg
1/2 cup (113 grams) butter, melted
1 teaspoon vanilla extract
3/4 cup (95 grams) all purpose flour
3/4 cup (90 grams) whole wheat flour
1 teaspoon baking powder
1/2 teaspoon salt
3/4 cup (180 ml) freshly squeezed orange juice (about 2 oranges)
1 cup (110 grams) fresh or frozen cranberries

Preheat oven to 350 degrees F (180 degrees C). Grease a muffin pan or line with baking cups.

In a large mixing bowl, rub the zest and sugar between your fingers for several minutes to release the oils. The sugar should become fragrant. Beat in the egg, melted butter, and vanilla until smooth. Gradually fold in the flours, baking powder, and salt. Stir in the orange juice until uniform.  Mix in the cranberries.

Divide batter evenly between baking cups and sprinkle the tops with granulated sugar. Bake for 18-22 minutes, or until lightly browned and a toothpick inserted in the center comes out clean.