Almond Espresso Cookies

I bottle up my emotionsfrustration, irritation, worries, and fears. I push them down into the well of my mind, bury them beneath responsibilities and tasks, and wish for them never to surface. At times, I have hidden them so well that they stay below my radar, leaving me with a consistently calm demeanor to put forth to the world. If I pretend I am fine, perhaps I will be fine. It may be flawed logic, but the idea of "faking it until you make it" is not a novel theory. While it may not always be healthy, it is my coping mechanism.

Lately, I have been feeling overwhelmed. Overwhelmed over the length of my to-do list. Overwhelmed at the new projects I have recently taken on. Overwhelmed at how unprepared I am for the holiday season. Overwhelmed at the idea of feeling overwhelmed. So I do as I have always done. I push these emotions down and bury them beneath other work and chores, knowing they will not disappear, but hoping I can cover them up long enough to let the feelings pass. For the most part, it works. I keep my calm at work, and I keep my calm at home.Yet, the feelings must find their way out somehow. 

The can opener, of all things, has become my form of therapeutic release. 

Less than a year ago, I picked up a cheap can opener at the store to replace the other cheap (but broken) can opener at home. It is, for all purposes, a piece of junk and fails to work more often than succeeds. I battle with the defective can opener often, cursing its rusted gears and inability to cut through metal. I throw tantrums when I struggle with it, describing to the inanimate object exactly how worthless it is and how I will replace it as soon as I get to the store. In the moment, I allow all pretenses to fade away and deal with my emotions directly. Ultimately, I realize the battle is not about canned corn, but about allowing myself to let out the feelings I have been holding in so long.

I am learning, as we all do, how to move through life. Some days (like today) I feel like I do a little more learning than on other days. Maybe, after a bit of practice, I will be able to manage with a bit more elegance and grace and a little less cursing at the canned tomatoes. 

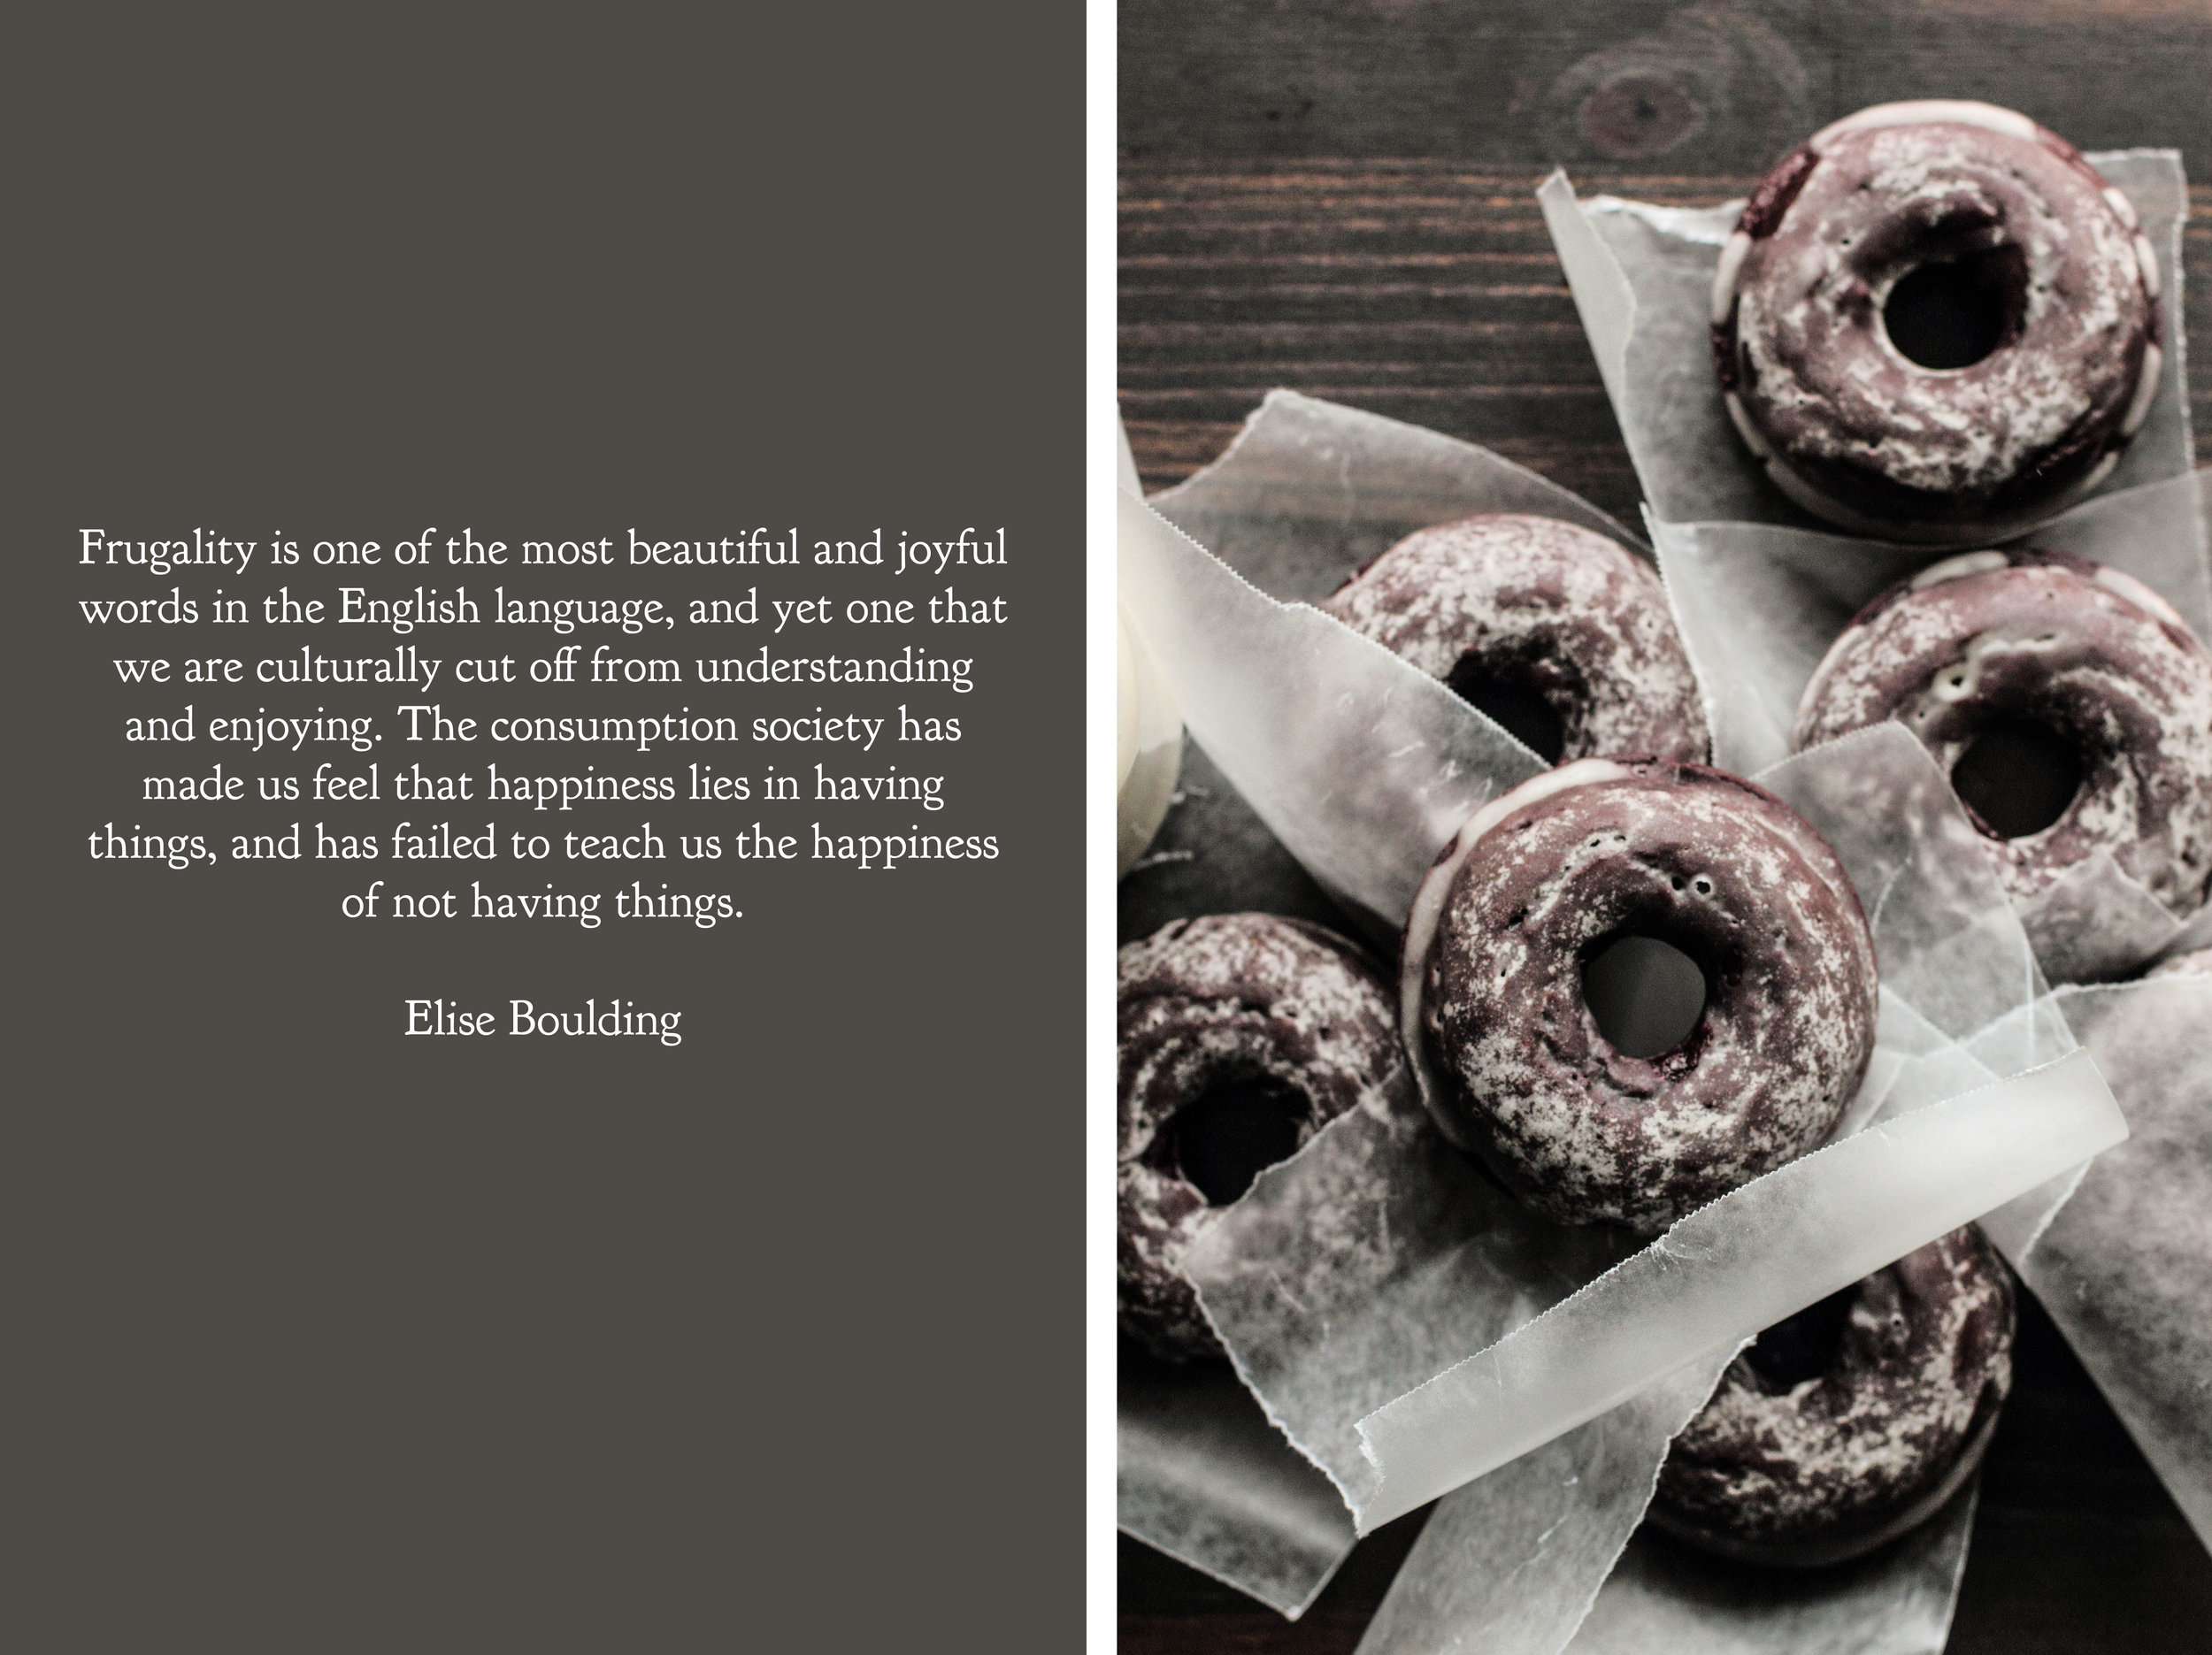
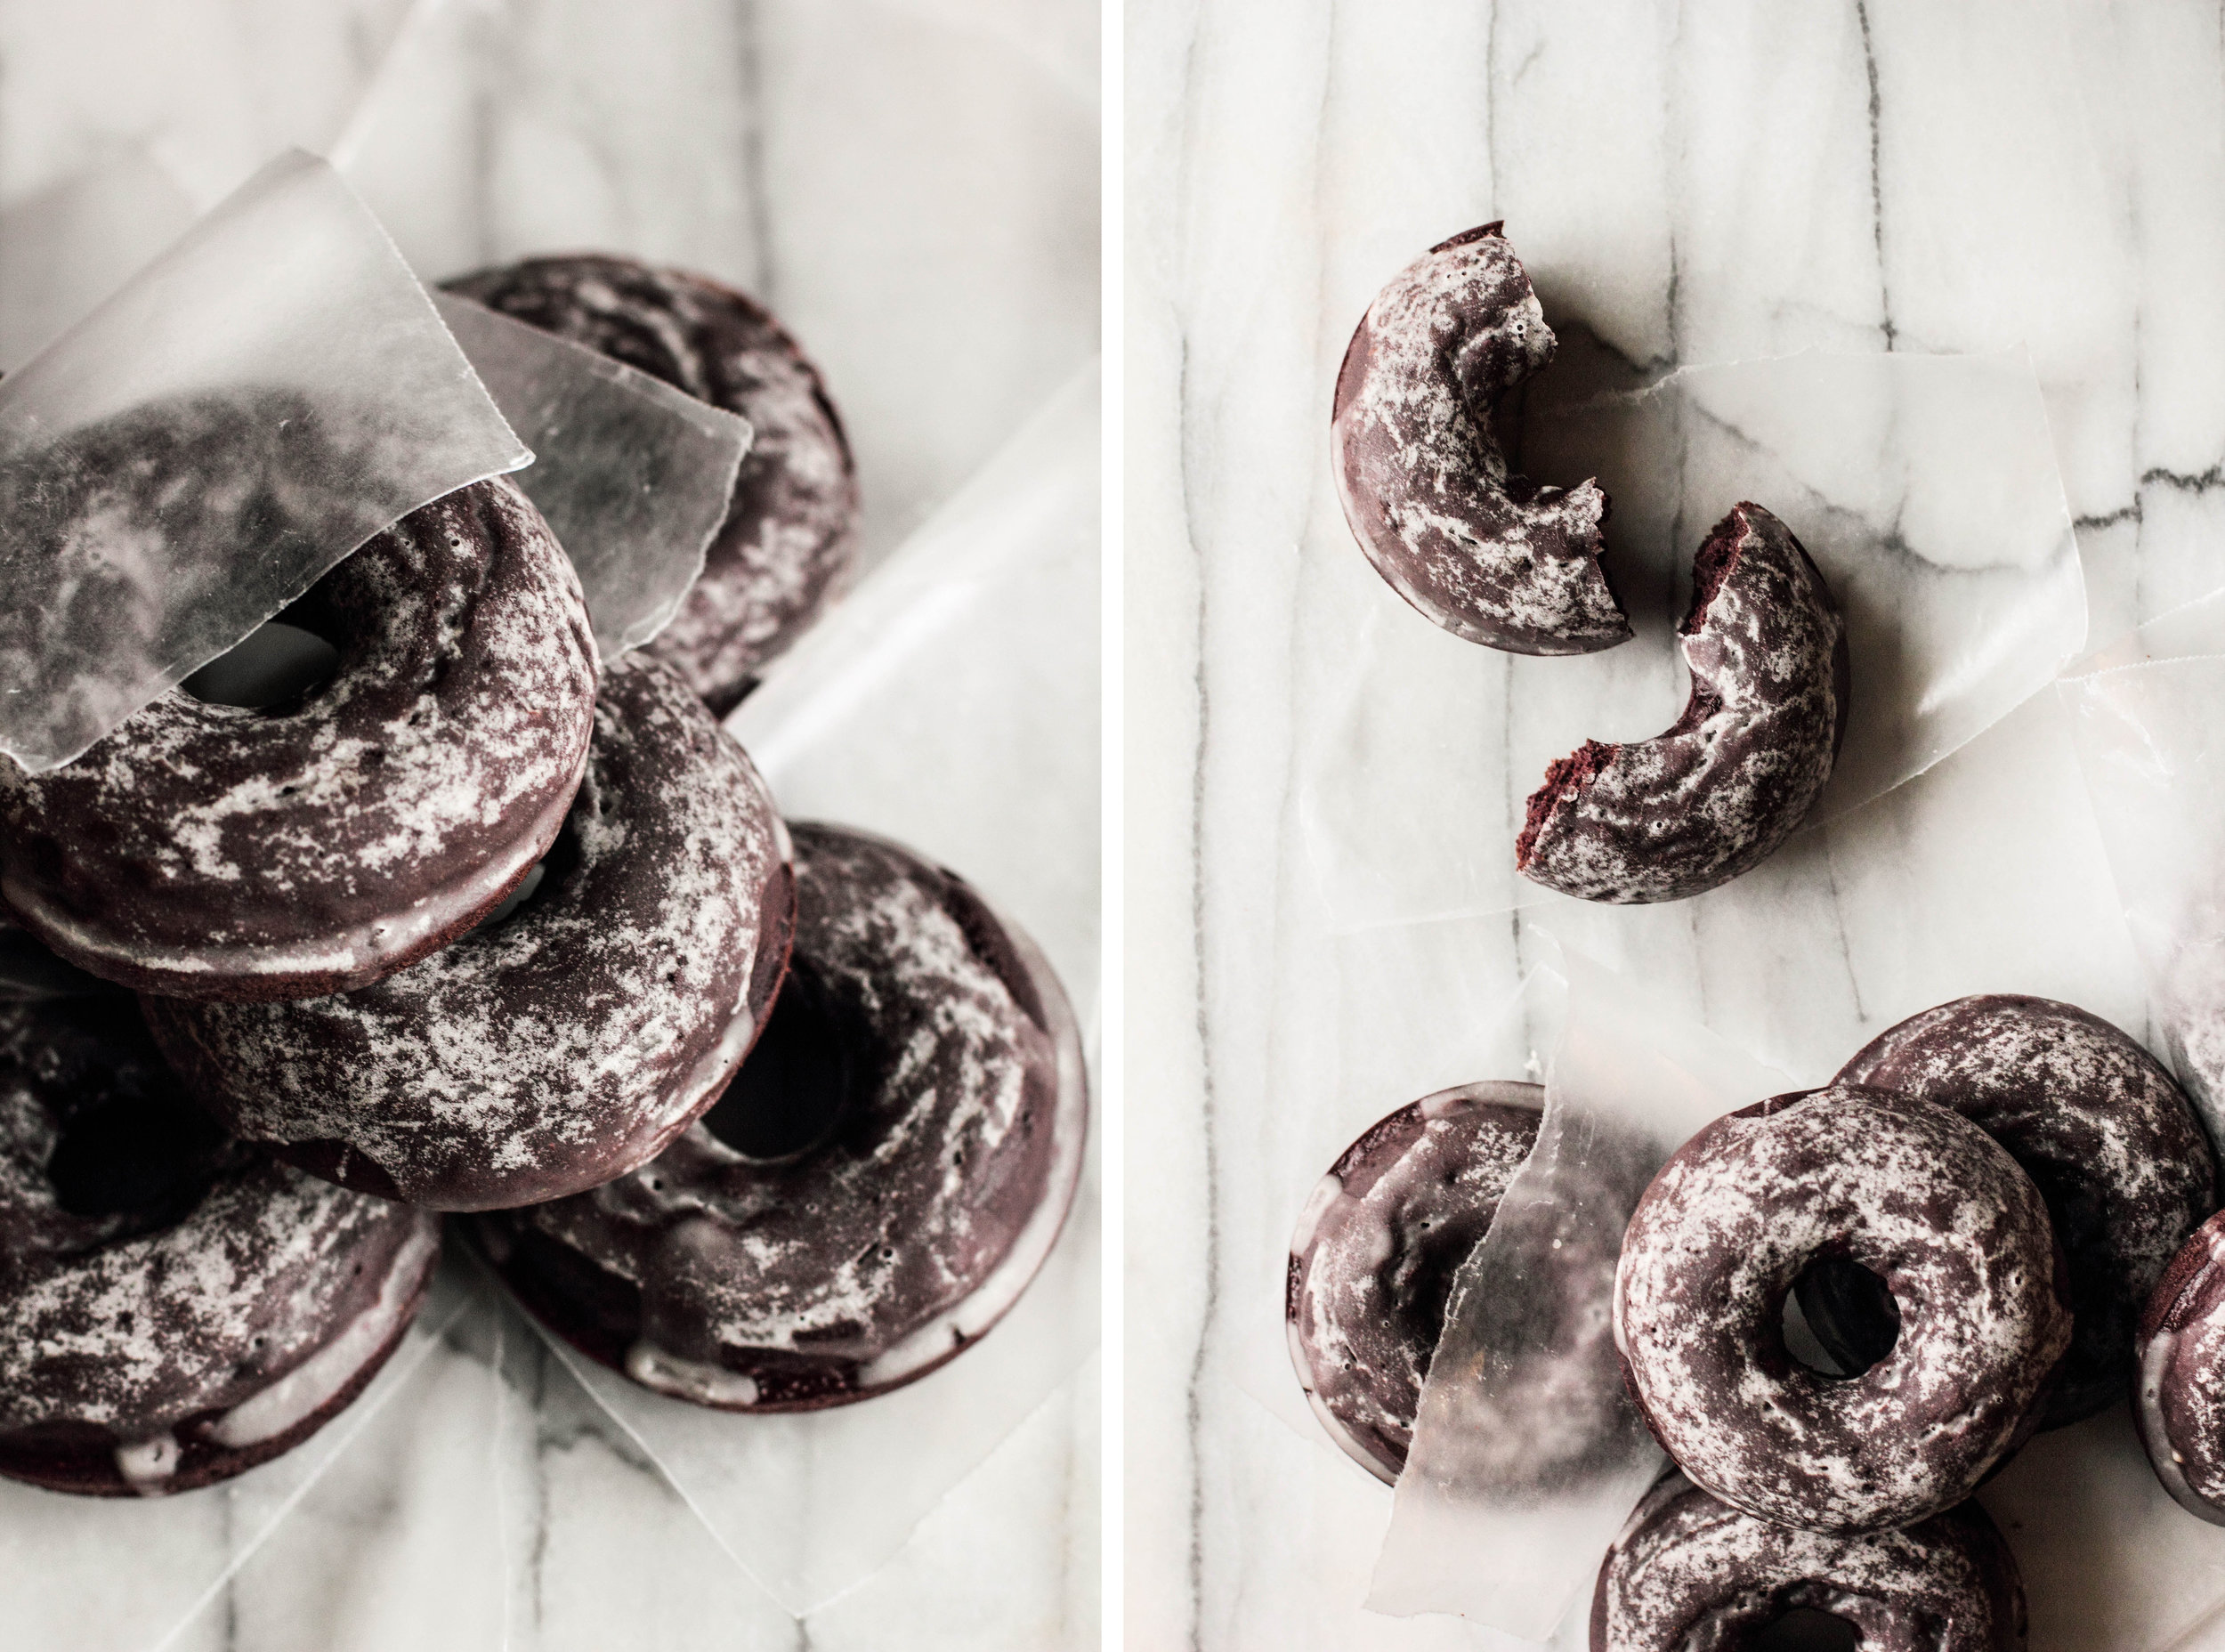
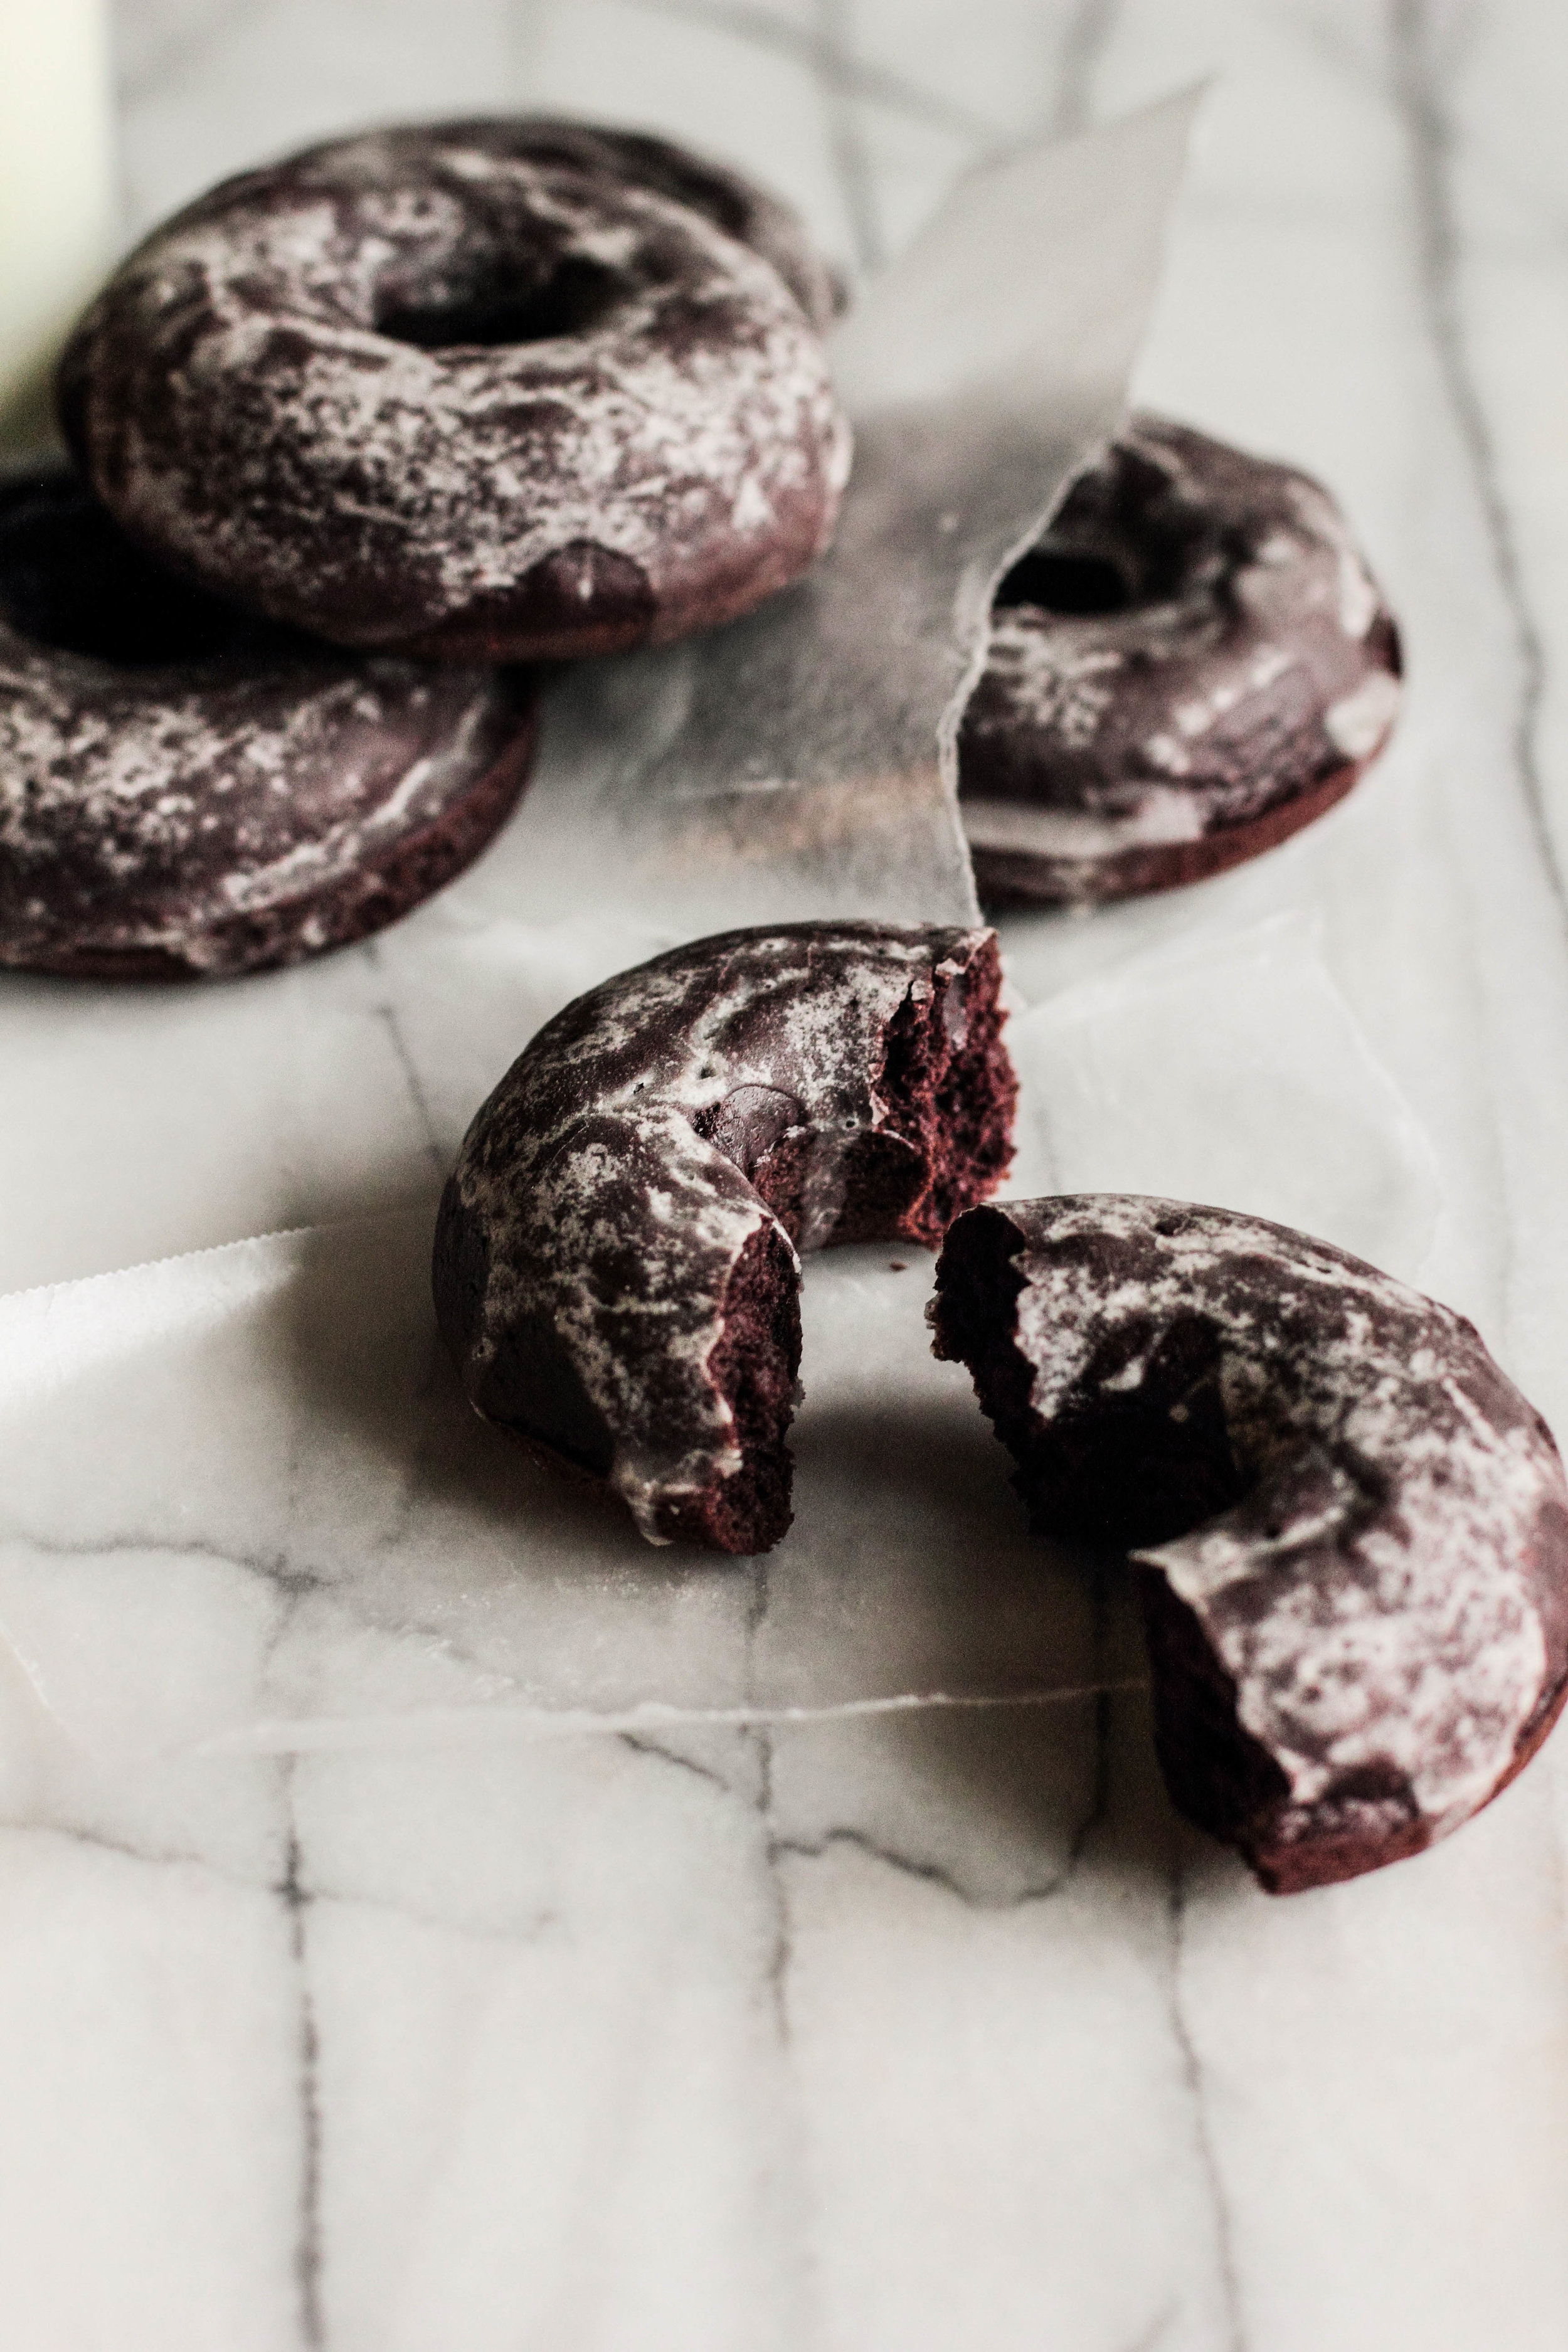
Baking is another form of therapeutic release, one that I find both calming and serene. These Almond Espresso Cookies are one of the favorites in my cookie repertoire to both eat and prepare. Almonds are roasted and then ground finely to form the base of the cookies. Chocolate is drizzled over the top, with a little espresso powder mixed in the cookie to complement the flavor. It is a simple cookie, but the flavors are addicting enough to keep me coming back for more. As the holiday season grows closer, these are a simple enough treat to create, but still unique enough to leave an impression at your holiday table.

One Year Ago: Cranberry Upside Down Cake
Two Years Ago: Maple Roasted Chickpeas, Gingerbread Muffins, Persimmon Cake, and Lemon Cranberry Scones
Three Years Ago: Banana Espresso Chocolate Muffins, Cranberry Orange Brioche Rolls, Cranberry Sauce, and Cranberry White Chocolate Tarts
Four Years Ago: Chocolate Espresso Pots de Creme, Sugar-Coated Daydreams, Blueberry Brownies, and White Chocolate Saffron Truffles

Almond Espresso Cookies with Chocolate Glaze

Yields about 12-18 cookies

Almond Espresso Cookies
6 tablespoons (85 grams) butter, room temperature
3/4 cup (150 grams) granulated sugar
1 large egg
1 teaspoon vanilla extract
1/4 teaspoon almond extract, optional
1 1/2 cups (187 grams) all-purpose flour
3/4 cup (85 grams) almonds, roasted and finely ground*
1 tablespoon espresso powder
1 teaspoon baking soda
1/4 teaspoon salt

Preheat oven to 350 degrees F (180 degrees C).

In a large mixing bowl, beat together the butter and sugar until light and fluffy. Beat in the egg, vanilla, and almond extract until smooth. Gradually add the flour, finely ground roasted almonds, espresso powder, baking soda, and salt, stirring until batter is uniform.

Drop by the tablespoon onto a baking sheet and bake for 10-12 minutes, or until lightly browned. Cool on baking sheet for a few minutes before transferring to a cooling rack to cool completely.

Chocolate Glaze
1/2 cup (85 grams) semi-sweet chocolate chips
1 tablespoon (14 grams) butter

In a small saucepan, melt the chocolate chips and butter over low heat until smooth. Transfer to a pastry bag (or small plastic bag with the corner snipped off) and drizzle the warm chocolate over the cookies. Allow to set for 30 minutes to harden the chocolate before serving. 

*To roast almonds, spread into a single layer on a baking sheet and roast for 12-15 minutes at 350 degrees F (180 degrees C) until tan and fragrant.

Glazed Chocolate Cake Doughnuts

This is a recipe for after Thanksgiving, when the food has been eaten, the dishes have been cleared, and the thanks has been given. Since the holiday is so near, I imagine the majority of you have your menus set and adding a last minute recipe to the list would only send you on another trip to the supermarket. This is a recipe to encourage you to take a moment to relax, sip a hot beverage, and rest your feet over the long weekend.

You deserve a break before the season of family and giving sweeps in. 

Cake doughnuts are one of the ways I like to treat myself (as a bonus, it is also one of the cheapest, costing a whopping 89¢ per doughnut). Whenever I pass the bakery section of the store, I am drawn towards the doughnut case like a moth to the flame. Usually I am able to walk by after a moment of admiration, but sometimes the sprinkles and glaze are too much, and I find myself reaching into the case.

I appreciate that cake doughnuts stray towards the drier end of the spectrum because it makes them perfect to enjoy with a cup of coffee. Since this particular doughnut recipe is baked instead of fried, it has a similar texture to cake straight from the oven (i.e. light and moist). To remedy this, I let them sit out overnight which brought them to the texture I desired (though a few hours would also suffice)


These Glazed Chocolate Cake Doughnuts are baked instead of fried, which makes them easy to make. The doughnuts are enriched with sour cream and spread with a light vanilla glaze. Serve with hot coffee or a glass of cold milk (or, if you are feeling particularly decadent, a mug of hot cocoa). Share with friends and family and enjoy the season.

One Year Ago: Pumpkin Streusel Muffins
Two Years Ago:Marbled Butternut Squash Bread, Chai Pear Scones, Hot Bourbon Apple Cider, and  Pumpkin Pie Espresso Bars
Three Years Ago:Caramel Apple Cider, Apple Cinnamon Steel Cut Oats, Honey Cinnamon Roasted Chickpeas, and Caramel Apple Tart
Four Years Ago:Dried Cranberry Cocoa Rolls,  30 Second Sangria, Raspberry Vanilla Creme Brulee, and "Please, Sir, Can I Have Some More?" Cupcakes

Glazed Chocolate Cake Doughnuts

Yields 8 doughnuts

Chocolate Cake Doughnuts
3/4 cup (150 grams) granulated sugar
1 1/4 cup (160 grams) all-purpose flour
1/4 cup (20 grams) cocoa powder
1/2 teaspoon baking powder
1/2 teaspoon baking soda
1/2 teaspoon salt
1 large egg
1 teaspoon vanilla extract
2 tablespoons butter, melted
1/2 cup (115 grams) sour cream
1/3 cup (78 ml) milk

Preheat oven to 350 degrees F (180 degrees C). Grease a standard-size doughnut pan.

In a large mixing bowl, whisk together the sugar, flour, cocoa powder, baking soda, baking powder, and salt. Stir in the egg, vanilla, melted butter, sour cream, and milk until thoroughly mixed. 

Transfer the batter to a pastry bag (or large kitchen bag with the corner snipped off). Fill the depressions in the prepared pan with the batter until 2/3 full. Alternatively, if appearance does not matter, you could spread the batter into the pan using an offset spatula, but this results in more unevenly shaped doughnuts. Bake the doughnuts for 15-18 minutes, or until puffed and a toothpick inserted into the center comes out clean. Cool in the pan for 5-10 minutes, before transfering to a cooling rack to cool completely.

Vanilla Glaze
1 cup (125 grams) powdered sugar
1 teaspoon vanilla extract
1 1/2 tablespoons milk

In a small bowl, stir together all ingredients until smooth. If the glaze is too thick, thin with a teaspoon or two of milk.

Spoon the glaze over the cooled doughnuts, allowing any excess to drip off. The glaze will take 10-15 minutes to set, depending on the thickness.

Pumpkin Pie (Dairy-Free)

A few inches of snow cover the sidewalks and a mug of warm black tea is an evening necessity. The fewer hours of daylight make the nights grow long. I check the clock frequently, wondering why time appears to be passing faster than the hands on the clock read. At long last, winter is upon us. The feeling is still fresh, a seasonal novelty. For now, it suits me just fine.

Even though Thanksgiving is only a week away, I could swear that it was nearly Christmas. I fear I am the latest victim of "Christmas creep," the idea that the early exploitation and over-commercialization of Christmas makes it feel as if it is just around the corner instead of an entire month away. With sugar cookies on the brain and a Netflix queue of holiday movies, I knew I needed to do something drastic, lest I grow tired of the holiday season before it had even begun.

And so, I pushed aside thoughts of the holidays, pulled the flour out of the cupboard, and made myself an old-fashioned pumpkin pie. There is nothing more reminiscent of Thanksgiving than a large slice dolloped with whipped cream. I may not be able to stop the "creep," but I do have the power to claim back Thanksgiving as my own.

This pumpkin pie is dairy-free, although you would never guess it. I have been dreaming of this pie long before the leaves fell from the trees, but I waited until the time was right to take it for a spin. I substituted the butter in the crust with dairy-free margarine for a flaky texture (Earth Balance is my personal brand of choice). Instead of heavy cream, I used full-fat coconut milk. I worried that the milk would lend a subtle coconut flavor to the final product, but it is completely masked by the pumpkin and spices. This pie truly tastes exactly like its dairy-filled counterpart, which is an accomplishment of its own.

I shared this pie with my coworkers for a Tuesday lunch dessert. Even unadorned, the entire pie disappeared in short time. One coworker shared that this was the best pumpkin pie she has had since her grandmother had passed away many years ago. To me, there is no higher compliment this pie can receive.

IMG_9685-2.jpg

This dairy-free pumpkin pie will be a hit whether or not its "secret" is revealed. The filling sets up well, but still manages to retain a light texture. The pie is spiced primarily with cinnamon and ginger, which complement the pumpkin nicely. Serve warm or chilled with a dollop of coconut whipped cream.

One Year Ago: Stovetop Popcorn and Gingerbread Bundt Cake with Pear Caramel
Two Years Ago: Pumpkin Rolls, Butternut Squash Cake with Cream Cheese Icing, Baked Apples, and Molasses Cookies with Ginger Cream Cheese Filling
Three Years Ago: Pumpkin Spice Latte Cheesecake, Spicy Pumpkin Taco Dip, Apple Cinnamon Cake, and Grandma's Applesauce
Four Years Ago: Pumpkin Chocolate Chip Cookies, Fig & Balsamic Jam, Pumpkin Spice Oatmeal, and Sweet Potato Fries

Pumpkin Pie (Dairy-Free)

1 recipe for single pie crust dough
2 1/2 cups (670 grams) pumpkin puree
1/2 cup (100 grams) brown sugar, packed
1/4 cup (60 ml) maple syrup
1 teaspoon ground cinnamon
1 teaspoon ground ginger
1/4 teaspoon ground nutmeg
1/4 teaspoon ground cloves
1 teaspoon salt
3 large eggs
1 teaspoon vanilla extract
1 1/3 cups (315 ml) full-fat coconut milk
Coconut whipped cream, optional

On a lightly floured surface, roll out pie crust dough into a 14-inch round. Wrap dough lightly around rolling pin and transfer to a deep 9-inch pie pan. Gently press dough into the bottom and sides of the pan. Trim the dough to allow a 1-inch overhang. Pinch dough between thumb and forefinger to make a decorative edge around the rim. Refrigerate until chilled, about 30 minutes.

Preheat oven to 425 degrees F (218 degrees C).

Using a fork, prick a couple dozen holes into the bottom of the crust to prevent the dough from rising. Bake for 15 to 20 minutes, or until crust is lightly browned. Remove from oven.

Reduce oven temperature to 350 degrees F (180 degrees C).

In a large bowl, whisk together the pumpkin, brown sugar, maple syrup, spices, salt, and eggs until uniform. Gradually mix in the vanilla extract and coconut milk. 

Pour the pumpkin filling into the prepared pie crust (depending on the size of your pie pan, you may have a small amount extra). Bake for 75 to 80 minutes, or until the middle barely jiggles when shaken and a toothpick inserted into the center comes out clean. If the edges darken too quickly, line the outer crust with aluminum foil to prevent further browning. Remove from the oven and cool at room temperature to finish cooking the center of the pie.

Serve warm or chilled with a dollop of coconut whipped cream.