Strawberry Layer Cake

Pastry Affair turned five years old earlier this weekβ€”an unimaginable milestone when I started this blog so long ago. Originally a place to let out a little creative energy, it has grown and flourished into so much more. This space stayed a constant when my life was going through the many and tumultuous changes of growing up and finding a place in this world. I hope it continues to be one for plenty of years to come. Thank you for accompanying me on this journey, dear friend, and following along wherever it may lead.

I celebrated this anniversary earlier this spring by upgrading my camera from an entry level DSLR to a professional model. I am still learning how to use it (the purpose of many of the buttons remains a mystery), but it is my new summer project. During Pastry Affair's 4th anniversary, I shared that I had been struggling with blogging, losing the motivation to continue in light of my new career as a high school teacher. It took a few months of healing and letting go of my ideas of perfection, but Pastry Affair found its way back into my heart. It feels right.

The past week was not only a big week for Pastry Affair, but it was also the start of summer vacation (!) and my own 27th birthday (!!). Unlike my 25th birthday, when I despaired that my childhood was over, I felt ready to embrace this new age. I have never been more of an adult than I have in this past year, both in mannerisms and responsibilities, but I still feel as if I have a hold on youth. There is a quote that I adore from Leo Rosten that expresses this well:

O, to be sure, we laugh less and play less and wear uncomfortable disguises like adults, but beneath the costume is the child we always are, whose needs are simple, whose daily life is still best described by fairy tales. 

With summer upon me (and three glorious months to call my own), perhaps this disguise will disappear for a moment while I take on a few new adventures of my own.

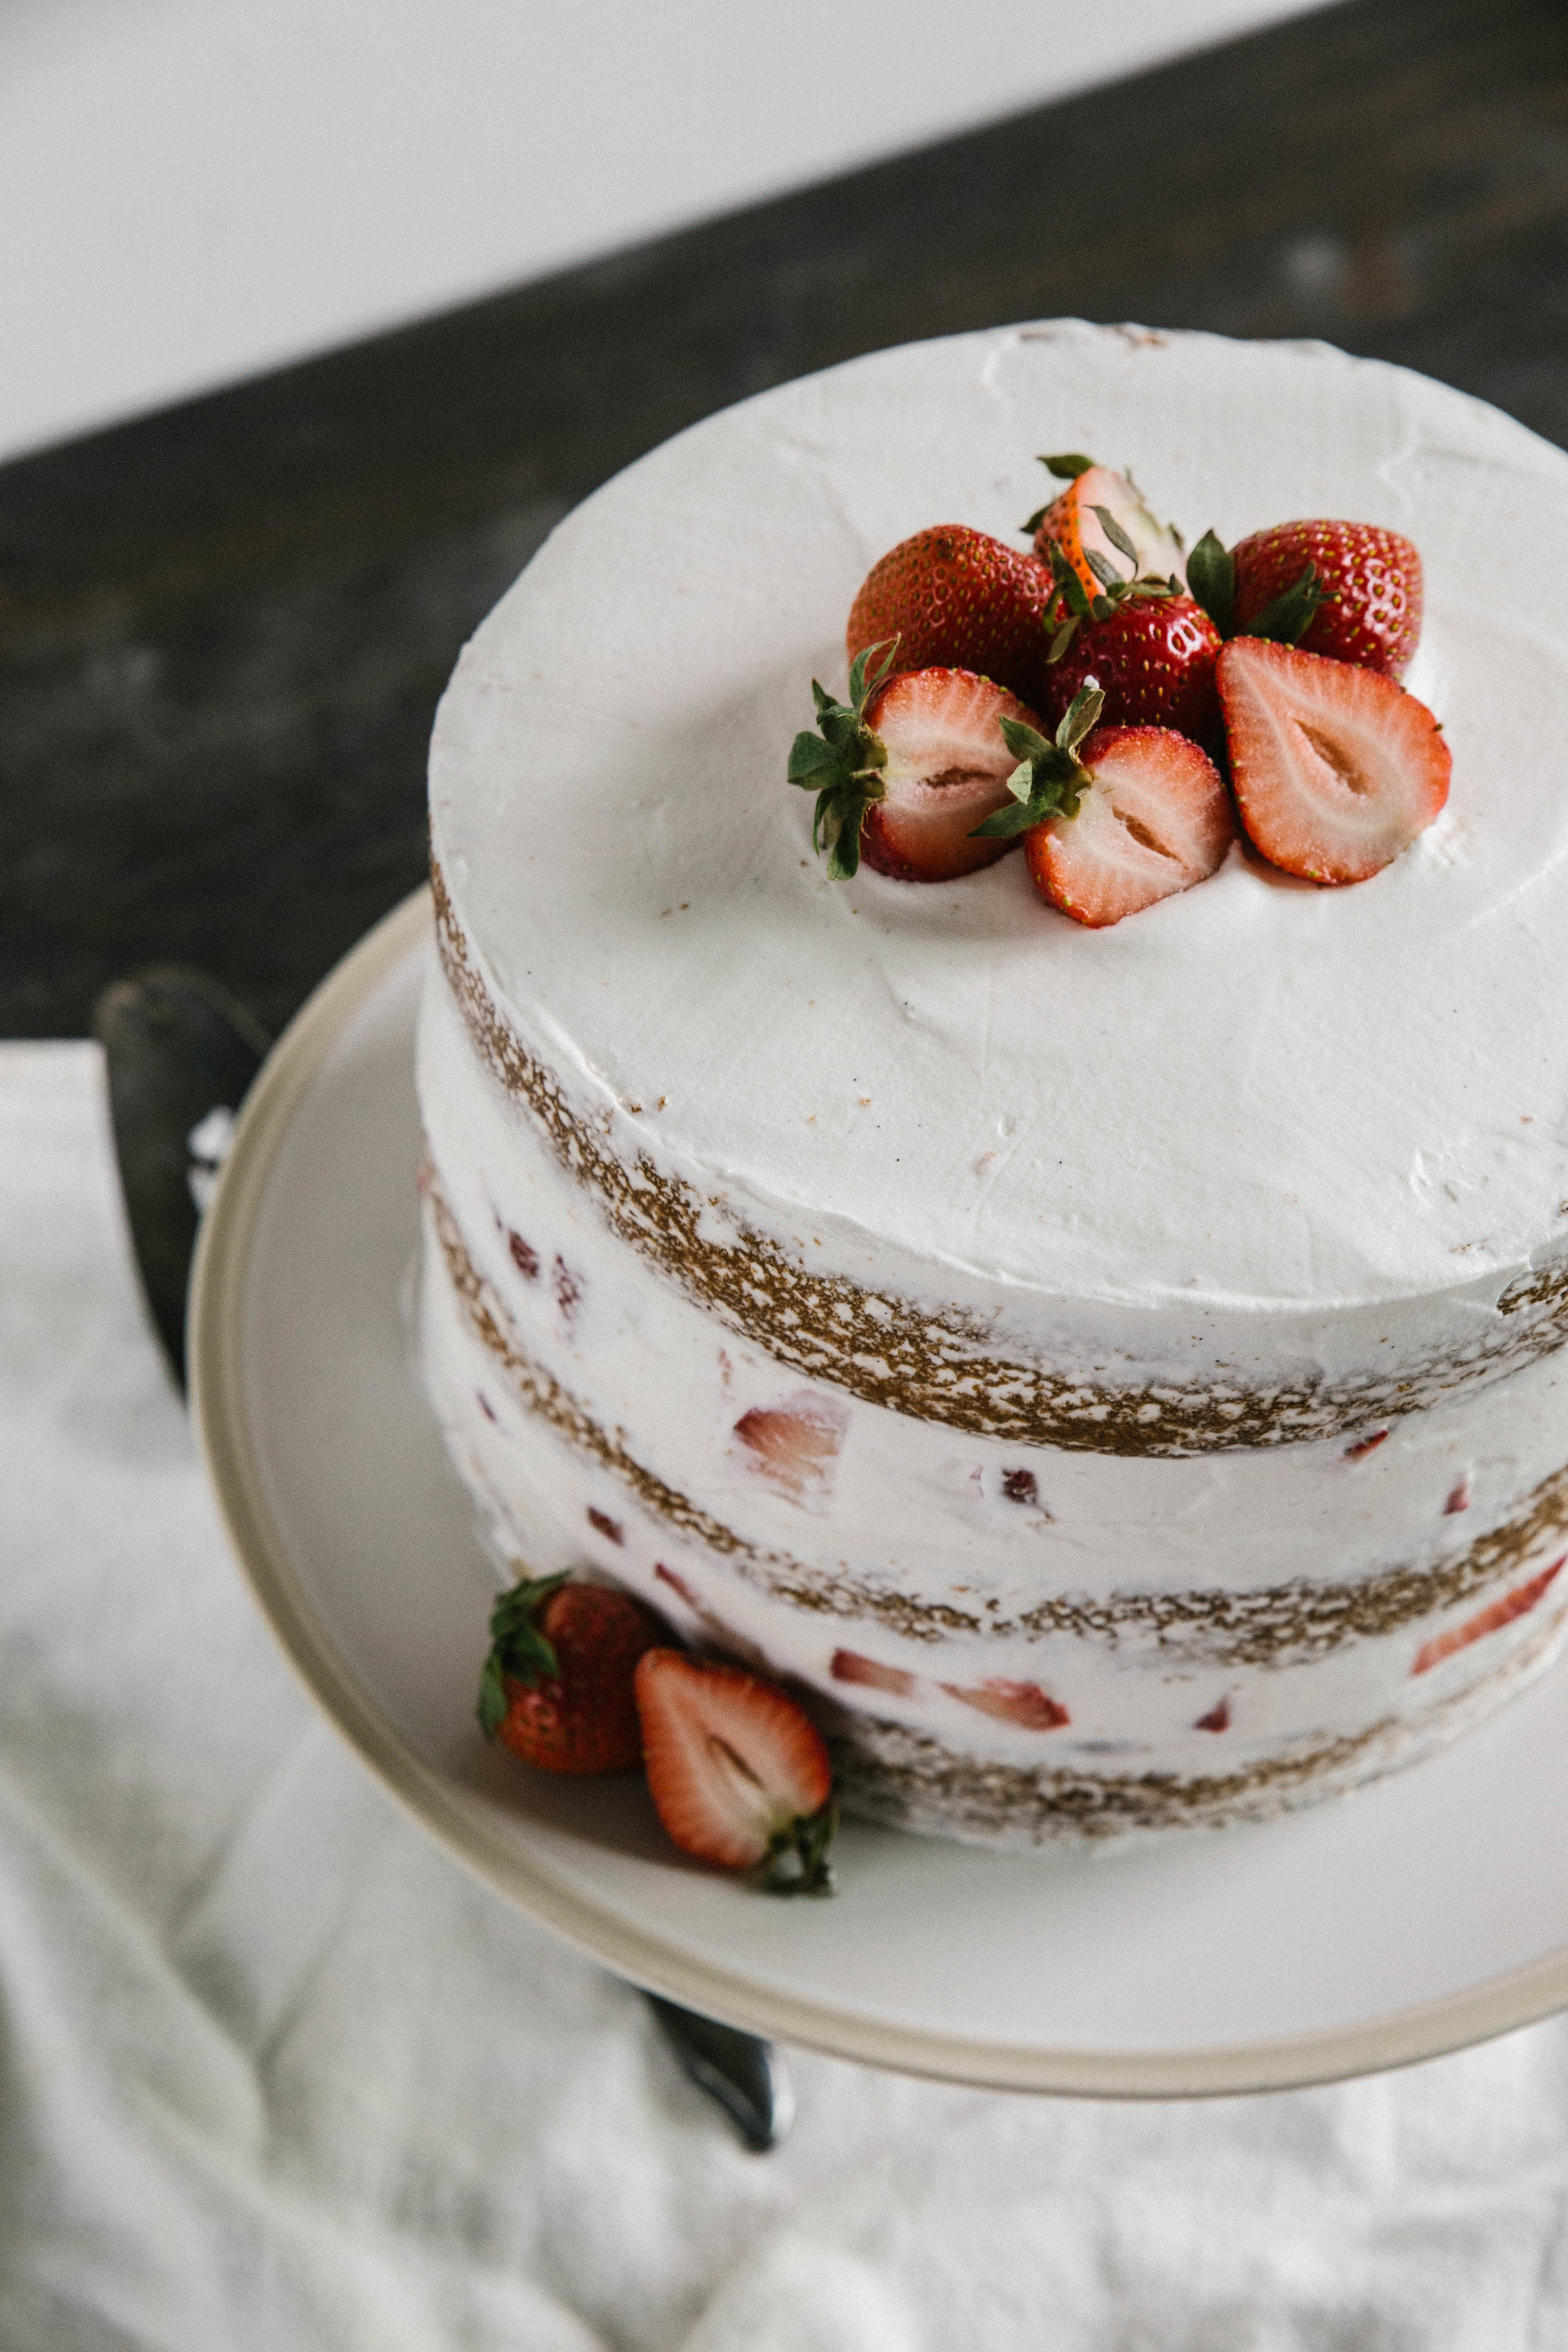
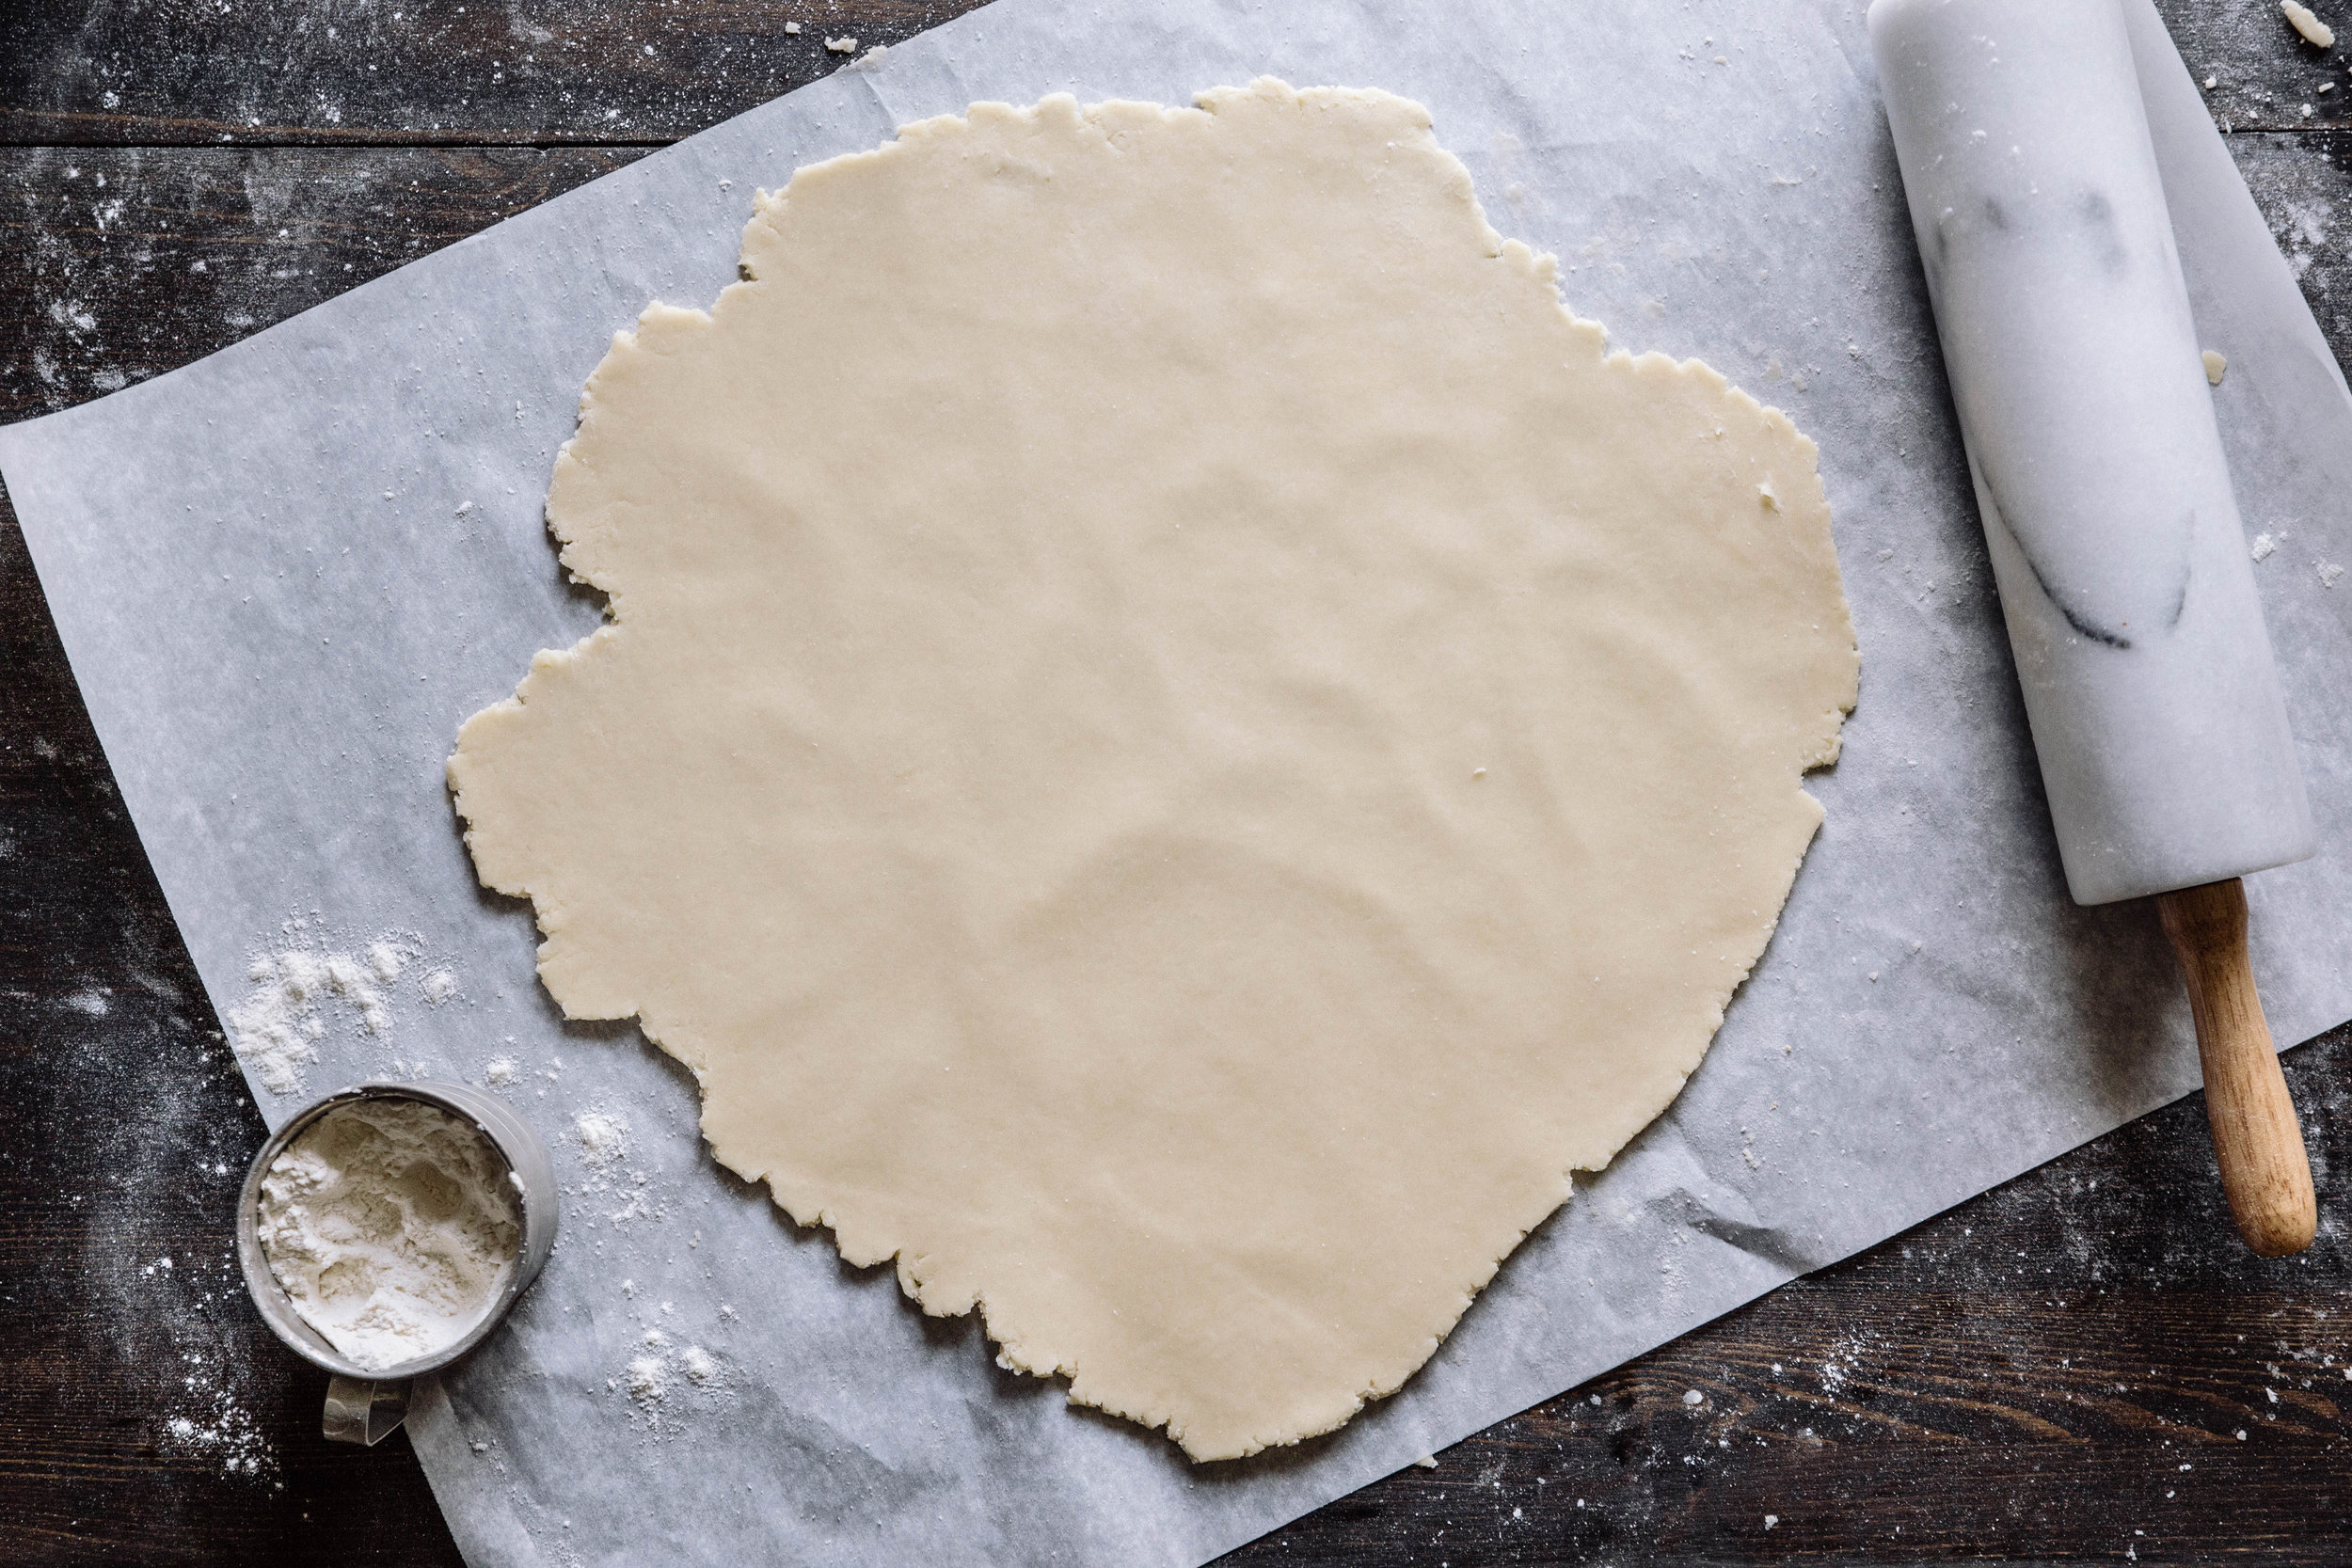
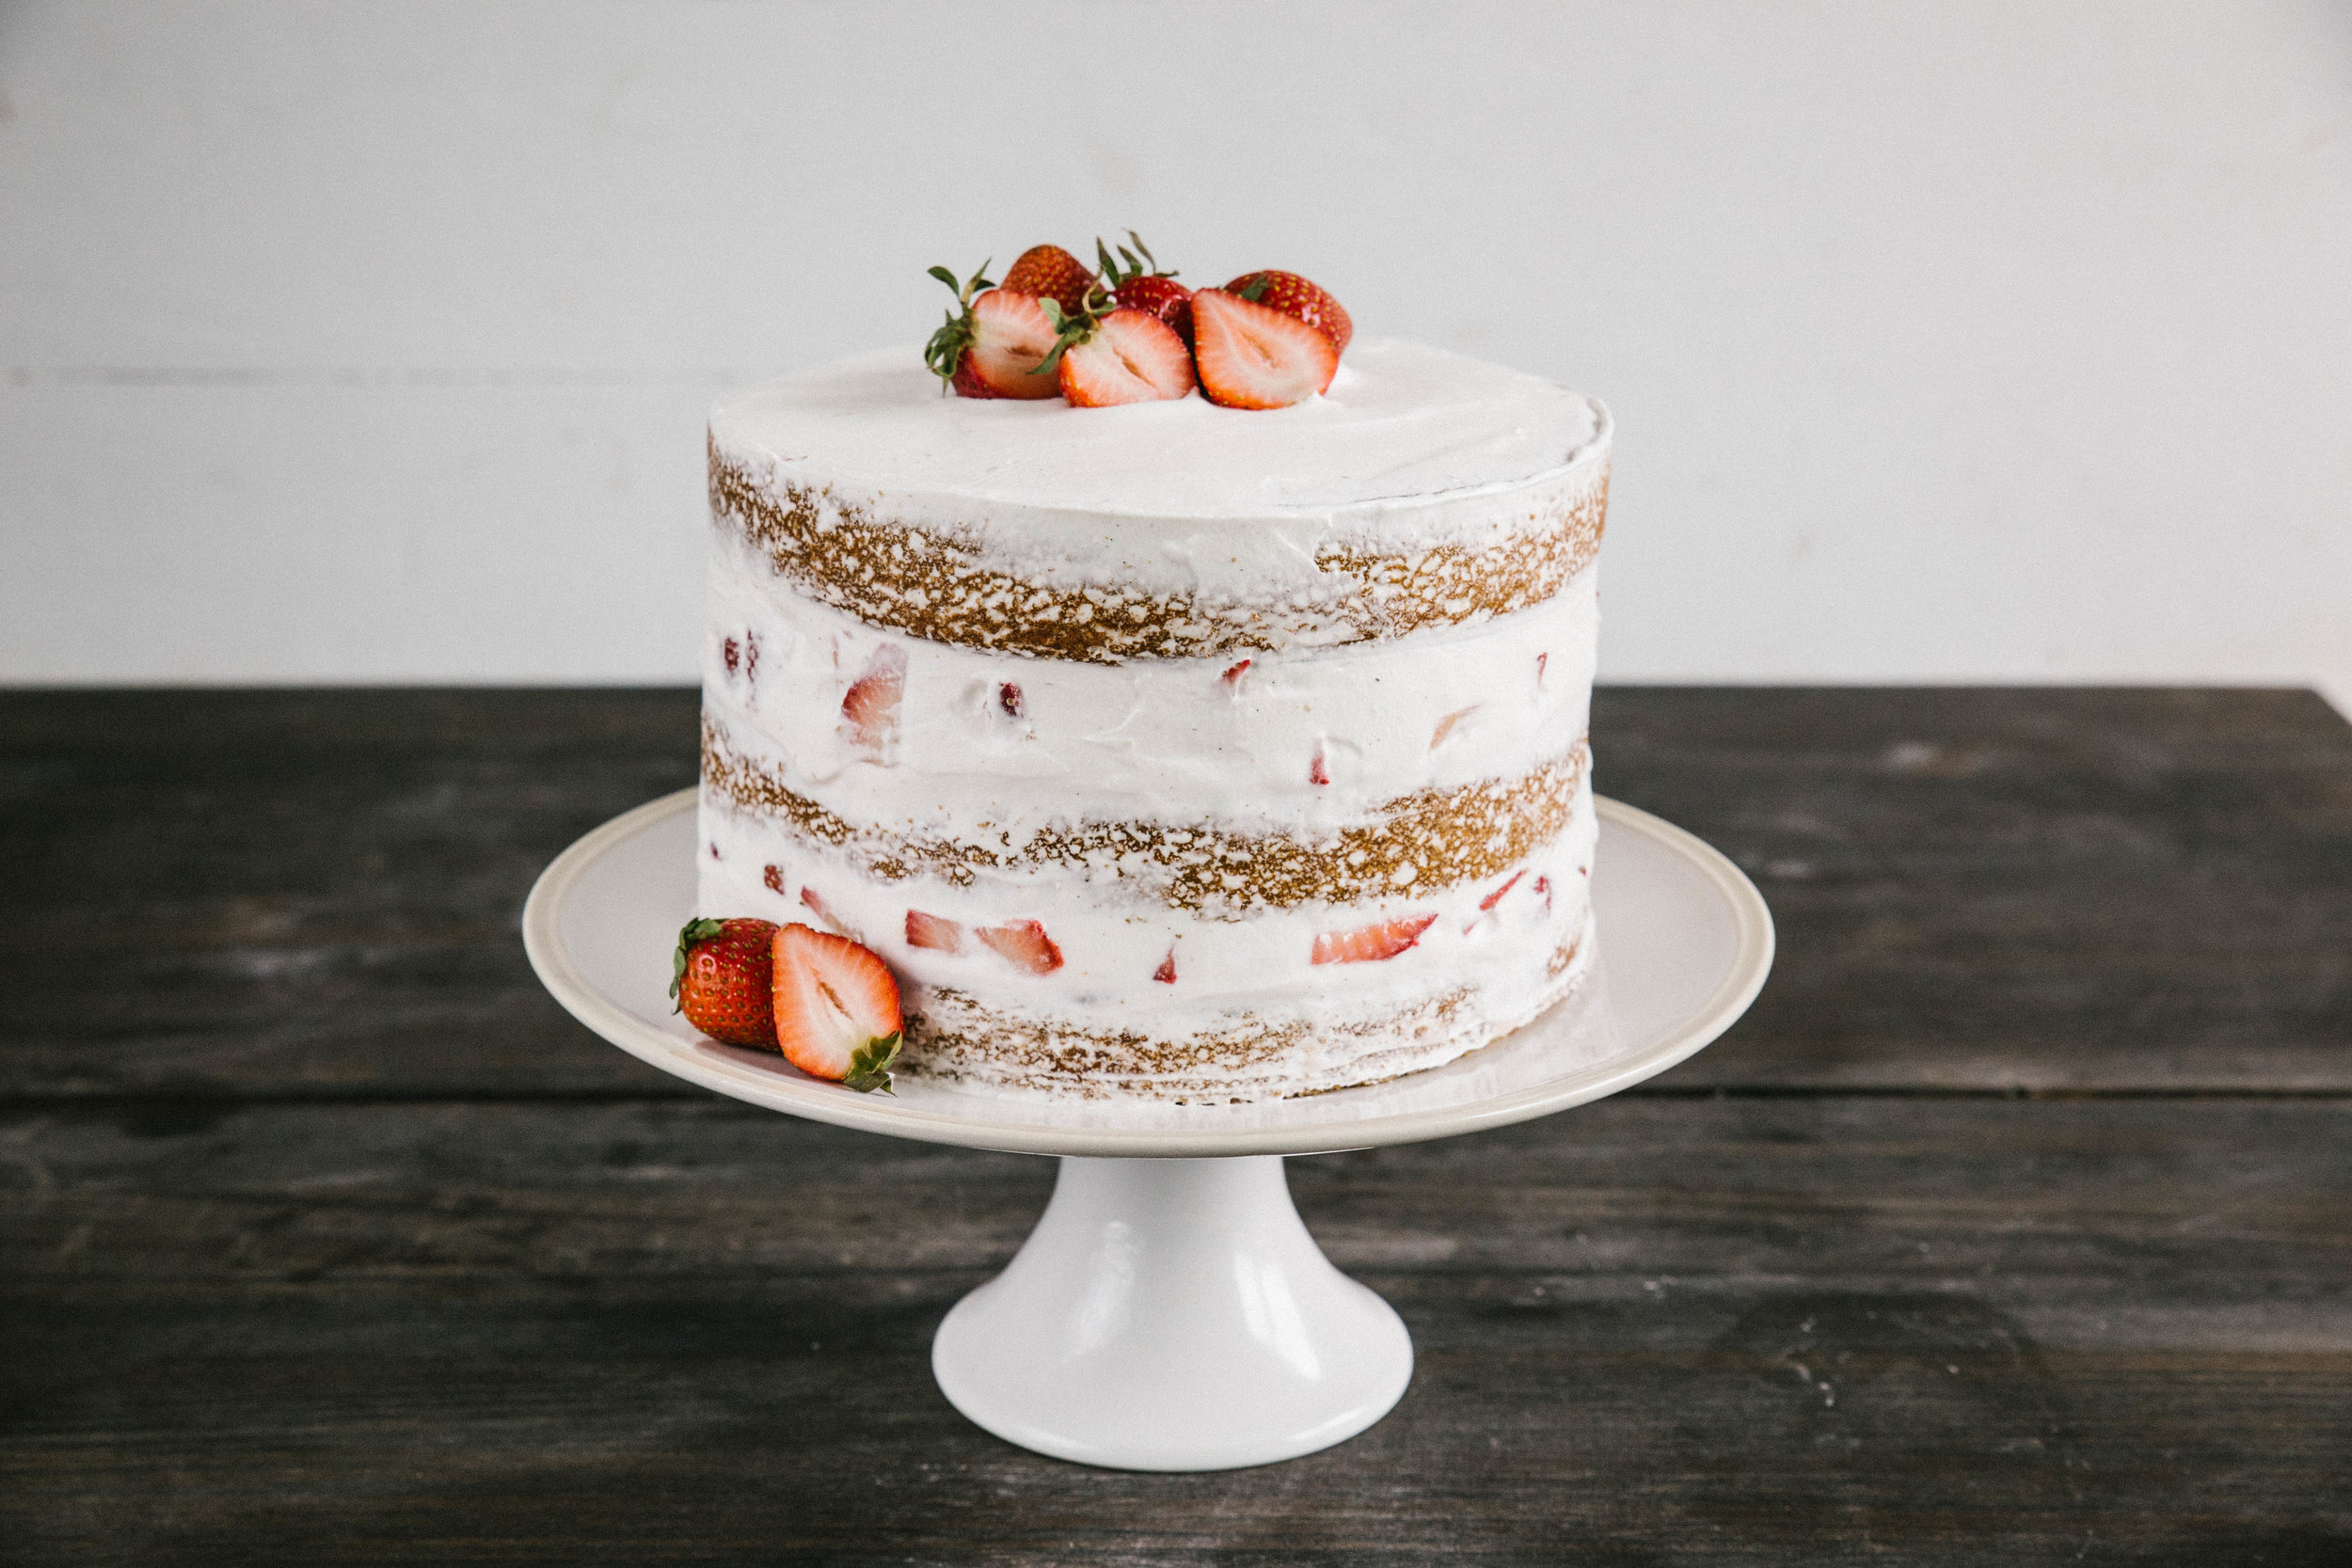
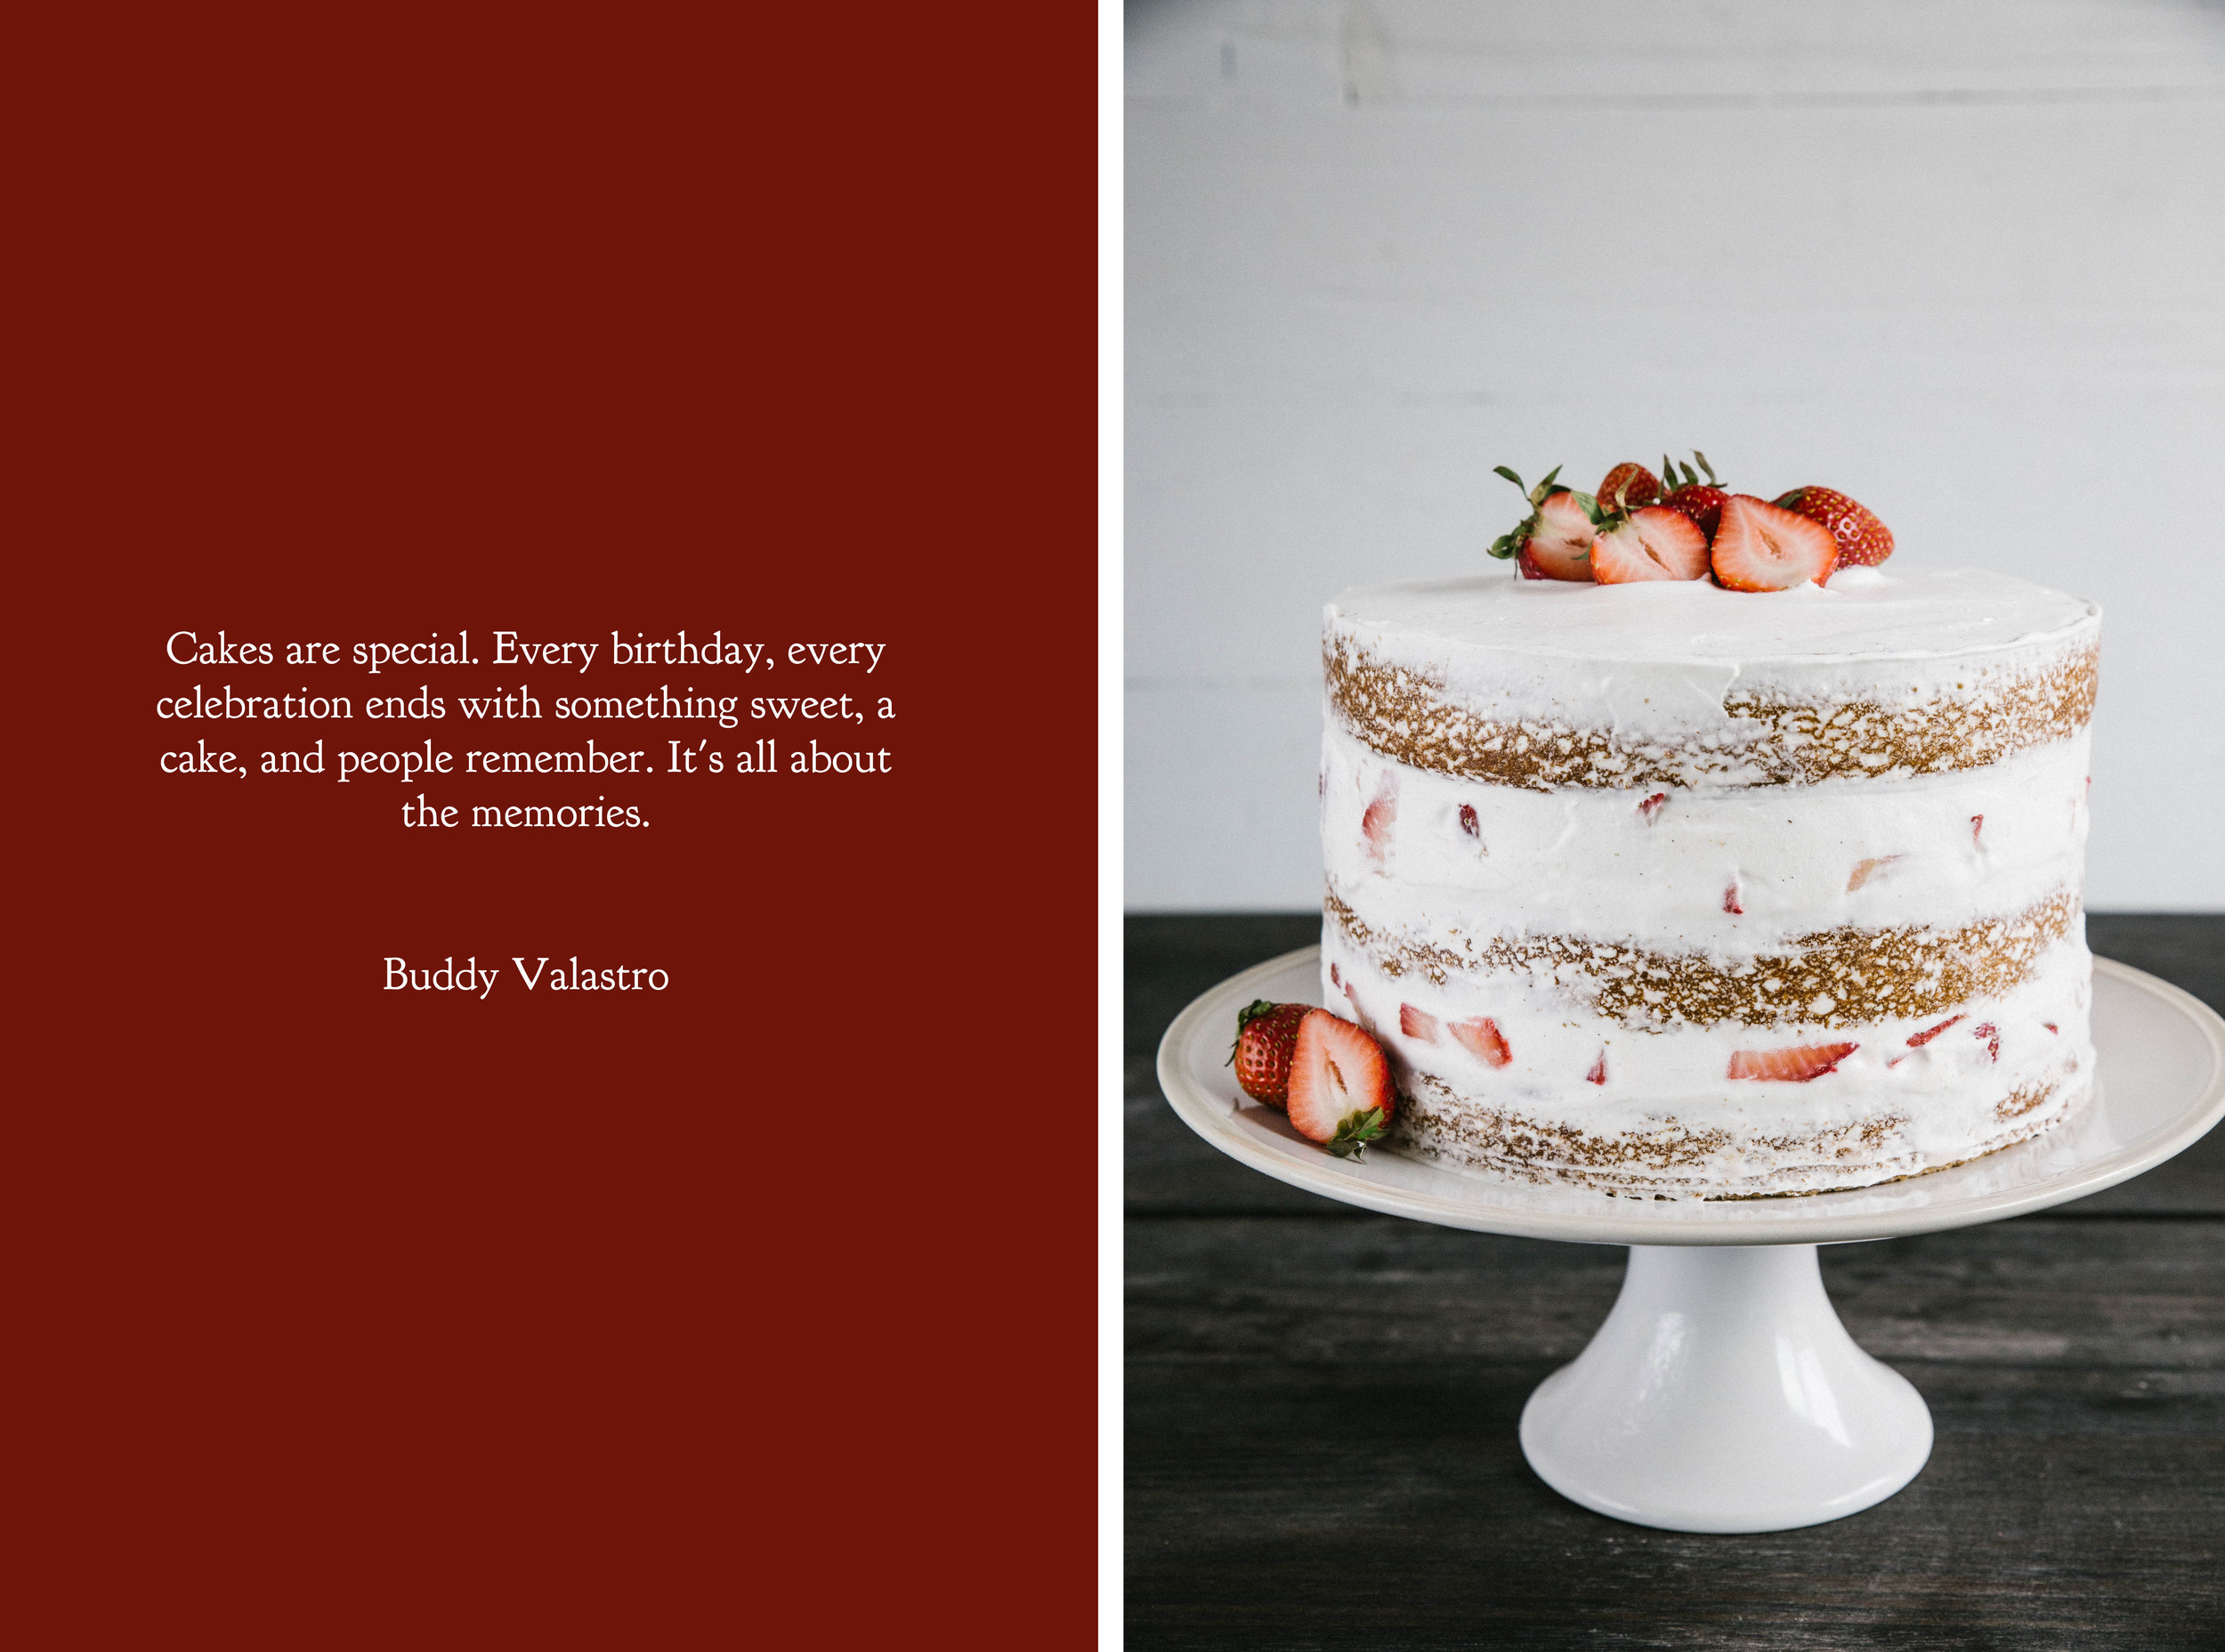
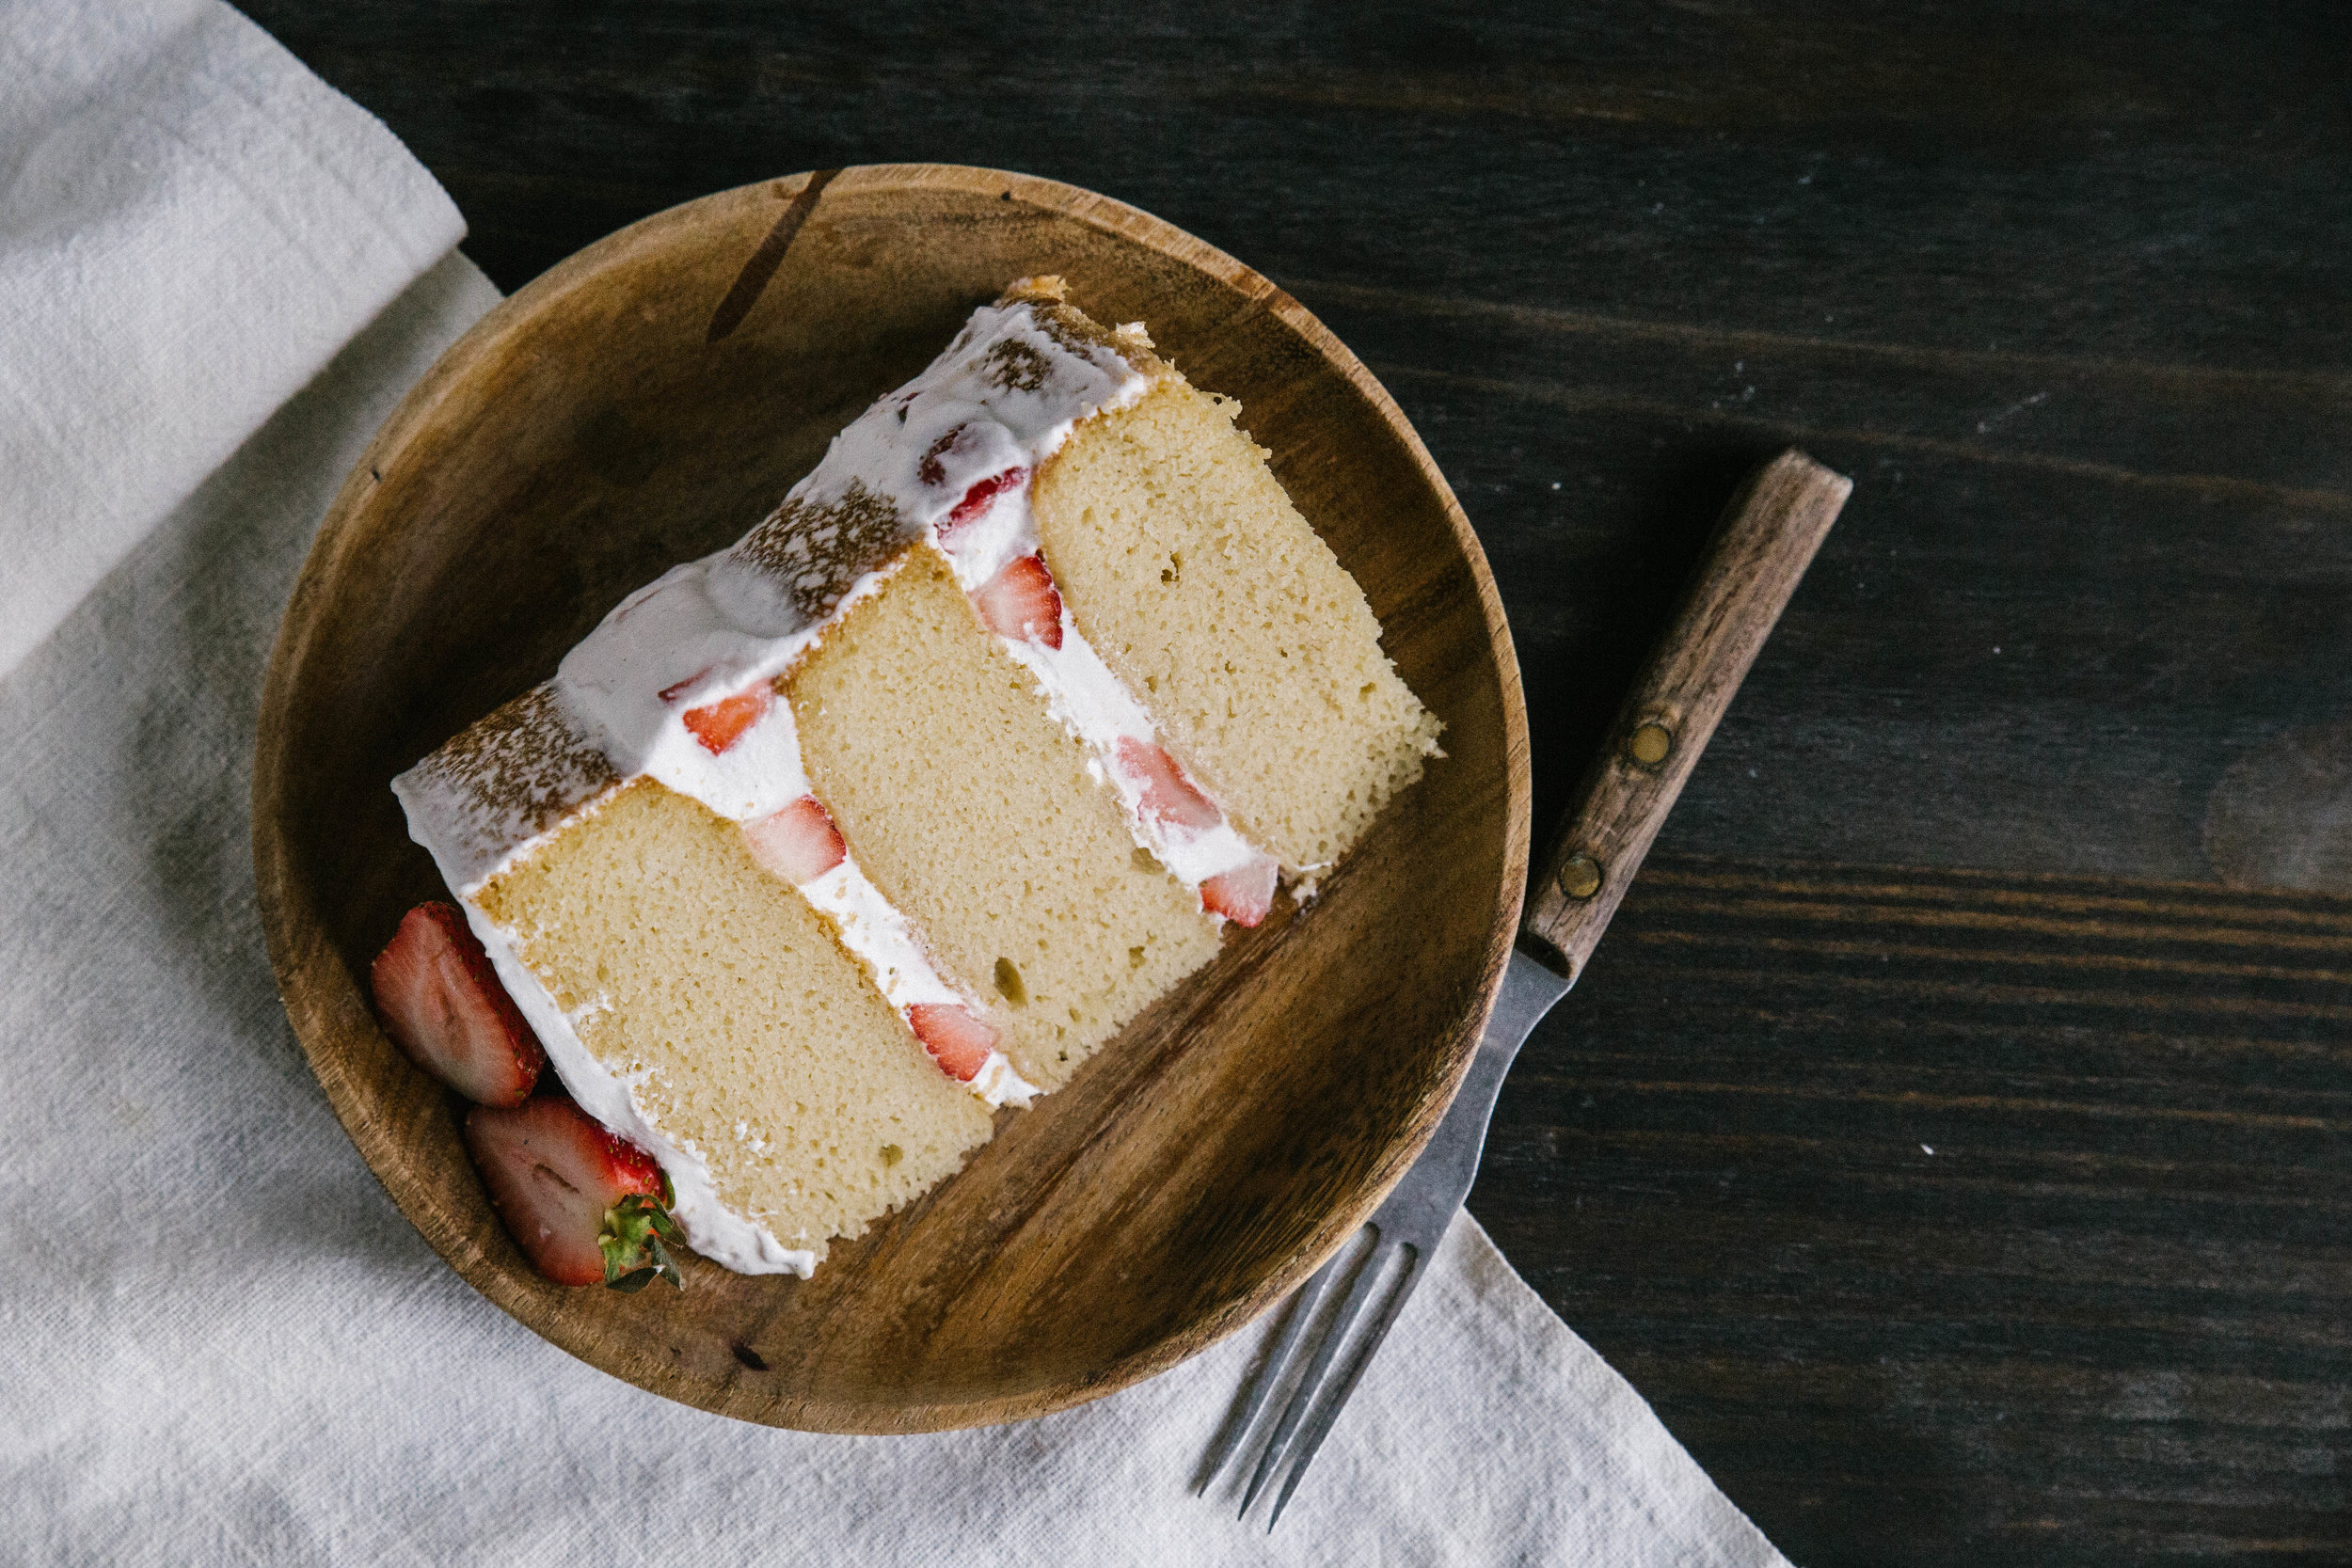
It is well documented that my personal favorite celebration cake is a Berry Topped Angel Food Cake. With this particular cake and culinary spirit in mind, I fashioned this strawberry layer cake for Pastry Affair's special day. A simple vanilla cake is surrounded by a strawberry infused swiss meringue buttercream, but the taste is something straight from heaven. The "naked" cake is one of my favorite trends because it is so easy to recreate. The frosting is not supposed to be perfect or fully cover the sides, which means that there are very few ways to get this wrong. If you are a bit inexperienced at cake decoration, this style is definitely for you. 

The recipe is designed to create a full-sized three layer cake, so save this for a memorable event when you have eager mouths to please.

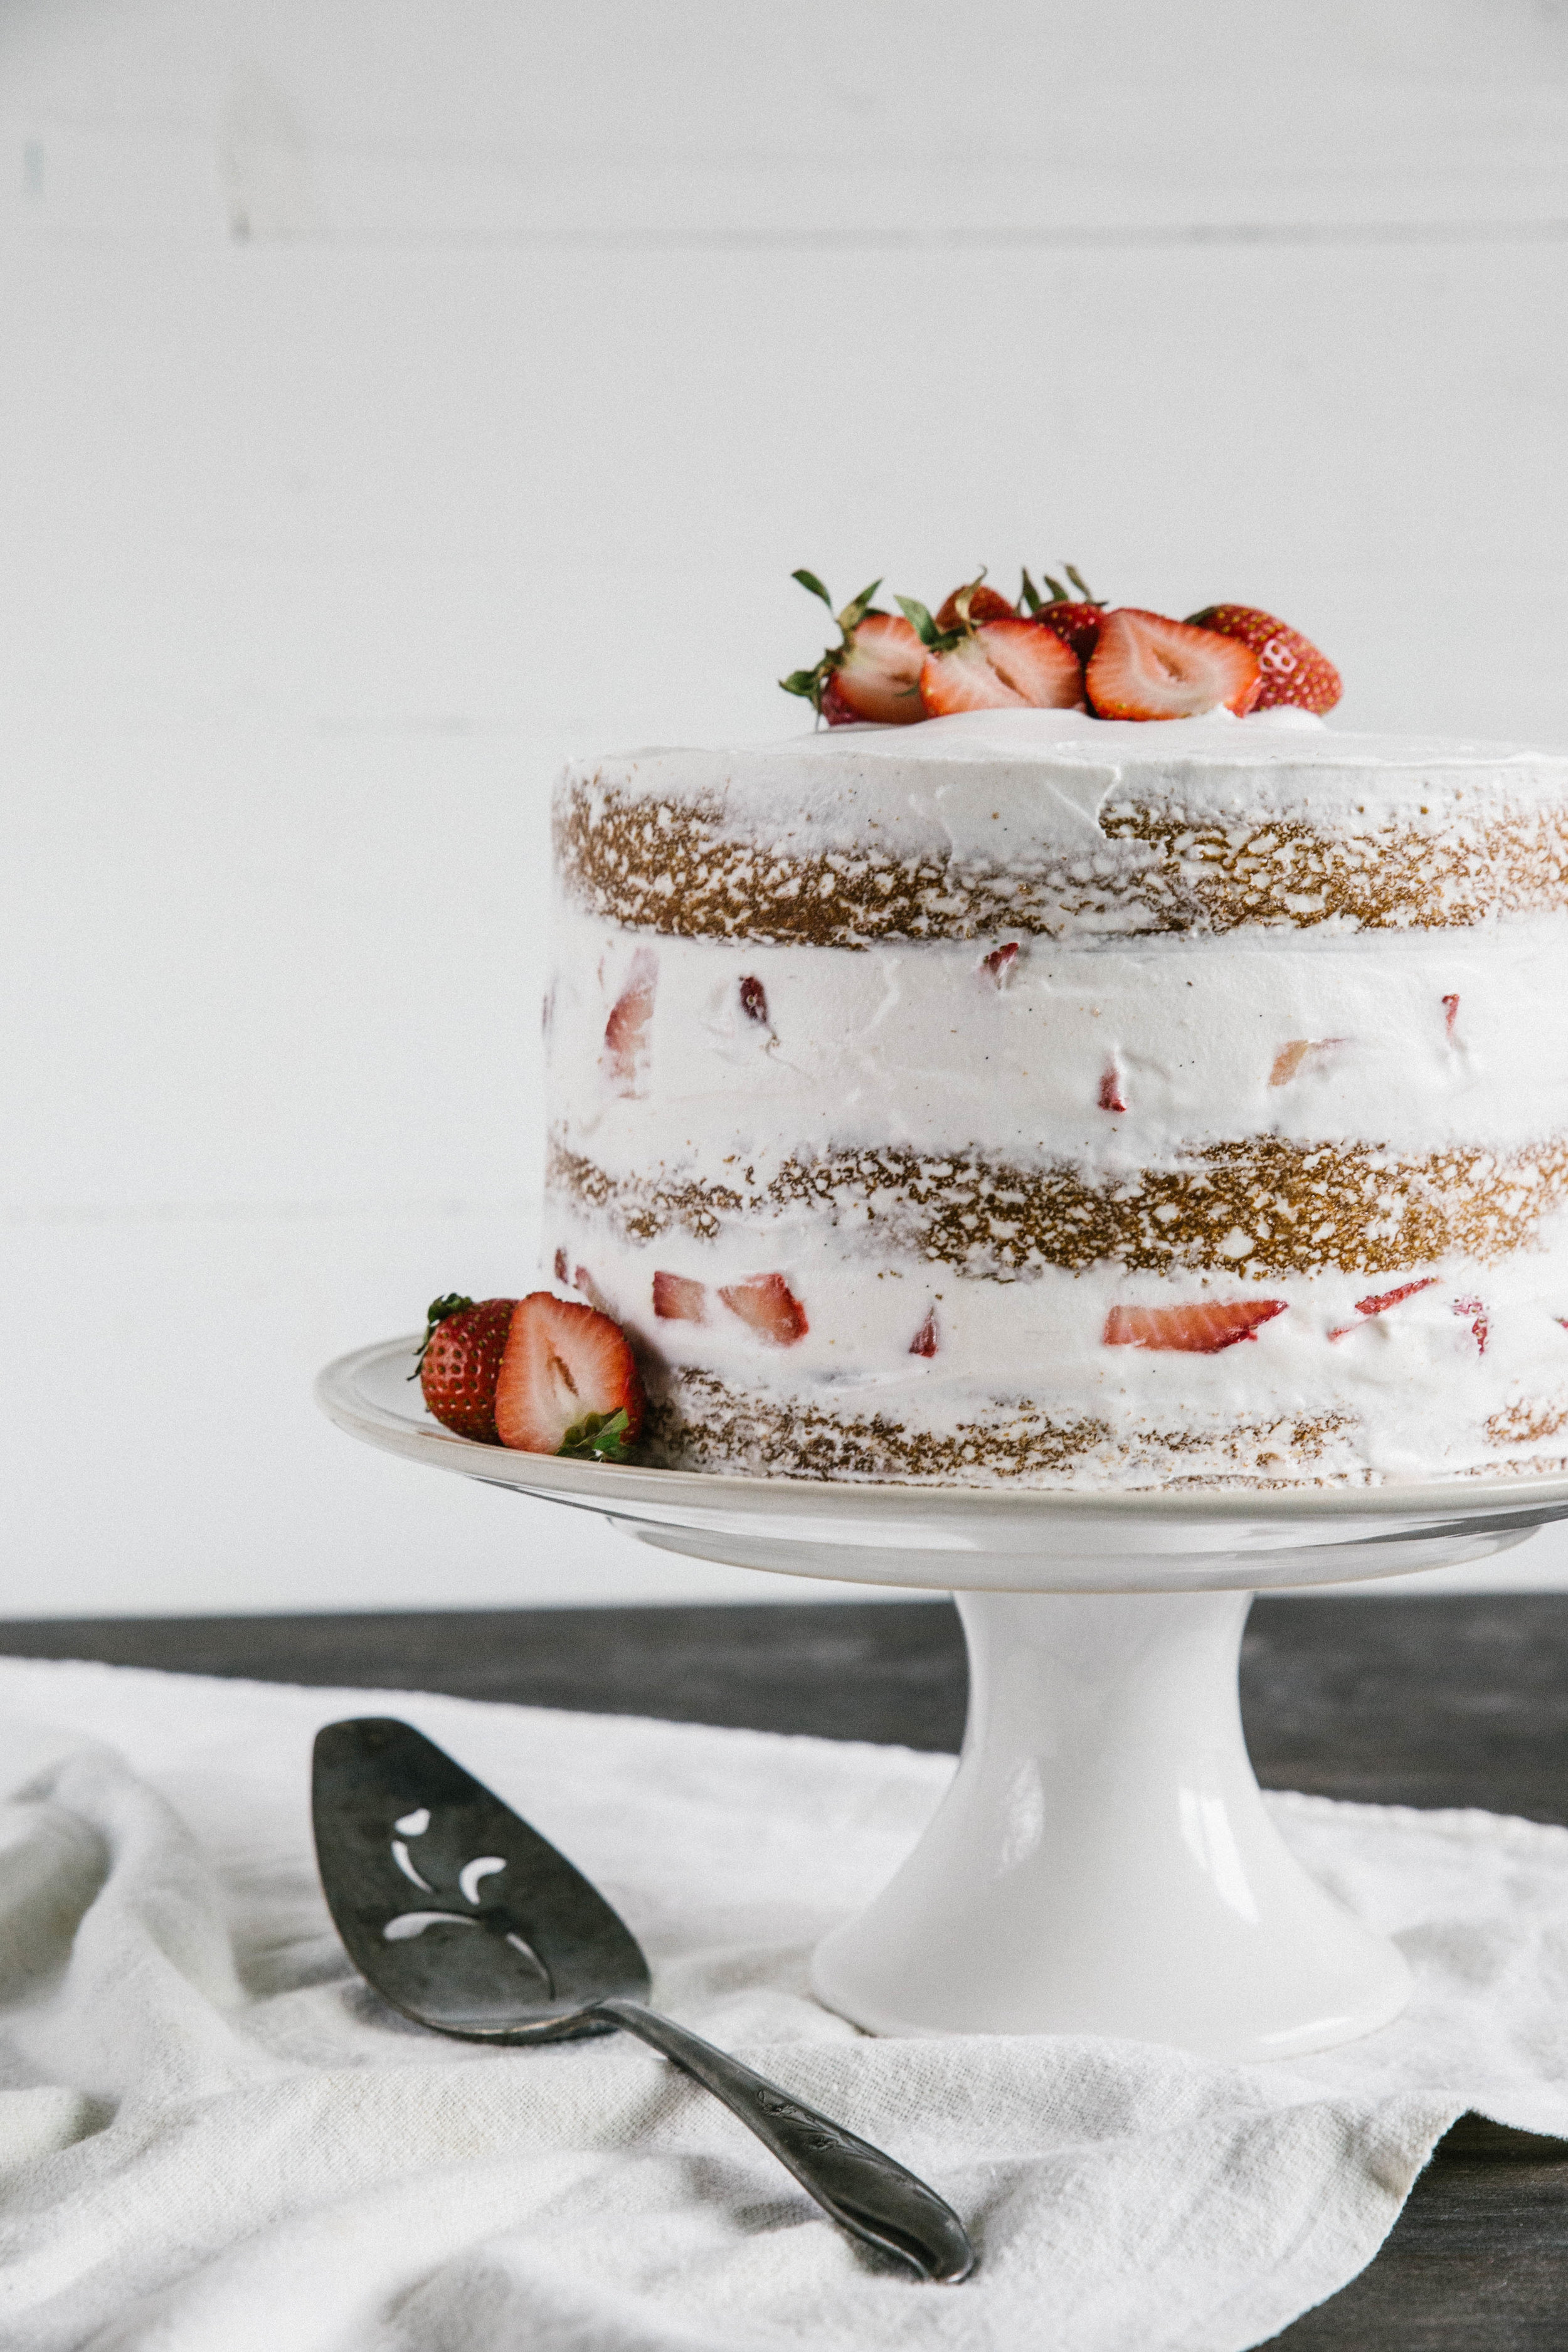
Strawberry Layer Cake expands on the idea of strawberries and cream by turning it into a multi-layer masterpiece. My classic vanilla cake recipe has been rewritten for a tall three layer cake. The cake is surrounded with a vanilla swiss meringue buttercream interspersed with fresh strawberries. The recipe may appear extensive at first glance, but do not let this deter you. If you have made cake and frosting before, this cake will be no more difficult nor take you a greater length of time.

One Year Ago: Berry Topped Angel Food Cake
Two Years Ago: White Chocolate Espresso CakePineapple Jam, and Vanilla Chia Pudding
Three Years Ago: Mocha Granola, Multigrain Bread, Blueberry Lemon Crumble, and Vanilla Cupcakes
Four Years Ago: Strawberry Rhubarb Lemonade, Citrus Roasted Rhubarb, and Roasted Cherry Brownies
Five Years Ago: Chocolate Coconut Granola, Sour Cream Sugar Cookies, and Lemon Tarts

Strawberry Layer Cake

Yields 3 layer 8 or 9-inch cake*

Vanilla Cake
3/4 cup (170 grams) unsalted butter, room temperature
2 1/2 cups (560 grams) granulated sugar
5 large eggs
1 cup (240 grams) sour cream (or plain, non-fat yogurt)
2/3 cup (150 grams) olive oil
1 1/2 tablespoons vanilla extract
5 1/3 cups (600 grams) cake flour
4 teaspoons baking powder
2 teaspoons baking soda
1 1/2 teaspoons salt
2 cups (480 ml) milk

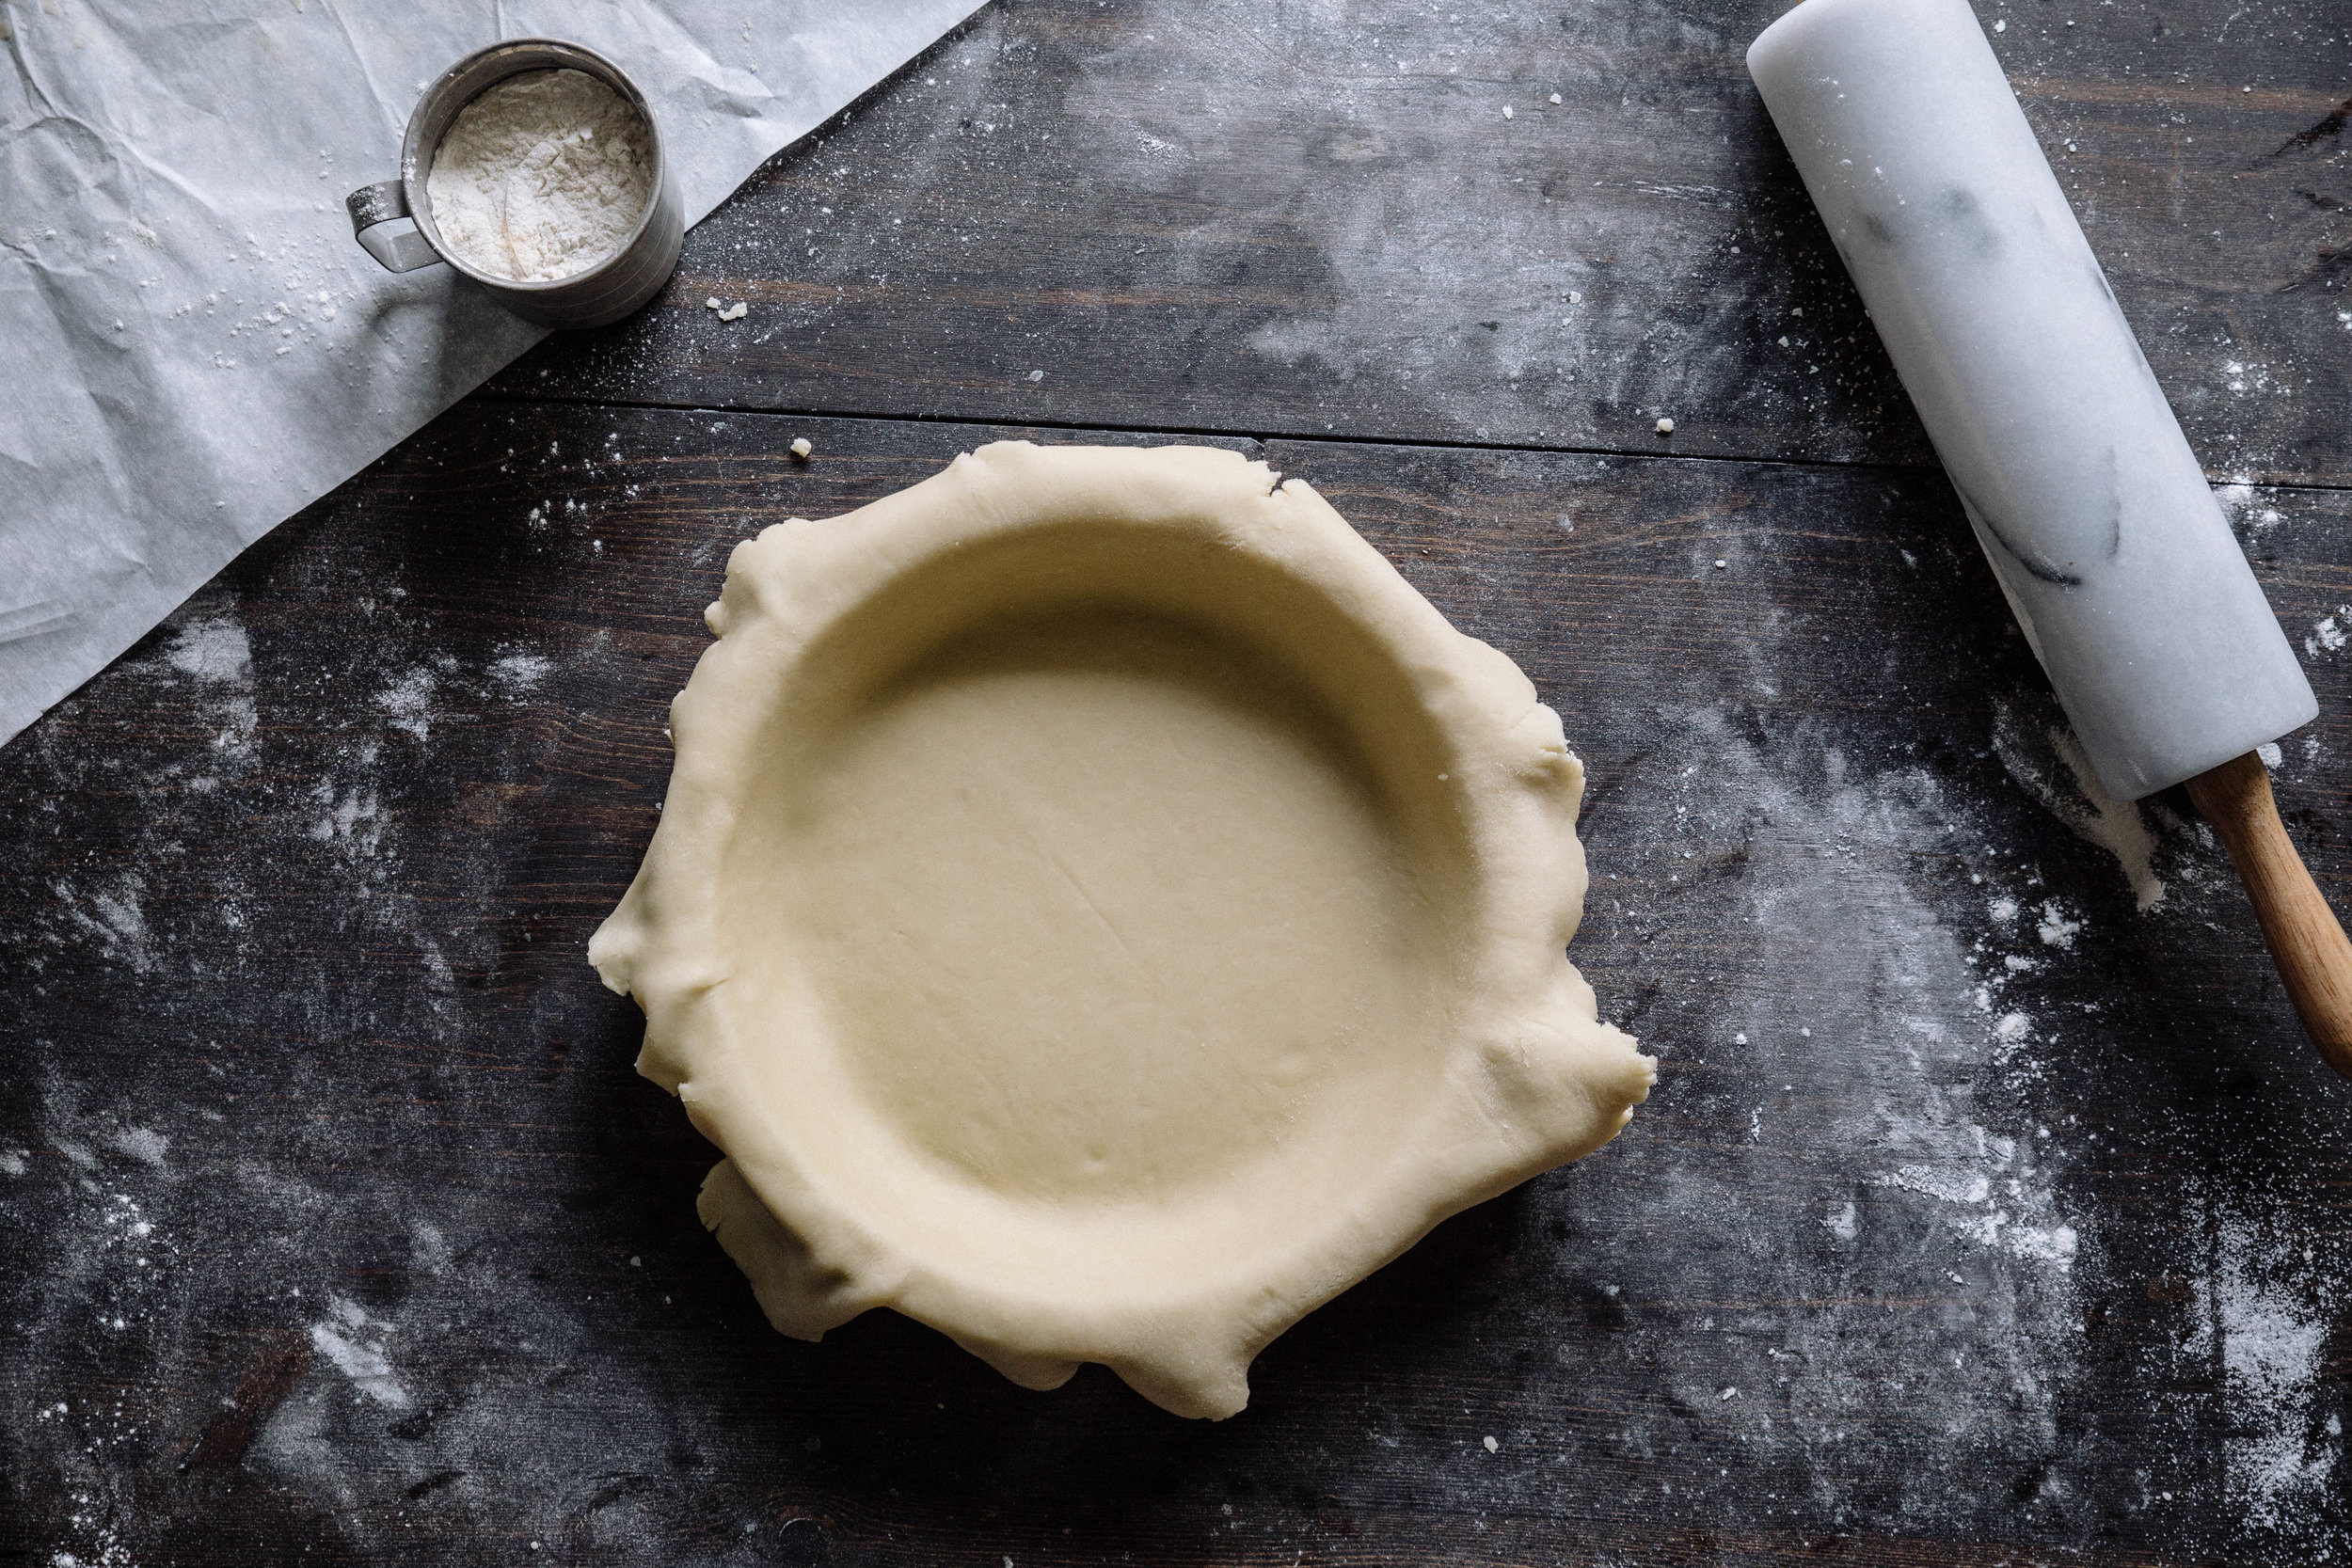
Preheat oven to 350 degrees F (180 degrees C). Grease 8 or 9-inch cake pans and set aside.

In a large mixing bowl, cream together the butter and sugar until light and fluffy. Add the eggs one at a time, beating well after each addition. Beat in the sour cream, olive oil, and vanilla extract. Gradually add in the cake flour, baking powder, baking soda, and salt in three additions, alternating with the milk, stirring until batter is uniform and smooth.

Divide batter evenly between cake pans. Keep in mind that the cake layers will be relatively tall. Bake for 35-45 minutes, or until a toothpick inserted into the center comes out clean. Allow to cool to room temperature before frosting. 

Vanilla Strawberry Swiss Meringue Buttercream
Heavily adapted from Sweetapolita

5 large egg whites (150 g)
1 1/4 cups (250 grams) granulated sugar
1 1/2 cups (340 grams) butter
Seeds from 1 vanilla bean (or 2 teaspoons vanilla bean paste or 2 teaspoons vanilla extract)
1/4 teaspoon salt
1/2 pound (225 grams) fresh strawberries, cored and sliced

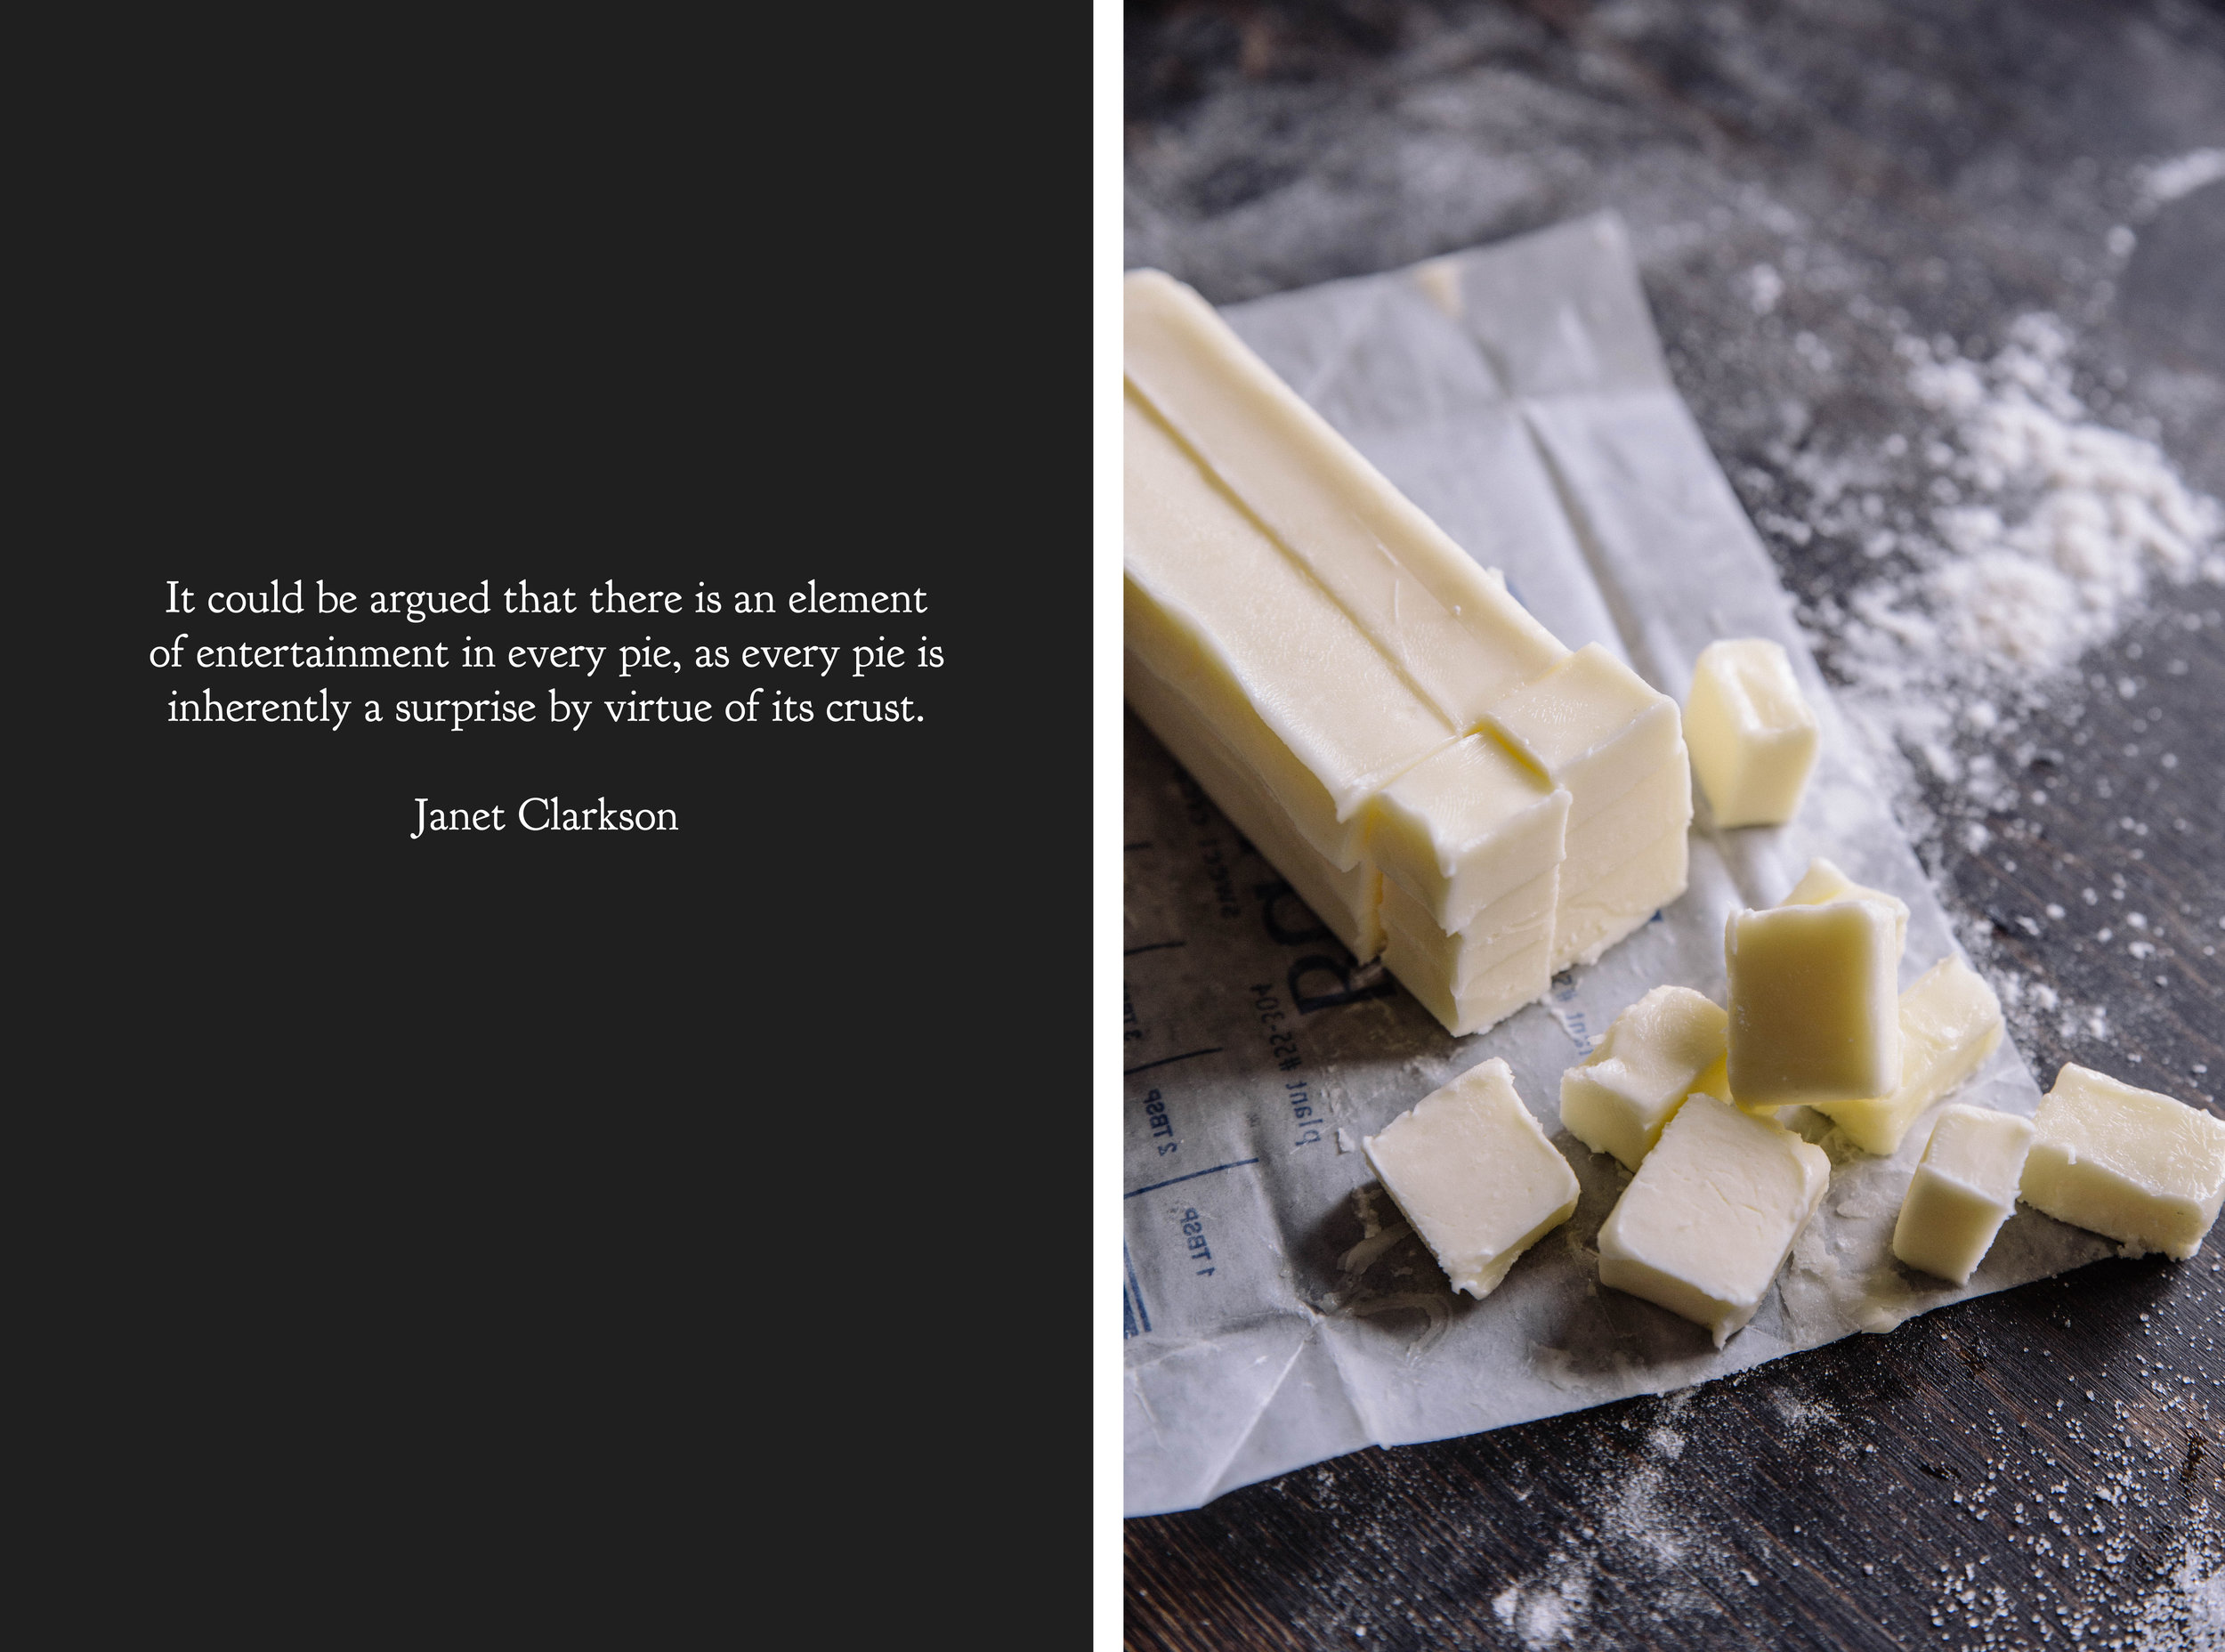
Using a sharp knife, cube the butter and set aside. While making the frosting, the butter will warm up slightly, but should still be cool to the touch when using it. 

Wipe a large bowl with a paper towel soaked in a small amount of lemon juice or vinegar to remove traces of grease. Add egg whites and sugar and, over a double boiler, whisk constantly over hot water until the sugar dissolves. When rubbed between your fingers, the egg whites should feel hot and smooth (approximately a temperature of 140 degrees F/60 degrees C). This will generally take 3-5 minutes.

Using a mixer, whip the egg whites until thick, glossy peaks form. This may take anywhere from 8-10 minutes. The bottom of the bowl should feel neutral to the touch before moving on to the next step.

Place the mixer on low speed and add the cool butter cubes one at a time, mixing until smooth. The frosting should reach a silky texture. Beat in the vanilla bean seeds. If the butter is too warm and the frosting is too runny, place in the refrigerator for approximately 15 minutes to firm up the butter before mixing again. If the mixture curdles, continue mixing until it comes back together.

To assemble, reserve approximately 1 1/2 cups of frosting to use later. Mix a majority of the sliced strawberries in the remaining frosting, reserving a handful for decoration. 

Place the bottom cake layer on a serving plate. Place approximately 2 cups of strawberry filled frosting on the cake and smooth evenly. Add the second layer of cake and repeat. Place the final layer on top and, using the reserved frosting, smooth frosting onto the top and sides of the cake to fill in any gaps. If there are bare areas showing between the cake layers, push reserved strawberry slices into the frosting and smooth out with an uneven spatula.

Top with halved strawberries and serve.

* A 3 layer 8-inch cake will not use all of the batter so you will have enough leftover batter to create a few cupcakes. If baking 9-inch cakes, you will likely use all of the batter in the creation of the cake.

Berry Balsamic Pie

The weather in the upper Midwest has been particularly sporadic this year, bouncing back and forth between winter and summer temperatures. Mother Nature's indecision weighs heavily over us, as the forecast rises and plummets to her whims. I wore a heavy winter coat to an amusement park for the first time earlier this week. This field trip was planned nearly a month ago, when April weather was coming out of its winter slump.  Surely it will be warm at the end of May, I thought. Maybe I should pack sunscreen, just in case. I was so very wrong. 

With summer vacation only a week away, I hope Mother Nature gets her forecast in order. I have some sunbathing I need to do.

Late spring is easily my least favorite for produce. Summer has fresh berries and vegetables straight from the vine. Along with a lasting scent of cinnamon, autumn brings an abundance of crisp apples and pumpkin. Winter delivers citrus and pears to accompany bowls of hearty stews. Spring, however, appears to have nothing at all. Living as far north as I do, growing season has not arrived. The rhubarb is now awakening from its long nap, the strawberry plants have just been buried in the dirt, and so we must wait.

Frozen produce has become my salvation until the garden blooms.

Pie has been on repeat in my mind lately. Pie, pie, pie. I made three of them in the last week alone. More than anything else, I think I just wanted to play with the dough, to shape it in new ways, to go through the motions of creating something beautiful and delicious.  Though, having a slice here or there hasn't been a negative either.

With this particular pie, frozen berries are easier to use than fresh. Frozen berries have a consistent level of sweetness and, when thawed, release the right amount of juice to set into the perfect pie. To accompany the berry flavor, I used a couple tablespoons of balsamic vinegar. Strawberry and balsamic flavors are notoriously complementary and I find this effect carries over to berries as well. The balsamic flavor is faint (it is difficult to taste unless you are aware it is present), but it adds something special that the plain berries would not have otherwise.

Berry Balsamic Pie comes together quite easily. Since it uses frozen berries instead of fresh, the filling can be mixed together quickly. A little balsamic vinegar helps to round out the berries flavor. I used a combination of strawberries, raspberries, blueberries, and blackberries for this pie. If preferred, the lattice top is not necessary, so you could save yourself a bit of time if you are on a tight schedule. However, I prefer a little extra pie crust with my berries andβ€”I imagine that you do tooβ€”so I have suggested it is included.

Serve plain, with fresh whipped cream, or a side of vanilla ice cream.

One Year Ago: Roasted Strawberry Red Wine Popsicles
Two Years Ago: Nutella Swirled Banana Bread and Buckwheat Chocolate Chip Pancakes
Three Years Ago: Chocolate Salted Almond Ice Cream, Rhubarb Ginger Muffins, Coconut Waffles, and Dark Cherry Fruit-on-the-Bottom Yogurt
Four Years Ago: Cornmeal Poppy Seed Crackers, Pina Colada Cupcakes, and Strawberry Smoothie

Berry Balsamic Pie

Yields 9-inch pie

double crust pie dough recipe
6 cups (850 grams) frozen mixed berries, thawed
1 cup (200 grams) granulated sugar
1/2 cup (60 grams) all-purpose flour
2 tablespoons balsamic vinegar
Milk, for brushing
Granulated sugar, for sprinkling

Preheat oven to 425 degrees F (220 degrees C).

In a large mixing bowl, gently stir together the thawed berries, sugar, flour, and balsamic vinegar until the berries are evenly coated. Set aside.

Form the pie dough into a disk and divide it into a 60/40 ratio (if using store-bought crust, do not worry about this step). On a lightly floured surface, roll out the larger section of dough into a 14-inch round circle. Carefully transfer it to a 9-inch pie pan and trim the excess pie dough to create a 1-inch overhang. Tuck the dough overhang under itself and pinch the dough between your thumb and forefinger to make a decorative edge around the rim. Fill the pie crust with the berry mixture.

On a lightly floured surface, roll out the smaller section of pie dough. Using a pizza cutter and a ruler, cut out 3/4-inch wide strips of dough. Layer the strips over the top of the pie in a decorative fashion. Trim and tuck the edges of the strips into the pie mixture itself. 

Using a pastry brush, brush the top of the pie with milk and sprinkle granulated sugar over the crust. Bake the pie for 15 minutes. Then, lower the oven temperature to 375 degrees F (190 degrees C) and continue baking. Cover the edges of the pie crust with aluminum foil to prevent further browning. Bake an additional 50-65 minutes, or until the lattice and crust are evenly browned.

For perfect slices, cool for at least 3-5 hours (or overnight). Serve with whipped cream or ice cream, if desired.

Perfect Pie Crust

For many years, baking pies only resulted in demanding, painful experiences. I fought with the dough constantly. It was too thin, too thick, or ripped too easily. It was such a nightmare that I used pie dough very sparingly in my baking. When I made this peach vanilla cardamom pie several years ago, I struggled with the dough for over an hour, manhandling it to produce the final, amateur lattice pattern. From then on, I opted for galettes whenever a flaky, fruity pastry was on the menu.   

 I had the right recipes, but the technique was missing. Several years (and many pies) later, I have the technique down solid. And now, I am going to share it with you. 


The Perfect Pie Crust tutorial.

Pie dough starts with only a few simple ingredients: flour, butter, salt, and (sometimes) sugar. The method in which these ingredients are combined makes all the difference. I prefer to do most of the work by hand because it allows for greater control over the size of the butter and, ultimately, the final product. While it is possible to make pie dough using mixers or food processors, I find the final product to be inferior. For years I used appliances to do the bulk of the work. In retrospect, I believe it was this decision that caused most of my dough problems.

Once I took the dough into my own hands, the dough came together effortlessly and it was simple to roll out and shape. 

To start, whisk together the dry ingredients. Take half of the butterβ€”which must be coldβ€”and cube it with a knife. Add the butter to the dry ingredients and rub it between your fingers until the dough resembles a coarse sand, shown above. This process usually takes a few minutes 

Next, take the second half of the cold butter, cube it, and rub it into the flour with your fingers. This time leave the butter in larger pieces. The pieces should be larger than you think is reasonableβ€”it is perfectly acceptable for many of the pieces of butter to be as large as your thumbnail. The final size of the butter pieces is shown above for reference.

The first addition of butter is used to hold the dough together; the second addition of butter, when left in larger pieces, is used to create the classic flakiness of a pie crust.

Next, ice cold water is added to the dough to bring it together. I usually fill a measuring cup with water, throw in a couple ice cubes, and add water by the tablespoon to the dough. For a full batch, start with four tablespoons of water and mix the dough until it is uniform. I prefer to use a dough whisk, but a large whisk or spatula will also work well. From here, it is important to add the water slowly so you can see how each tablespoon of water affects the consistency of the dough. Unless you have added too much flour, you should not need to add more than 8 tablespoons of water.

In the photograph above, I added 5 tablespoons of water to the dough, and this resulted in the perfect amount of water for this batch. The dough will appear drier than you think is reasonable. However, if you squeeze it between your fingers, it should hold firmly together.

Place the pie dough onto a sheet of parchment paper. The dough will not stick to the paper, which makes it easy to shape. Using the paper as a tool, press down on the dough until it forms a disk. Most of the dough will come together easily, but you may have drier pieces around the edges. To bring these into the mix, fold the dough in half using the parchment paper. Press down on the disk and fold again in an alternating direction. Repeat until the dough is uniform (this typically occurs between 5-10 folds). 

As a bonus, the folding technique adds more of the coveted flaky layers. The end of this stage is shown below.

Shape the dough into a disk and wrap it with plastic wrap. Chill in the refrigerator for at least a half hour (but no longer than 2-3 days). Chilling the dough is important because it evenly distributes the moisture throughout the dough, resulting in a product that is easier to roll out and shape.

When you are ready to form the crust, sprinkle a light amount of flour over the same parchment paper. Cut the dough in half (50/50 ratio) if creating a double crust pie or two single pie crusts. If creating a lattice pattern, cut dough in a 60/40 ratio since less dough is needed to cover the top. This ratio will provide extra dough for the bottom to make it easier to use and shape.

Sprinkle a light amount of flour over the pie dough and roll out using a rolling pin. The parchment paper is a nonstick surface which allows you to move the dough around as you roll it out, preventing it from sticking to the paper. Roll out in one direction, physically move the dough (not the paper), and roll out from another angle to create a circular shape. Let the dough come to you instead of twisting yourself to roll the doughβ€”this will help you keep the dough an even thickness. Using the parchment paper to help you roll out the dough makes it easier to move and transfer the dough when the moment comes.

The dough should be approximately 14" round for a bottom crust in a 9" pie pan. The dough should be between 1/8" and 1/4" thick. Do not roll it thicker or it will not bake evenly; likewise, do not roll it thinner or it will be prone to ripping or tearing.

I often roll the edge of the dough over my forearm and transfer it to the pie pan. However, you can also roll the dough over the rolling pin to transfer or simply flip over the parchment paper onto the pie pan. The dough holds together well enough that it can be moved around until it is centered. Typically, the dough is trimmed so that there is a 1" overhang over the edge of the pan. The extra dough can be used to patch any holes or fill in areas around the edge.

Depending on the recipe, the techniques used to finish the pie will vary from this point. I prefer to use an all-butter pie crust for the flavor, but if you are using shortening, lard, or a combination of fats, the technique for the perfect pie crust is roughly the same.

Keep an eye out for the berry pie recipe belowβ€”I'll share it in time for Memorial Day weekend!

Happy Baking!

Note: To create a single 9" pie crust, cut the amount of each ingredient in half. Alternatively, pie dough can be kept in the freezer for up to 3 months when wrapped well. If you only need a single crust, consider storing the other half to use at a later date.

One Year Ago: Chocolate Blackberry Cupcakes
Two Years Ago: Whole Wheat Almond Waffles and Sparkling Pineapple Rum Cocktail
Three Years Ago: Honey Wheat Cake with Cream Cheese IcingBlueberry Cheesecake Ice CreamStrawberry Cream Cheese Pop Tarts, and Rhubarb Custard Tart
Four Years Ago: Chocolate Filled Buns, Malted Chocolate Chip Cookies, Minted Lime Licuado, and Chocolate Raspberry Pots de Creme

Perfect (All-Butter) Pie Crust

Yields 1 double crust or 2 single 9" pie crusts

2 1/2 cups (315 grams) all-purpose flour 
1/2 teaspoon salt 
1 tablespoon granulated sugar (omit sugar for savory pies) 
1 cup (225 grams) butter, cold and cubed*
4-8 tablespoons ice water

In a large bowl, whisk together the flour, salt, and sugar. Add half of the cold, cubed butter and rub the butter and flour between your fingers until it resembles coarse sand. Add the second half the cubed butter and rub in into the flour, but  leave it in larger pieces (approximately the size of your thumbnail). Add four tablespoons of water and mix the dough together until uniform. Gradually add more water, one tablespoon at a time, until the dough holds together when squeezed in your hand. 

Place the dough on parchment paper and use the paper to press the dough into a disk. To make the dough uniform, fold the dough in half, using the paper. Press down and fold in the opposite direction. Repeat until the dough appears uniform. Shape into a disk, wrap in plastic wrap, and chill for at least a half hour (or up to 2-3 days). 

Cut the dough in half (or a 60/40 ratio if creating a lattice top). On a lightly floured surface, roll out the dough into a 14" round for a 9" pie pan. For a pie, wrap dough lightly around a rolling pin and transfer to the pie pan. Gently press dough into the bottom and sides of the pan. Trim the dough to allow a 1" overhang. 

Depending on the recipe you are using, the directions will vary from this point onward.

* Increase salt to 1 teaspoon if using unsalted butter.