Honey Cookies

honeycookies6.jpg

This honey cookie recipe has been passed down through four generations in my family. Shared between mother and daughter, grandmother and granddaughter, and cousin to cousin, this recipe is weaved throughout our family history. The honey cookies are guests at our holiday celebrations, making their appearance when family is gathered.

Growing up, the honey cookies were served out of large vintage yellow Tupperware container, brought in from the cold garage after the evening meal. By this time, the dessert table was already full, arranged with candies and cookies of all flavors and textures on brightly colored holiday plates. Since the honey cookies were a late arrival to the party (we would have certainly spoiled our appetites if they arrived sooner), they were placed on a nearby dining room chair. It didn't matter that the cookies were cold, or that they were not presented just so—everyone knew they were the genuine star of the holiday table.

Memories of holidays past bring up images of family laughing around the table, cousins sneaking extra cookies in pockets and up sleeves, and my grandfather reminding everyone, again, how much he loved these cookies.

honeycookies2.jpg

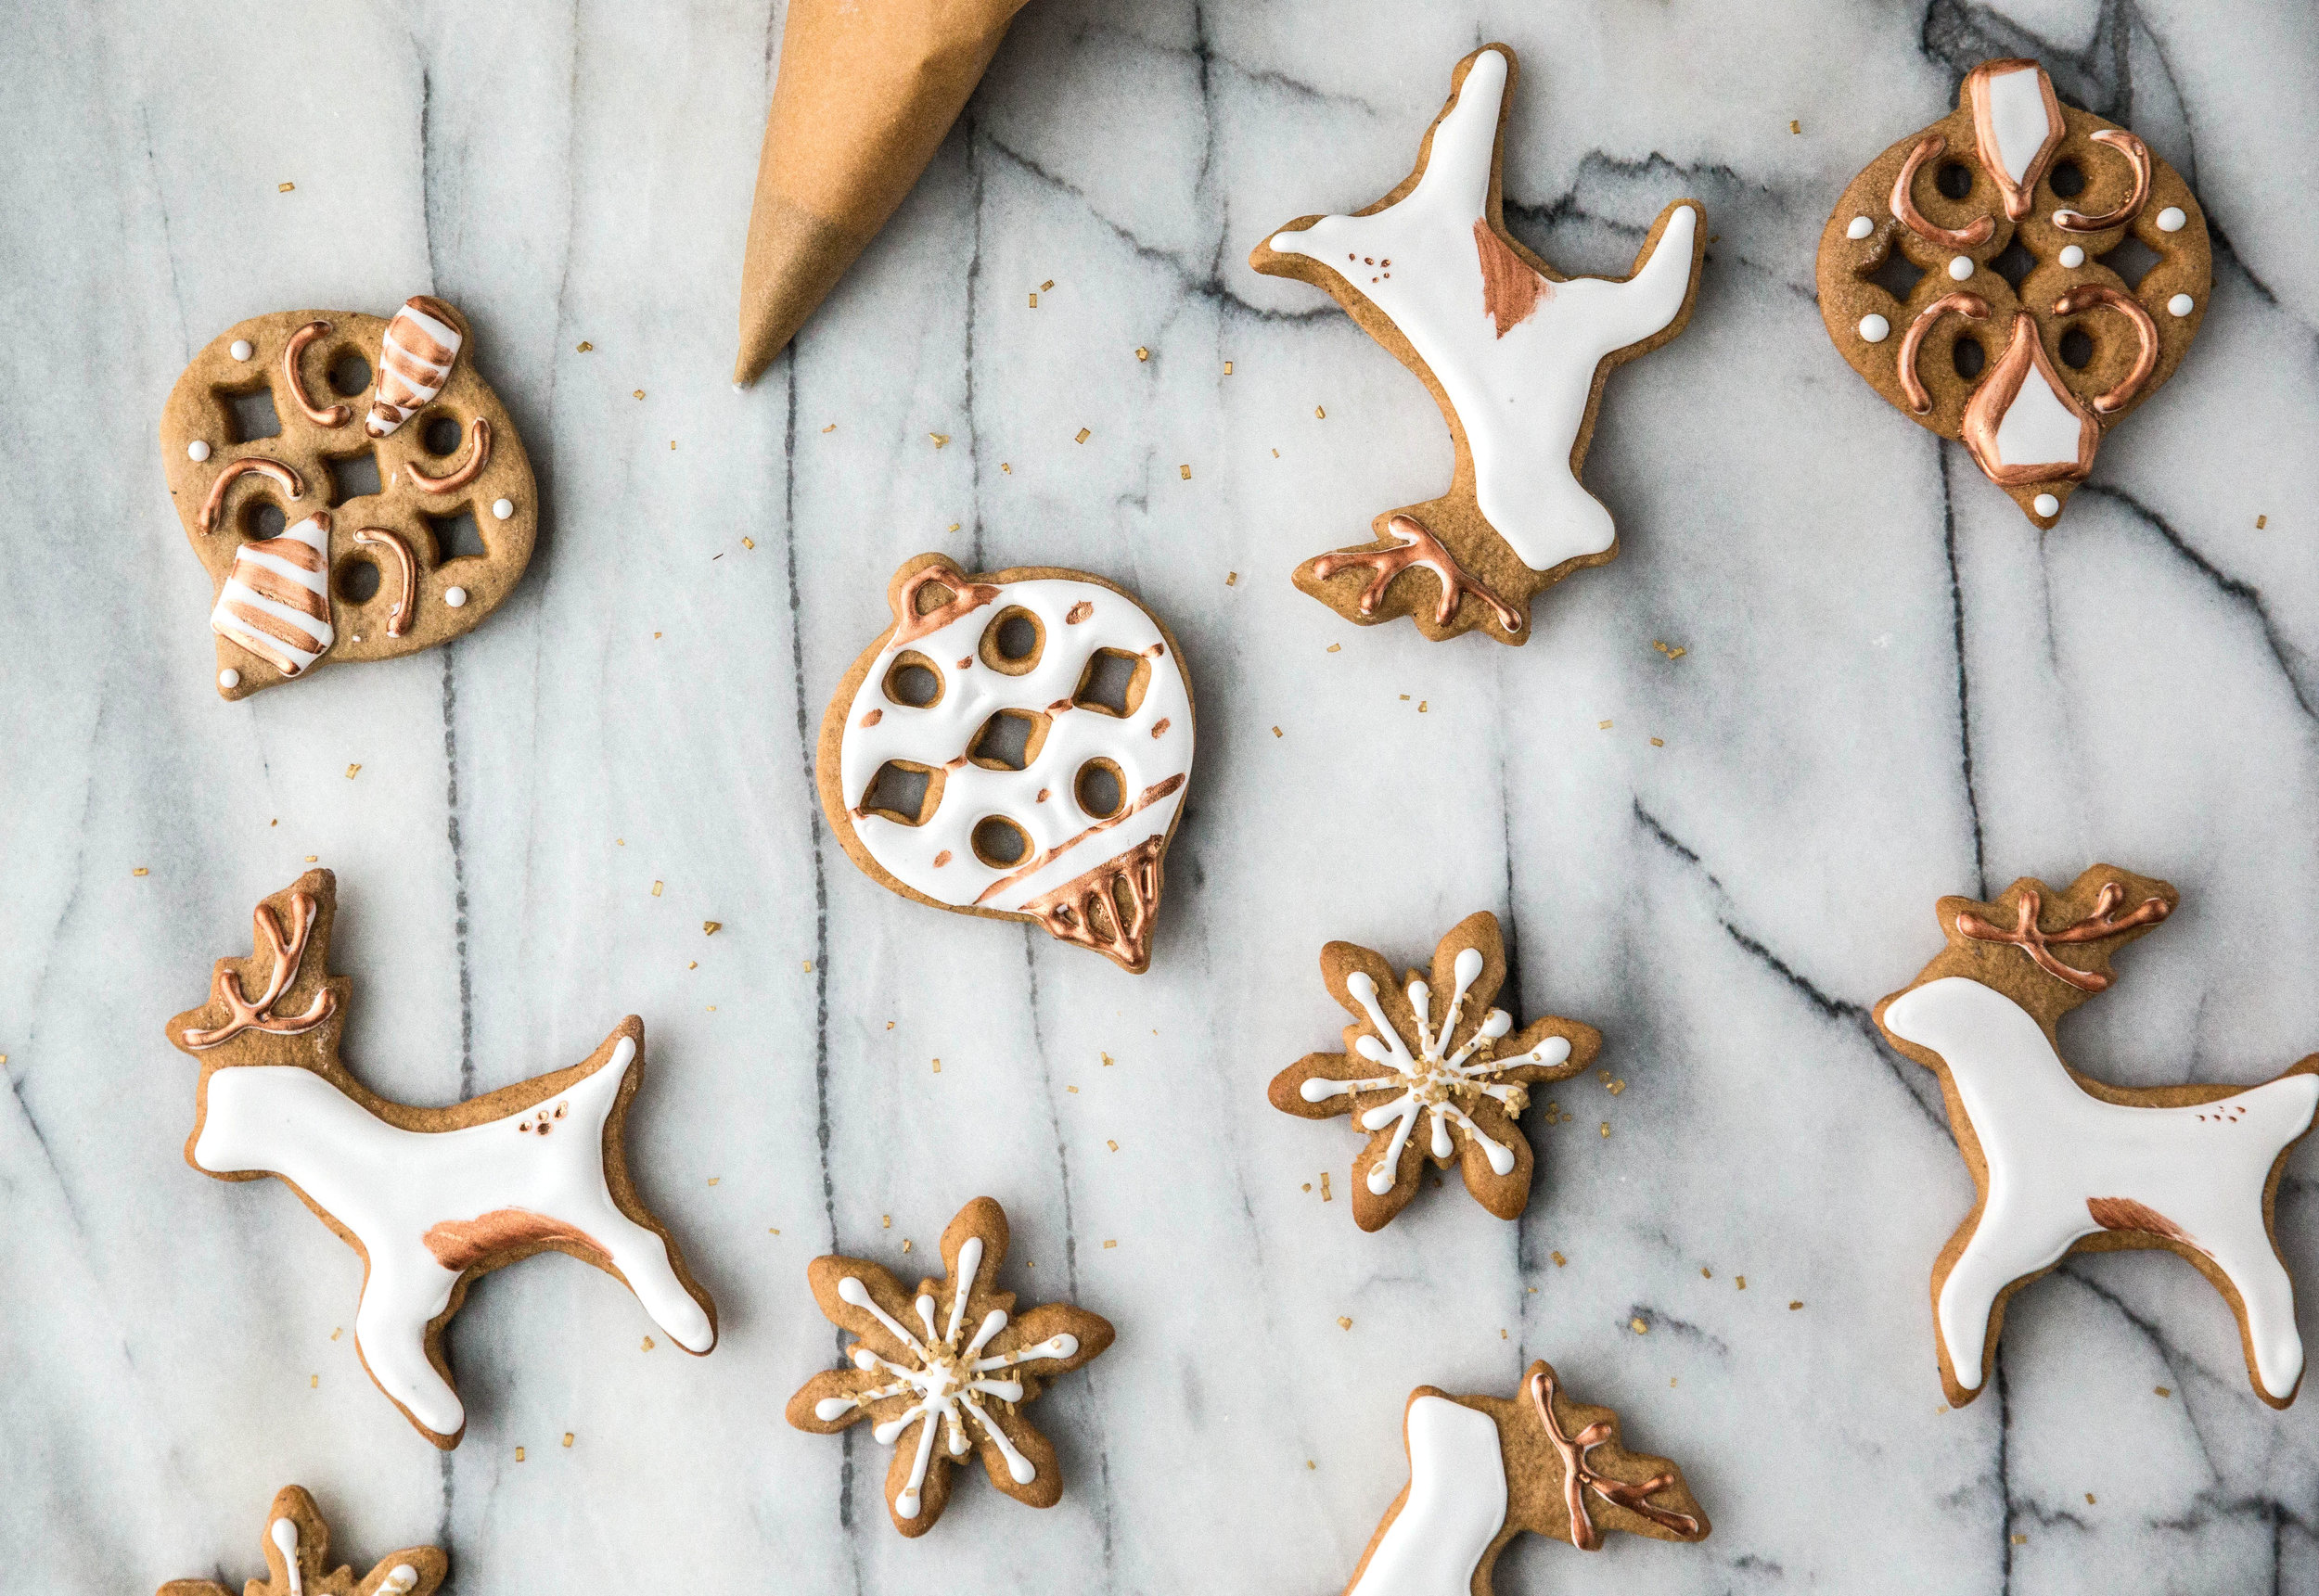
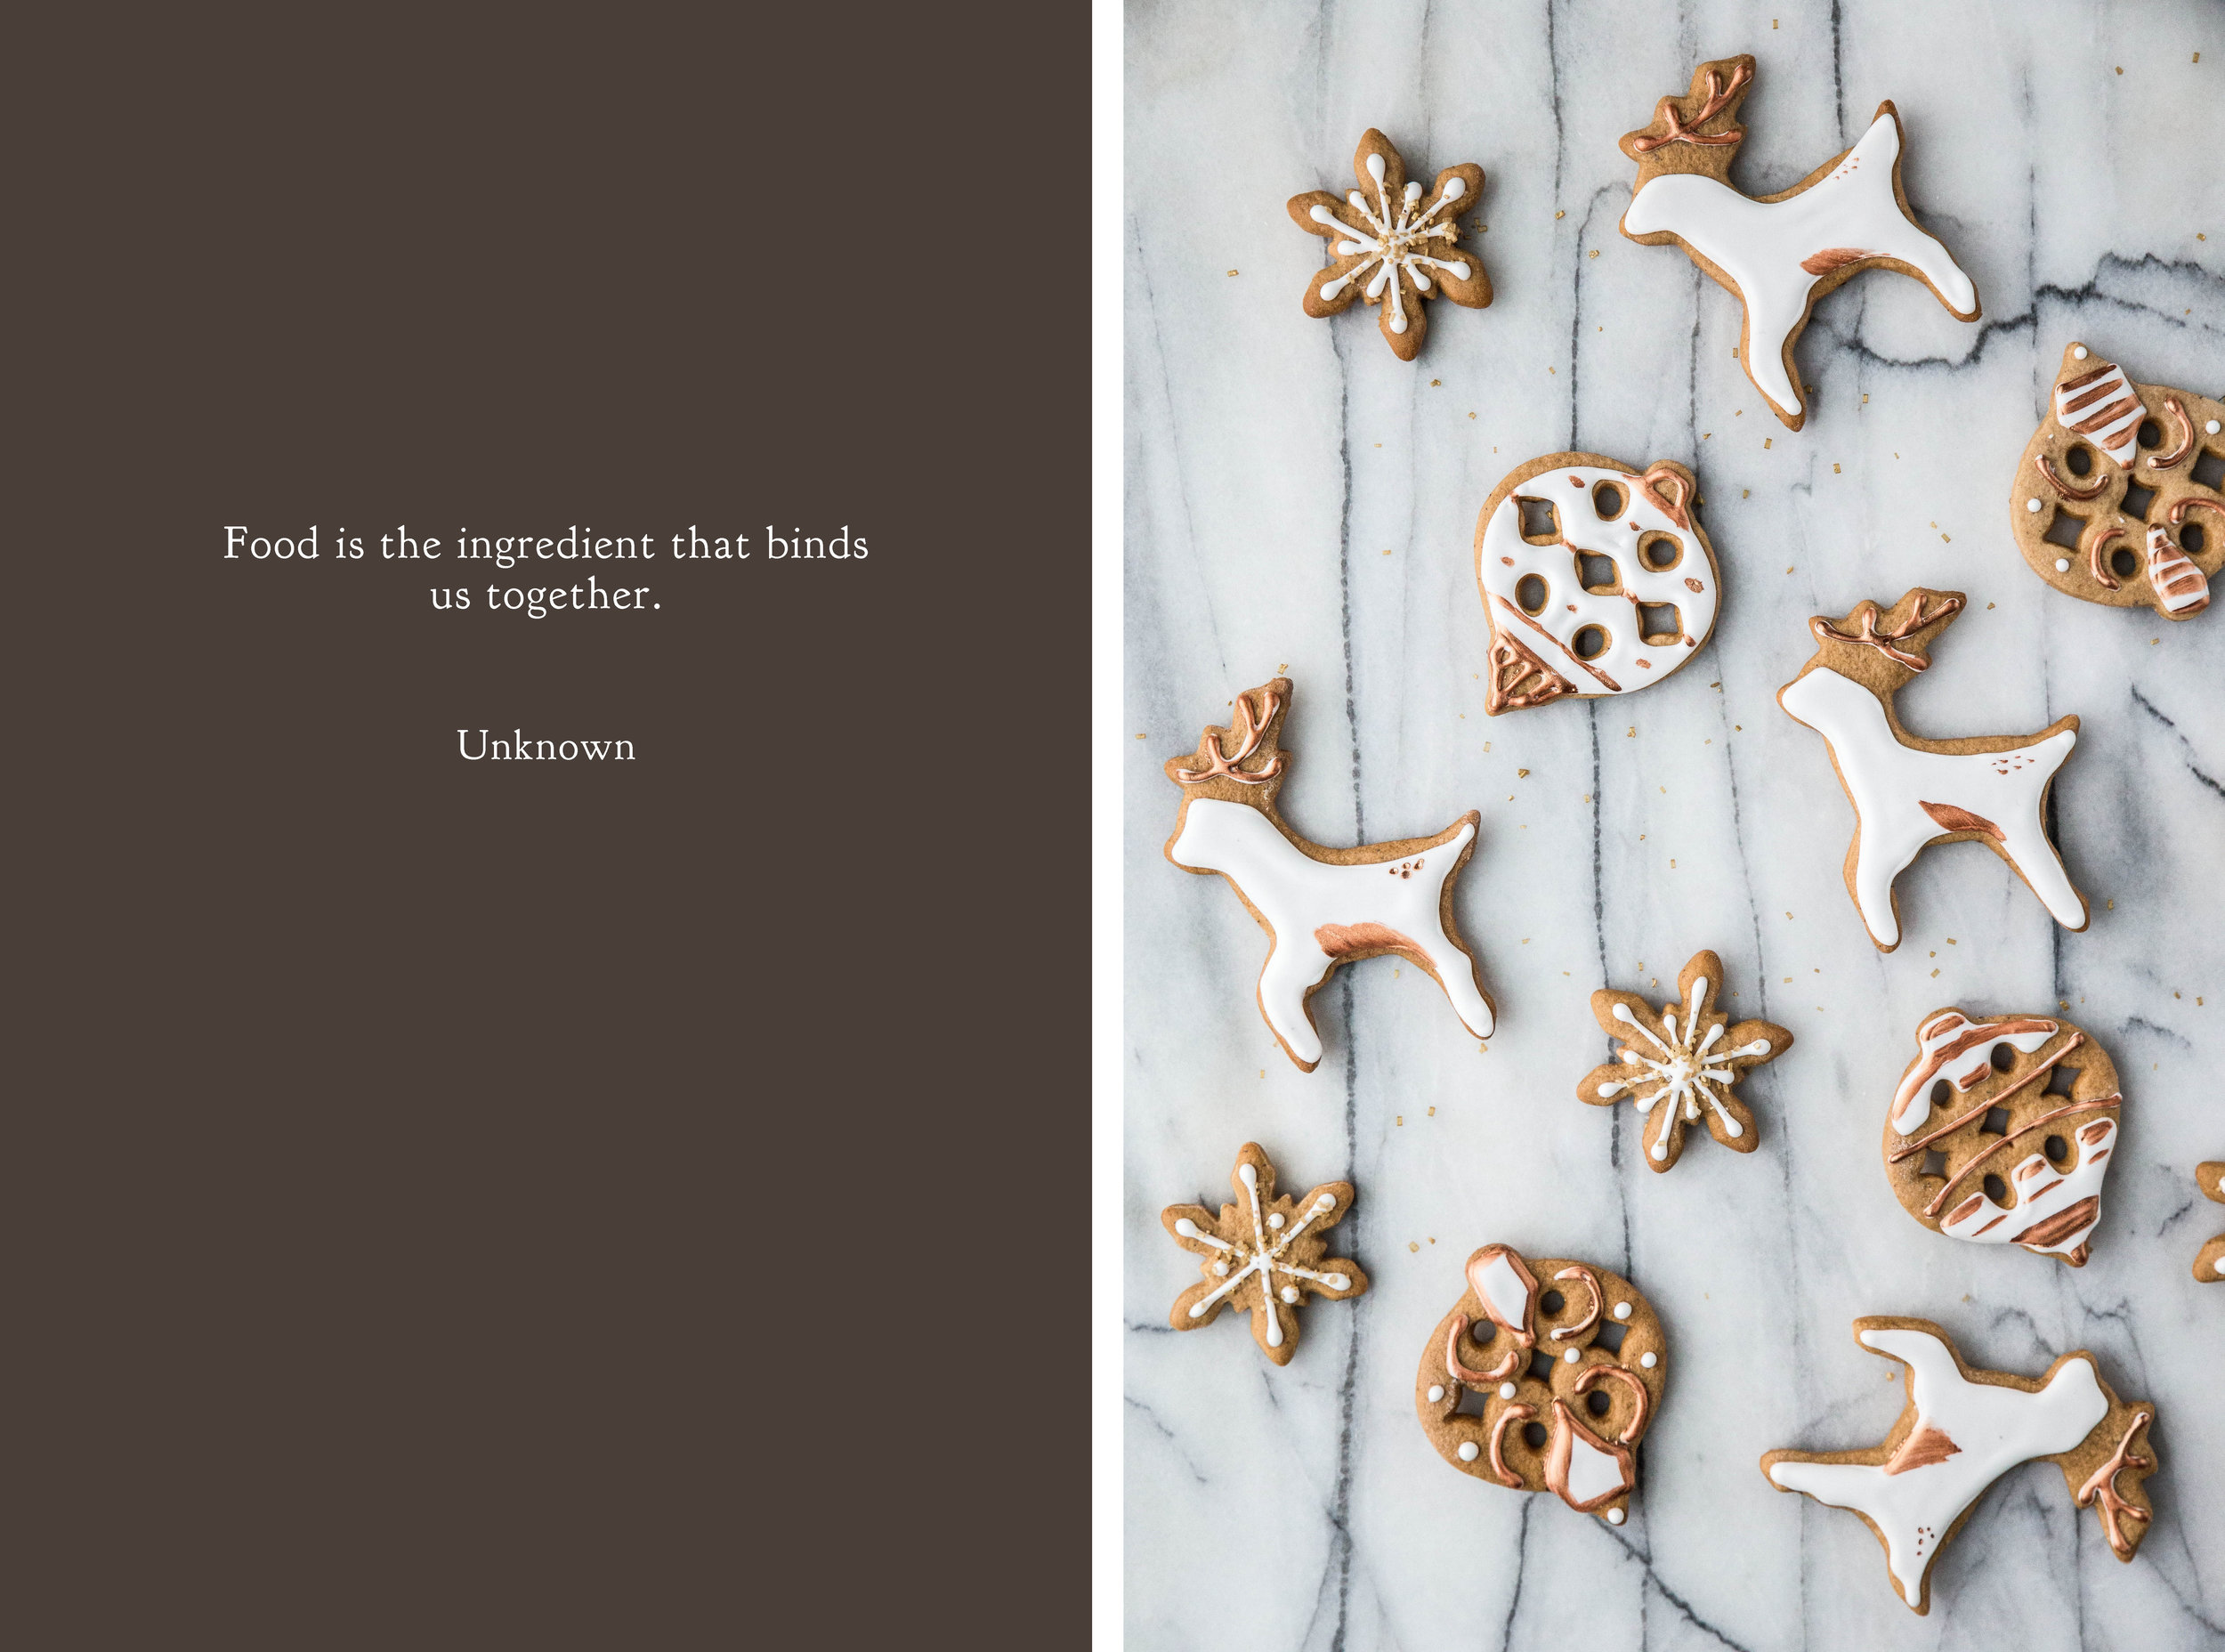
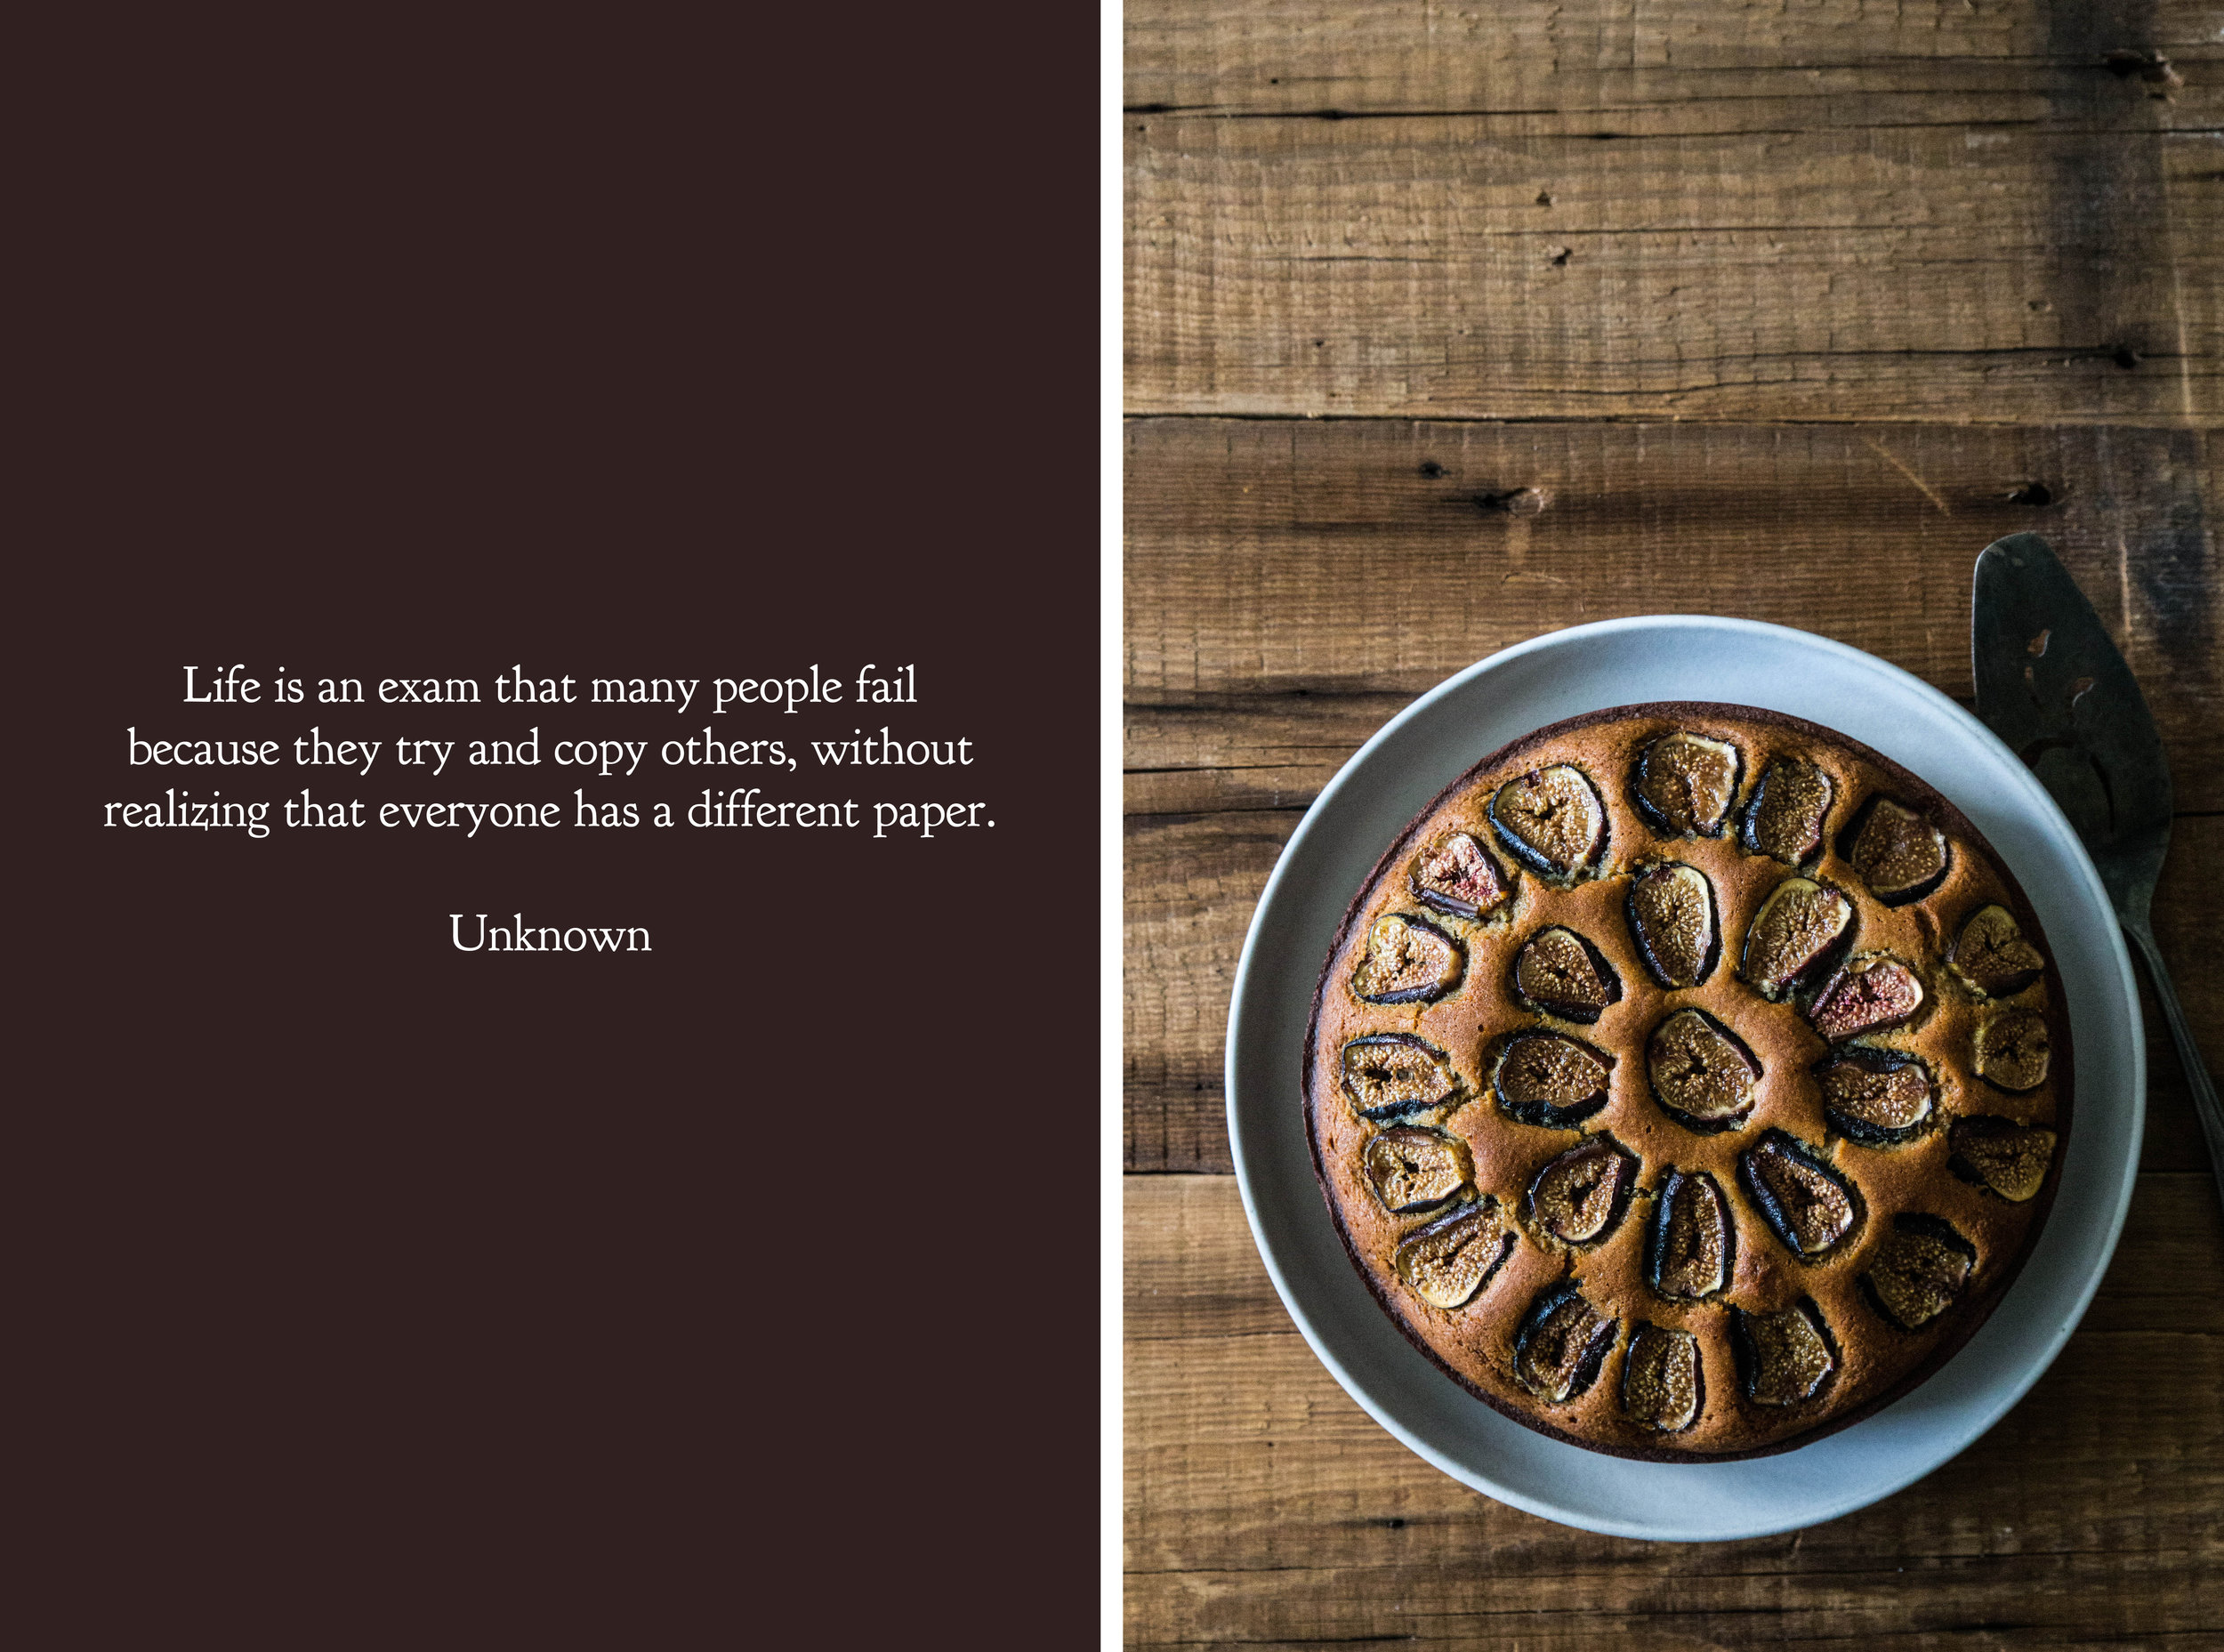
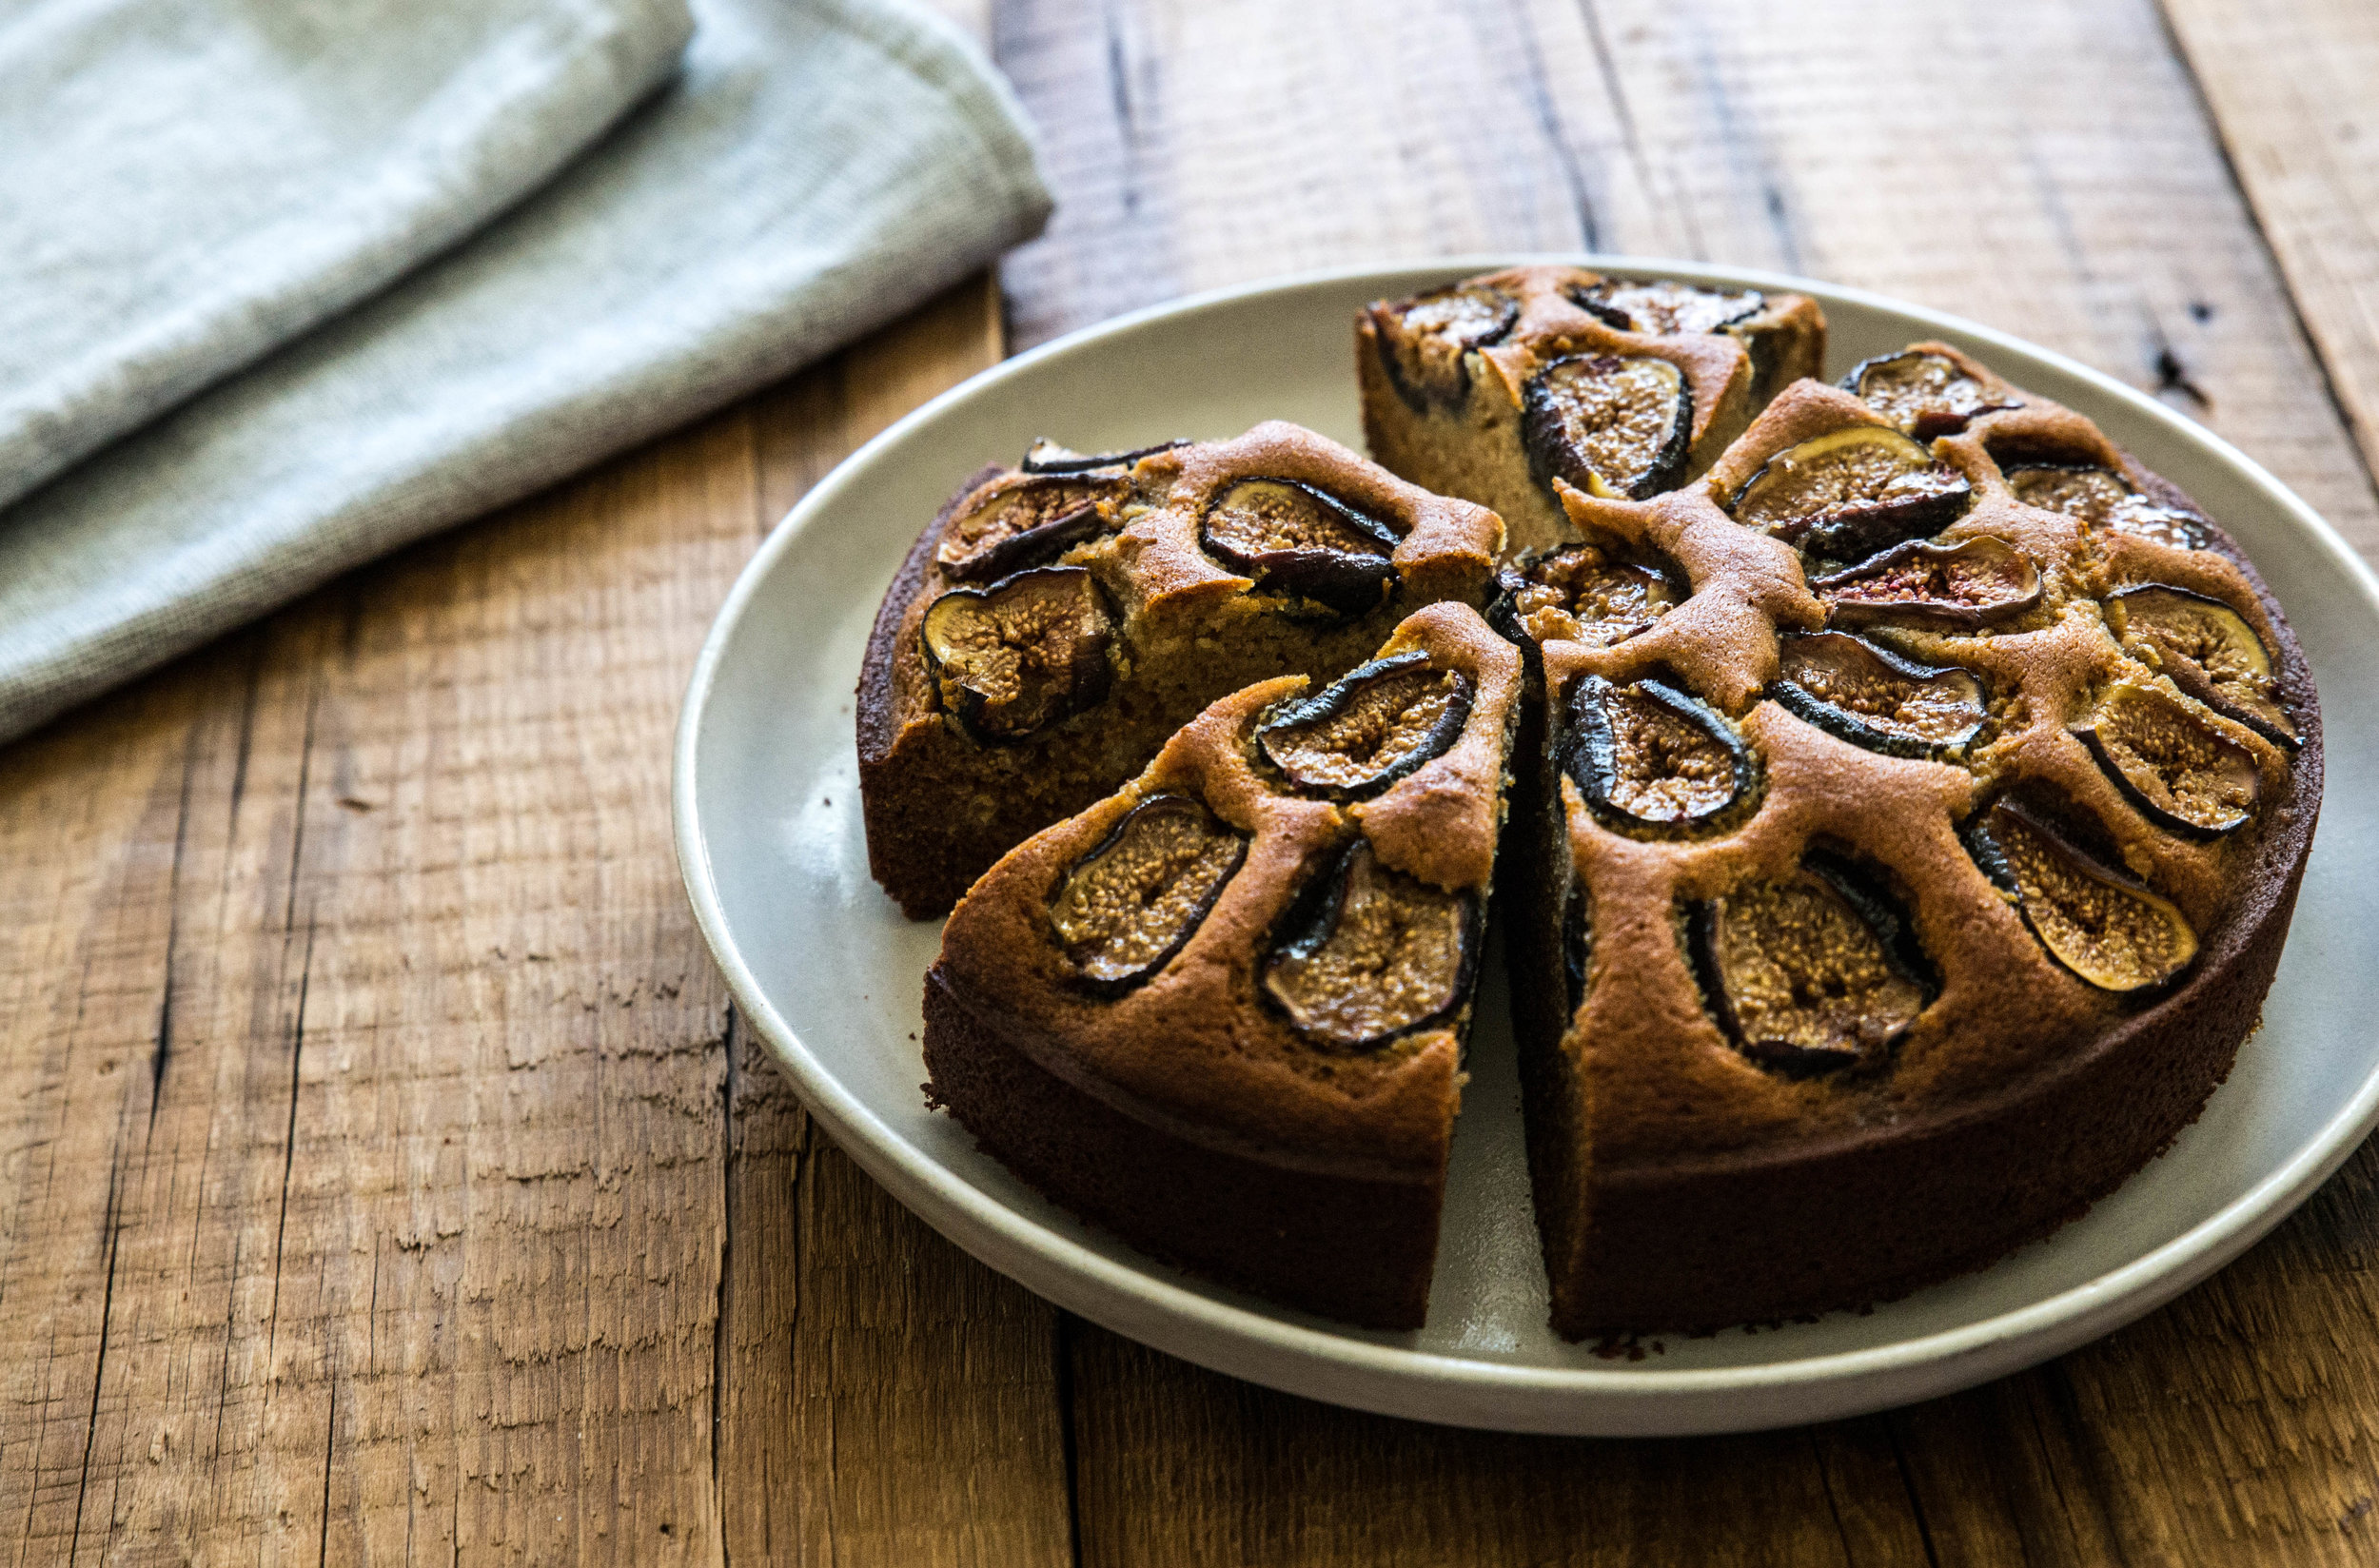
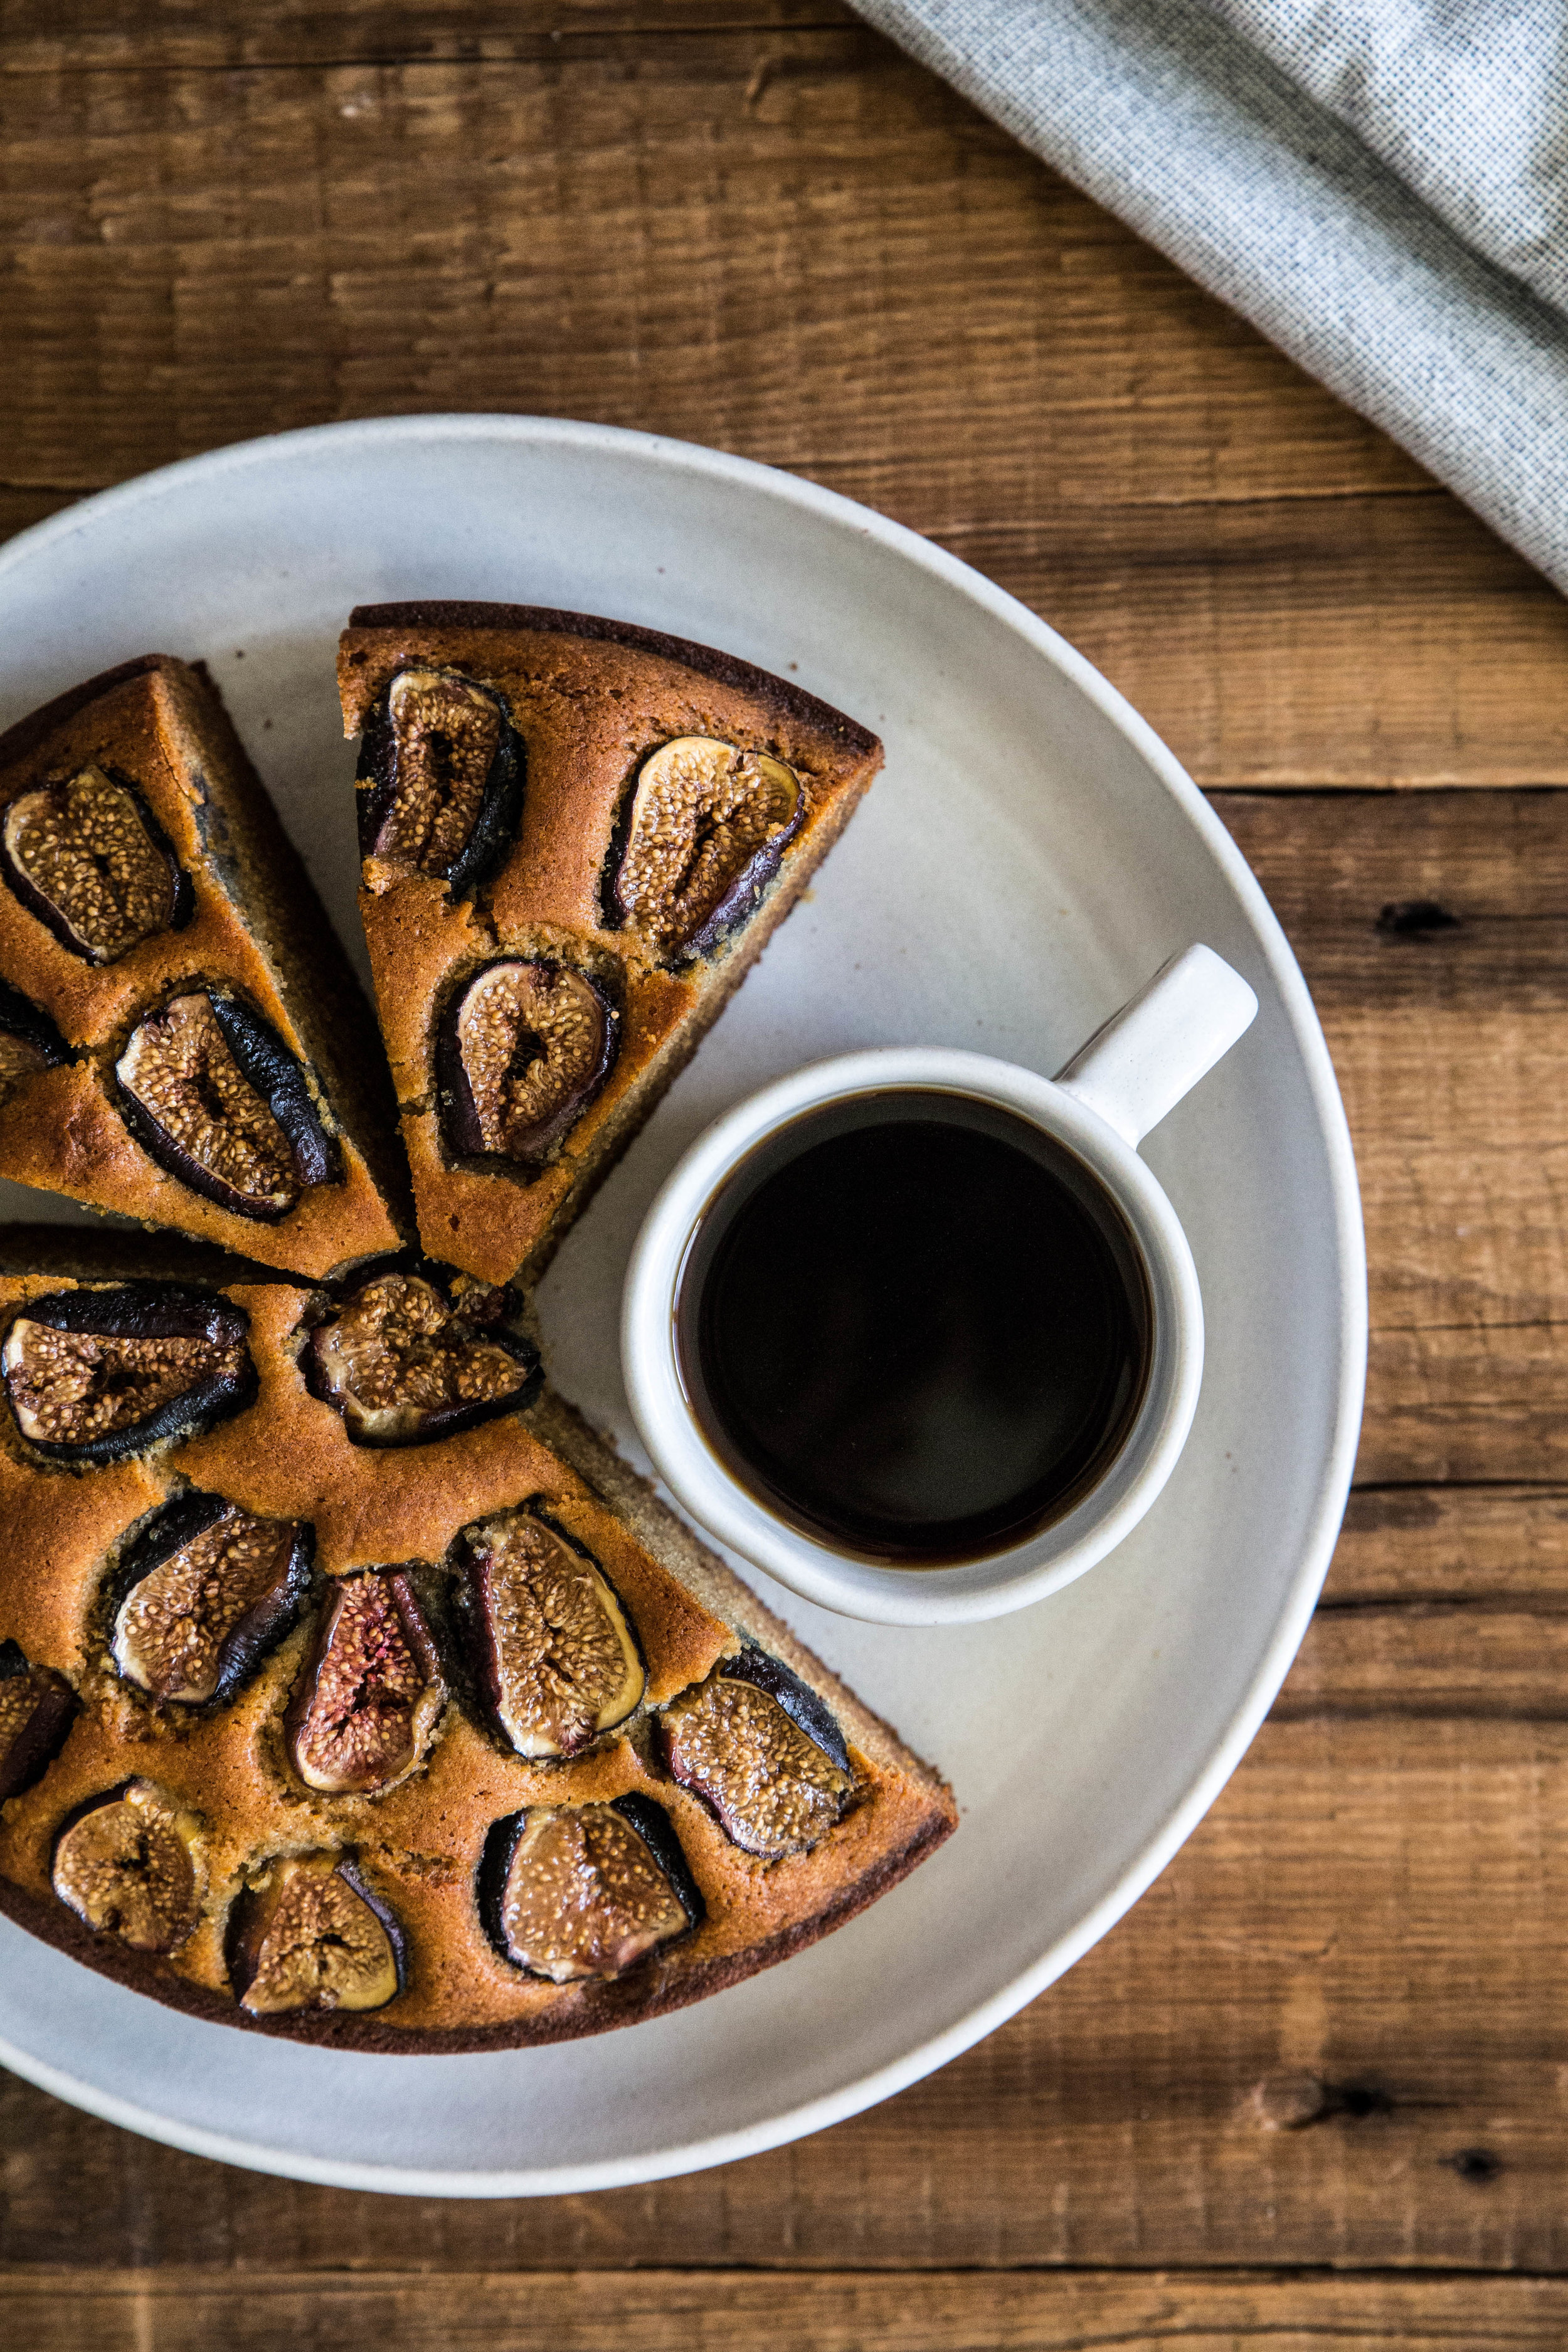
These honey cookies are a modest spiced cookie, no flashy sprinkles or bright colors, but it is their simplicity that makes them beautiful. The recipe for these honey cookies is traditionally of German heritage, prepared over the stove instead of in a mixer. The sugars are brought to a boil before the mixture is combined with butter, eggs, and sour cream. Once the flour is stirred in, the soft dough is chilled in the refrigerator to stiffen. The baked cookies have a unique texture—soft, yet substantial.

These honey cookies hold so much nostalgia for me. The smell brings out the savory and sweet scents of Christmas Eve dinner. The sight carries images of my late grandfather telling everyone another story, cookie in hand. The taste—well, the taste is of home.

May these cookies bring you and yours as many memories as they have given me.

IMG_9453-2.jpg

These soft Honey Cookies embrace the comforting flavors of the holiday—cinnamon, nutmeg, cloves, and anise. The spices come together beautifully and the addition of sour cream make these cookies soft to the touch and to the taste. An anise glaze may be added for a touch more flavor and a hint more sweetness. The cookies bake up smooth, which is perfect for decorating if you choose to do so. Share these cookies with family and friends during your holiday celebrations—perhaps you'll start a new tradition. 

One Year Ago: Chocolate Cream Pie
Three Years Ago: Chocolate Sugar Cookies
Four Years Ago:  Sugar Cookies 
Five Years Ago: Red Wine Chocolate Truffles & Gingerbread Cookies
Six Years Ago: Candy Cane Popcorn
Seven Years Ago: Chocolate Truffles

Honey Cookies

Yields approximately 4 dozen cookies

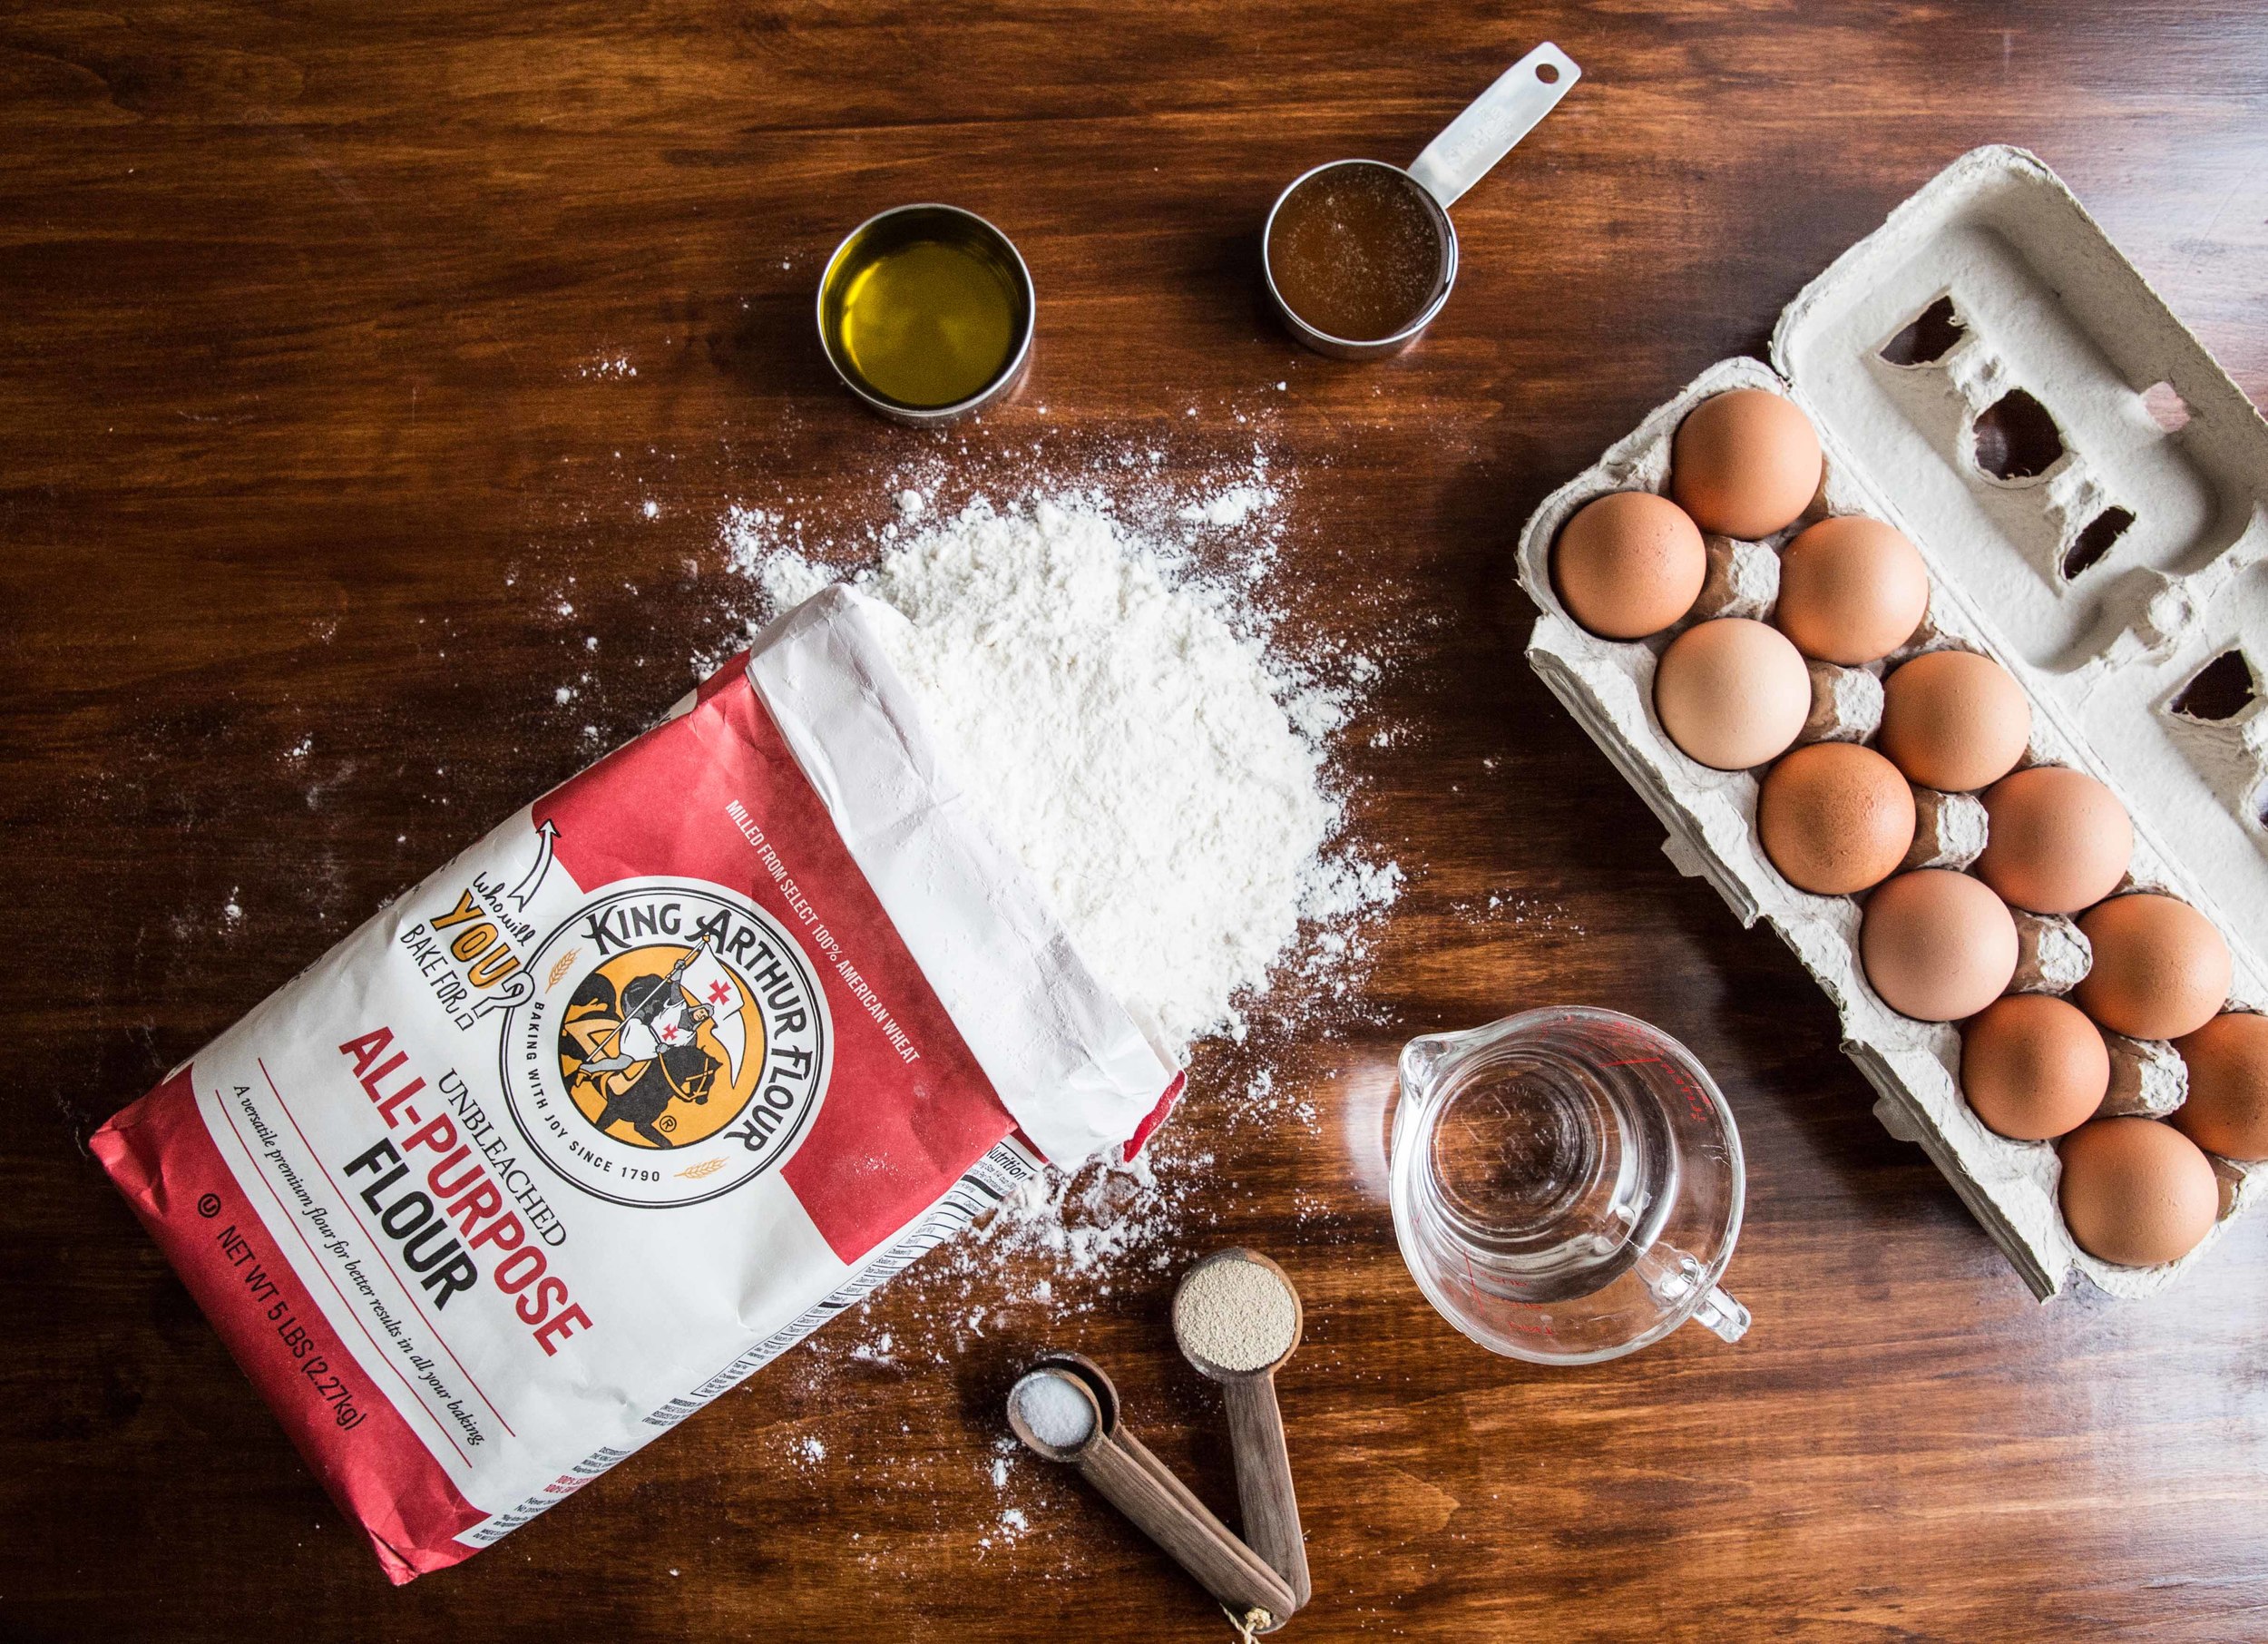
1 cup (340 grams) honey
1 cup (200 grams) brown sugar, packed
3/4 teaspoon ground cinnamon
3/4 teaspoon ground nutmeg
3/4 teaspoon ground cloves
1/2 teaspoon anise extract*
1/4 cup (57 grams) butter
1/4 cup (60 mL) strong black coffee
2 large eggs, whisked
1/2 cup (113 grams) sour cream
1 teaspoon baking soda
1 teaspoon baking powder
5 cups (600 grams) all-purpose flour

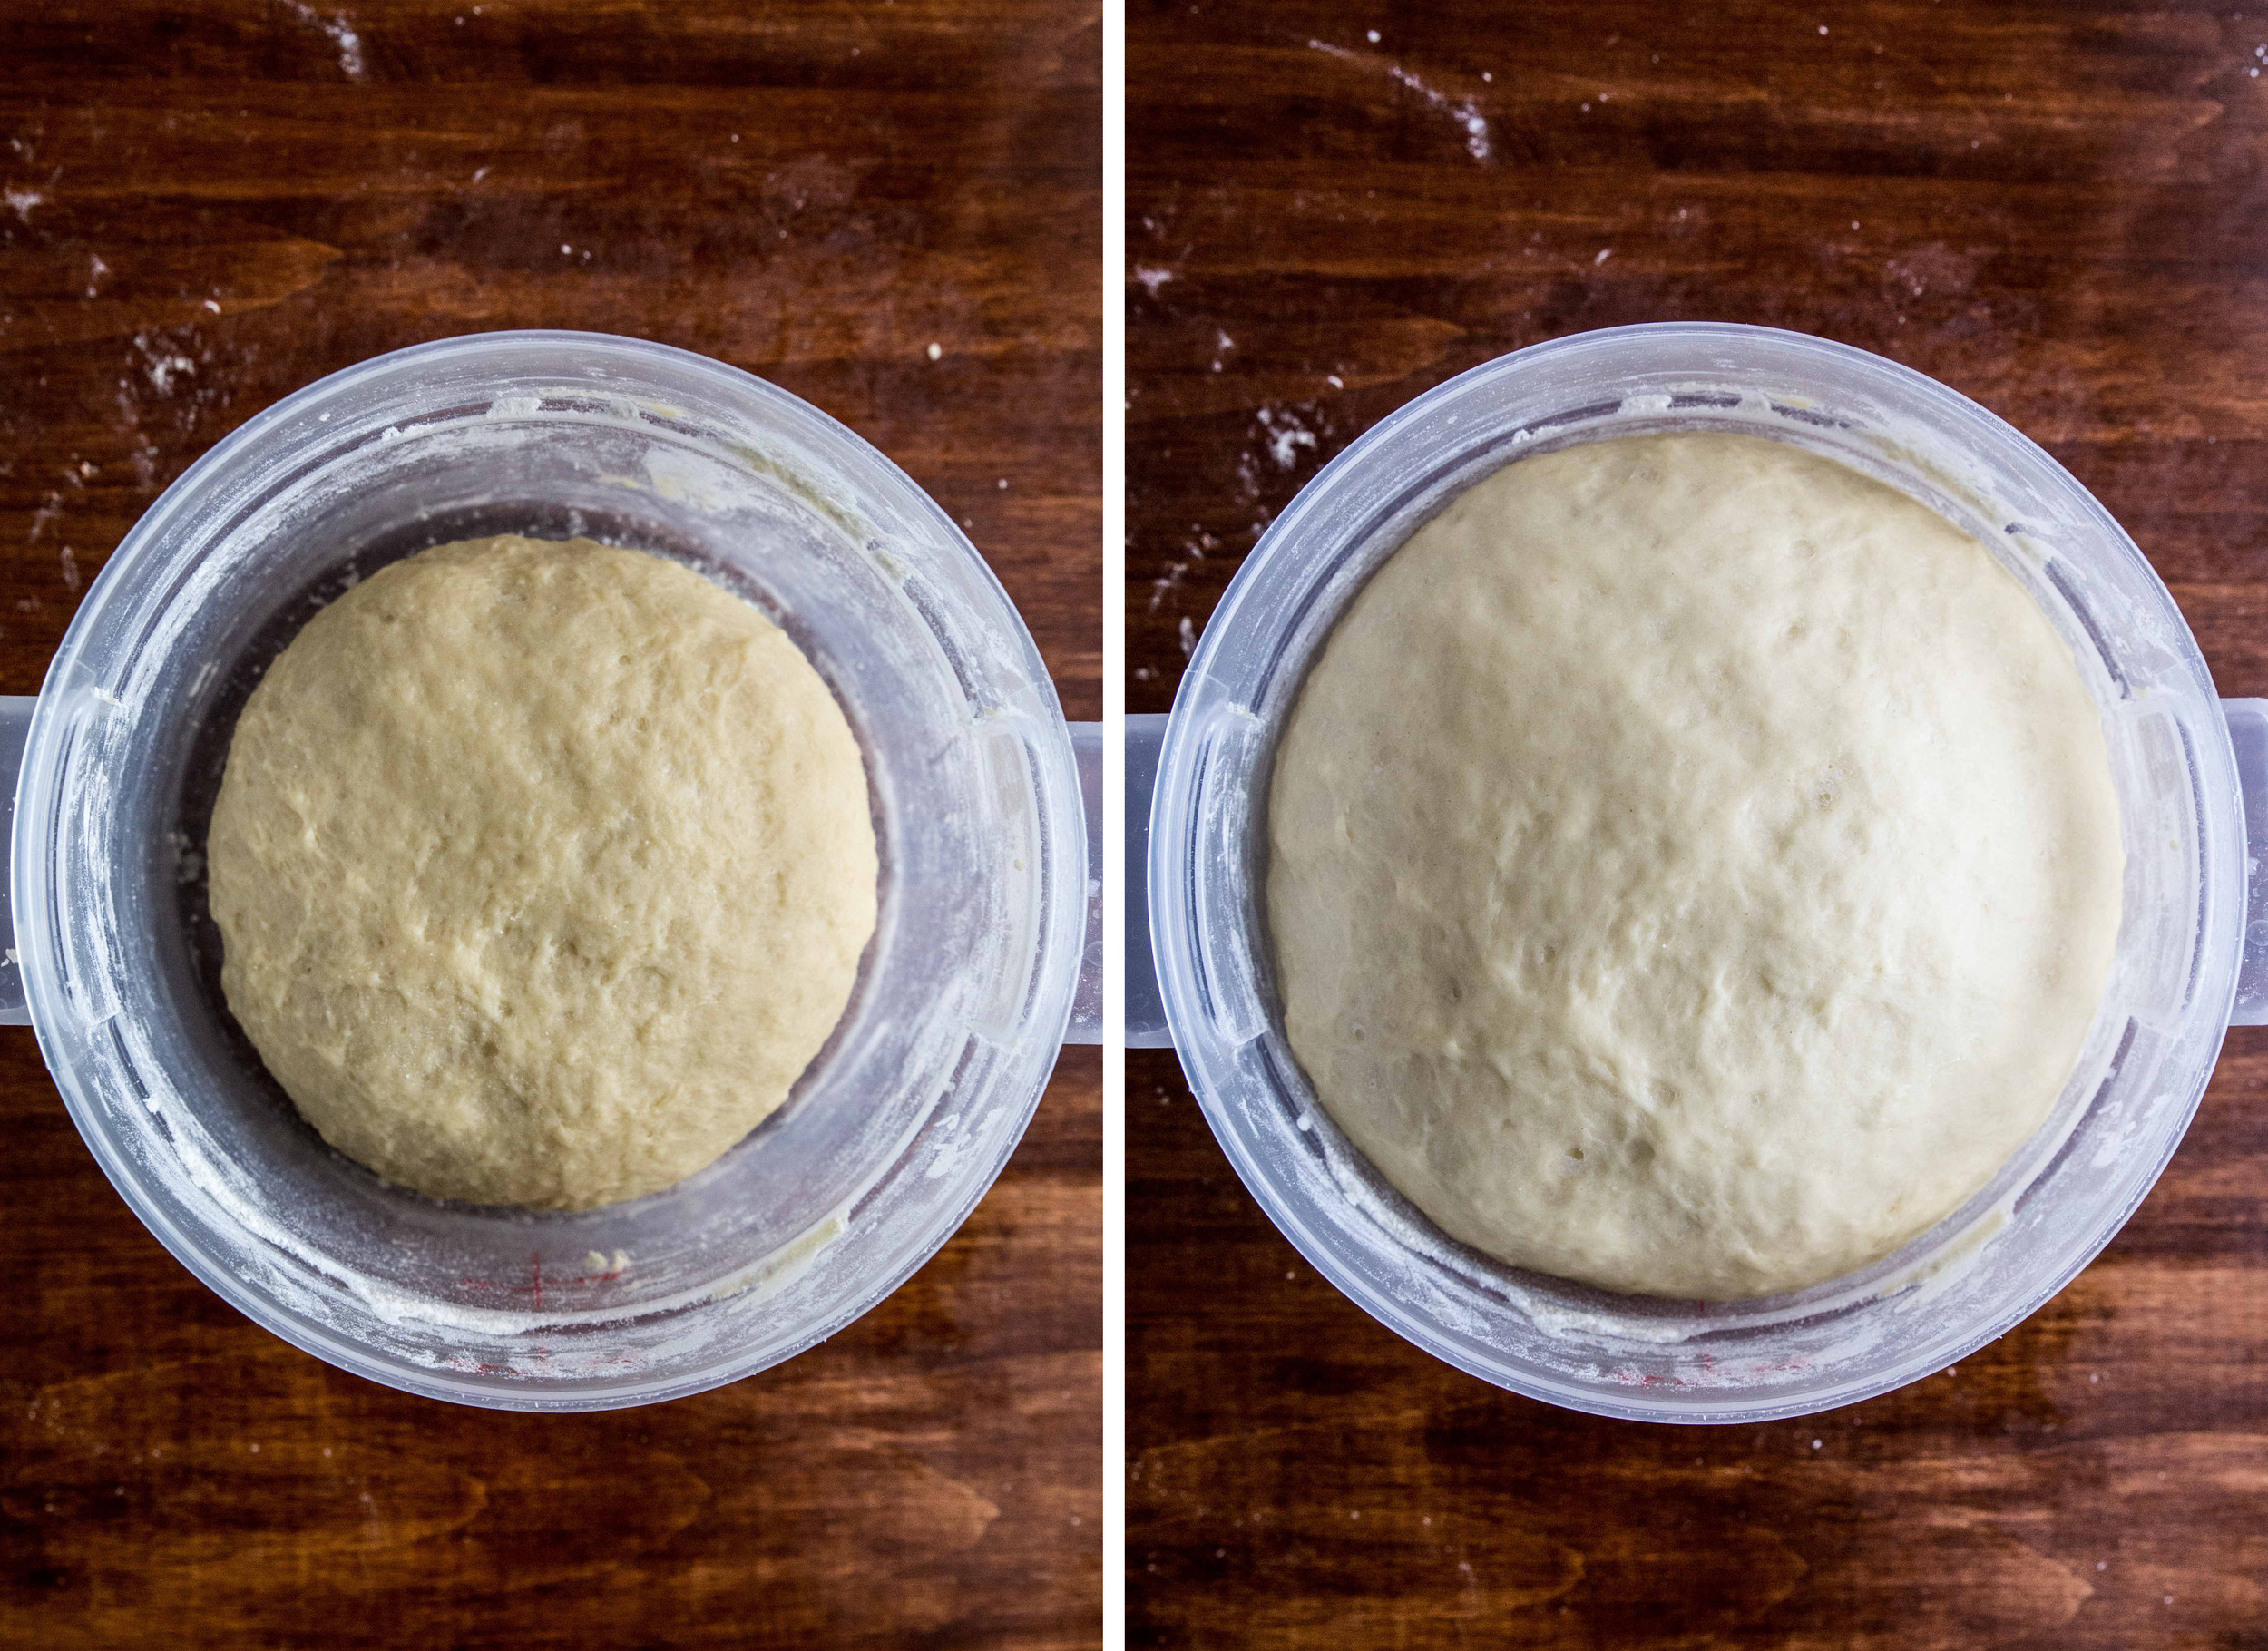
In a large saucepan, bring the honey, brown sugar, cinnamon, nutmeg, ground cloves, and anise extract to a boil over medium-high heat. Once boiling, turn off the heat and add the butter and coffee. Allow mixture to cool to room temperature before adding the eggs, sour cream, baking soda, and baking powder. Stir well. Gradually mix in the flour to form a soft dough. Refrigerate for 6 hours or overnight, until the dough stiffens considerably.

Preheat oven to 350 degrees F. Line a baking sheet with parchment paper.

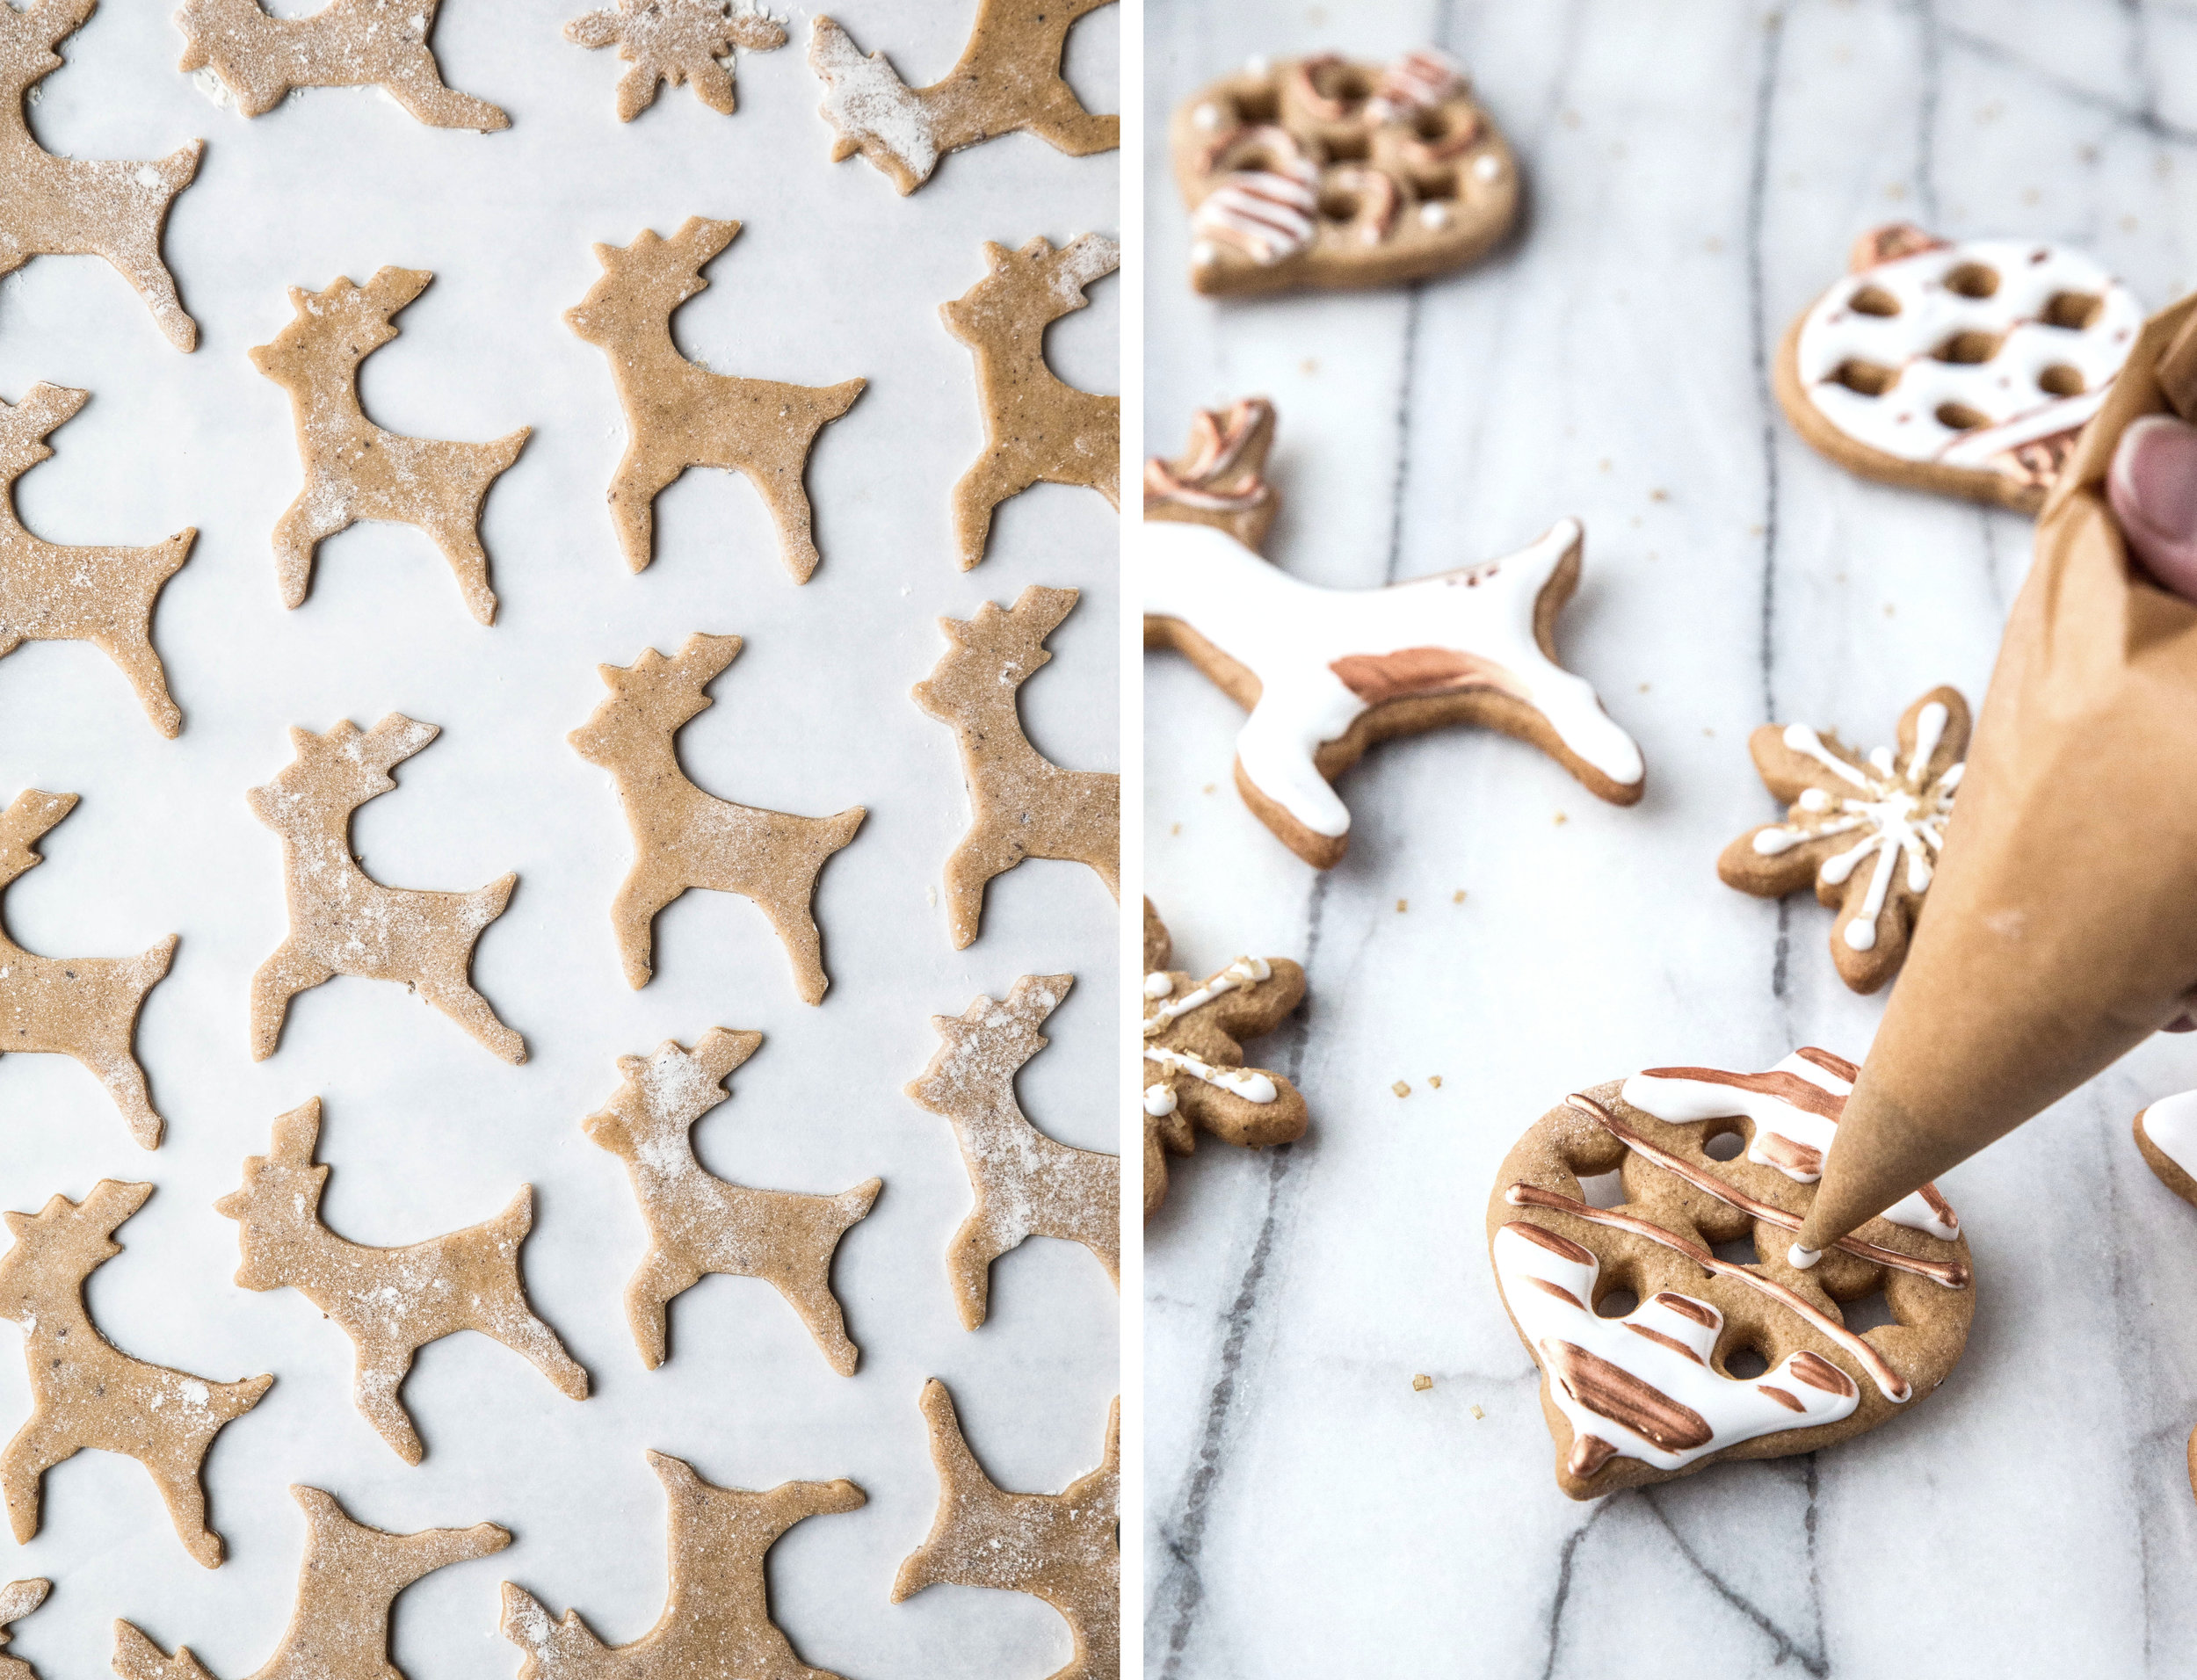
On a heavily floured surface, roll out dough to 1/4-inch thickness. Cut out 2-inch round cookies (or other shapes), re-rolling dough as needed. If you don't have a round cookie cutter, a water glass will also do the trick. Bake for 12 minutes, or until cookies are lightly browned and puffed. Cool completely before glazing.

Anise Glaze** 
1 cup (227 grams) powdered sugar
1/8 teaspoon anise extract
2 teaspoons heavy cream, plus extra if needed

In a small bowl, mix together powdered sugar, anise extract, and heavy cream. If glaze is too thick, add more cream 1 teaspoon at a time until glaze is spreadable. Spread glaze onto cookies with an offset spatula and allow cookies to rest until glaze to set before serving or storing.

* 3/4 teaspoon anise seed can be substituted for the anise extract.

**In the photographs shown above, I decorated the cookies with a royal icing flavored with anise extract, but honey cookies are traditionally spread with or dipped into the anise glaze.

Roasted Fig & Almond Cake

The wind carries a chill, an edge that scents the air with a hint of sweet decay, a reminder of events soon to unfold. The sun rises later each morning, streaking the sky with bold hues of fuchsia and orange on the morning drive to work. Rain drizzles from the sky in lazy streams, the clouds both blue and weary. Autumn has arrived, unpacking her bags slowly and settling in for the next few months without fanfare.

Even though I may dismay over the end of summer and her beautiful weather, the change of the seasons has a way of breathing new life into an old rhythm. The start to a new school year, the warm embrace of the oven, and the appearance of fall fruits at the market have given the transition a gentle touch.

Last weekend, in my haste to enjoy as much fall produce asI could carry, I purchased too many figs at the market... again. While fresh, ripe figs are delicious, my personal favorite are figs that have been cooked down so the flavor concentrates and the fruit releases its sweet juices. With this in mind, I sliced my fig bounty in half, brushing the open face with honey and roasting them in the oven until they started sizzling. Half of the figs were chopped and folded into a honey sweetened almond cake batter and the rest were pressed on top in concentric circles.

This cake may be a simple one, without glaze or icing, but when the slices are topped with a honey sweetened yogurt before serving, each fig-filled forkful is a celebration of the new season.

This Roasted Fig and Almond Cake brings out the warm flavors of fall. Figs are brushed with honey and roasted to concentrate the flavor. The roasted figs are then baked into an almond cake, which is sweetened with additional honey and spiced with a touch of cinnamon. The honey caramelizes and a toasted almond flavor emerges, adding another layer of dimension to the cake's final figgy flavor. Serve with honey sweetened yogurt and a mug of warm, milky tea.

One Year Ago: Blueberry Honey Scones 
Two Years Ago: Homemade Chocolate Hazelnut Spread, Calm of the Coast, & Espresso Chocolate Chip Coffee Cake
Three Years Ago: Vanilla Ice Cream Cake, Honeyed Apricot Granola Bars, & Chocolate Banana Chip Cookies
Four Years Ago: Caramelized Leek Biscuits, Zucchini Chocolate Chip Muffins, Cinnamon Roll Cookies, Bourbon Peach Jam, Whole Wheat Chocolate Chip Scones, & Brown Butter Pear Muffins
Five Years Ago: Zucchini Bread, Lemon Blueberry Scones, 3 Milk Coconut Cake, Tomato Basil Tart, & Whole Wheat Irish Soda Bread
Six Years Ago: Bittersweet Chocolate Pear Cake, Strawberry Shortcake, Brown Sugar Coconut Bubble Tea, & Cinnamon Chocolate Banana Bread

Roasted Fig & Almond Cake

Yields 9-inch cake

24 ounces (680 grams) ripe fresh figs, de-stemmed and cut in half
3/4 cup (255 grams) honey, divided
12 tablespoons butter, room temperature
1/4 cup (50 grams) brown sugar, packed
3 large eggs
1 teaspoon vanilla extract
1/4 teaspoon almond extract
1 cup (112 grams) almond flour
2 cups (240 grams) all-purpose flour
1 1/2 teaspoons baking soda
1/2 teaspoon ground cinnamon
1/2 teaspoon salt

Preheat oven to 400 degrees F (200 degrees C).

Place figs face up on parchment-lined baking sheet. Brush the figs with 1/4 cup honey. Roast in the oven for 20-25 minutes, or until they release juices and are fragrant. Set aside.

Reduce oven temperature to 350 degrees F (180 degrees C).

In a large bowl, beat together the butter, brown sugar, and remaining 1/2 cup honey until uniform. Beat in the eggs, one at a time, until uniform. Stir in the vanilla and almond extract. Fold in the flour, baking soda, cinnamon, and salt.

Roughly chop half of the roasted figs into bite-sized pieces. Fold chopped pieces into the cake batter. Pour cake batter into greased 9-inch cake pan. Top the cake batter with remaining fig halves, placing them in a circular pattern.

Bake cake for 40-45 minutes, or until cake is browned and a toothpick inserted into the center comes out clean. Cool in pan for 10 minutes before transferring to a cooling rack to cool completely.

Serve with honey sweetened yogurt, if desired.

Traditional Challah

March 20 marks the first day of spring. Though, as Henry Van Dyke said, the first day of spring and the first spring day often have different timing. I hope that today is the latter for you. The first spring day came nearly a month ago, which is unprecedented in the upper Midwest. To celebrate these fortuitous weather patterns, I am baking foods that remind me of the spring season. 

In partnership with King Arthur Flour, each month I want to challenge you with a new recipe to help you grow and develop as a baker. This month we're exploring challah. Challah is a Jewish bread that is served on the Sabbath and other Jewish holidays. The soft bread is enriched with eggs and olive oil to bring color and flavor. It is reminiscent of brioche, which uses fewer eggs and butter instead of oil. With a hint of honey for sweetness, challah is a mildly decadent breadgreat for soaking up gravy and even better for making French toast.

To start, the liquid ingredientswater, yeast, olive oil, honey, eggswhisked together. The flour and salt are gradually added and stirred in with a bowl scraper. I prefer to use all-purpose flour because it creates a loaf with a soft and tender interior. When the dough looks shaggy, turn the dough out onto a lightly floured surface and bring it into a ball.

To knead, use the heel of your hand to push the dough downwards at an angle to stretch it away from you. Rotate the dough 90 degrees, fold it in half, and repeat the process. As the dough is kneaded, you will be able to feel the dough firm up as the gluten forms. After 5-10 minutes of kneading by hand, the dough will begin to feel elastic and spring back under your touch. When it has the appearance of the dough shown in the photograph in the top left, it is ready for the first rise.

I prefer to knead by hand to feel the texture of the dough change, but the dough can also be kneaded using a stand mixer on low speed with a dough hook attachment. Place in a bowl, cover, and allow to rise for 1 1/2 to 2 hours, or until doubled in size.

When the dough has risen, divide it into four equal pieces. Shape these pieces into logs. Then, using your hands, start in the middle of each log and apply pressure with the heels of your hands, rolling the dough back and forth. Gradually move your hands towards the ends of the log to stretch out the shape. The process should be repeated until each log is 16 inches in length and approximately 1 inch wide. Take the ends of the strands and pinch them together to start forming the loaf.

While challah can be braided into 3-, 4-, 5-, or 6-strand braids, I will be showing you the 4-strand braid. The extra strand gives the loaf a unique, braided appearance I enjoy. However, if you are interested in other strand braids, there are many tutorials available online

To help illustrate the process, the dough strands will be labeled 1 through 4, where 1 is always located on the far left. The numbers indicate the position of the strands; it will not be necessary to remember which number originally applied to each strand. Once the tops of each strand have been firmly pinched together, take strand 1 (far left) and place it between strands 3 and 4. Please note that all strands will cross over the top of the others; they will never cross underneath.

Strand 2 is placed between strands 3 and 4.

Strand 4 is placed between strands 1 and 2.

The process is then repeated. Strand 1 is placed between strands 3 and 4 again.

Keep following this pattern until the strands have been braided. Pinch the remaining ends of the strands together and tuck under the loaf.

The loaf is brushed with an egg wash, which will give it a deep golden color when baking. Sesame and poppy seeds are sprinkled heavily over the top for flavor and visual interest. The seeds stick well to the egg wash, keeping them firmly attached to the bread (especially while cutting and toasting and eating).

The bread bakes for approximately 35 minutes. When the bread has browned to your liking (around the 20-minute mark), tent aluminum foil over the bread to prevent further browning. This is one of the tricks for getting a perfectly golden loaf each time.

Challah is a classic Jewish bread enriched with eggs, olive oil, and honey. The loaf has a soft, tender interior with a browned crust. Often braided and sprinkled with seeds, it is a bread made to grace the dinner table. Challah is great as a side for soup and gravies, or simply spread with butter and jam. If your challah lasts several days, turn the remaining slices into French toasttrust me, it's divine. 

One Year Ago: Chocolate Orange Cake and Blackberry Coconut Scones
Two Years Ago: Almond Cake and Peanut Butter Chocolate Frosted Cake
Three Years Ago: Lavender Lemon Shortbread, Lemon Pudding Cake, Grapefruit Margarita, Chocolate Oat Muffins, & Chocolate Chip Oatmeal Raisin Cookies
Four Years Ago: Cinnamon Sugar Muffins, Caramel Sauce, Rum Raisin Ice Cream, Butternut Squash & Spinach Tart, Chocolate Toffee Scones, Rosemary Crackers, Grapefruit Cake, and Chocolate Caramel Crispy Bars
Five Years Ago: Chocolate Coffee Cake, Meyer Lemon Curd, Lemon Chocolate Tart, PB Swirled Brownies, Coconut Cream Cupcakes, Yeasted WafflesItalian Popcorn, and PB Chocolate Chip Cookies

Traditional Challah

Yields 1 large loaf

Dough
3/4 cup (177 mL) lukewarm water
2 1/4 teaspoons (7 grams) active dry yeast
1/3 cup (80 mL) olive oil
1/4 cup (85 grams) honey
2 large eggs
1 1/2 teaspoons (9 grams) salt
4 cups (480 grams) King Arthur Unbleached All-Purpose Flour

Topping
1 large egg
1 tablespoon water
Black and White Sesame Seeds, optional
Poppy Seeds, optional

In a large bowl, whisk together the water, yeast, olive oil, honey, eggs, and salt. Gradually add the flour and stir with a bowl scraper until combined.

Turn out onto a lightly floured surface and knead the dough for 5-10 minutes, or until elastic in appearance. Place into a lightly greased bowl, cover with plastic wrap, and allow to rise in a warm place for 1 1/2 to 2 hours, or until doubled in size.

Turn out dough onto a clean surface and divide into 4 even pieces and shape into logs. Using your hands, roll each log into a 16 inch- long rope. To create a 4-strand braid, pinch all four strands together at the top. From left to right, number the location of the strands 1-4. Cross strand 1 over strand 3. Cross strand 2 over strand 3. Cross strand 4 over strand 2. Repeat until you have reached the ends and pinch the loose ends together. Cover loaf with a clean towel and allow to rise an additional 30-45 minutes, or until doubled in size.

Preheat oven to 375 degrees F (190 degrees C).

To create the egg wash, whisk together the large egg and water. Brush over risen loaf. Sprinkle with sesame and poppy seeds until covered.

Bake for 20 minutes. Tent aluminum foil over the loaf to prevent over-browning and continue baking for another 15-20 minutes. The loaf will appear golden brown and should reach an internal temperature of 195 degrees F (90 degrees C) when done.

This post is sponsored through a partnership with King Arthur Flour. All thoughts and opinions are my own.