Rhubarb Almond Bars

IMG_0038-2.jpg

Last summer, I built a trio of large, self-watering cedar planters to start a deck garden. Our home is blessed with a large deck and, since the main living space overlooks the deck, I wanted to give it a little more life. Although we have plenty of yard space for a garden, we also have many critters (and deer) visiting frequently so it made more sense to elevate the garden to keep the plants safe from late night nibblers.

Each planter is 2 ft. by 6 ft., which leaves plenty of room for experimentation.

My interest in gardening is relatively new, but this hobby has quickly turned me into an enthusiastic plant lady. After killing every houseplant I attempted to grow up for many years, I was astonished when my black thumb seemingly turned green after moving into our house.

Apparently the trick for a green thumb is simply having large southeast facing windows—who knew?

Unfortunately, the first attempt at gardening in the outdoor planters was not very successful. In my eagerness to grow my own vegetables, I overplanted the space and didn’t do enough research on how to individually care for each plant. In addition, because the planters are self-watering (through a process of diffusion and soil osmosis), the plants with deep root systems ended up with root rot by midsummer.

By summer’s end, the only “successful” plants were the bell peppers (which grew only one picture perfect pepper each), the green beans, and the herb garden. Everything else—the tomatoes, cabbages, cucumbers, etc.—ended up producing very little or finally completing their slow death.

While the self-watering feature was definitely a curse, I only needed to water the plants once the entire season, so my laziness is more than willing to find a way to work within these constraints.

This year I am taking the failures of the previous summer and using them to (hopefully) do better this time around. To start, I did a little more planning and left more space for the plants to expand. Only plants with shallow root systems are allowed (peppers, onions, shallots, lettuce, carrots, herbs, green beans, flowers); the plants with larger root systems have been relegated to individual, well-draining containers (tomatoes).

I have my fingers crossed for now, but it will be another month or two before I’ll be able to label it a success or failure. Stay tuned.

I have plans to do a little landscaping and put in a rhubarb plant later this summer, but it will still be a couple years before we can harvest. Until then, the farmer’s market has everything I need.

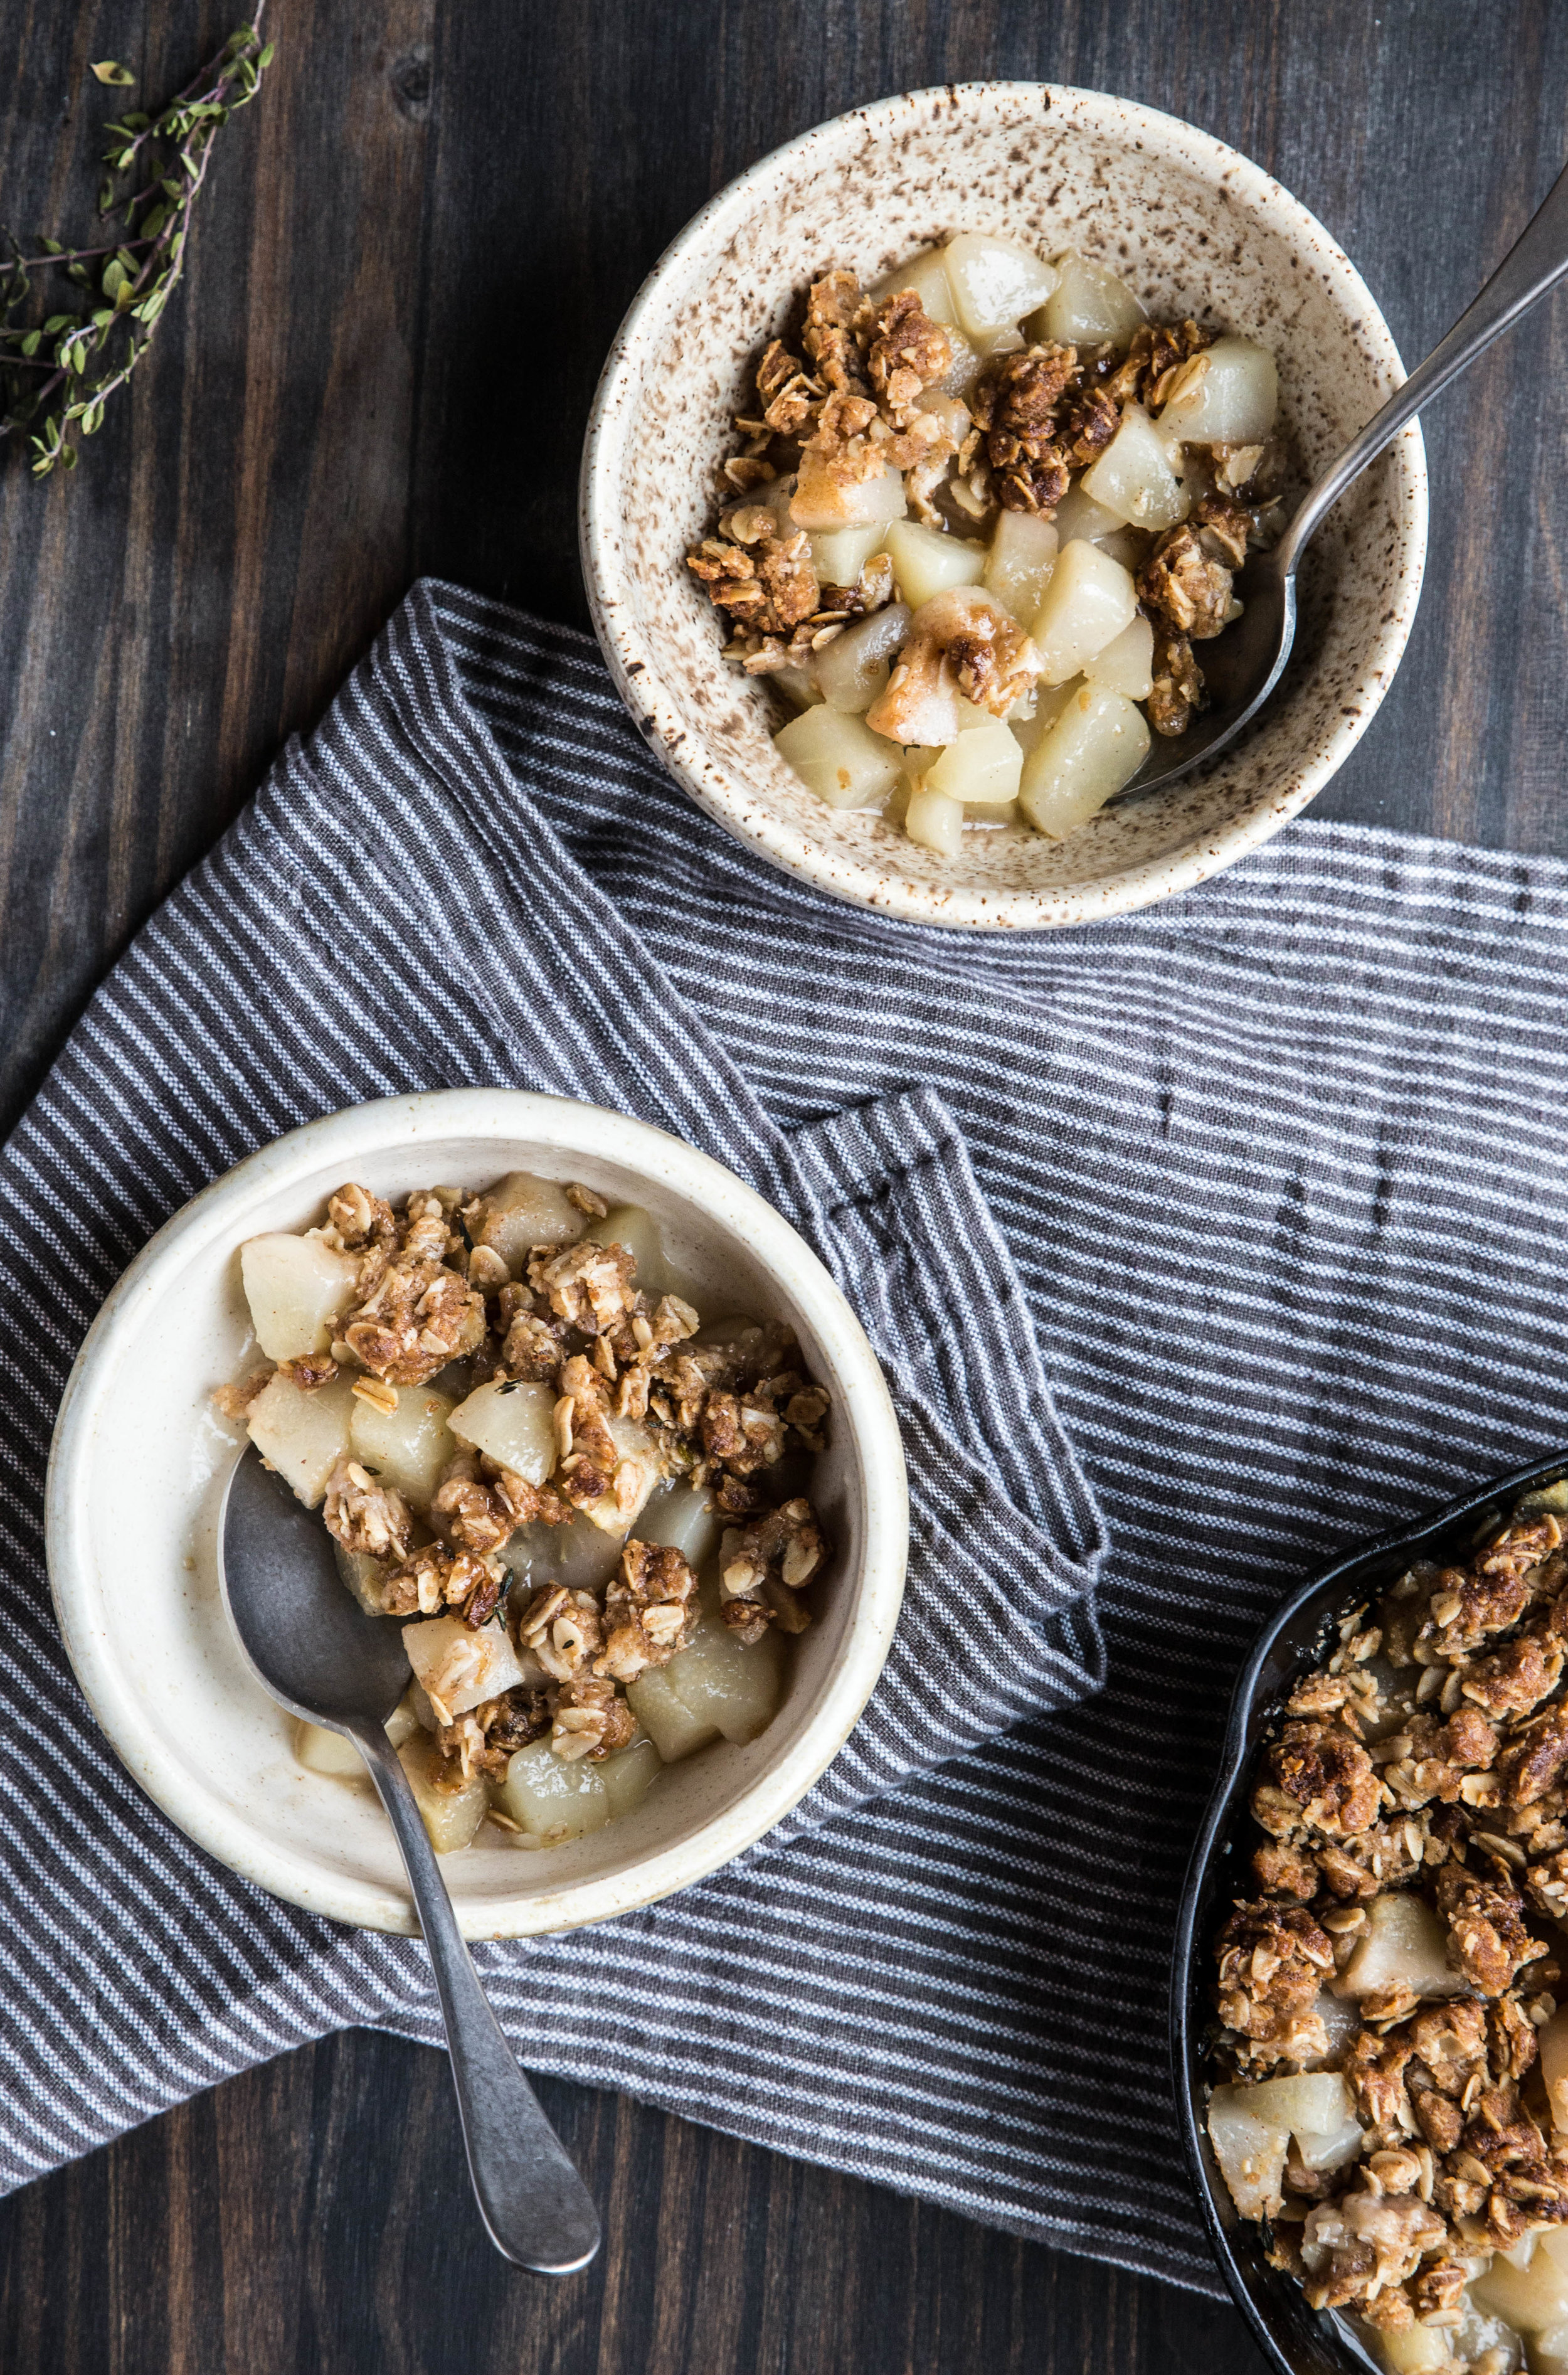
I originally planned to make a strawberry rhubarb dessert, but I didn’t get around to baking until after the strawberries were past their prime. This recipe is all the better for it, because it allows the rhubarb flavor to truly shine. Paired with an almond oatmeal crust, these rhubarb-filled bars are a new way to enjoy this spring vegetable.

IMG_0043-2.jpg

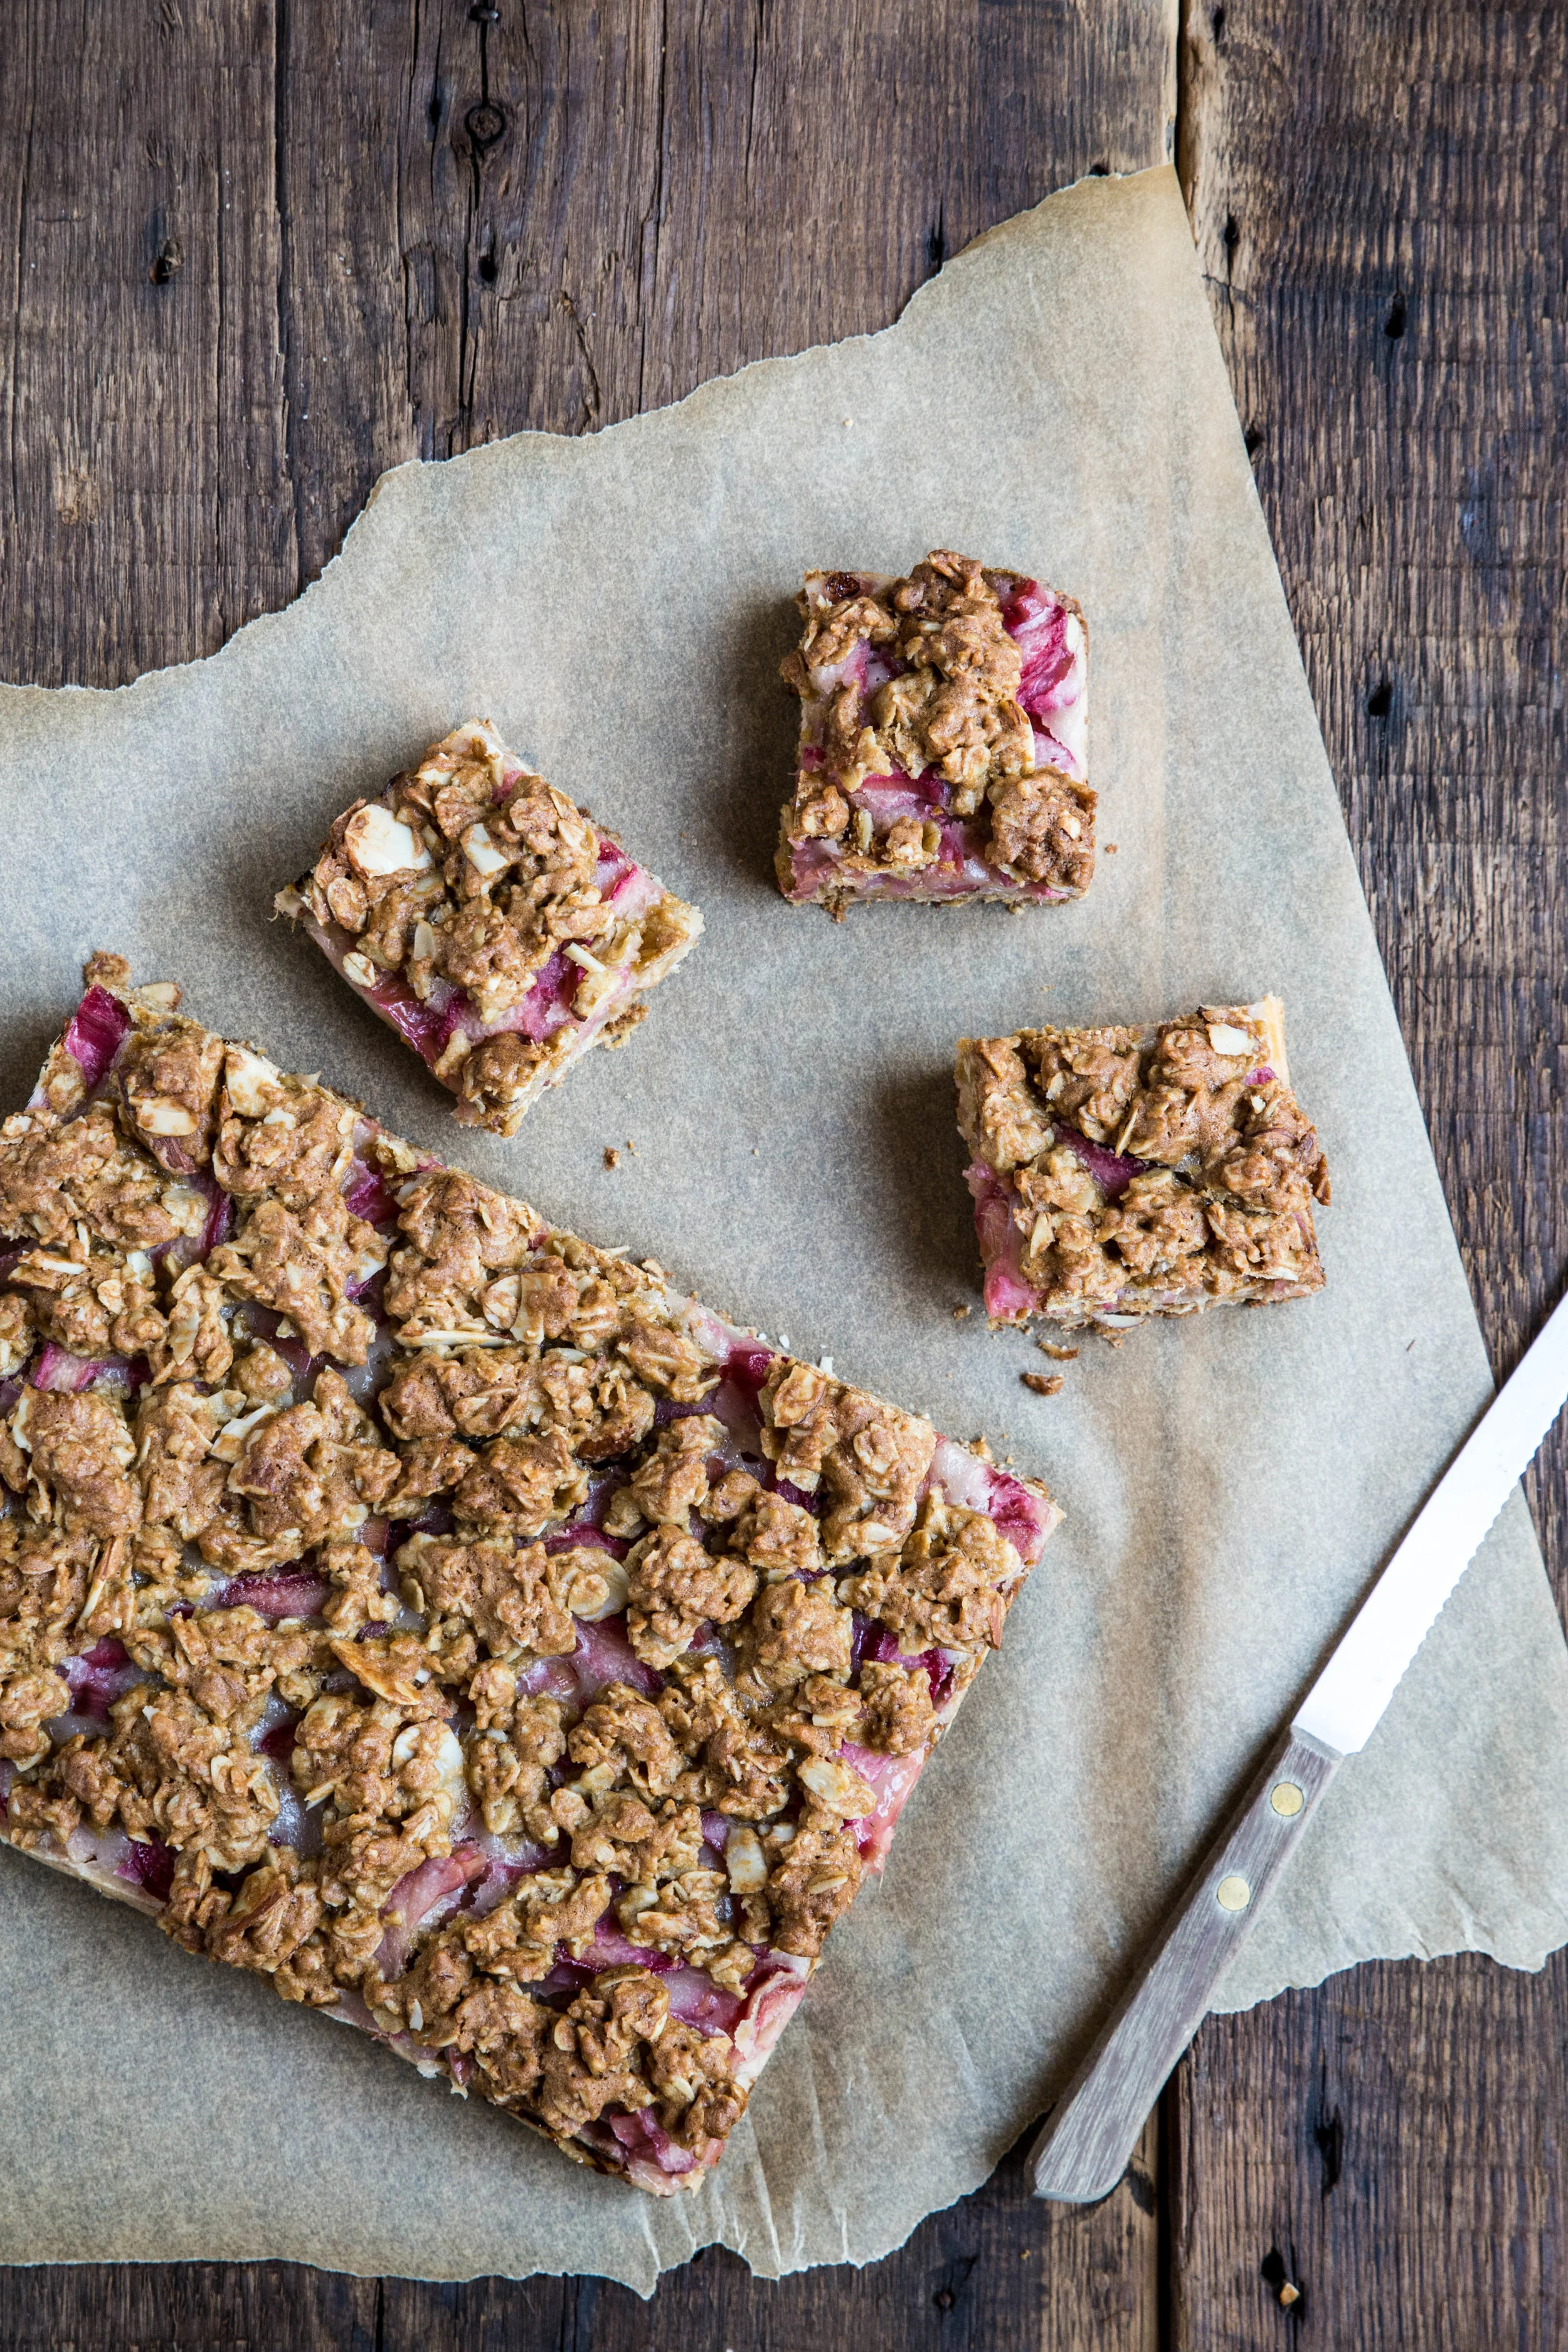
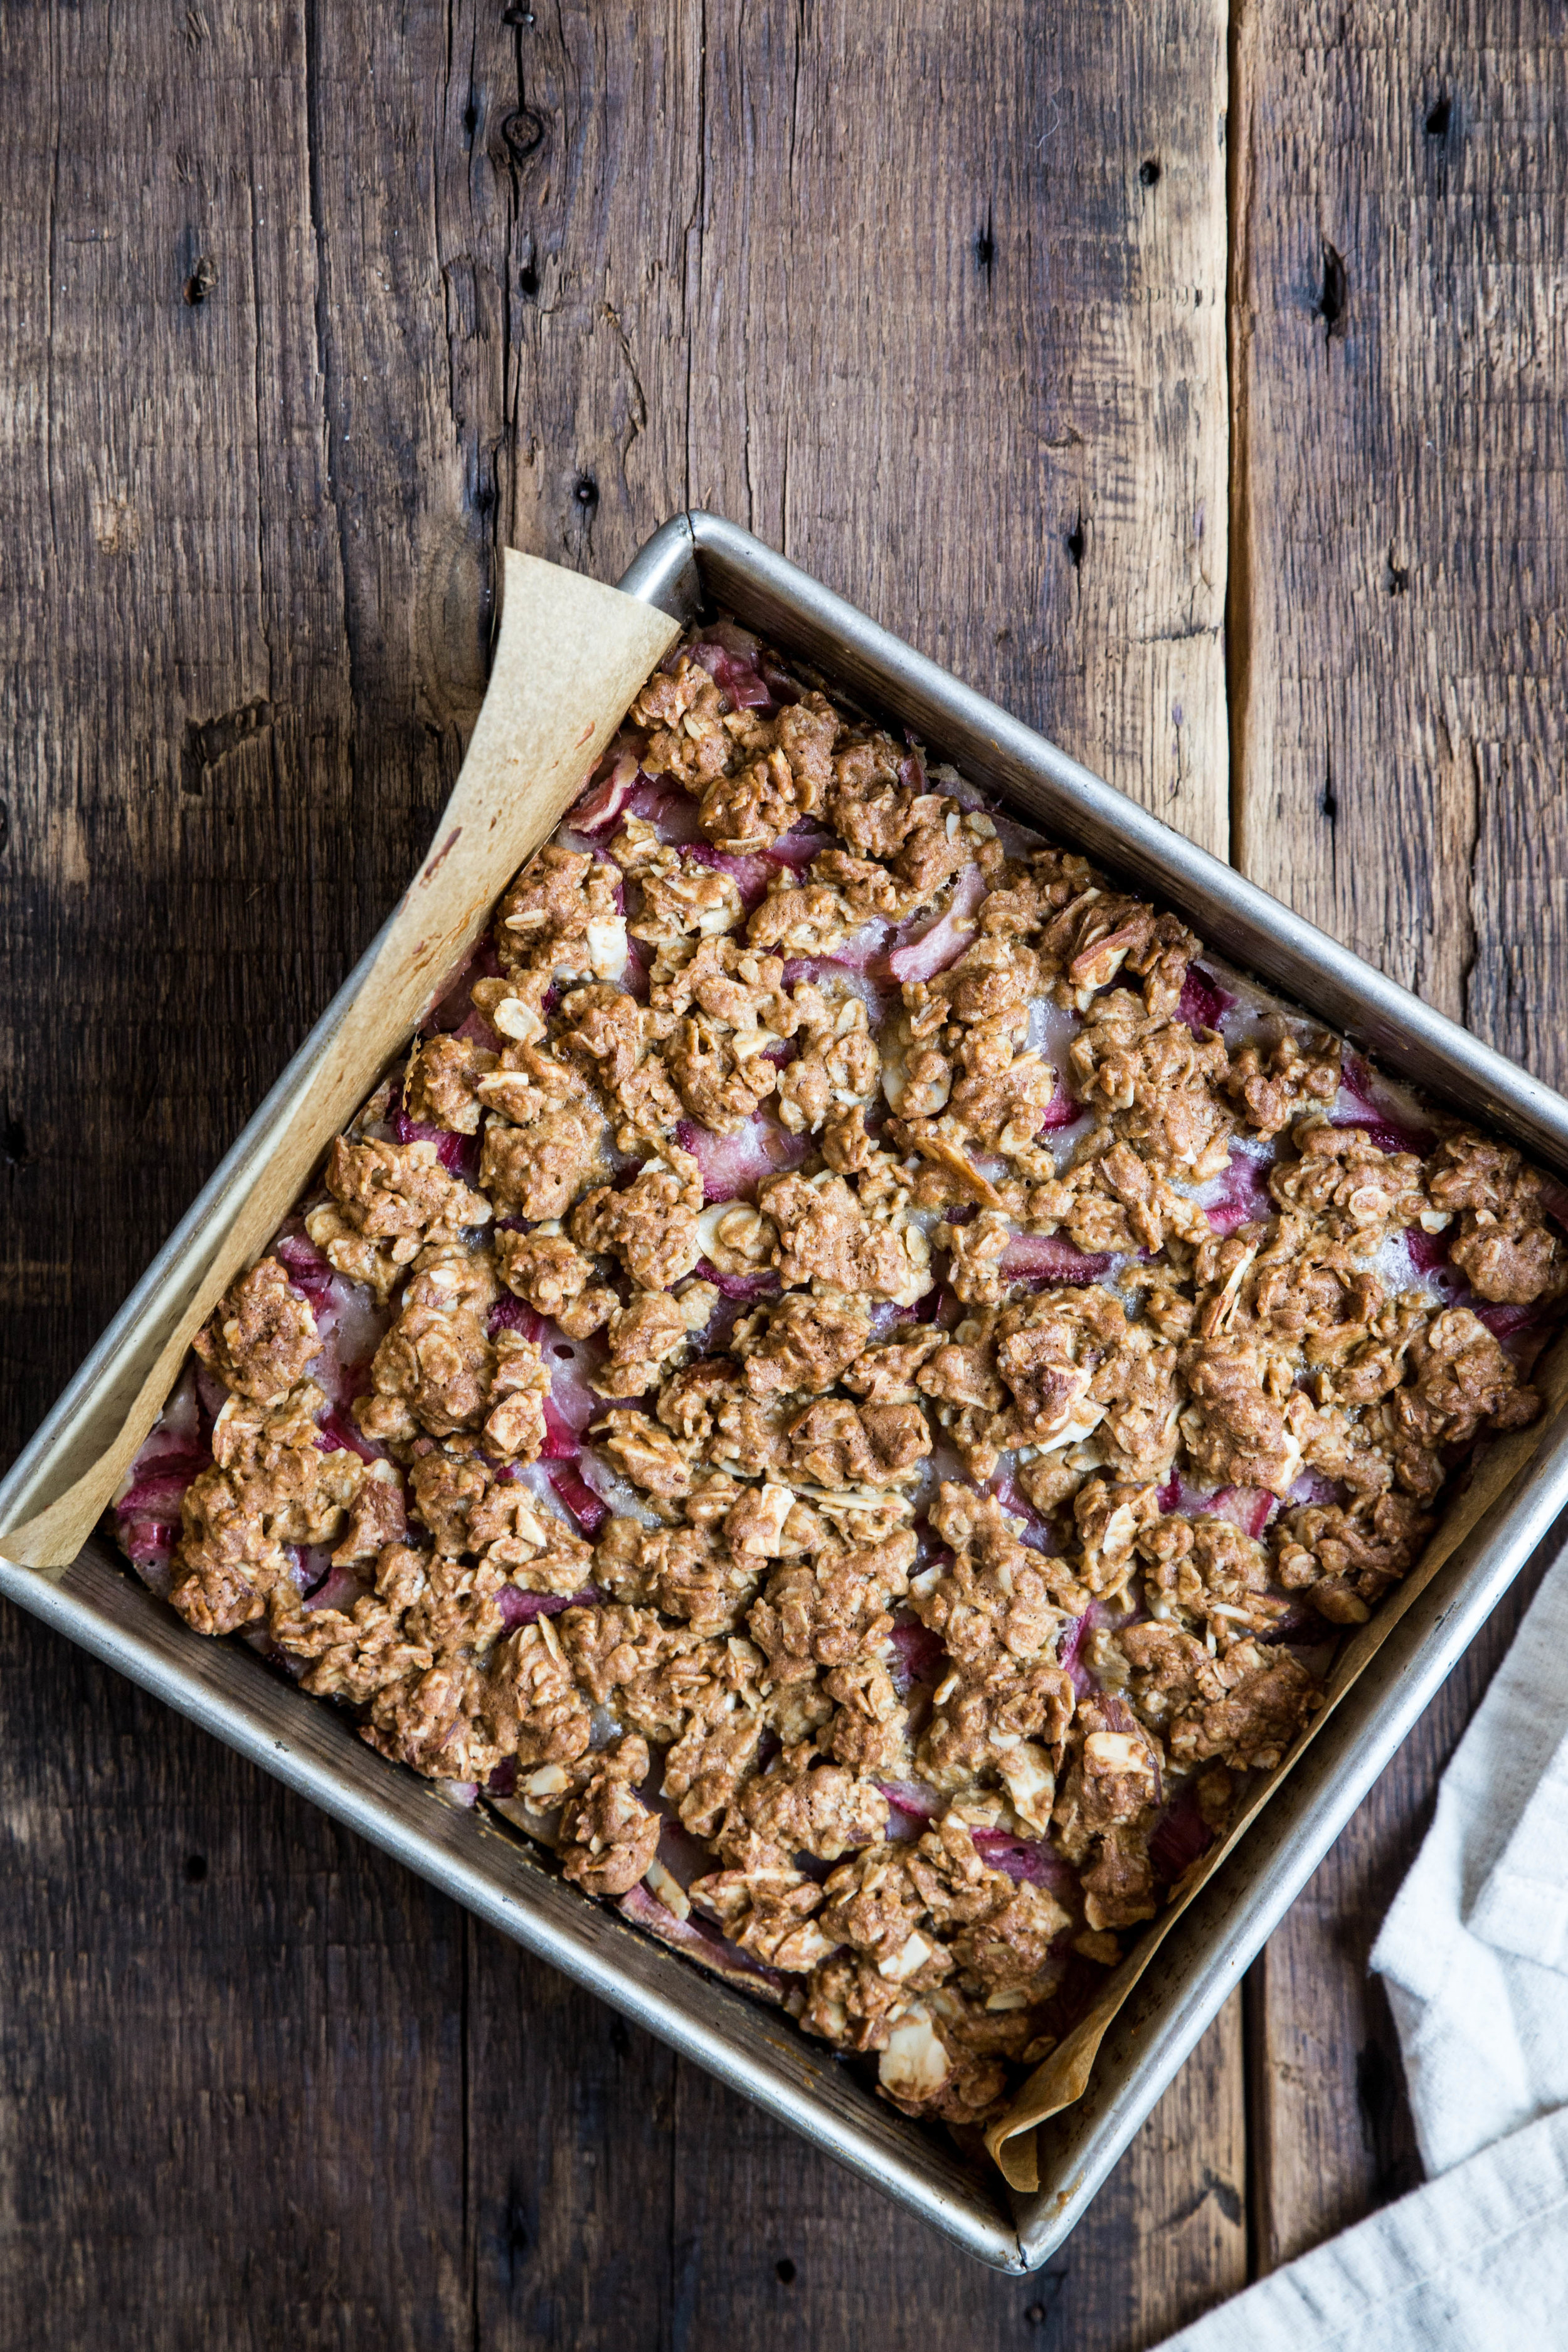
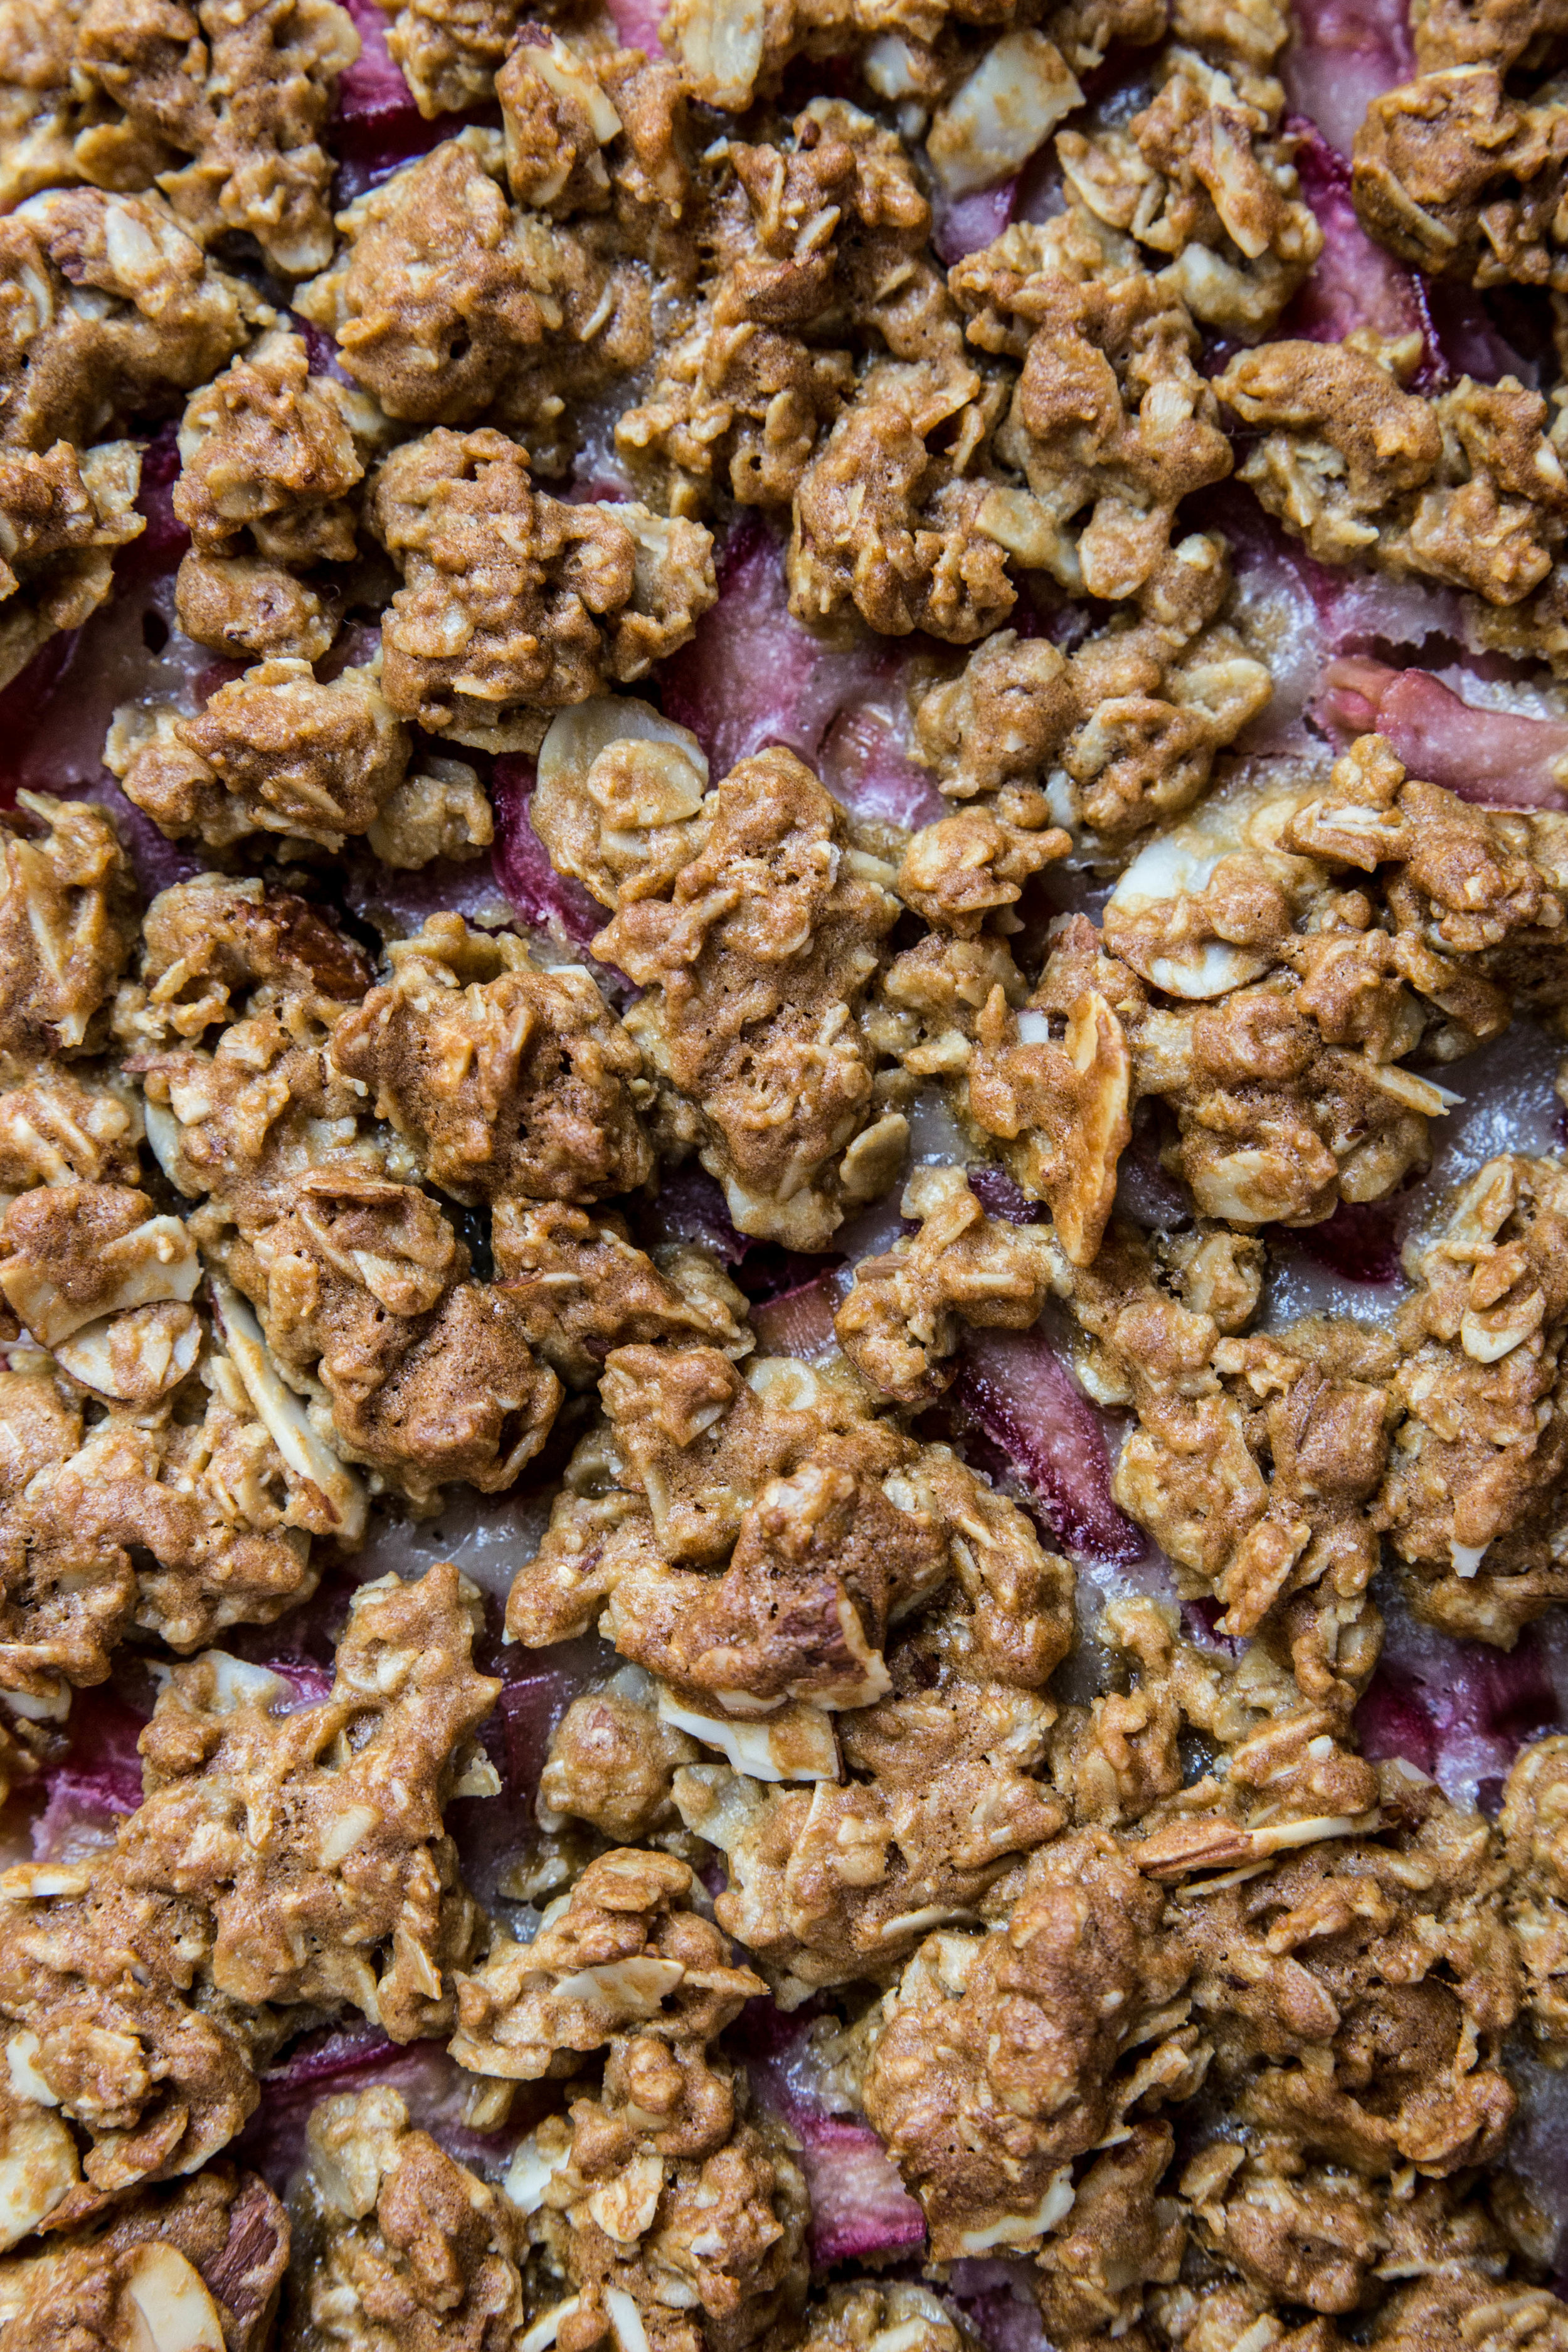
This recipe for Rhubarb Almond Bars is an easy way to use and enjoy rhubarb. Almonds and oatmeal come together to form the base of the bars. Sliced raw rhubarb is added to the center (no cooking required!) before the bars are topped with the remaining crust and placed in the oven to bake. The nutty almond flavor compliments the tart rhubarb well. Cut into squares and serve warm, cold, or room temperature.

Rhubarb Almond Bars

Yields 16 servings (or 8 x 8-inch pan)

Almond Bars
6 tablespoons (100 grams) butter, room temperature
3/4 cup (150 grams) brown sugar, packed
1 large egg
1 teaspoon vanilla extract
1 teaspoon almond extract
1 1/2 cups (150 grams) old-fashioned oats
1 cup (120 grams) all-purpose flour
1/2 cup (45 grams) sliced almonds
1/2 teaspoon baking soda
1/2 teaspoon salt

Rhubarb Filling
3 cups (~14 ounces or 400 grams) fresh rhubarb, cut into 1/4-inch slices
1/4 cup (50 grams) granulated sugar
2 tablespoons cornstarch

Preheat oven to 350 degrees F (180 degrees C). Lightly grease an 8 x 8-inch pan.

For the almond base, beat together the butter and brown sugar in a large mixing bowl until uniform. Beat in the egg, vanilla, and almond extract, mixing until blended. Stir in the oats, flour, sliced almonds, baking soda, and salt. The batter will be slightly sticky. Using greased hands, press 2/3 of the batter into the bottom of the prepared pan. Set aside remaining batter.

For the rhubarb filling, stir together the sliced rhubarb, sugar, and cornstarch.

Spread the rhubarb filling over the top of the almond base. Crumble the remaining batter evenly on top. Bake for 40-45 minutes, or until lightly browned. Allow to cool slightly in pan before serving.

Pear Ginger Thyme Crumble

IMG_0360-2.jpg

During late fall and winter, pears are in season. The delicate sweetness and buttery flesh of a ripe pear makes this fruit one of the fruits I look forward to most throughout the year. Since it is a struggle for me to catch pears at their peak ripeness—they are either unripe and too hard or overripe and too soft—I choose to eliminate the unpredictability by poaching the pears on the stove or roasting them in the oven. When cooked through, pears still retain all the qualities I adore in their fresh counterparts. 

While summer calls for cool and refreshing pear sorbets, winter calls for a warmer approach. This crumble unites tender pear with the warm spices of cinnamon and ginger. An aromatic hint of fresh thyme blended into the oatmeal crumble lends an unexpected, but welcome brightness. To complete the dish, a couple spoonfuls of brandy are stirred into the pear filling. The combined juices stew down at the bottom of the pan while the topping browns.

The complex flavor profile of the crumble takes familiar flavors and combines them in such a way that they feel like a new (and delicious) experience. 

pearcrumble1.jpg
IMG_0340-3.jpg
IMG_0306-2.jpg

This Pear Ginger Thyme Crumble is a fruit-based dessert that takes advantage of winter fruit and spices. Pears, stewed down in their juices with vanilla and brandy, are topped with a crisp crumble topping. The oatmeal topping is sweetened with brown sugar and spiced with cinnamon, ginger, and fresh thyme. Serve the crumble hot or cold with a scoop of ice cream or spoonful of whipped cream.

Two Years Ago: Bruleed Lemon Tart & Chocolate Almond Cake (GF)
Three Years Ago: Chocolate Raspberry Tarts
FourYears Ago: Honey Oat Bread, Banana Cacao Buckwheat Muffins, & Chocolate Almond Biscotti
Five Years Ago:  Bruleed Grapefruit, Bacon & Chive Beer Bread, Pomegranate Panna Cotta, & Toasted Almond Cookies
Six Years Ago: Cheddar Dill Biscuits, S'mores Brownies, Beer Bread, Roasted Pepper Feta Scones, & Chocolate Rum Cake (GF)
Seven Years Ago: Yellow Cake, Vanilla Rum French Toast, Banana Bread Oatmeal, & Chocolate Blueberry Ice Cream

Pear Ginger Thyme Crumble

Yields 6-8 servings

Pear Filling 
5-6 large (about 3 pounds/1.4 kilograms) Bosc or Bartlett pears, peeled and diced
1 teaspoon lemon juice
1/4 cup (50 grams) granulated sugar
1 teaspoon vanilla extract
1 tablespoon cornstarch
1 tablespoon brandy, optional

Ginger Thyme Crumble
1/4 cup (57 grams) coconut oil, liquid state
1/4 cup (50 grams) brown sugar, packed
1/3 cup (40 grams) all-purpose flour
2/3 cup (60 grams) old-fashioned oats
1 teaspoon ground ginger
1/2 teaspoon ground cinnamon
1 teaspoon fresh thyme, packed
1/4 teaspoon salt

Preheat oven to 375 degrees F (190 degrees C).

For the pear filling, coat the peeled and diced pears with the lemon juice in a large bowl. Add the granulated sugar, vanilla, cornstarch, and brandy, stirring until uniform. Spread evenly into a cast iron pan or a greased 9-inch pie pan. 

For the crumble, stir together the coconut oil and brown sugar, mixing until it forms a uniform paste. Stir in the flour, oats, spices, and salt until uniform. Break the crumble topping into small pieces and sprinkle crumble topping over the top of the pears.

Bake for 40-50 minutes, or until the pears are bubbling and the crumble topping is browned. If the topping browns before the pears have finished cooking, cover the pan with aluminum foil to prevent further browning and continue cooking.

Serve warm or cold, with a side of whipped cream or vanilla ice cream.

Apple Pandowdy

IMG_8783-2.jpg

Out of all the seasons, the autumn kitchen is my personal favorite. With the warm weather a faded memory, the heat of the oven lends a new warmth. Time slows down as the sun falls lower in the sky and the shadows grow long. Weekend mornings are easily lost among the comforting spices and rich smells. The autumn kitchen carries an ease of relaxation. With the cold air settling in around us like a heavy blanket, there is nowhere to be but in our homes, as we watch the last of the leaves change and fall from the trees. 

With several pounds of apples packed away in the garage, the time was right to pull them out and put them to use. Apple desserts are one of my favorites—the sweet, bright flavor reminiscent of my Grandmother's applesauce recipe. Over the years, apples have taken many forms in my baking, including pies, muffins, and crisps. Instead of coming up with a new use this year, I took a page out of an old book and looked towards the past.

IMG_8788-2.jpg

This recipe for Apple Pandowdy dates back to the 19th century, featuring apples, both sweetened and spiced, hidden beneath a flaky pastry crust. The name pandowdy comes from the idea that the pastry is "dowdied up" over the dessert, or, in modern terms, the pastry is cut into pieces instead of being left whole which makes the appearance look "shabby" or "disheveled." 

The pandowdy is a simple, no-fuss dessert. Due to its homespun nature, it is conventionally meant to be shared by loved ones rather than to impress guests. I chose to spend time in my autumn kitchen free-handing leaves with a knife, but the true spirit of the pandowdy leans heavily toward the simple. Cutting the pastry dough into squares and throwing it over top is perfectly acceptable (and encouraged!) here. Beauty is in the eye of the beholder—the flavor will be the same no matter how you choose to pattern the pastry.

To me, the Apple Pandowdy combines the best aspects of both crisps and pies, with a heap of bright fruit and a thin layer of flaky pastry to make it feel special. 

IMG_8728-2.jpg

The Apple Pandowdy is an old fashioned autumn dessert that is generous on flavor and texture. Thinly sliced apples are combined with warm spices and brown sugar for sweetness. Pie dough is "dowdied up" over the apples and sprinkled with raw sugar before baking to add additional texture. When golden and bubbly, the pandowdy is ready to come out of the oven. Serve warm with a drizzle of caramel or vanilla ice cream, or serve cold with fork straight from the refrigerator (which is especially delightful during breakfast).

One Year Ago: Maple Glazed Pumpkin Scones
Two Years Ago: Pumpkin Espresso Bundt Cake 
Three Years Ago: Pumpkin Molasses Bread, Vegan Caramel, & Rustic Apple Tart
Four Years Ago:  Classic Apple Pie, Butternut Squash Biscuits, & Apple Crisp
Five Years Ago: Apple Cinnamon Scones, Pear Crisp, Pumpkin Rolls, Butternut Squash Cake, & Baked Apples
Six Years Ago: Oatmeal Raisin Crisps, Red Wine Chocolate Cake, Pear Spice Cake, Pumpkin Latte Cheesecake, & Apple Cake
Seven Years Ago: Chocolate Avocado Cupcakes, Butternut Squash Custard, Pumpkin Bread Pudding, & Apple Almond Tart

Apple Pandowdy

Yields 8-10 servings

3 lbs (1.4 kg) apples, peeled, cored, & thinly sliced
1 tablespoon lemon juice
1/2 cup (100 grams) brown sugar, packed
3 tablespoons all-purpose flour
2 teaspoons ground cinnamon
1/4 teaspoon ground nutmeg
1/8 teaspoon ground cloves
1/4 teaspoon salt
1 tablespoon boiled cider (optional)
Single Pie Crust Recipe, chilled
Egg wash (1 large egg + 1 tablespoon water, whisked)
1 tablespoons raw or demerara sugar

In a medium bowl, coat the apple slices with lemon juice to prevent browning. Add the brown sugar, flour, spices, salt and boiled cider and toss over the apples until they are evenly coated. Place into 9-inch pie pan.

On a lightly floured surface, roll out the single pie dough round until 1/8-inch thick. To create a patterned top, use cookie cutters to cut out shapes, use a knife to cut dough into squares, or freehand a unique design out of the dough.  Place the dough pieces over evenly over the top of the apples.

Brush the exposed dough with egg wash and sprinkle evenly with raw sugar. Refrigerate for 30 minutes to chill.

Preheat oven to 375 degrees F (190 degrees C).

Bake for 55-60 minutes, or until the crust is golden brown and the apples are bubbling. If the edges begin to darken too quickly, cover the pastry with aluminum foil to prevent additional browning.

Cool the pie for at least 3 hours before slicing to allow the juices to set. Drizzle each slice with 1-2 tablespoons of warm caramel sauce before serving or serve with a side of vanilla ice cream.

*To create a vegan version of the pie, use a dairy-free margarine for the butter in the crust (I prefer Earth Balance Vegan Butter), and drizzle each slice with vegan caramel sauce.