Maple Syrup Cake with Toasted Almonds

My Canadian roommate introduced me to maple syrup when I first moved to Montreal. You've never tried real maple syrup before? We need to fix that. She poured a little on a spoon, handed it over, and my love for the sticky sweetener began. In the past, I drowned my pancakes and waffles in Aunt Jemima and Mrs. Butterworth's, but pure maple syrup would be my future. 

In Canada, maple syrup is considered a standard commodity and is sold in 15 oz cans, perfect for stacking away in the cupboard. When I moved back to the United States, I tucked a stack of cans of maple syrup in my suitcase. Some were for gifts, but most were for myself. After leaving the land of maple syrup festivals, I thought it best to pack away as much as I could before the only syrup I could get my hands on would come in small, maple leaf-shaped containers.

This Maple Syrup Cake comes from Linda Lomelino's newly translated cookbook Lomelino's Cakes: 27 Pretty Cakes to Make Any Day SpecialI have been an admirer of Linda's blog Call Me Cupcake since I began blogging over four years ago. Her first cookbook was published in 2012, written in Swedish, her native tongue. I have anxiously awaited the day it would be translated into English. Her love of cake is pure and shines through in the way she creatively layers and decorates her desserts.

The English version of her cookbook is finally released today and cake seemed like the right way to celebrate. I ever so slightly adapted this recipe from her cookbook to suit the ingredients in my cupboards, substituting the almonds for pecans, and using brown sugar instead of muscovado. The maple flavor comes through so beautifully that I had a hard time leaving the cake along long enough to frost it. 

To celebrate a love for cake, I am giving away two copies of Linda's cookbook. To enter this giveaway, simply comment below and share your favorite type of cake.

The giveaway ends on Friday, November 14th, at 9:00 pm CST. The giveaway is open to U.S. and Canadian residents who measure their ingredients in cups. The winners will be chosen randomly and will be contacted shortly thereafter.

Edit: The giveaway is closed and the winners have been chosen.

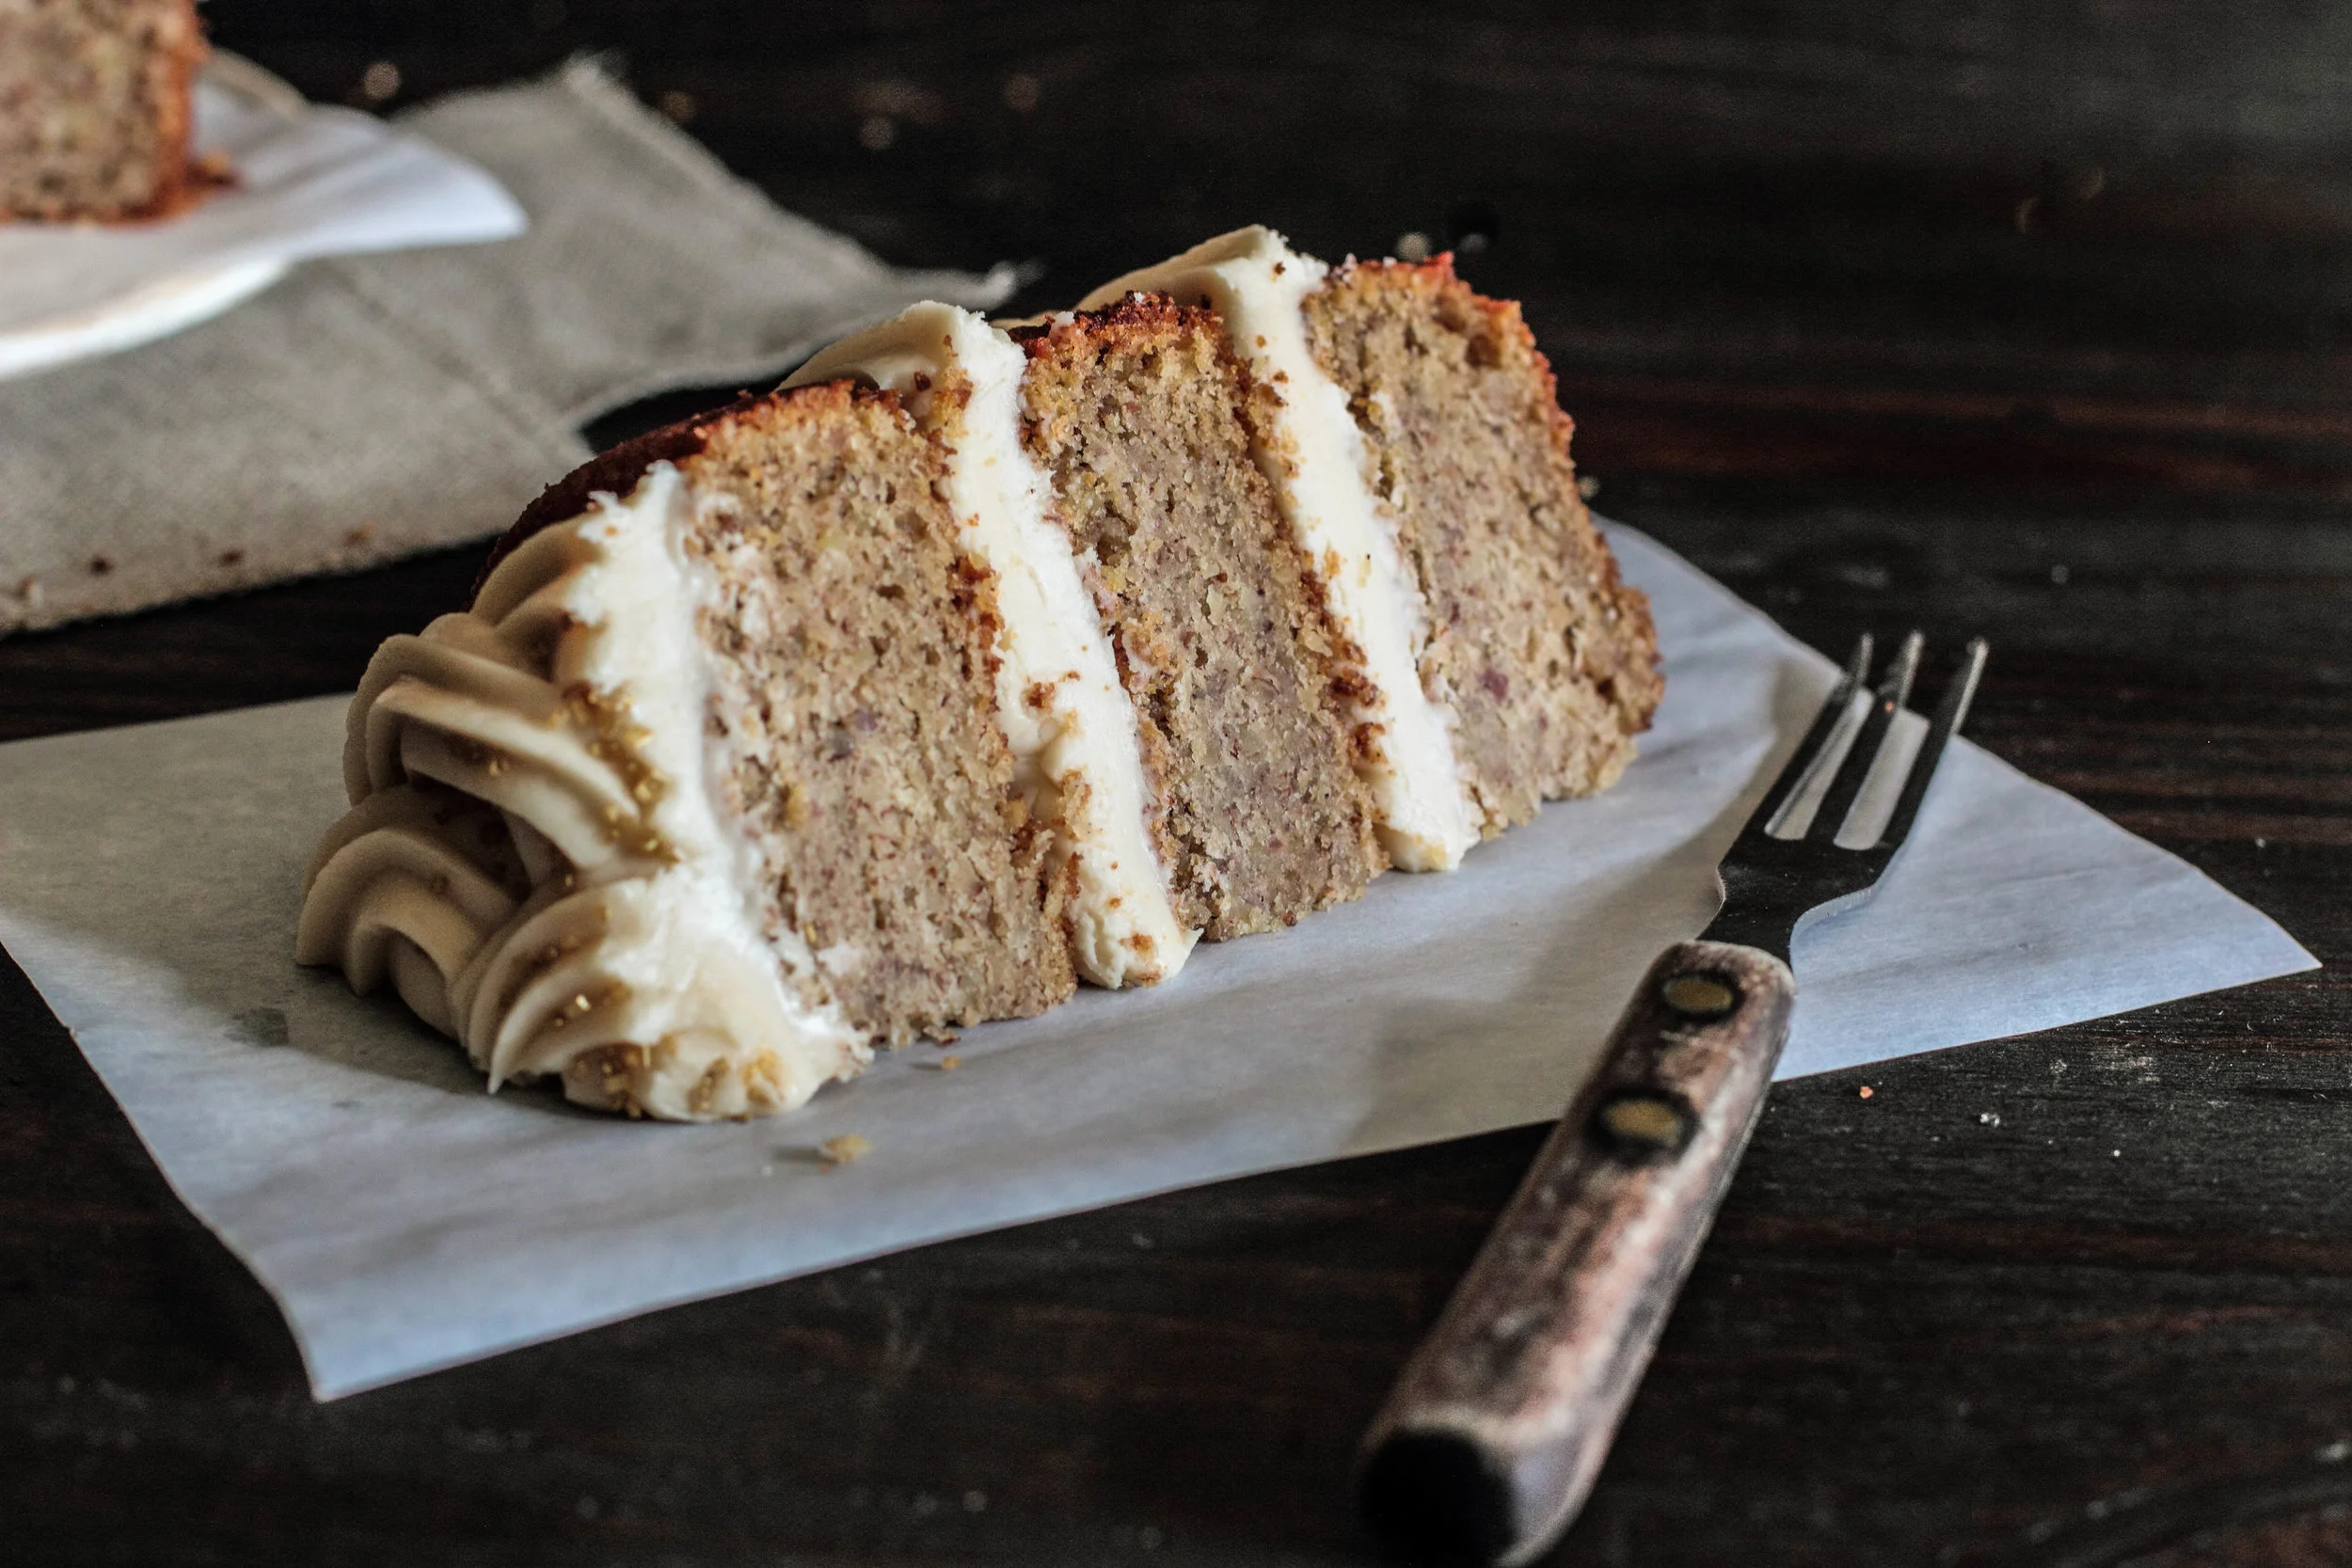
Maple Syrup Cake with Toasted Almonds has all of the flavors of autumn. A little cinnamon, toasted nuts, and the sweet flavor of maple syrup form the seasonal medley. With maple syrup icing, the cake is complete. The cake recipe is written for 6-inch pans, but, since they can be difficult to come by, a larger pan could be used instead to make a single layer cake.

One Year Ago: Apple Crisp and Pumpkin Spiced Doughnuts
Two Years Ago: Pumpkin Waffles, Black Velvet Spider Cupcakes, Apple Cinnamon Scones, and Pear Crisp
Three Years Ago: Pumpkin Spice Latte, Oatmeal Raisin Crisps, Red Wine Chocolate Cake, and Pear & Almond Chocolate Spice Cake
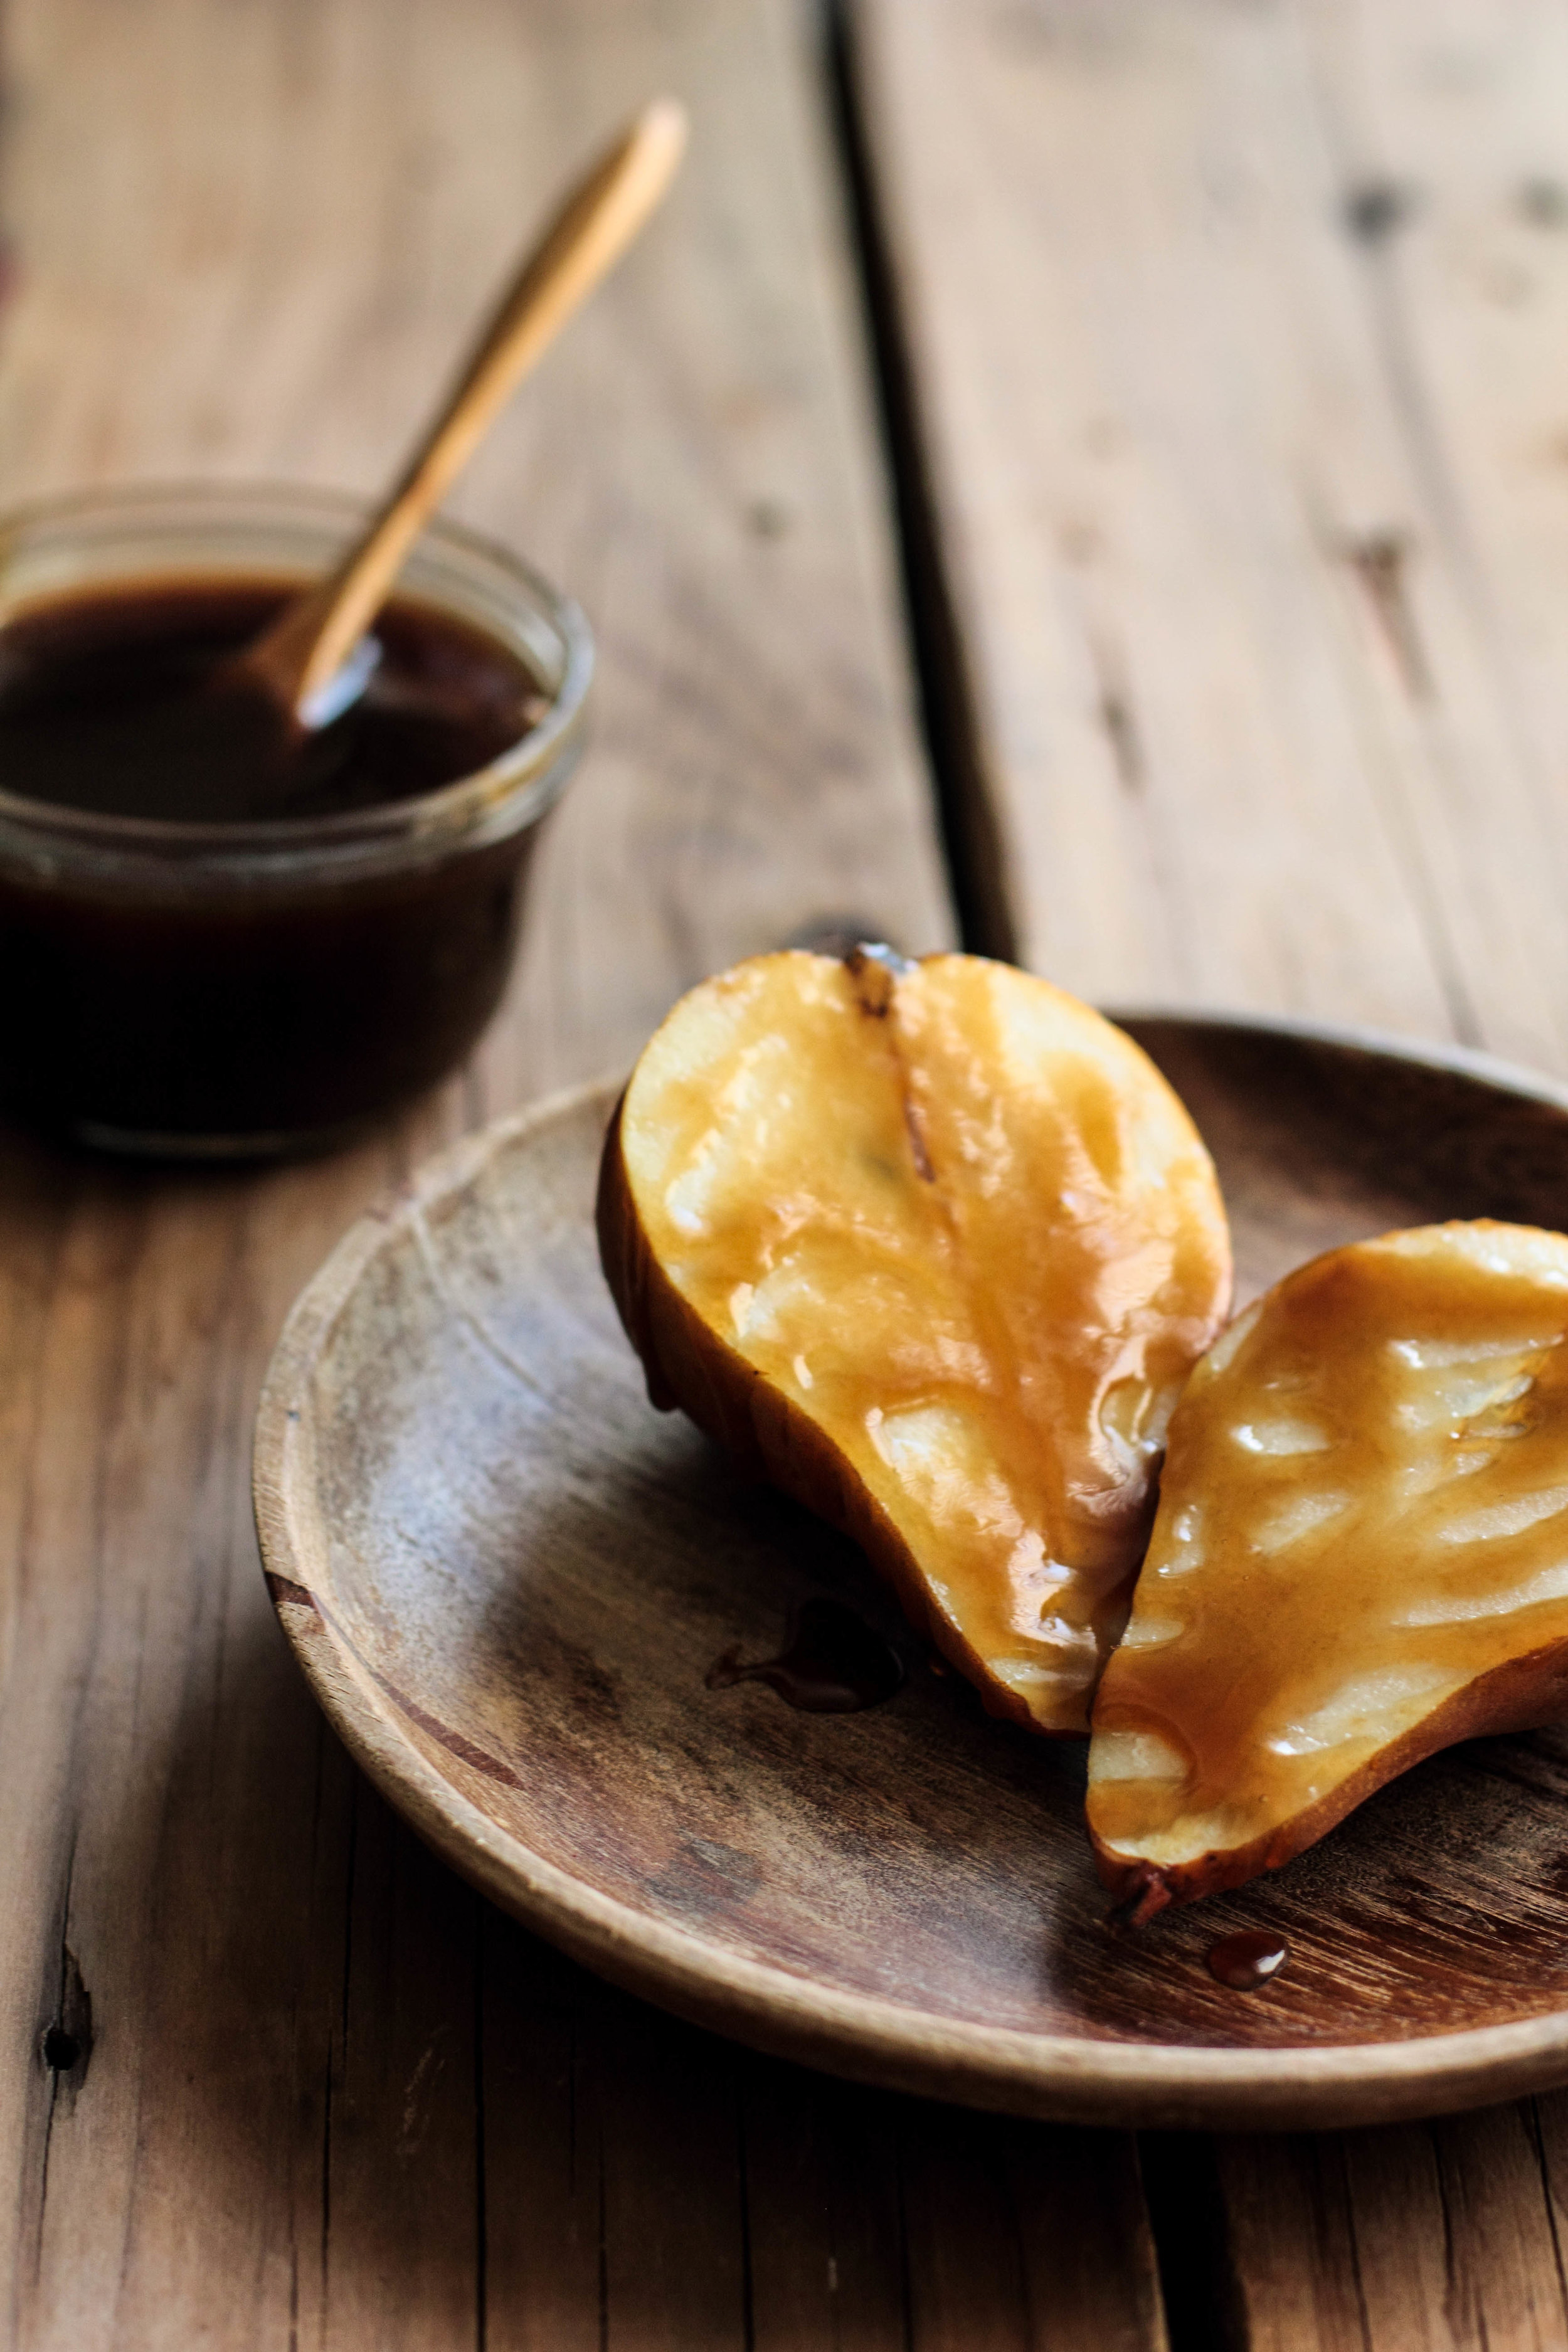
Four Years Ago: Roasted Butternut Squash & Apple Soup, Homemade Apple Cider, and Fresh Ginger Cake with Caramelized Pears

Maple Syrup Cake with Toasted Almonds
Adapted from Lomelino's Cakes: 27 Pretty Cakes to Make Any Day Special

Yields 6-inch 3-layer cake (or 1 layer 9 inch cake)

Maple Syrup Cake
3/4 cup (106 grams) whole almonds (or pecans)
6 tablespoons (85 grams) unsalted butter, room temperature
1/2 cup (100 grams) brown sugar, loosely packed 
6 tablespoons (60 grams) maple syrup
1 large egg 
1 1/4 cups (156 grams) all-purpose flour
2 teaspoons baking powder
1/2 teaspoon ground cinnamon
1/4 teaspoon ground nutmeg
1/4 teaspoon salt
3/4 cup (177 ml) milk 

Preheat oven to 350 degrees F (180 degrees C). Grease three 6-inch cake pans. Set aside.

Spread the almonds on a rimmed baking sheet and toast for 8 minutes in the oven. Place in a food processor and process until the nuts resemble a coarse flour, about 1-3 minutes. Do not overprocess. Set aside.

In a large mixing bowl, beat the butter and brown sugar until light and fluffy, about 3 minutes. Add in the maple syrup and beat until smooth. Add the egg and completely incorporate it into the batter. Gradually add the flour, baking powder, spices, salt, and finely processed almonds. Stir in the milk until the batter is smooth.

Divide the batter evenly between the prepared pans and bake for 20-25 minutes, or until a toothpick inserted into the center comes out with moist crumbs. Cool the layers in the pans for 10 minutes before transferring to a cooling rack to cool completely.

Maple Syrup Frosting
(yields about 2 cups)
3 large egg whites
6 tablespoons (76 grams) granulated sugar
1/4 cup brown sugar, not packed
4 tablespoons (40 grams) maple syrup
3/4 cup (170 grams) unsalted butter, room temperature 

Place the egg whites and sugars into a heatproof bowl set over a pan of simmer water (or a double boiler). Use a whisk to beat the mixture until it reaches 150 degrees F (65 degrees C), or until the sugar crystals have dissolved and do not feel grainy when rubbed between your fingers. Remove from heat and add the maple syrup.

In a large mixing bowl, beat the meringue until the mixture is cool and thick and forms glossy, stiff peaks, about 5-7 minutes. Add room temperature butter a small amount at a time. Continue beating frosting 3-5 minutes after all butter has been added.

To Assemble
Place first layer on a serving plate. Spoon frosting into a pastry bag. Using a star tip, pipe circles around the top of the cake, beginning at the outer edge and working inward. It's easier to see what you are doing if you start at the outer edge. If you want the cake to be higher, pipe an extra circle around the outer edge, on top of the previous circle of frosting.

Place next layer on top and repeat the piped circles. Place the last layer on top, cut side down, and leave the exterior unfrosted. Garnish with gold sprinkles, if desired.

Rustic Apple Tart

IMG_9343-2.jpg

The nearest apple orchard is a half hour drive on a gravel road. Cars come away wearing jackets of dust and teeth chatter from the bumpy ride, but the bushels of fresh apples make the journey worthwhileAfter pulling up at the orchard a few weeks ago, eyeing the rows of apples trees lining the nearby hills, I was told by an exasperated owner that there were no apples to be had. It had been a bad year for the fruit and the orchard was bare before the season even hit its stride. I laughed at the ironyhow could an apple orchard be out of its namesake?and was handed a small box for raspberries and shuffled off to the greenhouse to do some picking.

I came away with a pint of raspberries, a carving pumpkin, and arms scratched up from the thorns. My bushels of apples would have to wait.

IMG_9404-2.jpg

The neighbors at my childhood home have an apple tree in their backyard that hangs over the fence. It is a difficult tree, producing ping pong-sized apples on the good years, and little to nothing on the bad. When my sister and I were much younger, we would pick the small apples from the low hanging branches as treats before dinner, burying our cores beneath the leaves to hide the evidence. I cannot imagine the neighbors or my parents becoming upset over our secretive afternoon snacks, but it was a game we played with ourselves.

I visited my home this past weekend and was welcomed by a tree full of large apples. The tree had finally thrived. The neighbors asked me to take some off their hands so I picked a couple boxes full. This year, it seemed the apples had come to me.

IMG_9393-2.jpg

Apple desserts, joined by warm spices, compose a chord in the flavors of autumn. Each year, I hunt for new ways to create and enjoy them. Still thinking longingly of the Plum Almond Galette from last July, I made this apple dessert in a similar vein. It feels like it fits somewhere between a pie and a tart, with a flaky crust and spiced filling to round out the textures. It is a relatively quick dessert to assemble, when compared against the complexity of assembling of a pie or the time spent blind baking a tart crust.

When drowned in warm caramel, it just feels right.

IMG_9421-2.jpg

The Rustic Apple Tart comes together using a pie crust (homemade or storebought) and thinly sliced apples. A cinnamon spiced almond filling rests below the apples to round out the flavors and absorb juices while baking. Though the tart can stand alone, do yourself a favor and serve it with warm caramel and whipped cream or vanilla ice cream.

One Year Ago: Butternut Squash Biscuits
Two Years Ago: Caramel Apple Granola, Chewy Vanilla Bean Cinnamon Bars, Chai Spiced Rice Pudding, and Peanut Butter Cup Cookies
Three Years Ago:Ants on a Log, Whole Wheat Irish Soda Bread, Pumpkin Granola, and Chocolate Cherry Bread
Four Years Ago:Apple Tart with Almond Cream, Pumpkin Alfredo, and Baked Apple Chips

Rustic Apple Tart

1/4 cup (25 grams) almond flour*/**
2 tablespoons all-purpose flour
6 tablespoons granulated sugar, divided
1 teaspoon ground cinnamon
1/4 teaspoon ground nutmeg
Single crust pie dough 
3-4 large apples (6-8 small), peeled, cored and sliced thinly
Milk or cream, for brushing
Caramel sauce, for drizzling (optional)

In a small bowl, whisk together the flours, 4 tablespoons granulated sugar, and spices. Set aside.

On a lightly floured surface, roll out the pie dough to roughly a 14-inch circle. Spread the flour mixture out evenly over the pie dough, leaving a 2-inch border around the outside. Place the sliced apples over the filling, arranging them in overlapping patterns. Fold up the pie dough over the filling, pleating the dough every two or so inches. Brush the visible pie dough with milk and sprinkle the remaining 2 tablespoons of sugar evenly over the dough and apples. Refrigerate for 20-30 minutes to firm up the crust before baking.

Preheat oven to 400 degrees F (204 degrees C).

Bake for 40 to 50 minutes, or until the crust is golden and the apples have visibly softened. Serve with a topping of whipped cream or side of vanilla ice cream, with a drizzling of warm caramel.

*To make a quick almond flour, process whole almonds in a food processor until it resembles a fine sand. It may take only a handful of seconds. Be careful not to overprocess or the almonds will release too much oil and begin to turn into almond butter.

**The almond flour may also be substituted for oat flour.

Vegan Caramel

Since discovering my dairy intolerance two years ago, I've been on the search to find dairy-free replacements for many of my former beloved butter and cream-filled desserts. Cakes and cookies were easy to convert, ice cream and confections were a bit more challenging, but I've managed to eat and eat while since. Though I found my intolerance curse in the beginning, I have made due with the cards I've been dealt.

The first major victory for dairy-free replacements was vegan whipped cream. It put up a brief fight, but relented when a can of coconut milk came to the rescue (as it so often does for dairy-free alternatives). Eager for a second victory to add to my list, I chose to tackle caramel next. Certainly, this could not be more difficult, I told myself, as I started working on my first batch. 

Oh, but it was. 

For the next month, each weekend I created a new batch and, shortly thereafter, tossed it directly into the trash. As it turns out, dairy-free milk alternatives do not hold up like heavy cream; the fat structure is too dissimilar. The coconut milk caramel, once cool, developed a look quite similar to bacon fat. The soy milk caramel was lumpy and dropped off the spoon like heavy rain drops. It seemed, for a short time, that my dreams of dairy-free caramel would have to be tossed in the trash as well.

As I let the idea simmer in the back of my mind, it occurred to me that I might have to rethink the caramel in a more drastic sense. With a helpful bit of research, I went back to the ever faithful can of coconut milk. Instead of adding it to molten sugar, as I had done before, I simmered the milk down to a thick sauce with brown sugar to prevent the fat from separating. The brown sugar lends a caramelized flavor and the coconut milk provides the sticky, perfect-for-drizzling texture. I would suggest using light brown sugar instead of dark (or, ideally, a mixture of the two)the dark brown sugar (pictured) is on the edge of becoming too bitter for the final product.

While the vegan caramel tastes like real caramel to my dairy-free palate, it was described to me by dairy-lovers as "coconut butterscotch." Drizzled over ripe pears or apple slices, I doubt many would notice or care about the differences.  

Vegan caramel is created from a mixture of coconut milk and brown sugar simmered down until it forms a thick syrup. It may be a different take on caramel but, for those with food restrictions, it is a dream. The caramel pairs well with fresh fruit and can (and should) be drizzled over pastries and bowls of ice cream. For a smooth final product, I recommend running it through a fine mesh strainer. 

For those of you who love the classics, this basic caramel recipe may be more your style.

One Year Ago: Classic Apple Pie
Two Years Ago: Whole Wheat Chocolate Chip Scones, Brown Butter Pear Muffins, Pumpkin Espresso Bread, and Triple Coconut Cookies
Three Years Ago: 3 Milk Coconut Cake, Blackberry Lemonade, Garden Tomato & Basil Tart, and Peaches & Cream
Four Years Ago: Butternut Squash Custard, Pumpkin Bread Pudding & Caramel Rum Raisin Sauce, and Banana Nut Bread

Vegan Caramel

Yields about 1 cup

14 ounces (397 grams) full fat coconut milk
3/4 cup (150 grams) light brown sugar, packed (or a mixture of half light brown/half dark brown sugar)
1 teaspoon vanilla extract

In a large saucepan, whisk together the coconut milk and brown sugar. Bring to a boil over medium high heat, reduce temperature, and simmer for 25 to 35 minutes, or until it thickens into a syrup. It can be simmered longer for a thicker sauce. Remove from heat and stir in the vanilla extract.

For a smooth sauce,  run the caramel through a fine mesh strainer.