Pineapple Coconut Sorbet

This post is sponsored through a partnership with Dole Sunshine. As always, all thoughts and opinions are my own.

This post is sponsored through a partnership with Dole Sunshine. As always, all thoughts and opinions are my own.

With summer heat in full swing, I've been looking for ways to cool down that don't involve hiding indoors with the air conditioner. It seems I have spent a great deal of this summer behind a computer screen, spending time researching the many details that come with planning a wedding

With less than a month of summer vacation to go, my checklist of summer activities—kayaking the nearby lakes, biking around town, and enjoying free concerts in the park on warm summer nights—have gone unchecked. What summer activities have you checked off your list?  Perhaps I can persuade you to enjoy a little more time in the warm sunshine with this frozen dessert. 

This pineapple coconut sorbet is my favorite frozen dessert so far this year, satisfying my desire for something both fruity and creamy at the same time. 

Sorbet is a great alternative to classic ice cream for several reasons. First, unlike traditional ice cream, the sorbet base does not have to be thickened with egg yolks over the stove. This feature makes the process from idea to final product both simpler and quicker.

Second, sorbet allows real fruit flavors to stand out. For this pineapple coconut sorbet, I wanted the focus to be the tropical sweetness of pineapple so I used Dole 100% Pineapple Juice to keep the flavor bright and pure. Pineapple can also be acidic so the addition of a "creamy" component, like full-fat coconut milk, can mellow the acidity and allow the true flavor to shine through. 

Third, sorbet is vegan, which makes it a wonderful alternative for people who suffer from food intolerances or allergies (like me!). Sorbet is a safe (and delicious) choice to share with family and friends. 

IMG_9909-2.jpg

This Pineapple Coconut Sorbet is a sweet treat to help you beat the summer heat. The sorbet only has four ingredients—pineapple juice, coconut milk, sugar, and vanilla extract—which makes it quick and easy to assemble. The creaminess of the coconut balances the acidity of the pineapple, balancing the flavors of the frozen dessert. Serve in a bowl topped with toasted coconut flakes or in a sugar cone.

One Year Ago: Blueberry Basil Galette
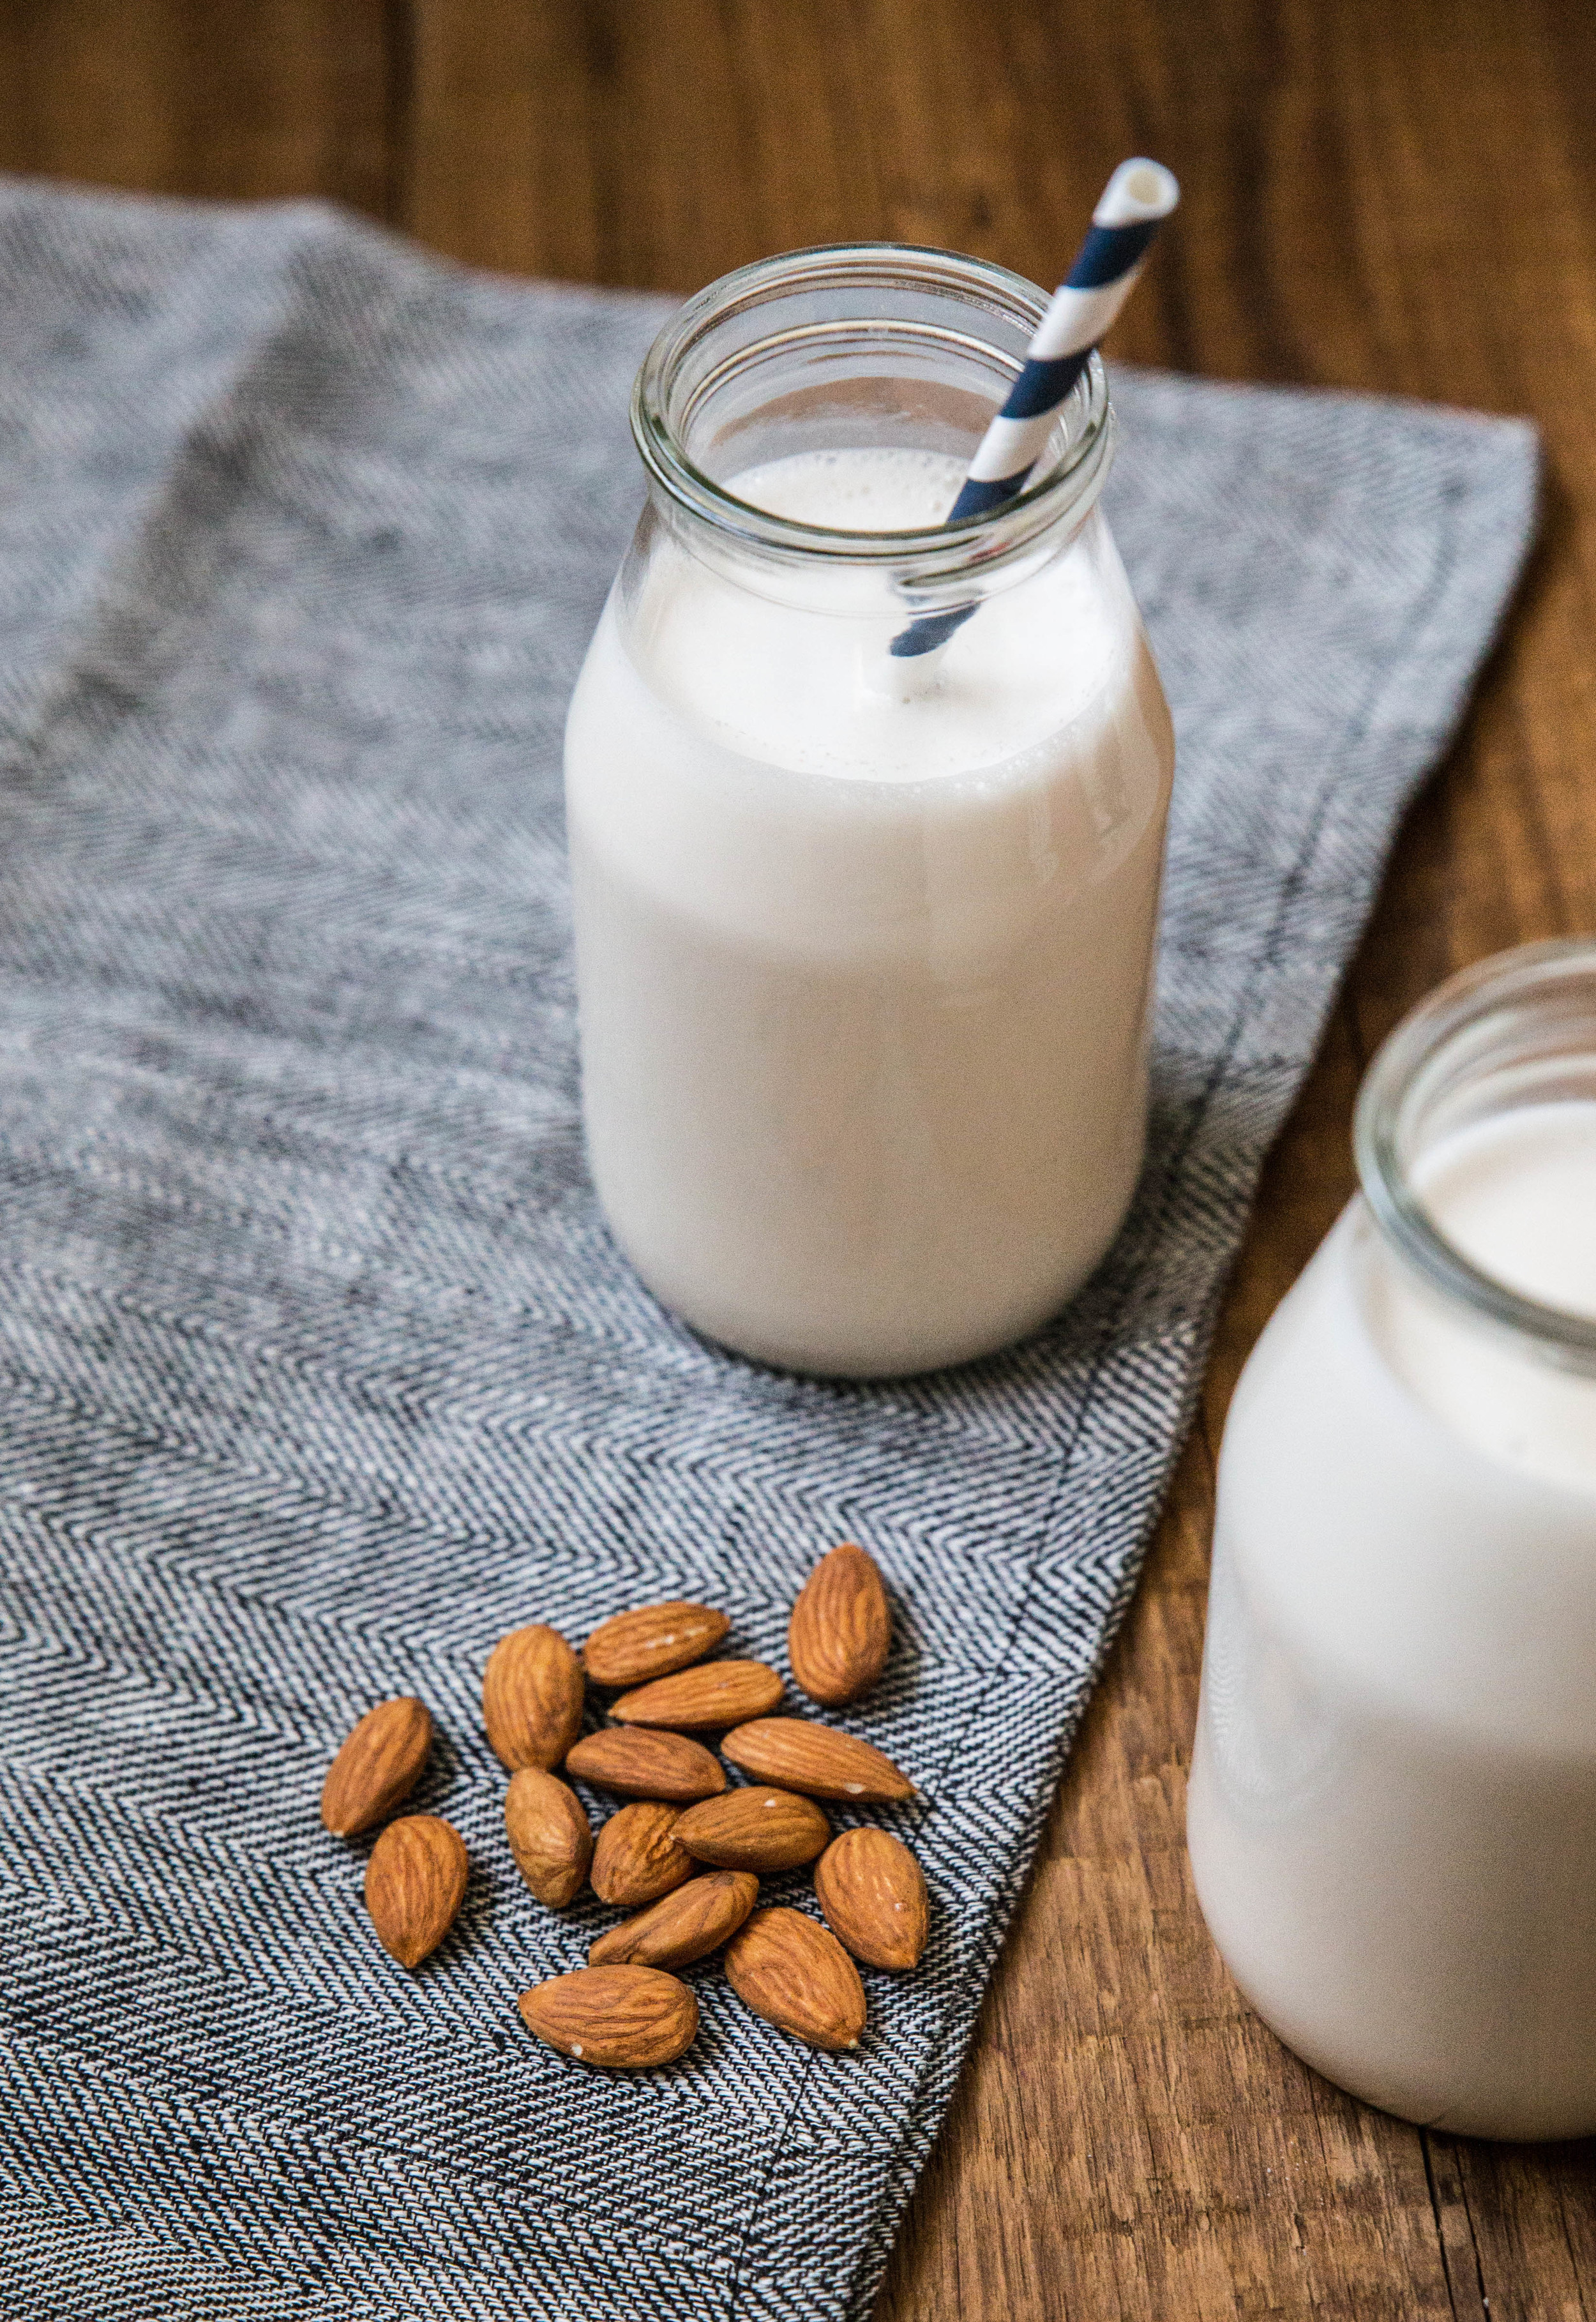
Two Years Ago:  Homemade Almond Milk & Blueberry Plum Pie
Three Years Ago: Cherry Hand Pies & Olive Oil Pound Cake
Four Years Ago: Plum Almond Galette, Paris Holiday, & Provence & the French Riviera
Five Years Ago: Nutella Espresso Rolls, Brownie Cookies, & Cookie Dough Cake
Six Years Ago: Banana PB Protein Smoothie, Chocolate Cherry Cake, Coconut Scones, & Strawberry Coconut Ice Cream
Seven Years Ago: Cherry Almond Muffins, Plum Clafouti, S'mores Pie, Grilled Apricots, & Malted Chocolate Cupcakes
Eight Years Ago: Chocolate Prune Cake, Espresso Chocolate Chip Shortbread, & Whole Wheat Wild Blueberry Muffins

Pineapple Coconut Sorbet

Yields 1 quart

14 ounce can (414 mL) full-fat coconut milk
2 cups (475 mL) Dole 100% Pineapple Juice
1/2 cup (100 grams) granulated sugar
1 teaspoon vanilla extract

In a large mixing bowl, whisk together the coconut milk, pineapple juice, granulated sugar, and vanilla extract. When uniform and sugar has dissolved, place in the refrigerator and chill 3-4 hours, or until cold.

Freeze mixture in ice cream maker, following the manufacturer's instructions. Transfer sorbet to an airtight container and freeze for 2-3 hours before serving. The sorbet will keep well for several weeks in the freezer. Serve with a sprinkling of toasted coconut flakes.


This post is sponsored through a partnership with Dole Sunshine. As always, all thoughts and opinions are my own. I am incredibly excited to be working with Dole Sunshine because of the excellent quality of their fruit-based products. Thank you for supporting Pastry Affair & my wonderful sponsors!

Homemade Almond Milk

It has been four years since I was diagnosed with a dairy intolerance. The diagnosis itself was a great relief (I spent the first 22 years of my life with miserable abdominal health issues due to an unknown cause), but it was also a real slap to the face. My diet was based around dairy, and as I had been working as a professional baker at the time, it was my livelihood. Unlike most people with dairy issues, I could not handle dairy in any amount or in any form. I was devastated.

It took me a long time to adjust to my new, unwanted diet. I went through the stages of grief: denial, when I refused to eat dairy-free foods; anger, when I realized I would have to change my approach to food; bargaining, when I convinced myself dairy would be worth the pain (it never was);  depression, when I would stand outside the bakery counter staring at all the food I had given up; and lastly, acceptance. It took me a couple years to fully accept and embrace the dairy-free diet (and even longer to find delicious dairy-free counterparts to my favorite dairy-filled foods).

I am aware there is a certain irony to baking without baking's greatest giftsbutter, cheese, milk, and heavy cream. In fact, I couldn't even steal a lick from the spatula when I spent days preparing cupcakes for my sister's wedding.  Even though I write the recipes on Pastry Affair to include dairy ingredients, you can rest assured that the recipes are created dairy-free in my own kitchen.

The first dairy-free alternative I fell in love with was almond milk. The milk is creamy with a subtle almond flavor, which works beautifully in baking and morning cereal. When Wolf Gourmet asked me to test their High Performance Blender, I knew that homemade almond milk would be my first challenge. I haven't made almond milk with my current low-end blender because it has a difficult time breaking down small foods. For example, the greens are in larger pieces than I prefer in this green smoothie, and there is a visible level of grain in this chocolate hazelnut spread that could be eliminated with a high powered blender. 

Essentially, almond milk is made by blending almonds with filtered water. The almonds are first soaked overnight to soften. Ideally, to create the creamiest milk, you need to extract as much as possible from the almonds by breaking them down into very fine pieces. When I set the Wolf Gourmet blender to task, the leftover almond pulp was finer than almond meal. I have used other high-end blenders, but I prefer this one because it not only includes presets for the most common blended foods (like smoothies and purées), but it also has a timer that helps you keep track of time elapsed.

While the almond milk can be left unsweetened, I added vanilla extract and maple syrup to give it a subtle flavor and sweetness.

Edit: Giveaway is closed and the winner has been chosen.

Homemade Almond Milk is incredibly easy to make at home and can be customized to your tastes. This version uses vanilla extract to provide a light flavor and maple syrup for a subtle sweetness. If you have a sweeter palate, feel free to add more maple syrup, or even honey, to taste. This almond milk has a similar thickness to 2% milk. For almond milk with a thinner consistency, add more water when blending; likewise, for a thicker almond milk, reduce the amount of water. The almond milk can be used in the same manner as dairy milkfor cooking, baking, and drinking.

One Year Ago: Banana PB Green Smoothie and Cherry Hand Pies
Two Years Ago: Lavender Vanilla Bean Cake and Plum Almond Galette
Three Years Ago: Coconut Sorbet, Cherry Almond Crumble, Nutella Espresso Rolls, & Brownie Cookies
Four Years Ago: Almond Butter Cupcakes, Summer Berry PavlovaMango Coconut Popsicles, & French Silk Pie
Five Years Ago: Butterbeer, Butterbeer Cupcakes, Cherry Almond Muffins, & Plum Clafouti
Six Years Ago: Mocha FrappuccinoBerry Lime Panna Cotta, & Grilled Peaches

Homemade Almond Milk

Yields about 6 cups

2 cups (225 grams) whole almonds
8 cups (1.9 L) filtered water, divided
3 tablespoons maple syrup
1-2 teaspoons pure vanilla extract, to taste

Place almonds in a container and cover with 3 cups filtered water. Seal container and allow to soak overnight, for 8 hours up to 2 days.

Strain almonds and rinse with fresh water (the almonds release phytic acid while soaking, which prevents the body from absorbing nutrients; rinsing the almonds removes this acid). Place almonds and remaining 5 cups filtered water in a blender. Add maple syrup and vanilla extract. Blend on high for 2-3 minutes. Using a nut bag, layered cheesecloth, or fine mesh strainer, strain the almond milk to remove the pulp. If using the fine mesh strainer, run the milk through several times to eliminate pulp. The leftover pulp can be used in smoothies, muffins, or breads or it can be dehydrated and used in the same manner as almond flour.

Keep refrigerated. Almond milk stays fresh for 5 to 7 days.

Disclosure: A complimentary High Performance Blender was provided for review by Wolf Gourmet. As always, all thoughts and opinions are my own.

Cacao Hot Chocolate

Like so many of us do, I hibernate when the weather grows cold. I find reasons to stay inside, snuggled underneath heavy blankets, bathed in the soft glow of the television. This time of year is quiet; a waiting period between seasons. Comfort  is found in simple things—baking cookies to warm the apartment, and reading a good book before bed.

Isolated in our homes, we keep warm, dormant and sedate, until the white of winter fades.

My sister brought me back a package of cacao powder when she was in the Dominican Republic. After being served an incredible hot chocolate brewed from it, she knew I would find my own uses for it. I originally discovered  cacao several years ago while looking for dairy-free chocolate alternatives. Cacao is a raw, less processed form of chocolate; it is the ingredient from which chocolate and cocoa powder originate. Cacao is perhaps known most famously as the drink of the Aztecs. While the Aztec drink was medicinal in nature—bitter, and tremendously spicy —the version I have concocted for you is much more tame.

Brewed into almond milk, spiced with cinnamon, and sweetened with maple syrup, the cacao transforms into a dark chocolate drink that suits these cold winter evenings.

IMG_0787.jpg
IMG_0763.jpg

Cacao Hot Chocolate is a variation on the traditional hot chocolate. Cacao powder is brewed in warm milk and blended until uniform. With additions of cinnamon and maple syrup, the bitterness of the cacao fades and is replaced by a deep, dark chocolate flavor. Serve with whipped cream or marshmallows when the snow flies.

Cacao powder can be found in most health food stores and online.

One Year Ago: Cranberry Orange Muffins
Two Years Ago: Double Chocolate Brownies
Three Years Ago: Rosemary Sandwich Bread and Cranberry Flaxseed Muffins
Four Years Ago: Cinnamon Sugar Cake, Vanilla Bean Pudding, and Soft & Chewy Chocolate Chip Cookies
Five Years Ago: Chocolate Marbled Banana Bread, Cherry Chocolate Oat Cookies, and Cranberry Wine Spritzer

Cacao Hot Chocolate

Yields 2 servings

2 cups (475 mL) almond milk (or milk of choice)
2 tablespoons cacao powder
1/2 teaspoon ground cinnamon
2 teaspoons maple syrup
Coconut Whipped Cream (optional)

In a saucepan, whisk together all ingredients and heat over medium-high heat until hot, but not boiling. Remove from heat and transfer to a blender. Carefully blend for several seconds until uniform. Pour through a fine mesh strainer to remove any remaining solids.

Divide evenly between two mugs and top with coconut whipped cream.