Blueberry Plum Pie

After many summers of moving and extended travel, my feet are staying (mostly) in one place this year. As a result, I was able to sign up for a summer CSA (community supported agriculture) share, after contemplating one for several years. CSAs are a way for consumers to buy locally grown produce directly from a farmer by purchasing "shares" of the harvest at the beginning of the season. The goal for the CSA was to introduce and teach me to cook regional and seasonal produce (or, more honestly, push me to learn how to cook in general). Each week, I pick up my CSA produce box from the local farmer's market. The contents are usually a surprise, containing whatever was ready to harvest from the farm the evening before.

Back in June, I marveled over the tender asparagus and fought my boyfriend for the soft, buttery lettuce (the  best of my entire life) from the first box. Midway through the summer, the CSA has consisted of just as many unfamiliar vegetables as those I recognize. I have learned how to roast turnips with potatoes, slice bok choy for stir fry, hide endless amounts of summer squash in tomato sauce, and embrace an unexpected love for kohlrabi.

Out of necessity, I started keeping a written tally of what needs to be eaten on the refrigerator door. At least I can finally say that I actually do eat my vegetables. 

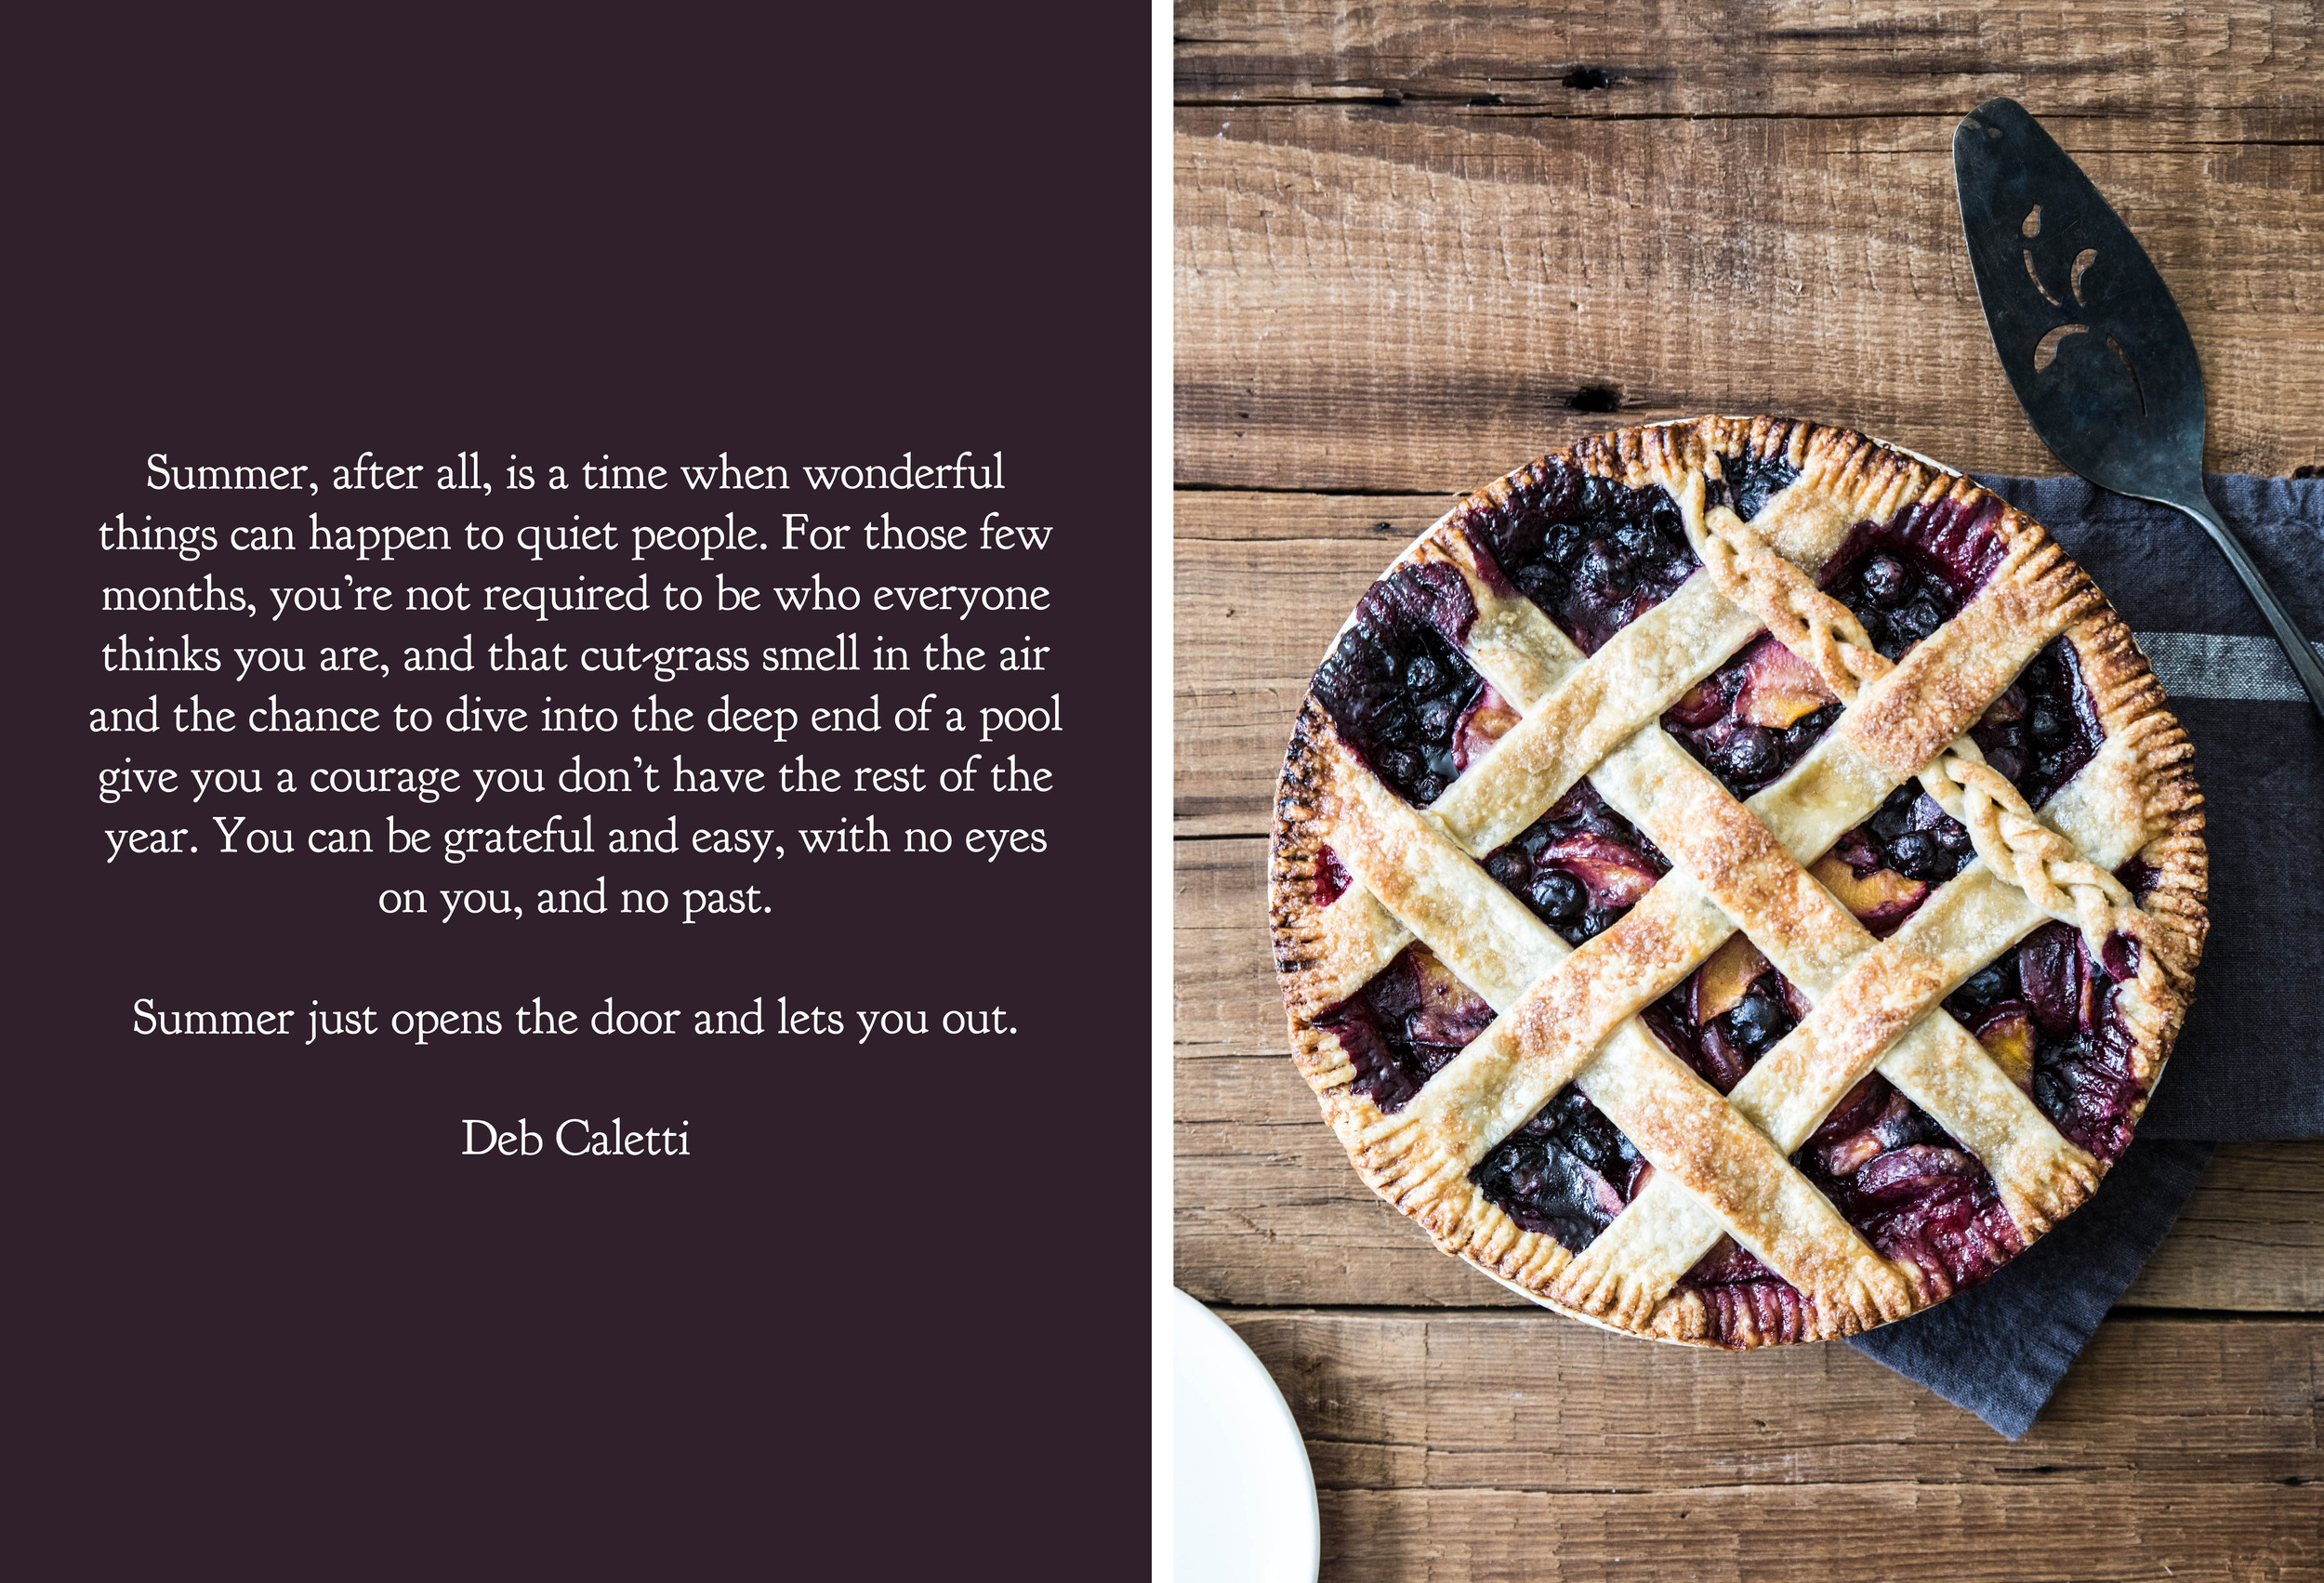
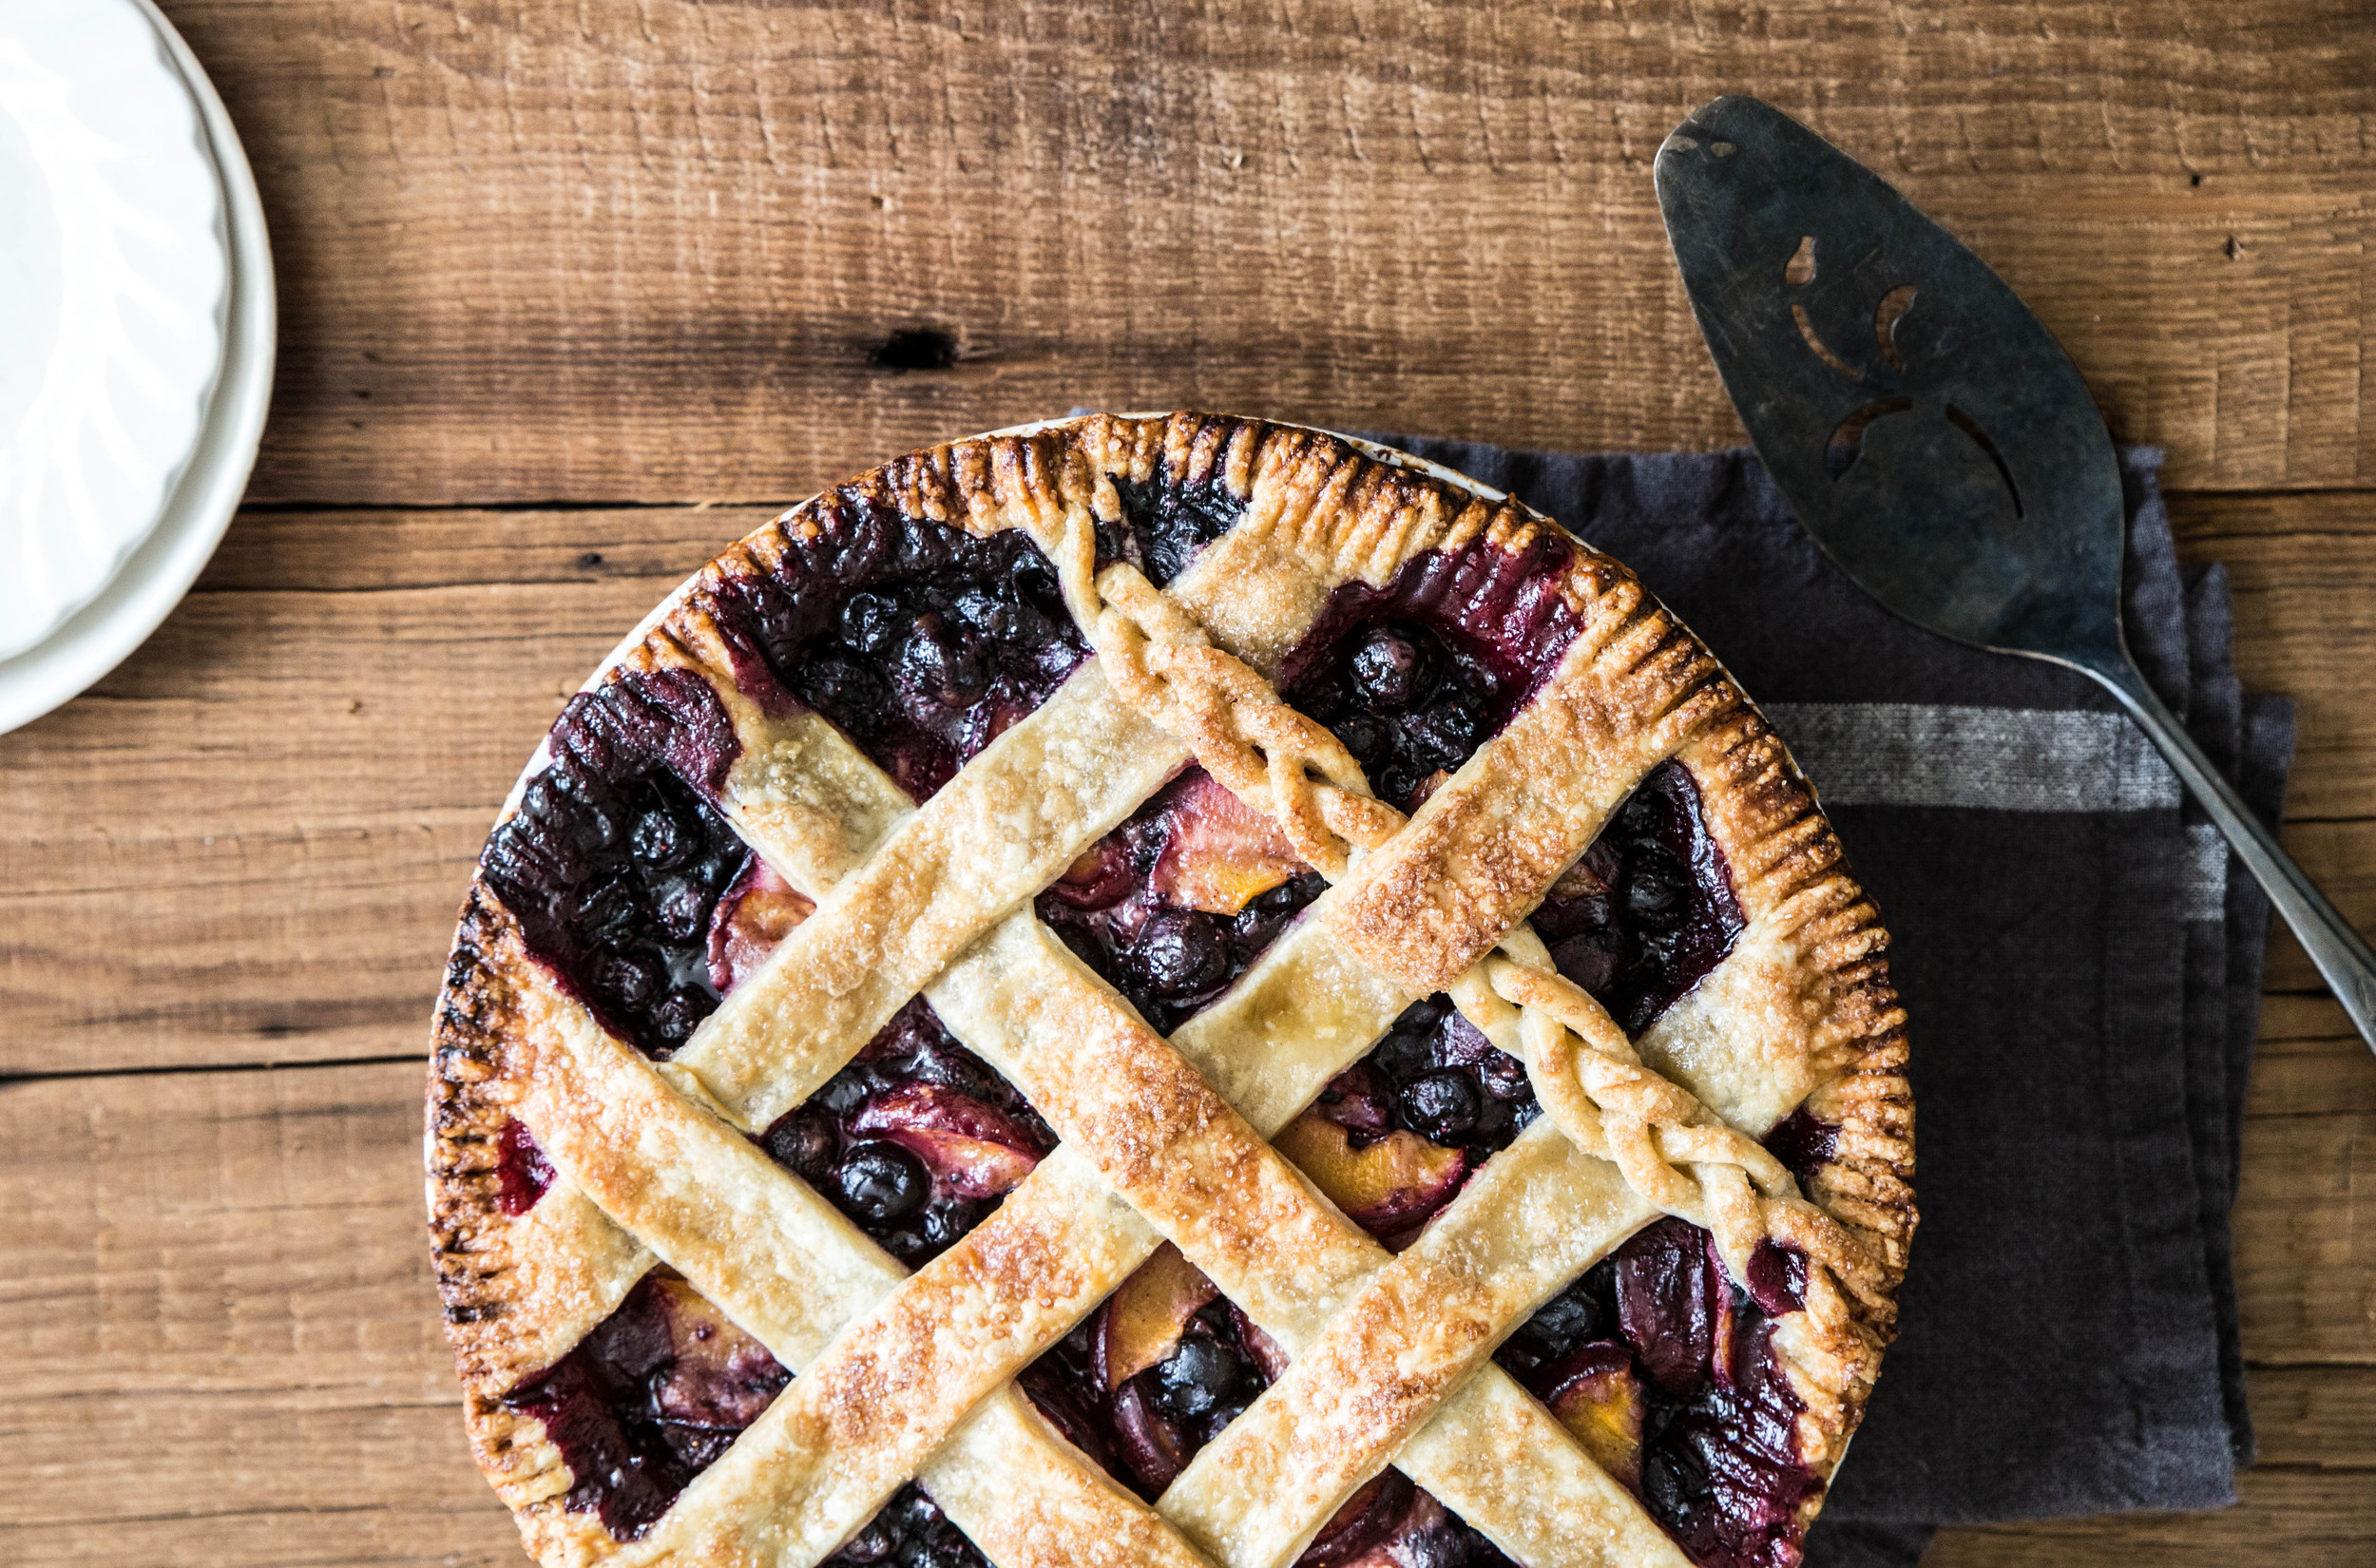
At the farmer's market last week, I picked up 6 pints of blueberry "seconds" in addition to the CSA. Though many of the "seconds" were battered and broken, I sorted and gathered together enough blueberries for a pie. Since a handful of plums were already sitting on the kitchen counter, it seemed an opportune moment to pair these fruits together. I covered the fruit in pastry and let it bubble and sing in the oven.

After my first bite, I have nothing but praise for this dreamy flavor combination. Blueberries and plums are a  tour de force

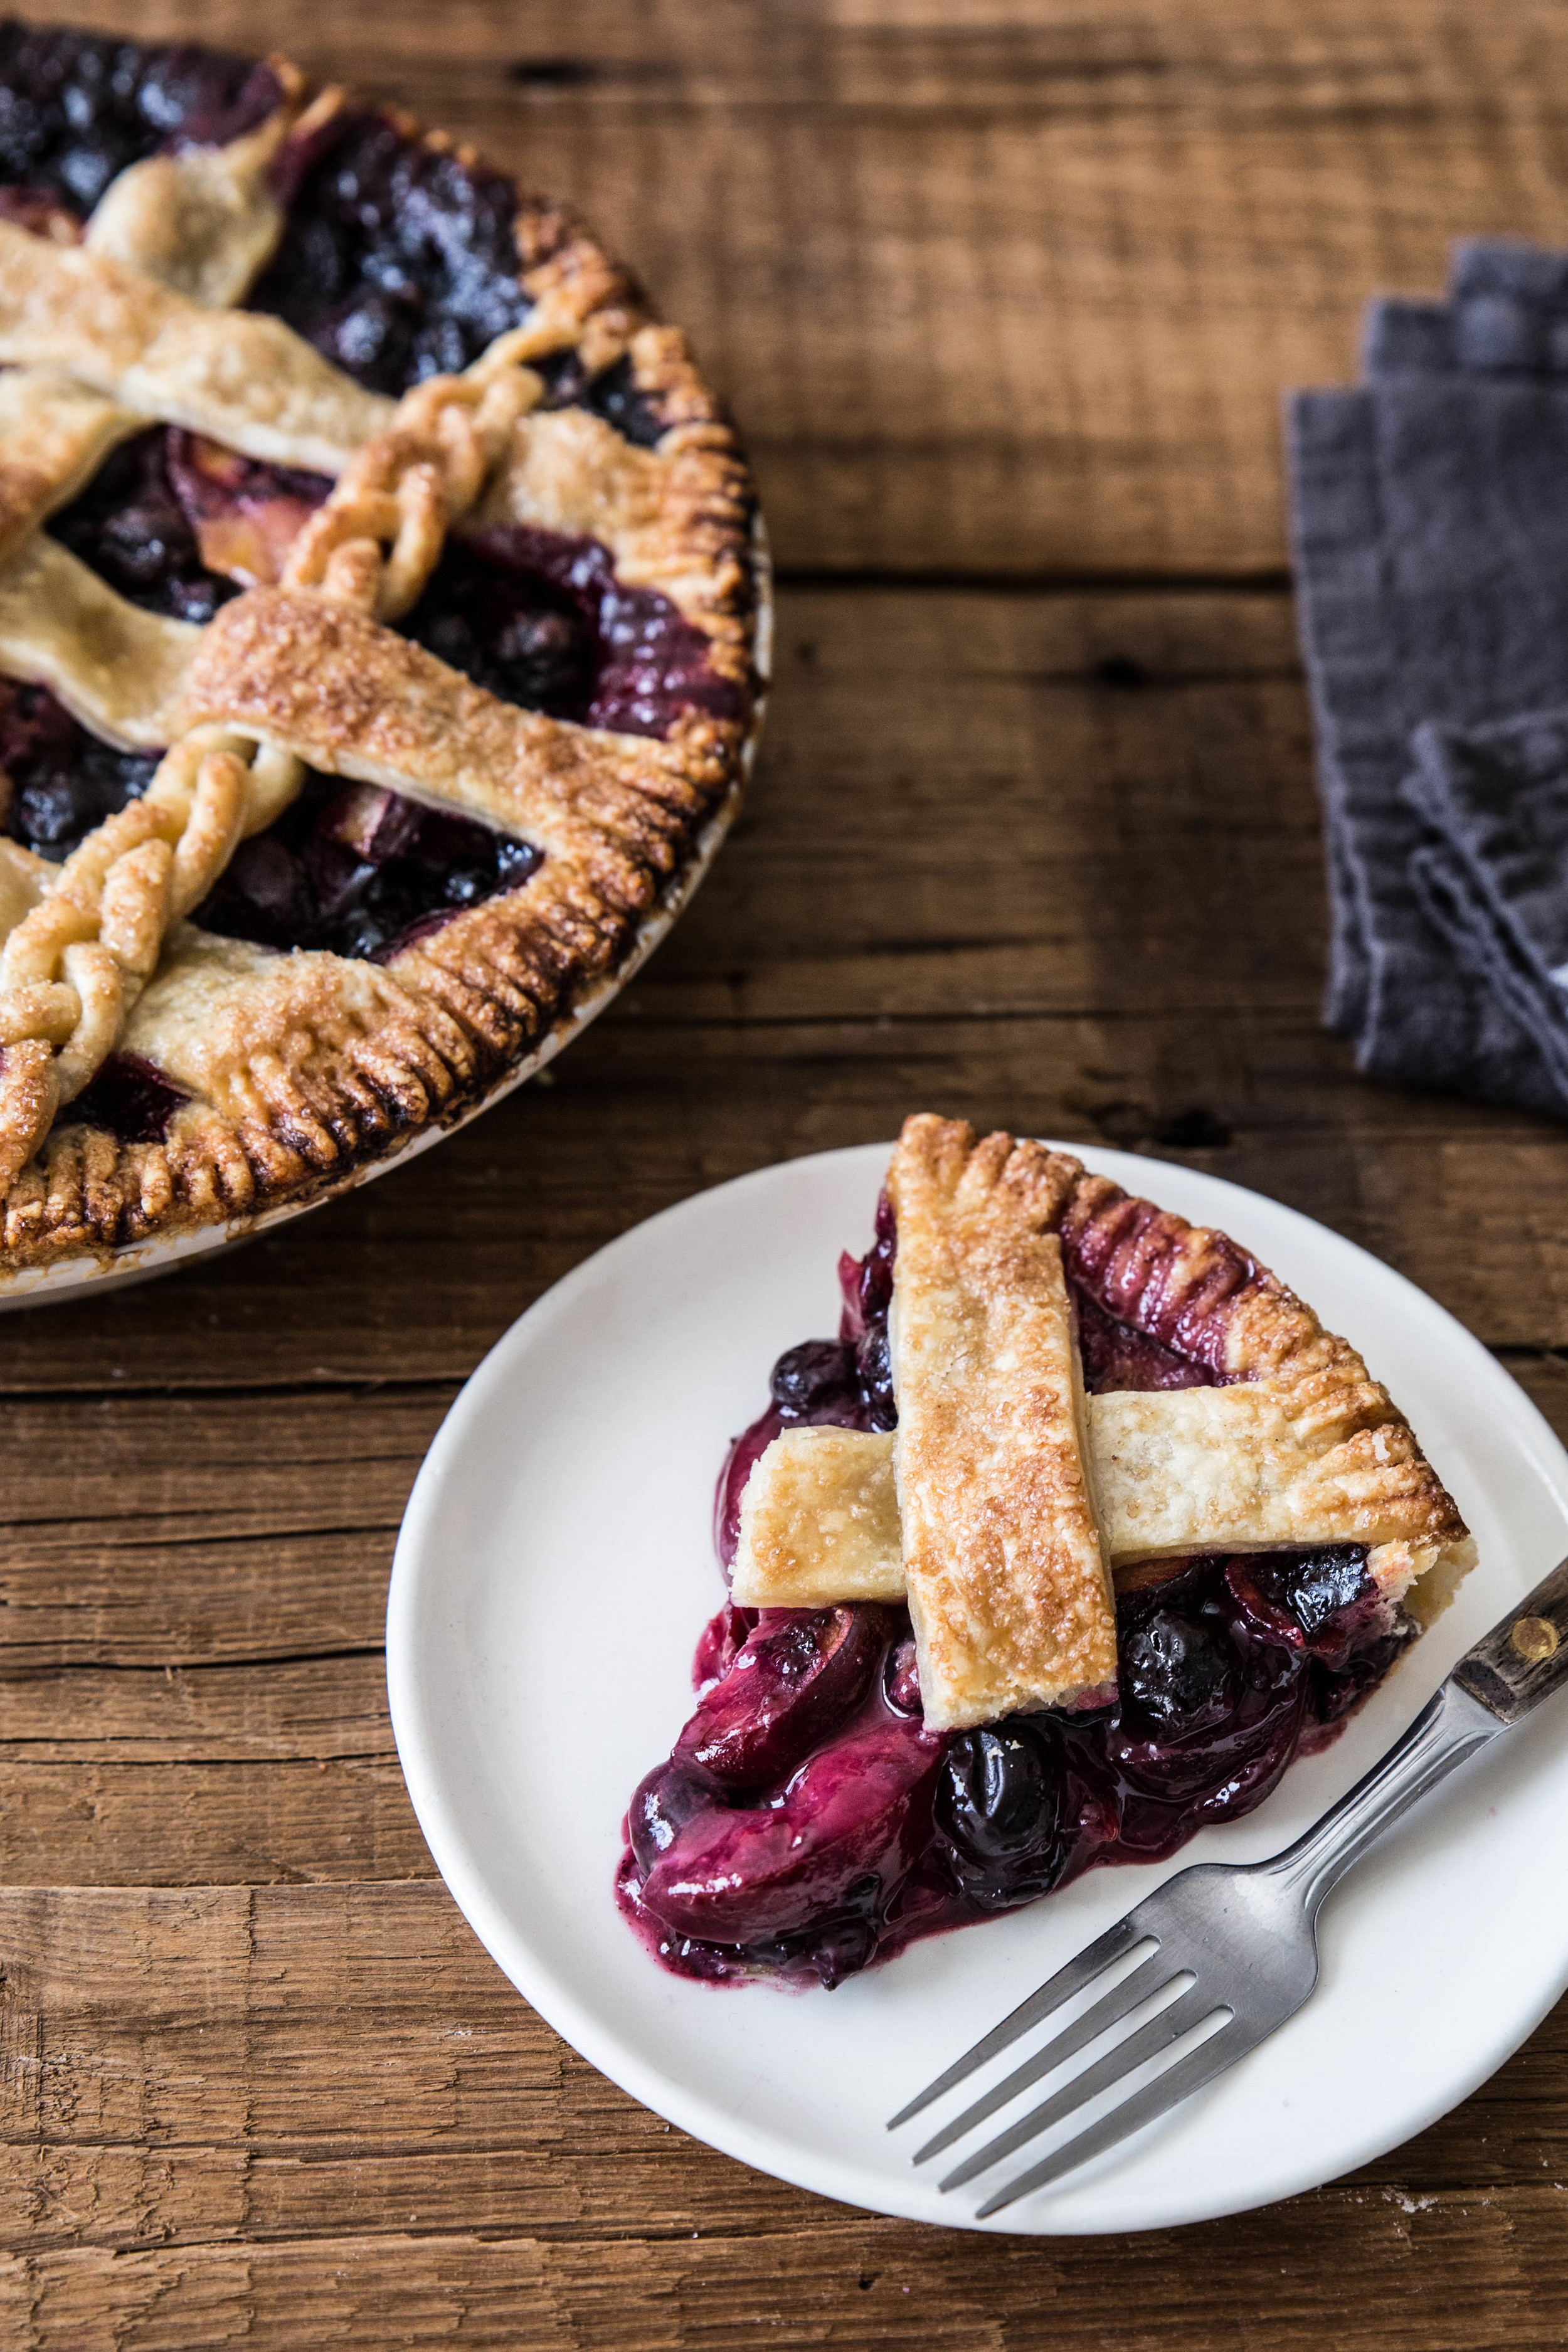
Blueberry Plum Pie is a fruit-focused pastry with a burst of flavor. Fresh blueberries and sliced plums come together in a lattice-topped pie. A teaspoon of cinnamon is added to give the fruit a subtle warmth, which adds to the overall profile. Serve warm or chilled with a side of vanilla ice cream and a friend. 

One Year Ago: Olive Oil Pound Cake
Two Years Ago: Paris Holiday and Provence & the French Riviera
Three Years Ago: Cookie Dough Cake & Blueberry Braided Bread
Four Years Ago: Blackberry Coffee Cake, Dark & Stormy, Blueberry Cream Cheese Cupcakes, & S'mores Pancakes
Five Years Ago: Oregon Coast, Banana Cake, S'mores Pie, & Grilled Honeyed Apricots
Six Years Ago: Roasted Cherry Coconut Ice Cream

Blueberry Plum Pie

Yields 9-inch pie

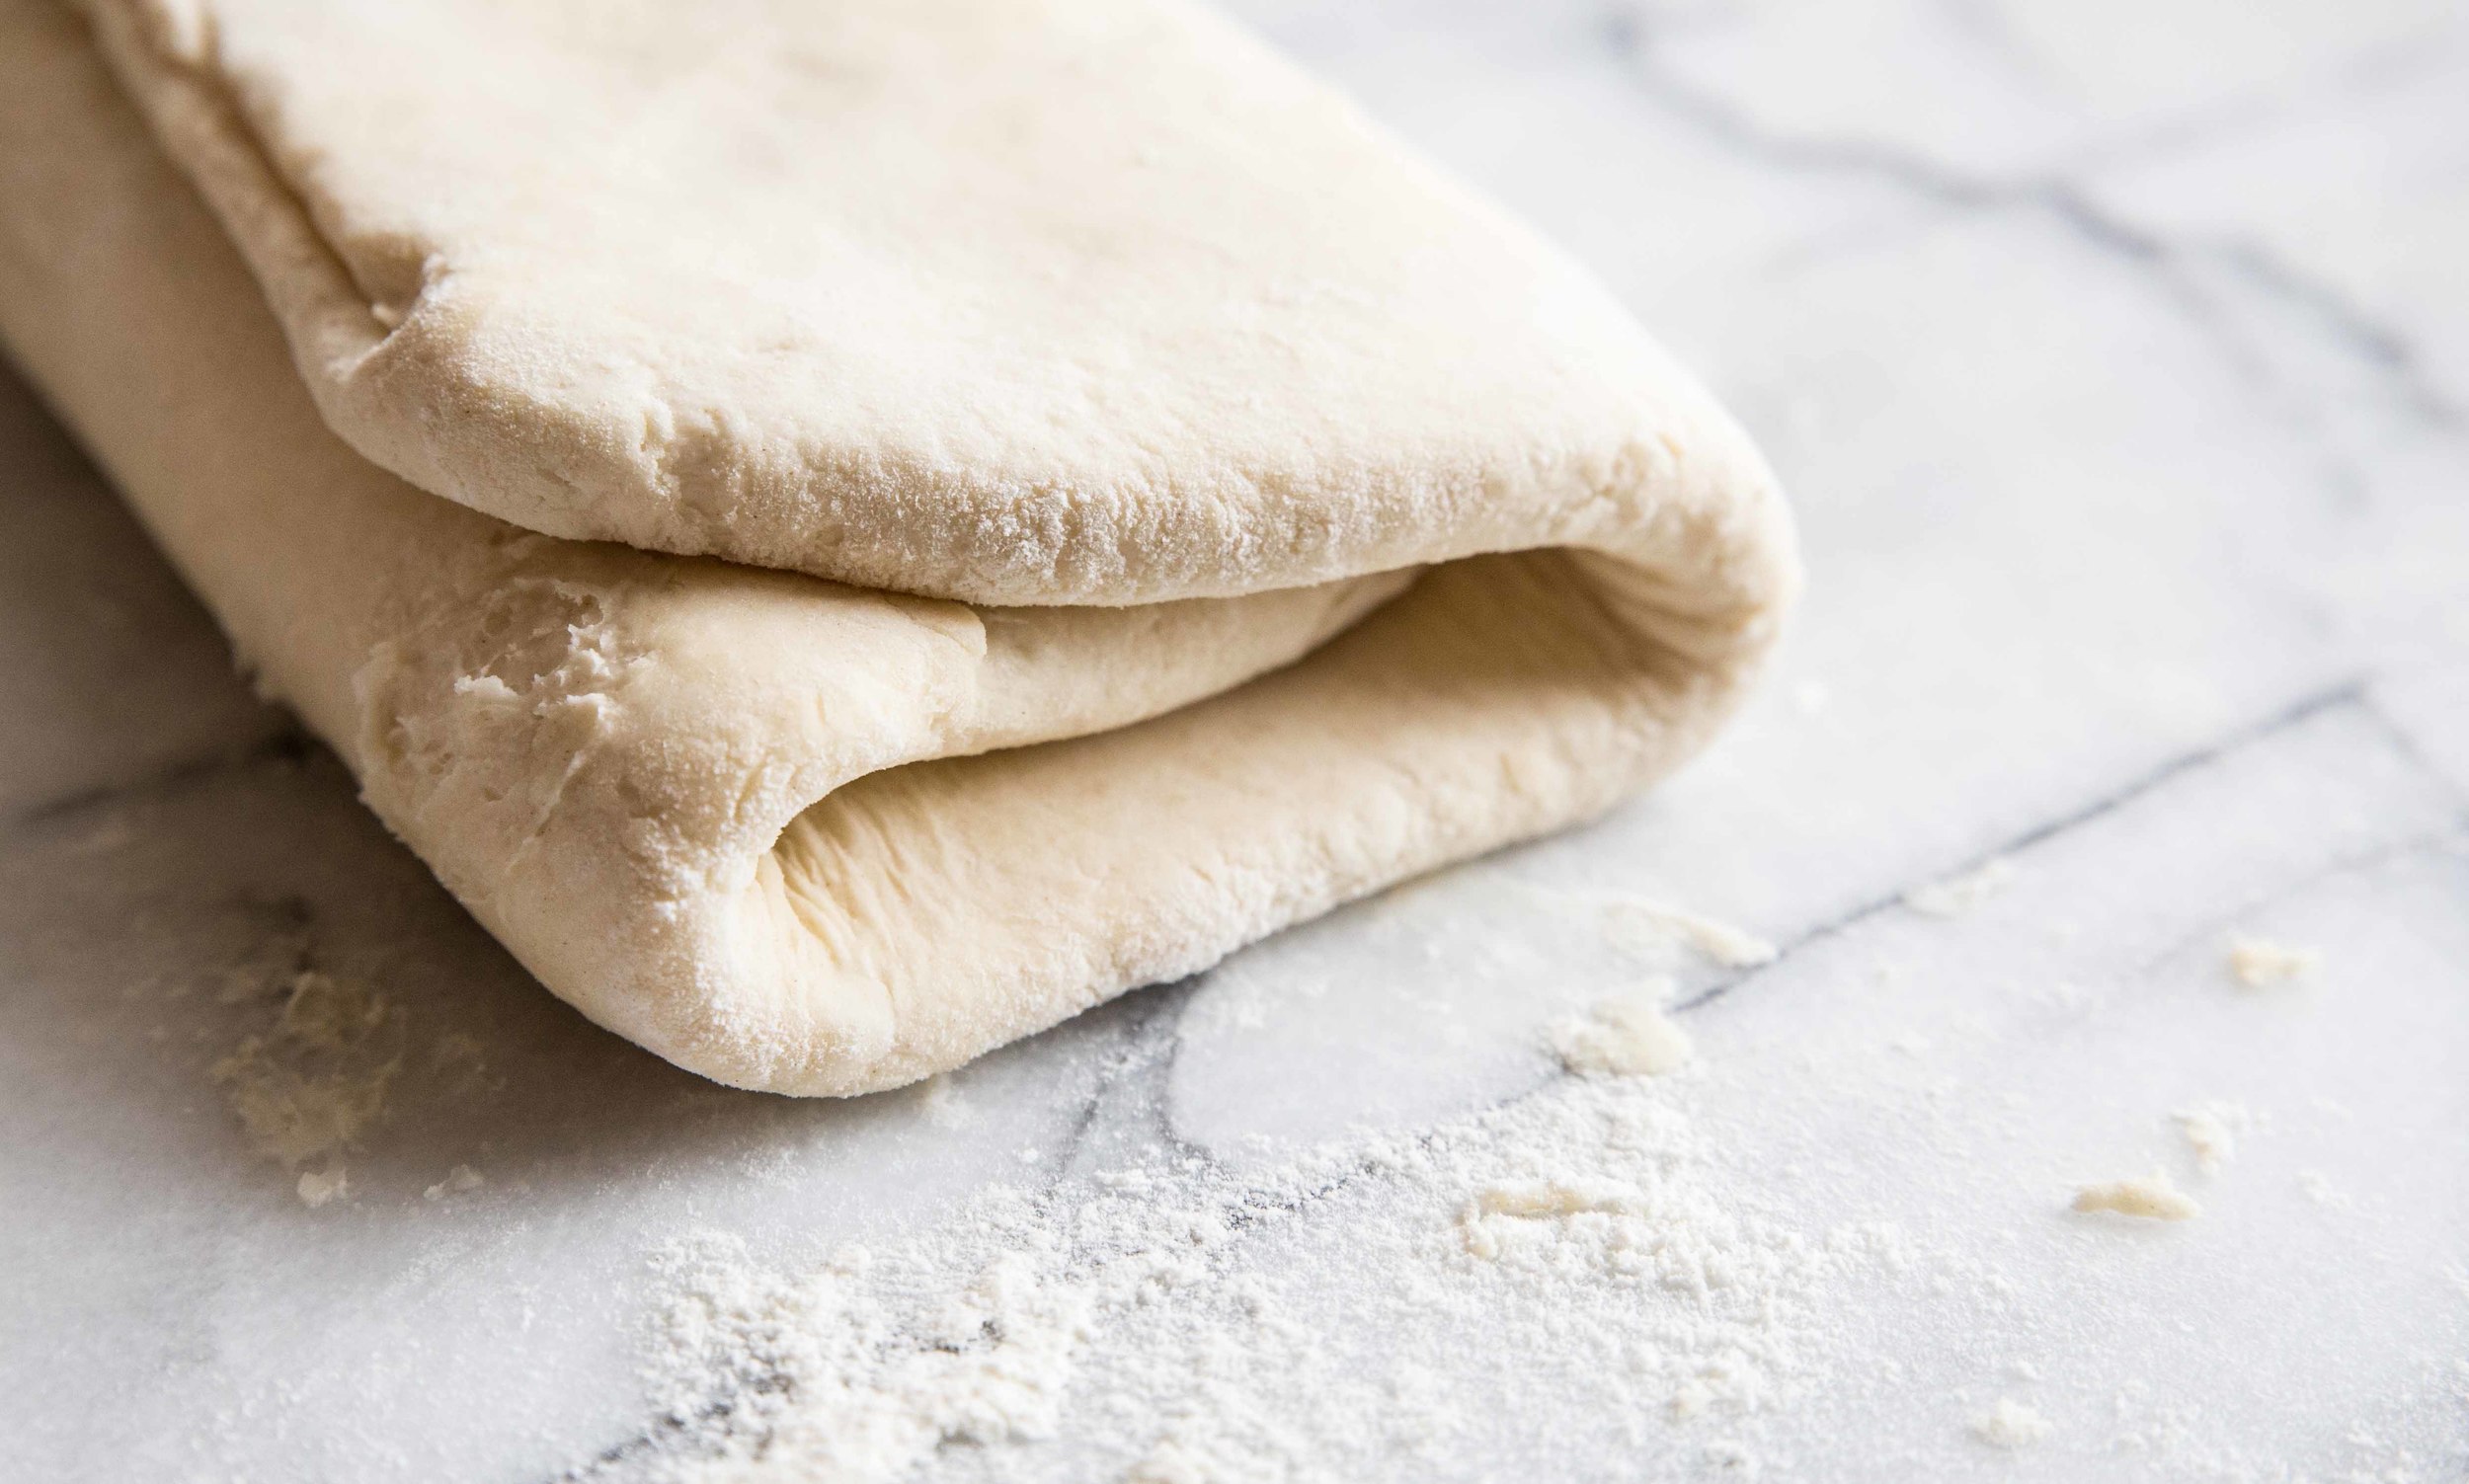
1 double crust pie dough recipe
1 pound (450 grams) plums, pitted and sliced
1 pound (450 grams) fresh blueberries
1 cup (200 grams) granulated sugar
1/2 cup (60 grams) all-purpose flour
1 teaspoon cinnamon
2 tablespoons lemon juice
Egg wash (1 large egg + 1 tablespoon water, whisked), for brushing
Granulated sugar, for sprinkling

Preheat oven to 425 degrees F (220 degrees C).

In a large mixing bowl, gently stir together the sliced plums, blueberries, sugar, flour, cinnamon, and lemon juice until the berries are evenly coated. Set aside.

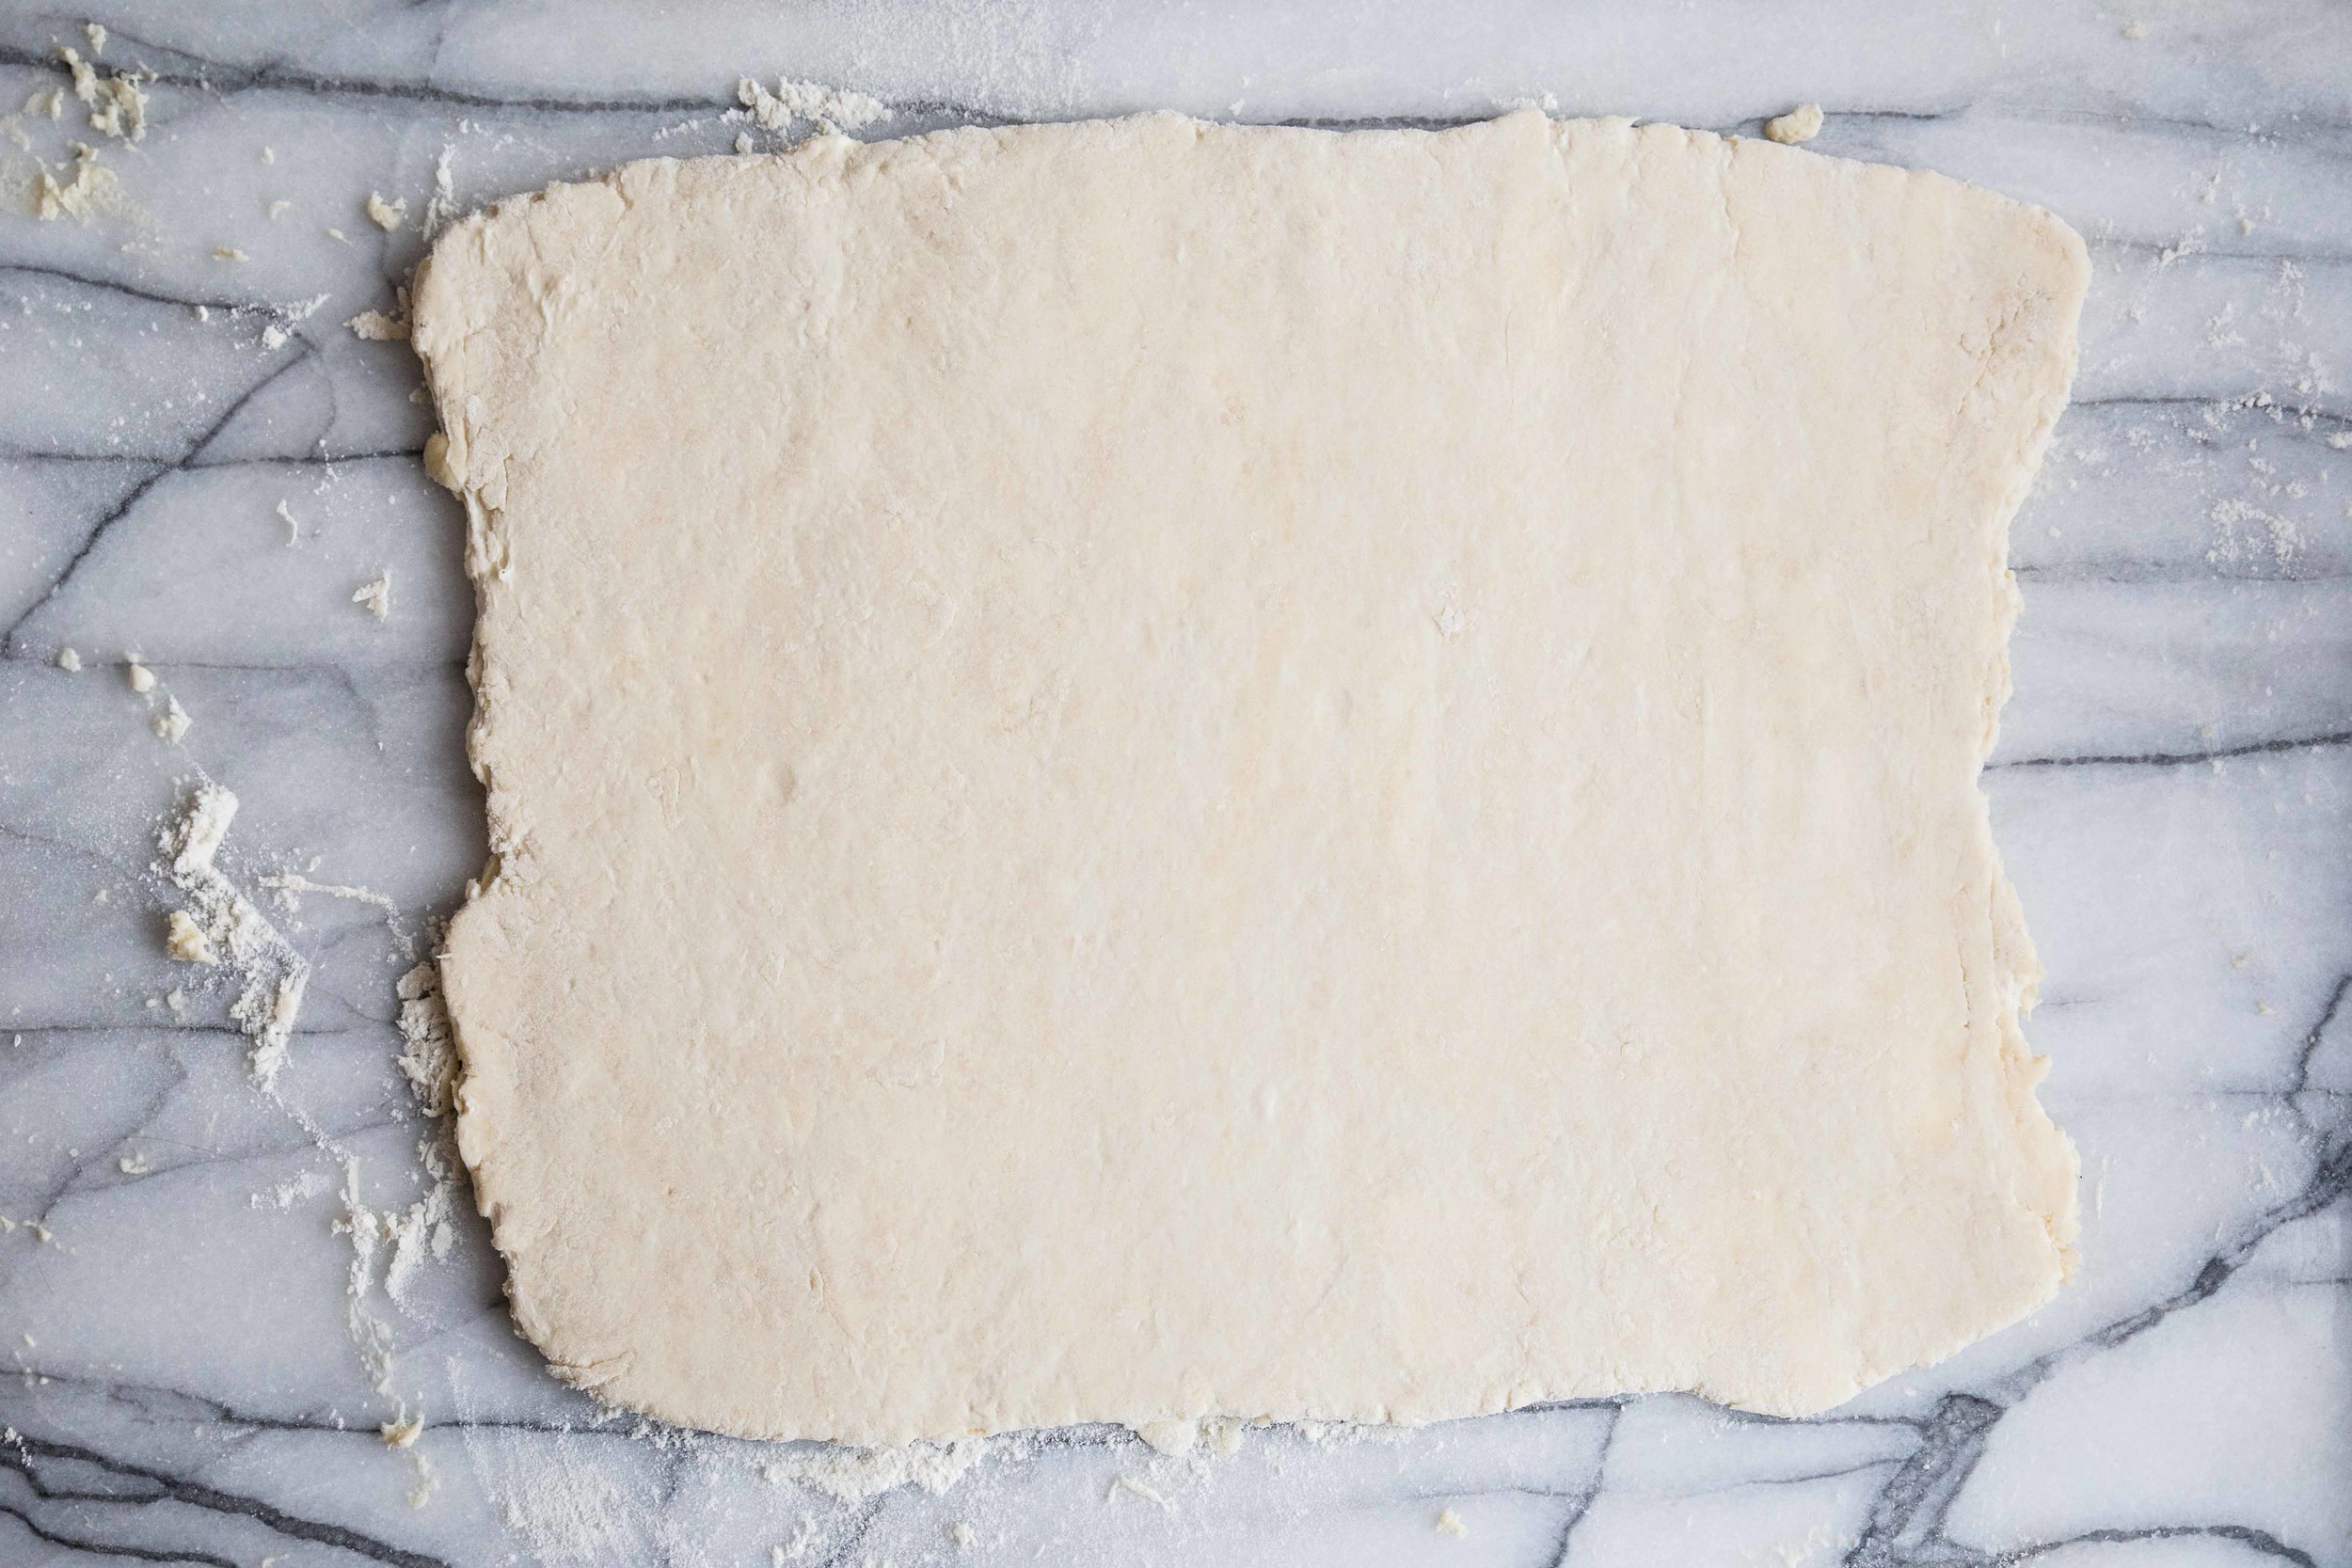
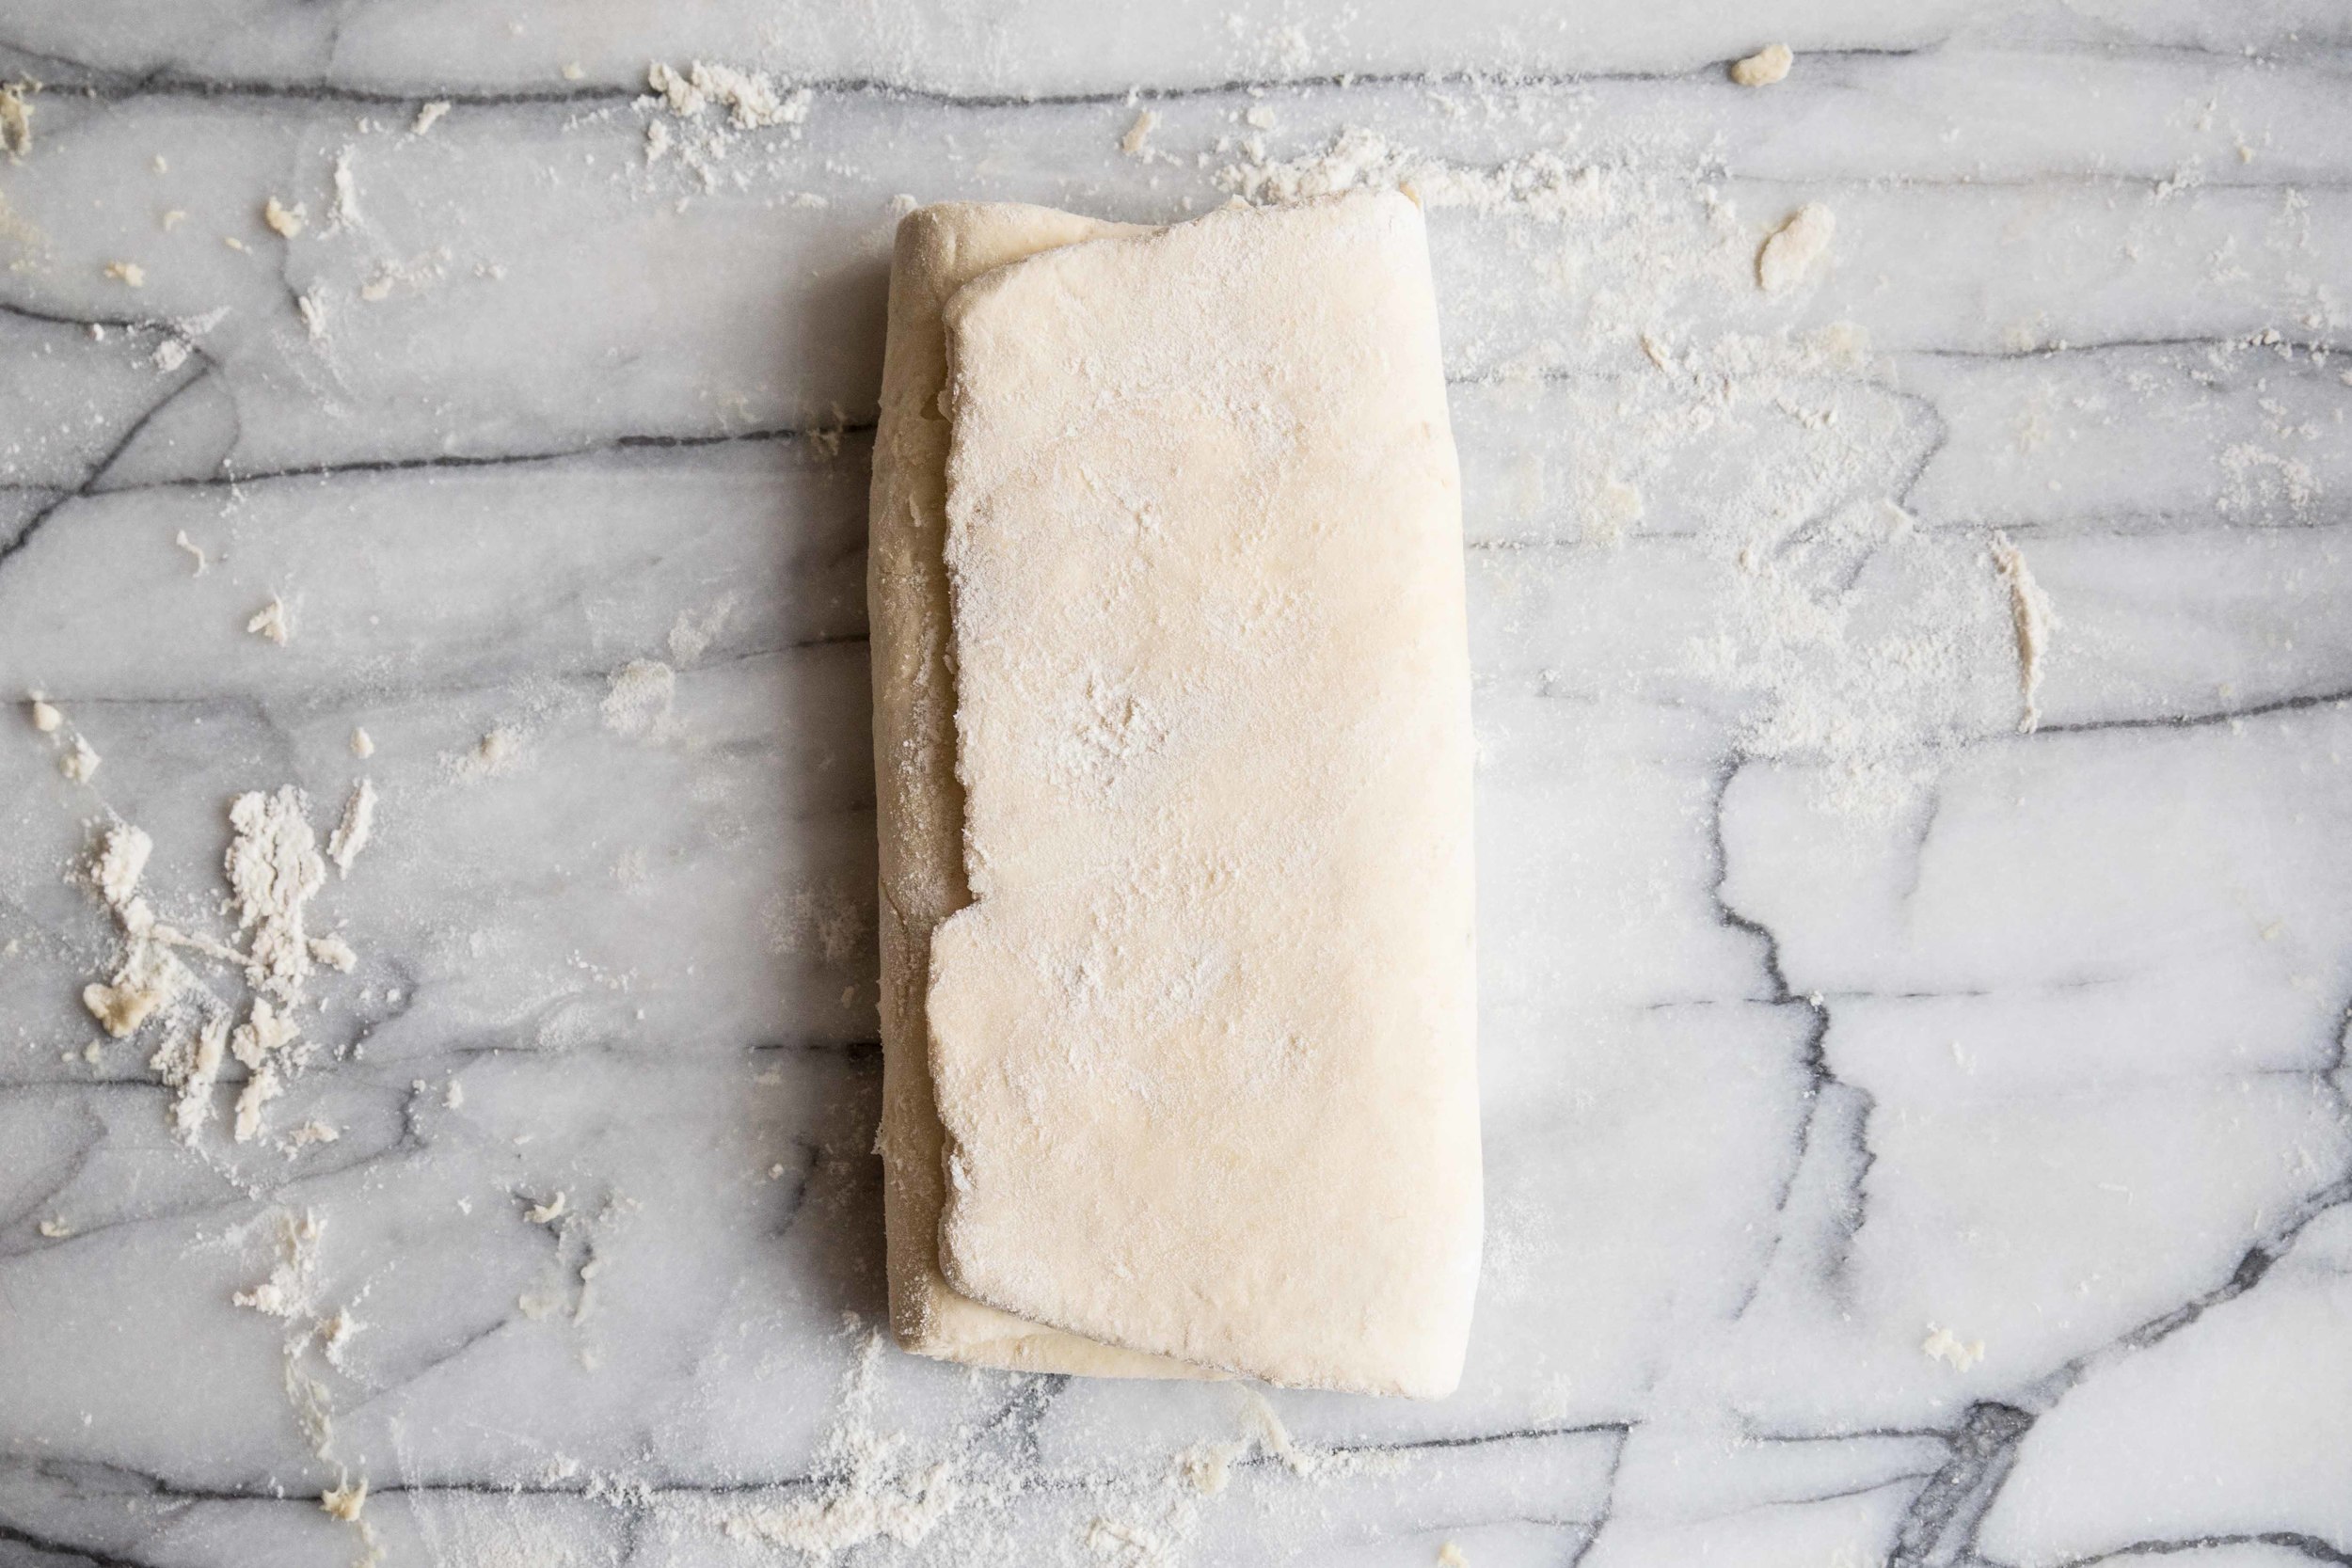
Form the pie dough into a disk and divide it into a 60/40 ratio (if using store-bought crust, do not worry about this step). On a lightly floured surface, roll out the larger section of dough into a 14-inch round circle. Carefully transfer it to a 9-inch pie pan and trim the excess pie dough to create a 1-inch overhang. Tuck the dough overhang under itself so it is even with the pie dish. Fill the pie crust with the berry mixture.

On a lightly floured surface, roll out the smaller section of pie dough. Using a pizza cutter and a ruler, cut out 3/4-inch wide strips of dough. Layer the strips over the top of the pie in a decorative fashion and trim so they are even with the edge of the pie pan. Using a fork, press down along the edge to seal the bottom and top layer together.

Using a pastry brush, brush the top of the pie crust with egg wash and sprinkle granulated sugar over the pie crust. Bake the pie for 15 minutes at 425 degrees F (220 degrees C). Then, lower the oven temperature to 375 degrees F (190 degrees C). If necessary, cover the edges of the pie crust with aluminum foil to prevent further browning. Bake an additional 50-65 minutes, or until the lattice and crust are evenly browned. 

For perfect slices, cool for at least 3-5 hours (or overnight). Serve with whipped cream or ice cream, if desired.

Chocolate Hazelnut Rolls

These last few weeks have been a blur of exhaustion and responsibilities. Time is lost in the small necessities of lifedays pass quickly, but each week drags on in a disorienting march. As the school year nears a close, I find myself in my classroom hours after the last bell rings, lesson planning and grading assignments while the nice weather mocks me through the windows. I swing by the gym on the way home, not because I want to, but because guilt delivers me to the door. Exhaustion claims me in the first few minutes of group classes, and I wonder if sitting on my couch to recharge would have been the better choice. I come home to a messy apartment, an empty refrigerator, and three days of dishes sitting in the sink. I look through bills, health benefit packages, and lease renewal forms in the evenings, too tired to make useful decisions.

Even though its foolish, I sometimes wish adulthood came with accolades. You made the responsible decision and went to the gym? You get to watch Fixer Upper on the couch for two consecutive hours without moving! You did all the dishes in the sink? You get a phone call from your mother telling you she's proud of you!

Some days are easy and some days are hard. I keep telling myself these waves of overwhelming responsibilities will fade and calmer waters will soon arrive.

This weekend I am carving out time to relax. A quiet morning of coffee drinking and pastry making sounds healing. This recipe for chocolate hazelnut rolls uses Quick Puff Pastry as the base. By removing the need for yeast and rising time, the rolls come together quickly. The puffy pastry can be made several days in advance or, if you are like me, you already have a batch stored in the freezer for pastry emergencies.

With a generous amount of chocolate hazelnut spread, a sprinkling of demerara sugar and cinnamon in the filling, and a topping of chopped hazelnuts, these flaky rolls will brighten any weekend morning. 

Chocolate Hazelnut Rolls are a celebration of butter and chocolate in pastry form. With puff pastry as the base, the rolls become golden and flaky in the oven. The inside features a smooth layer of chocolate hazelnut and cinnamon, and the top emphasizes texture with toasted hazelnuts. These are rolls for special occasions, certainly, but should be served on the average weekend after a hard week of being an adult. Your own adult accolade, if you will.

One Year Ago: Blueberry Oat Bars (GF) 
Two Years Ago: Blueberry Pie 
Three Years Ago: Sunflower Seed Bread, Blackberry Fool, Lime Curd Tart, & Honey Chocolate Chunk Cookies
Four Years Ago: Homemade Mascarpone, Ladyfingers, Tiramisu Cake, & PB Cornmeal Cookies
Five Years Ago: Strawberry Milk, Vanilla Pear Muffins, Chocolate Filled Buns, & Malted Chocolate Chip Cookies

Chocolate Hazelnut Rolls
Inspired by Joy the Baker

Yields 12 rolls

1 recipe Quick Puff Pastry, chilled (or thawed, if previously frozen)
1 cup (300 grams) chocolate hazelnut spread
1/4 cup (50 grams) demerara or brown sugar, packed
1 tablespoon ground cinnamon
1/4 teaspoon salt
2 ounces (55 grams) hazelnuts, roughly chopped

Preheat the oven to 350 degrees F (180 degrees C).

On a lightly floured surface, roll out the chilled puffed pastry into a 12 by 16 inch rectangle. Spread the dough evenly with the chocolate hazelnut spread, leaving a 1/2-inch border around the edges.

In a small bowl, stir together the demerara sugar, cinnamon, and salt. Sprinkle the sugar mixture over the chocolate hazelnut spread. From the longer end, roll the dough tightly until it forms a log. Cut off the ends of the dough and cut the log into 1 1/4-inch thick segments. Place the rolls individually into a muffin tin and sprinkle the chopped hazelnuts over the top.

Bake for 28-35 minutes, or until the rolls are bubbling and golden. Serve warm.

Quick Puff Pastry

As I was learning to bake, there were a number of pastries that intimidated me. The ingredients were familiar, but the techniques in which they were combined left me with a nervous feeling in the pit of my stomach. I avoided these sweet treats, placing them at the bottom of the baking list for a day when I felt adventurous. Even now, there are a few pastries I still shy away from (I'm looking at you, macarons). 

My first fear was scones. After a few batches, some failed and some successful, the routine grew comfortable, and they have remained trouble-free since. The second fear was pie crust. This one took quite a bit little longer to conquer. It wasn't until I realized my hands were a better mixing tool than any machine that the dough came together beautifully

Puff pastry is another of the pastry basics that intimidated me for many years. It is less of the technique that discourages me, and more of the sheer amount of time it takes to make laminated dough  (which can be days between the folding, rolling, and resting). I am impatient when it comes to pastry. Today, however, my impatience is a virtue because it resulted in this recipe for quick puff pastry. This flaky pastry can be mixed together in less than 30 minutes and has a puff that rivals that of the actual laminated dough.

To begin, all-purpose flour is mixed with salt and baking powder. Pastry purists may tell you that baking powder has no business in puff pastry, where the flaky layers should come from the butter alone. However, since this is a quick puff pastry, I figured anything that can give a little extra height on our pastry is welcome.

Cold, cubed butter is cut into the flour with a French technique known as fraisage. The butter is coated in flour and flattened with the heel of your hand, smearing it against the surface away from you. This process is repeated enough to flatten the butter cubes just once—perhaps a dozen times total. You don't want to overdo this step. The butter should still be quite large in size when finished (about the size of your thumbnail); large butter pieces helps provide those coveted flaky layers. If you overdo this step, the butter may melt and you will lose the flaky layers in the final product.

When you are finished cutting the butter into the flour, it should look similar to the image on the top left. Bring the dough together, form a well in the center, and pour in half of the ice cold water. Using a dough scraper, combine the water and flour. It may be a bit messy at first, but it will come together. Be careful not to over-mix the dough. Repeat with the remaining water. Then, form the dough into a square with floured hands.

The dough is rolled out into a 10 by 12-inch rectangle. If there is extra flour on the top, brush it off. Extra flour can make the flaky layers stick together, preventing them from reaching full height. Next, fold the dough into thirds, like you would do with a letter, continuing to brush off extra flour as you go. Then, flip the dough over and rotate it 90 degrees. The entire rolling and folding process is repeated another 4-5 times. Make sure to fold and rotate the dough in the same direction each time, to ensure a full rotation.

This folding and rolling process is what creates the flakiness of puff pastry. The butter is flattened into very thin layers so when the pastry hits the heat of the oven, the butter will melt, leaving space between the layers and creating the flaky appearance and texture. The dough should be wrapped and chilled for 30 minutes before using so the moisture in the dough can be distributed evenly and the butter can harden firmly.

The dough can be left in the refrigerator up to 3 days or frozen for several months before using. If frozen, thaw the dough in the refrigerator the night before for use the next day.

This recipe for Quick Puff Pastry creates a flaky pastry can be mixed together in less than 30 minutes and has a puff that rivals the standard recipe. Puff pastry is the base for many sweet and savory dishes, including rolls, turnovers, cookies, and elaborate desserts. Keep an eye out for puff pastry recipes over the next few months!

One Year Ago: Rosemary Soda Bread
Two Years Ago: Grapefruit Rum Cocktails
Three Years Ago: Hot Cocoa Popsicles, Chocolate Pudding, Black Tea Honey Cake, & Blueberry Lemon Pancakes
Four Years Ago: Cappuccino Pancakes, Hot Cocoa Cookies, Rosemary Focaccia, and Swedish Visiting Cake
Five Years Ago: Cinnamon Rolls, Mexican Hot Cocoa Mix, and Brown Butter Crispy Rice Bars

Quick Puff Pastry

2 cups (240 grams) all-purpose flour
1/2 teaspoon baking powder
1/4 teaspoon salt
1 1/4 cups (10 oz or 280 grams) cold butter, cubed
2/3 cup (156 mL) cold water

In a large mixing bowl, whisk together the flour, baking powder, and salt. Cut the cold, cubed butter into the flour with your hands. The dough should be crumbled in appearance, with large pieces of butter. Make a well in the dough and add half of the cold water, stirring and folding the dough with a dough scraper until the water is just combined. Repeat with the remaining water.

On a floured surface, pat the dough into a square and roll out into a 10 by 12-inch rectangle. Brush off excess flour and fold into thirds (like a letter). Flip over the dough and rotate it 90 degrees. Repeat the rolling and folding process 4-5 more times.

Wrap the dough in plastic wrap and chill for a minimum of 30 minutes before using.