Cold Brew with Vanilla Almond Milk Creamer

 
This post is sponsored through a partnership with The J.M. Smucker Company © 2017. DD IP Holder LLC. All thoughts and opinions are my own.

This post is sponsored through a partnership with The J.M. Smucker Company © 2017. DD IP Holder LLC. All thoughts and opinions are my own.


With warmer days approaching (and the end of the school year), my mind drifts towards the slower days of summer.  I've stuffed the sweaters into the back of the closet, bringing the t-shirts front and center.

A defining line between the cold and warm months, however, is my switch from hot coffee to cold brew. 

As a teacher, I drink my fair share of coffee. My favorite moments to enjoy a cup is relaxing after a long day at work, with my feet up on the couch, or on a slow-moving weekend morning.

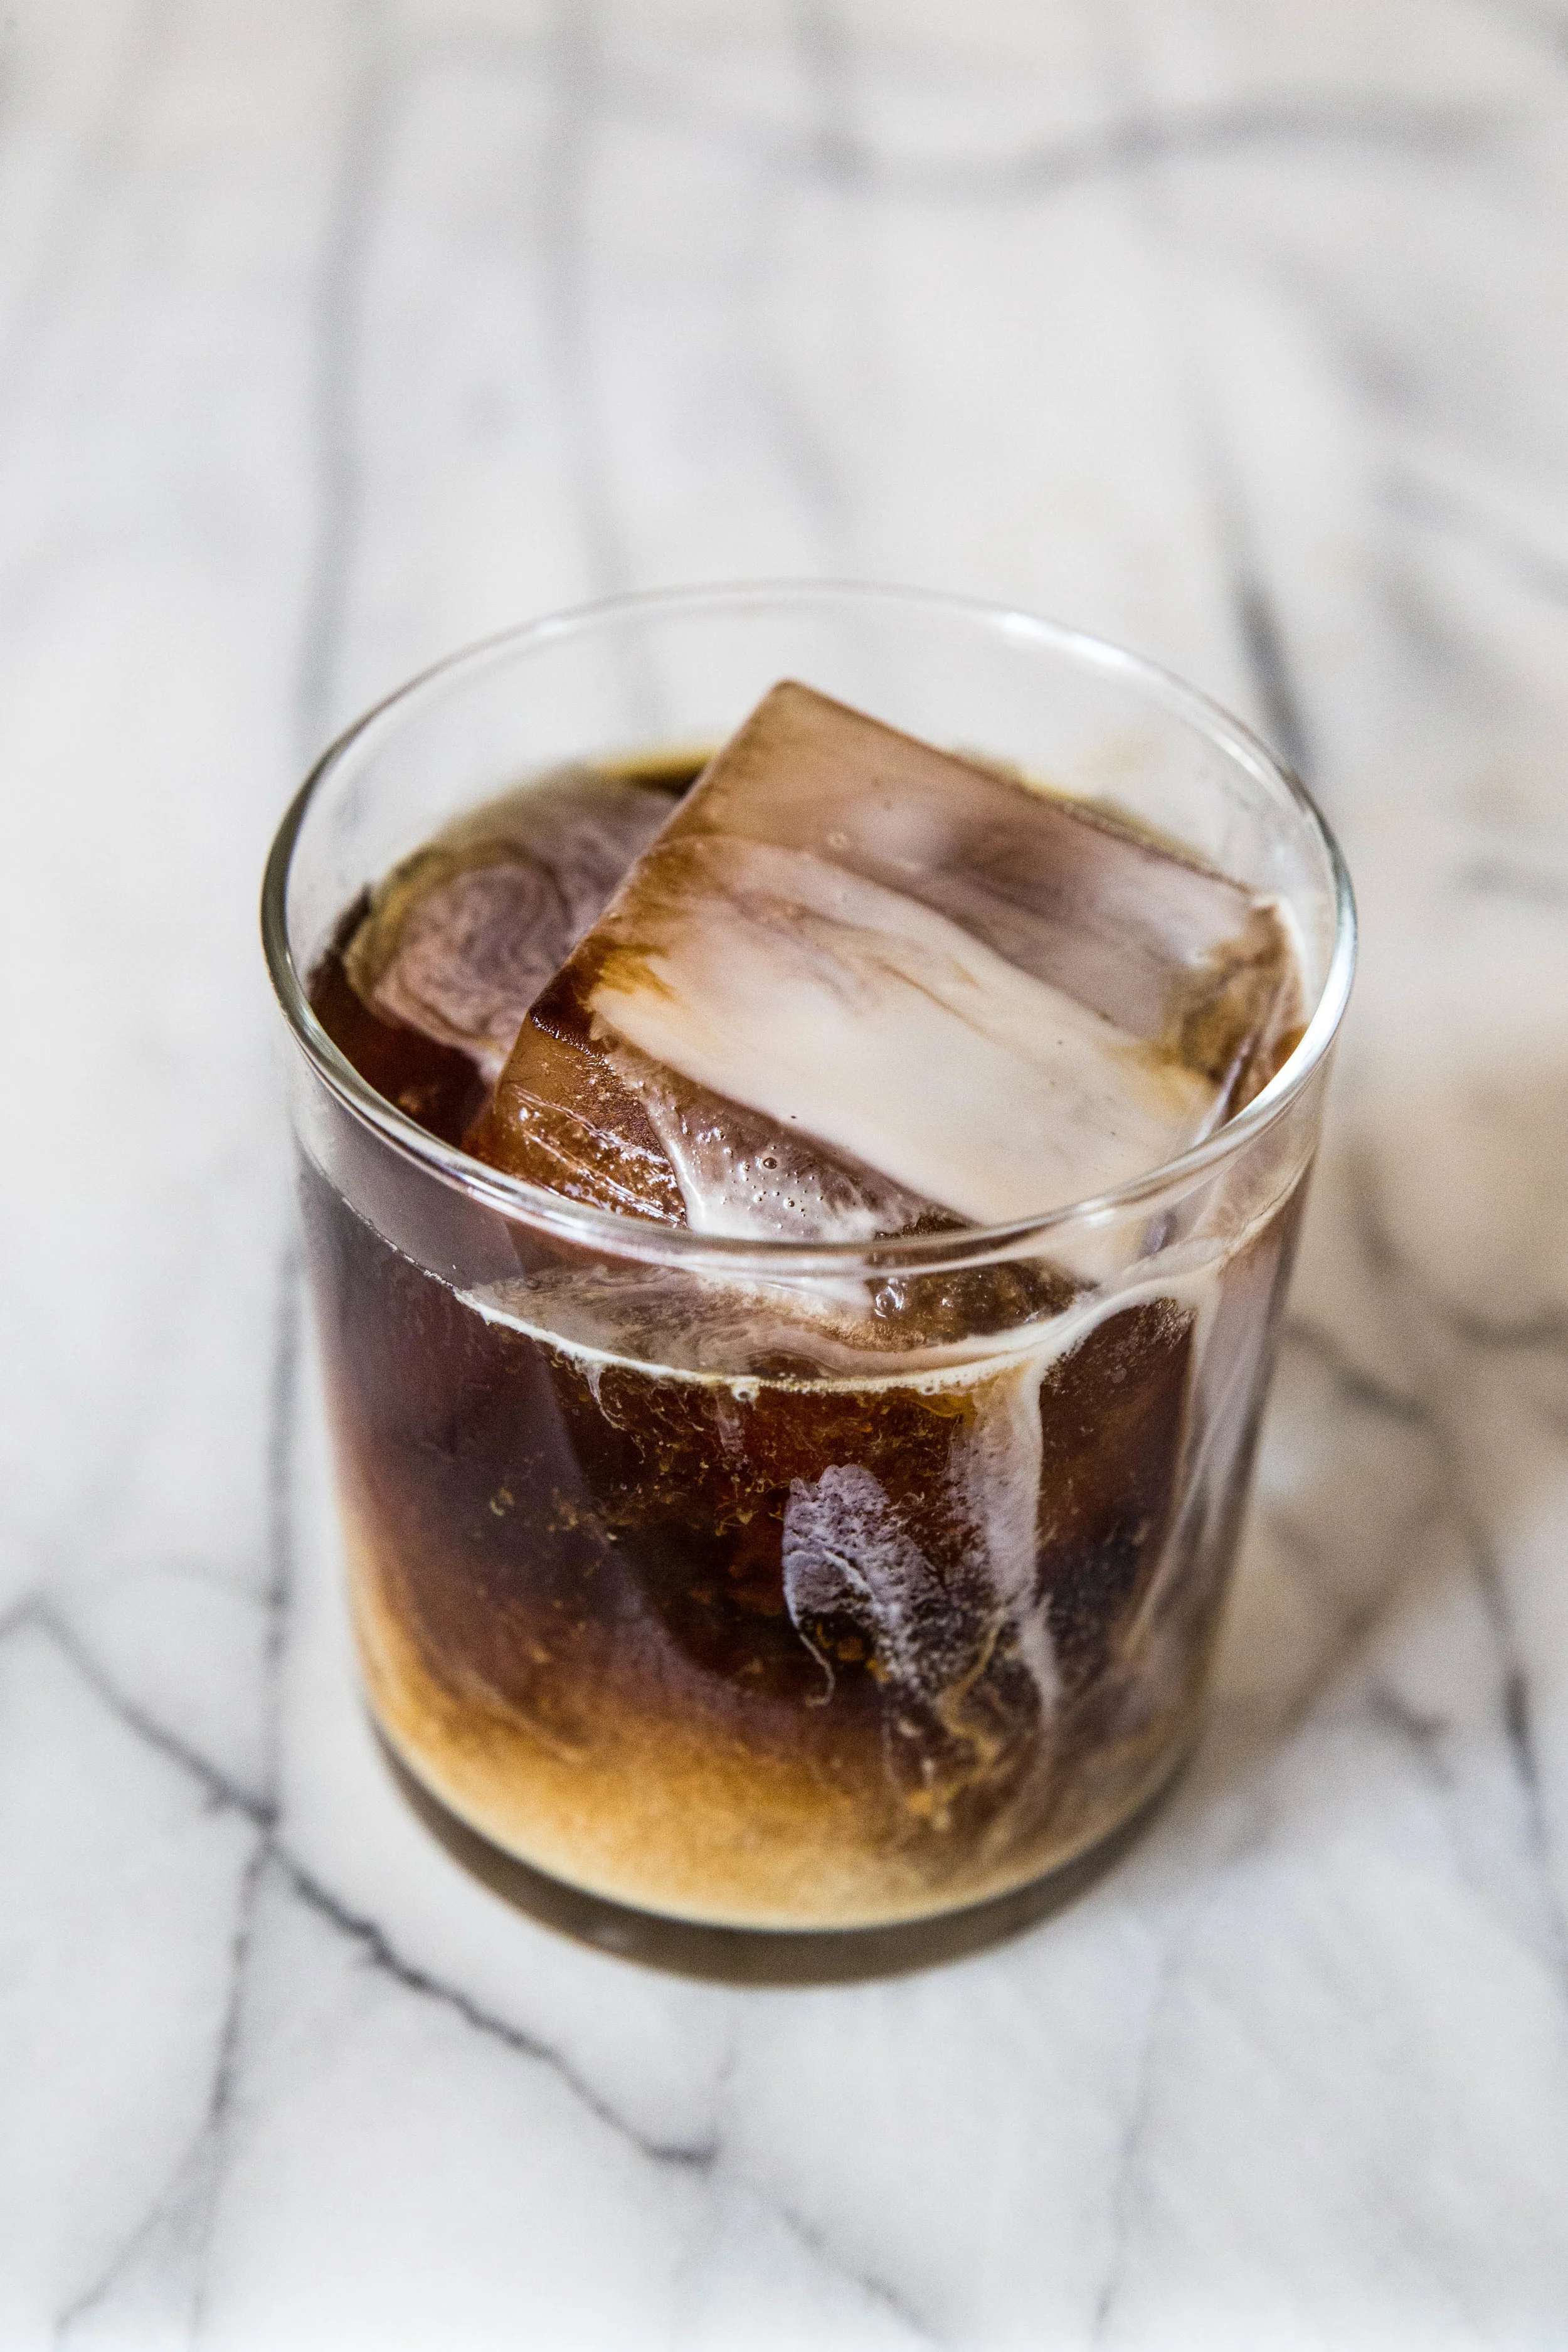
Lately, I've been drinking Dunkin' Donuts Cold Brew. It's easy to prepare and has a smooth finish, with no acidity or bitter taste.

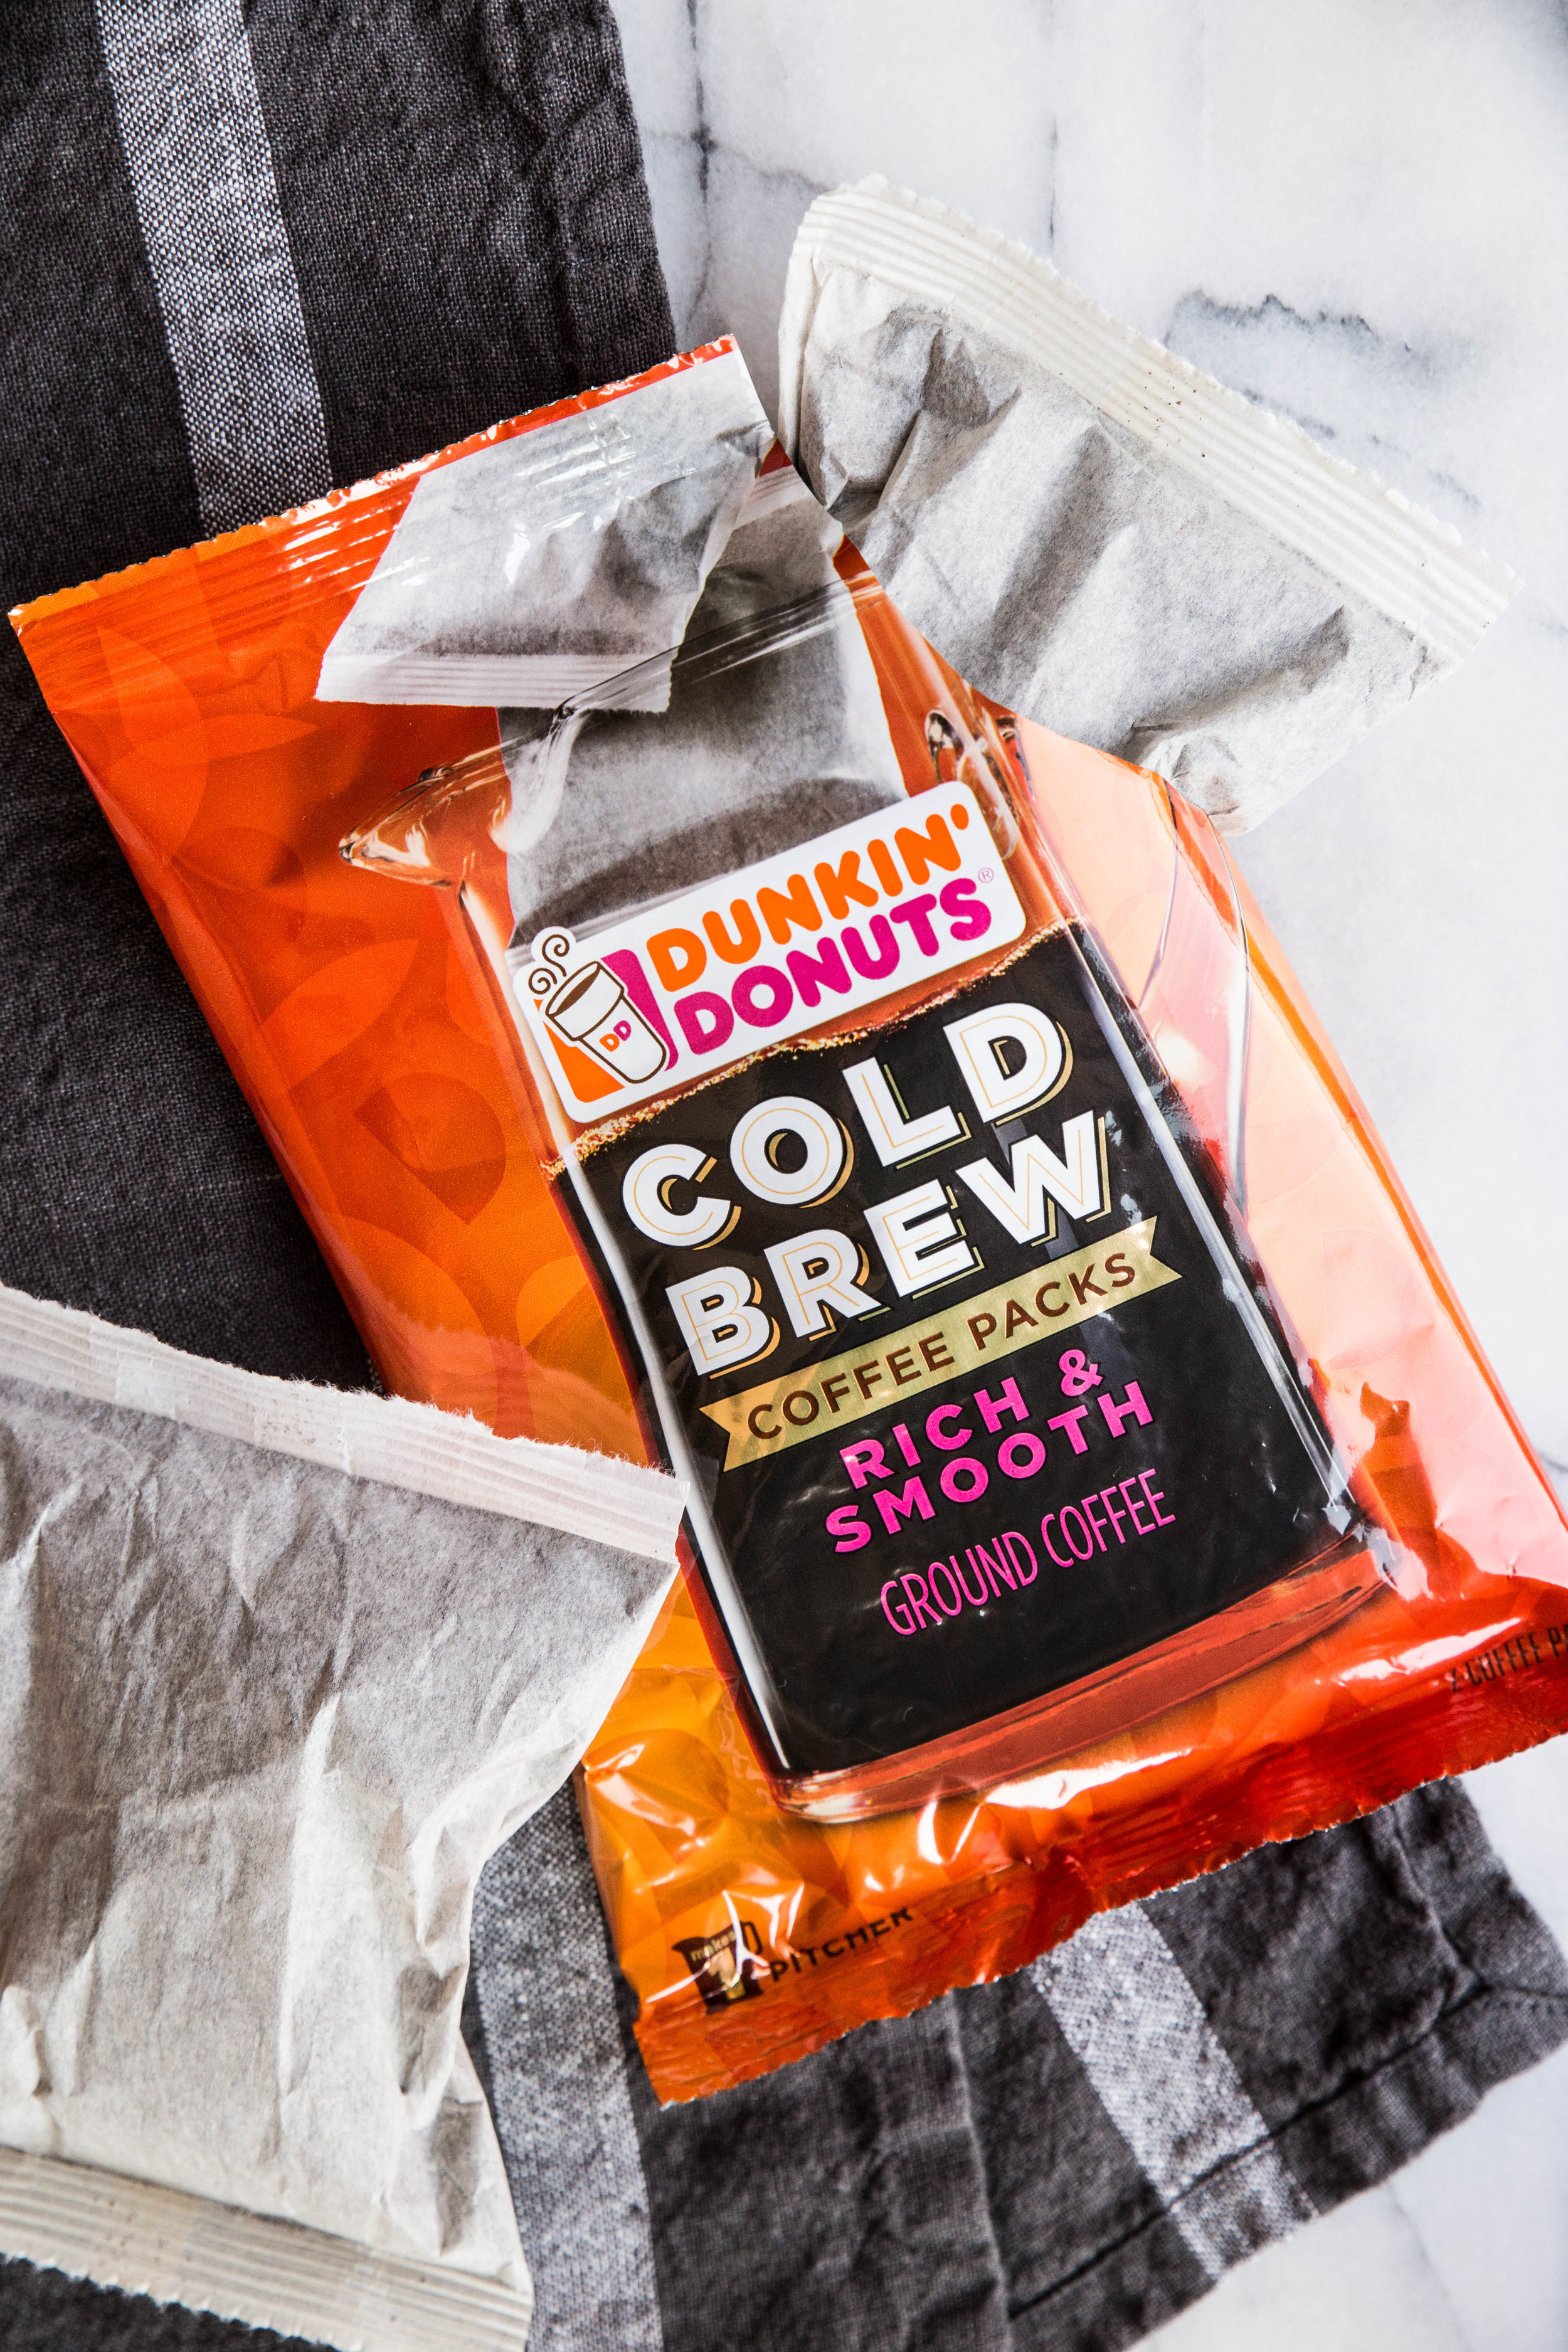
On Sunday nights, I prep the cold brew by placing two coffee pouches into a two-quart pitcher with four cups of water and leave it to steep in the refrigerator overnight. The next morning, I remove the pouches, add a few cups of water to dilute it to my taste, and it is ready to enjoy. Best of all, the pitcher lasts the rest of the week so the work is complete in two simple steps.

One of my favorite cold brew tricks is to freeze some of the cold brew into ice cubes after it has finished brewing. Then, when it's time to enjoy the coffee, I add a few cold brew cubes. The drink stays cold longer, and the coffee cubes prevent the drink from becoming watered down as the ice melts. 

IMG_9975-2.jpg
coldbrewcreamer1.jpg

I prefer my cold brew with creamer to add a hint of flavor and sweetness. After finding disappointment with dairy-free brands, I set out to create my own. As I often do for a dairy-free alternative, I reached for the can of full-fat coconut milk. While homemade coconut milk creamer works well in hot beverages, the fat separates to the top when it hits a cold beverage, rendering it undrinkable.

Almonds, however, do the job and do it well.

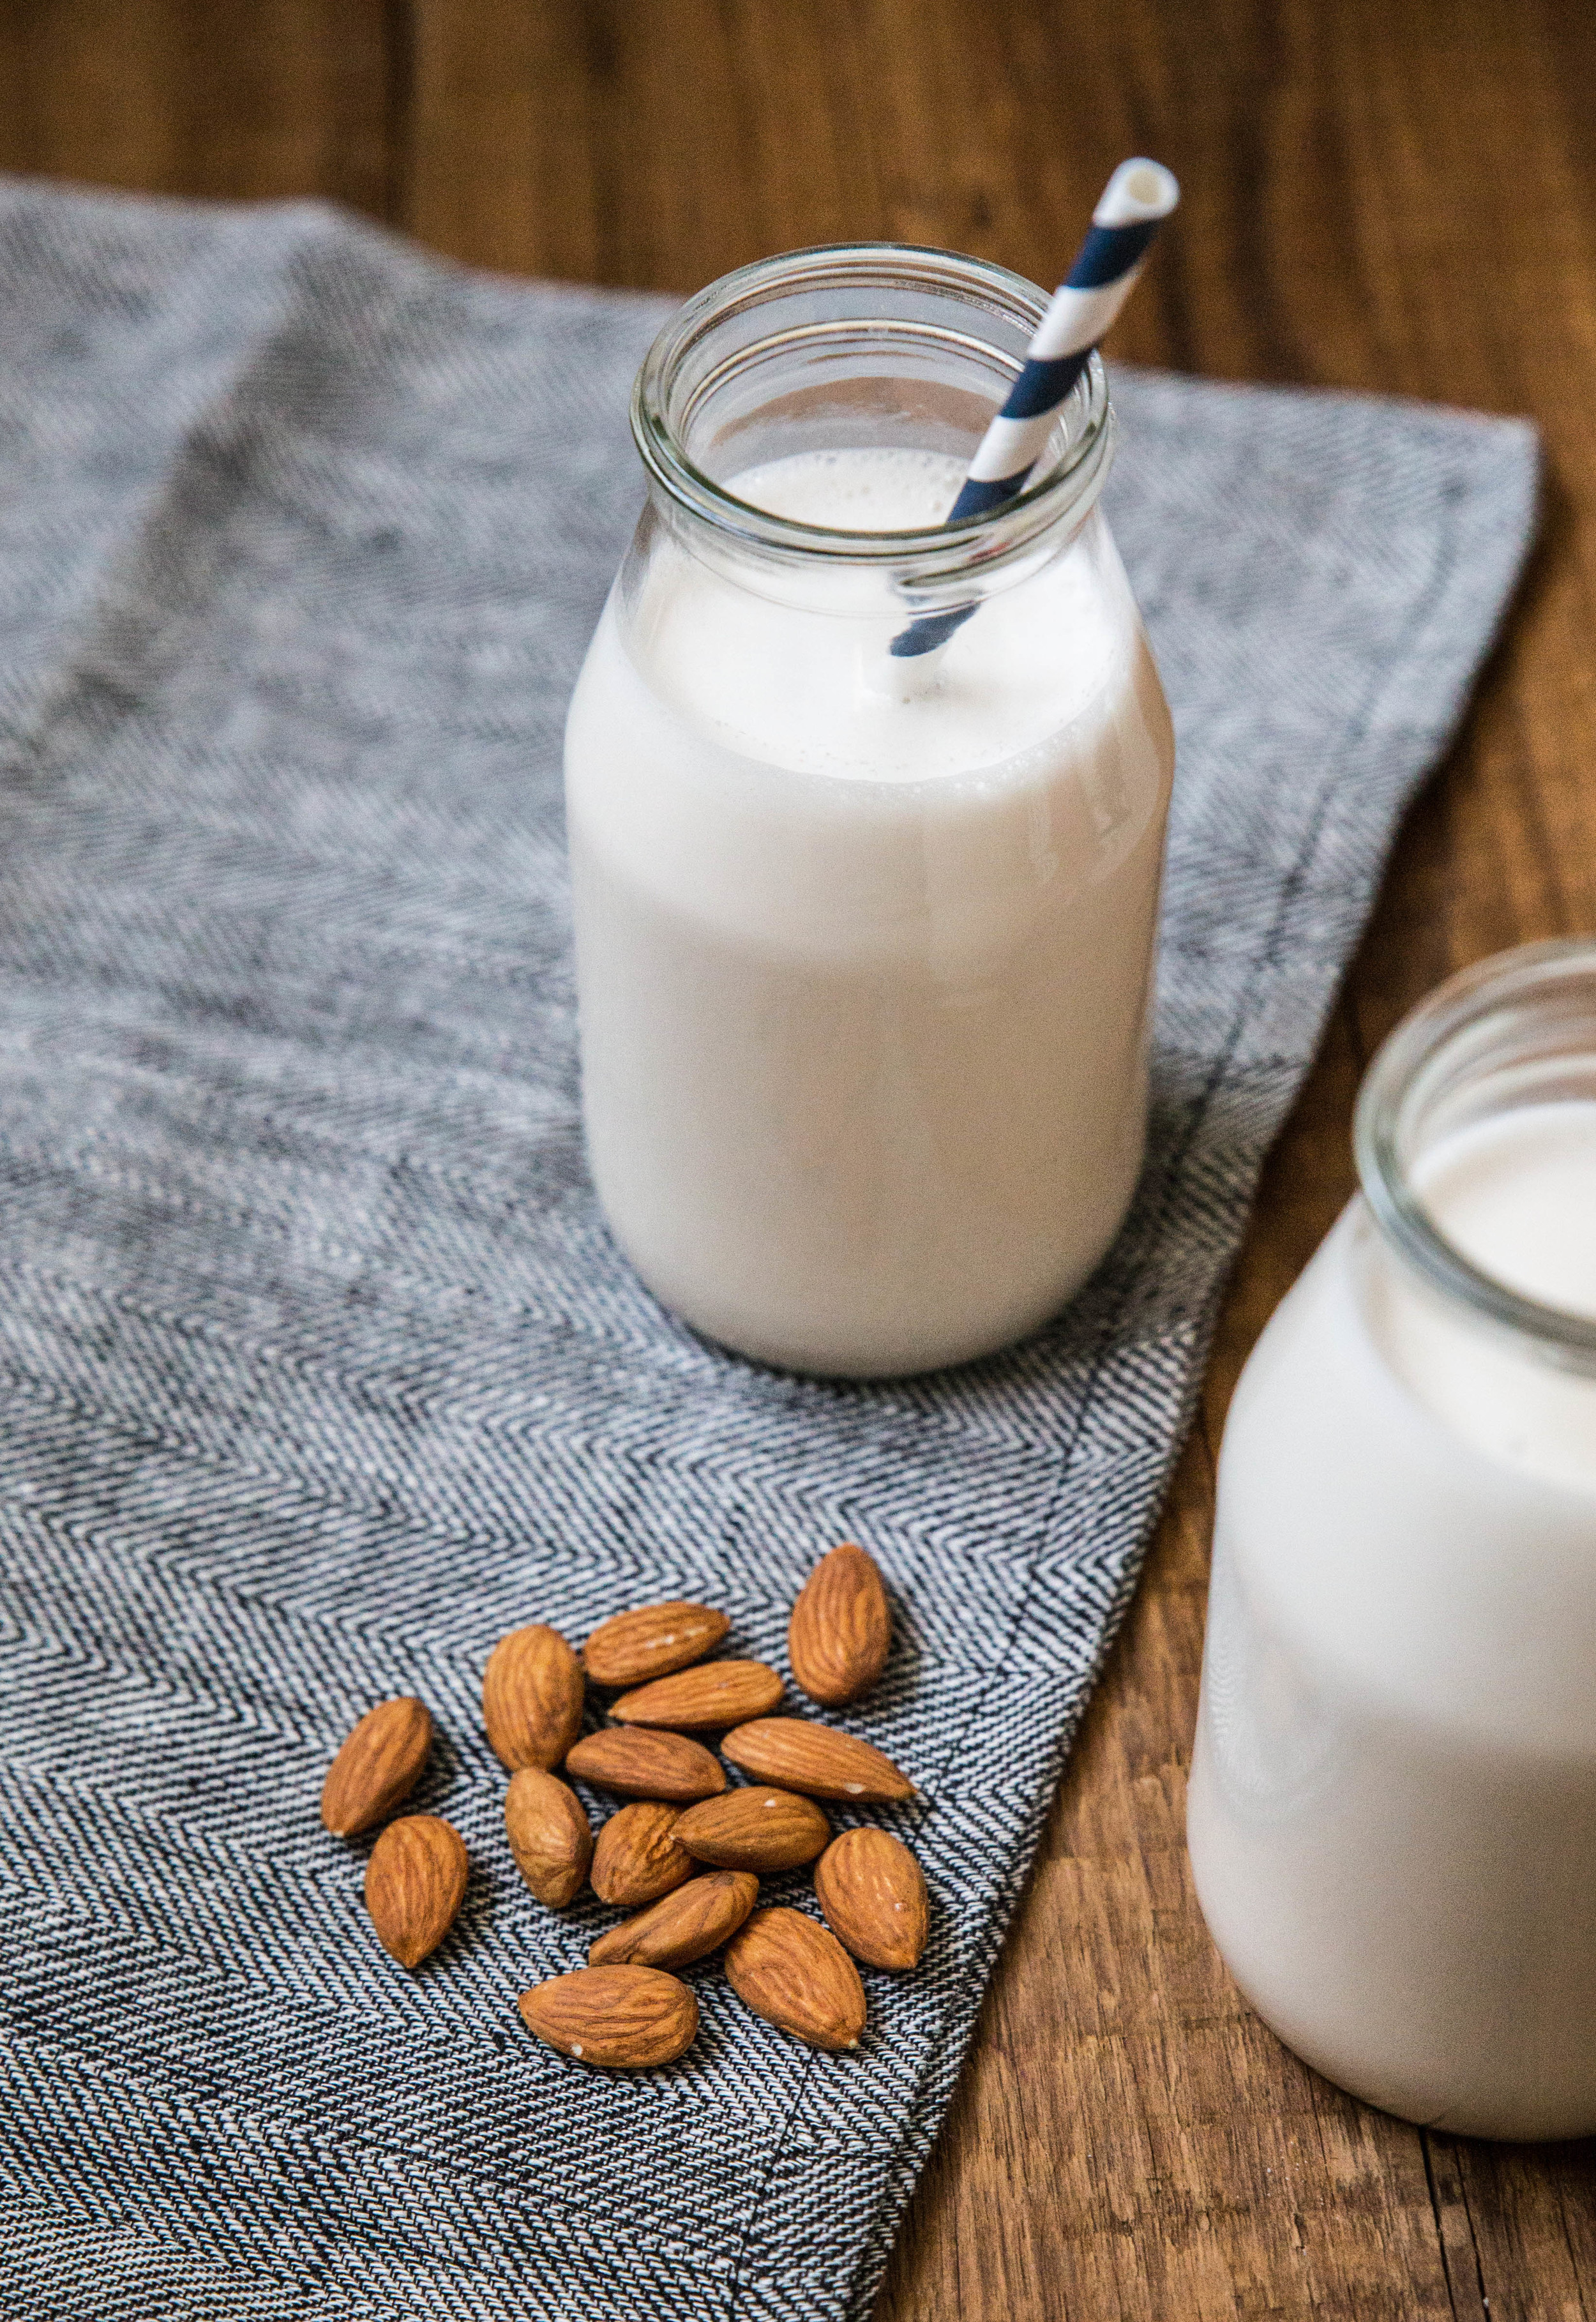
This homemade almond milk creamer holds together well in a cold drink and lends itself to customization. To give the creamer its creaminess, I follow a similar approach as I do with my recipe for homemade almond milk. The difference is that I add less water when blending so the almond milk is concentrated. 

IMG_0135-2.jpg

With pure vanilla extract for flavor and maple syrup to sweeten to taste, this homemade almond milk creamer is complete. I adore this creamer because it mimics the coffee house experience with simple, wholesome ingredients.

The coffee creamer may appear to separate if it is left to rest, but a quick swirl of the glass will bring it back to a uniform appearance. Use as much or as little as you like in your next glass of cold brew.


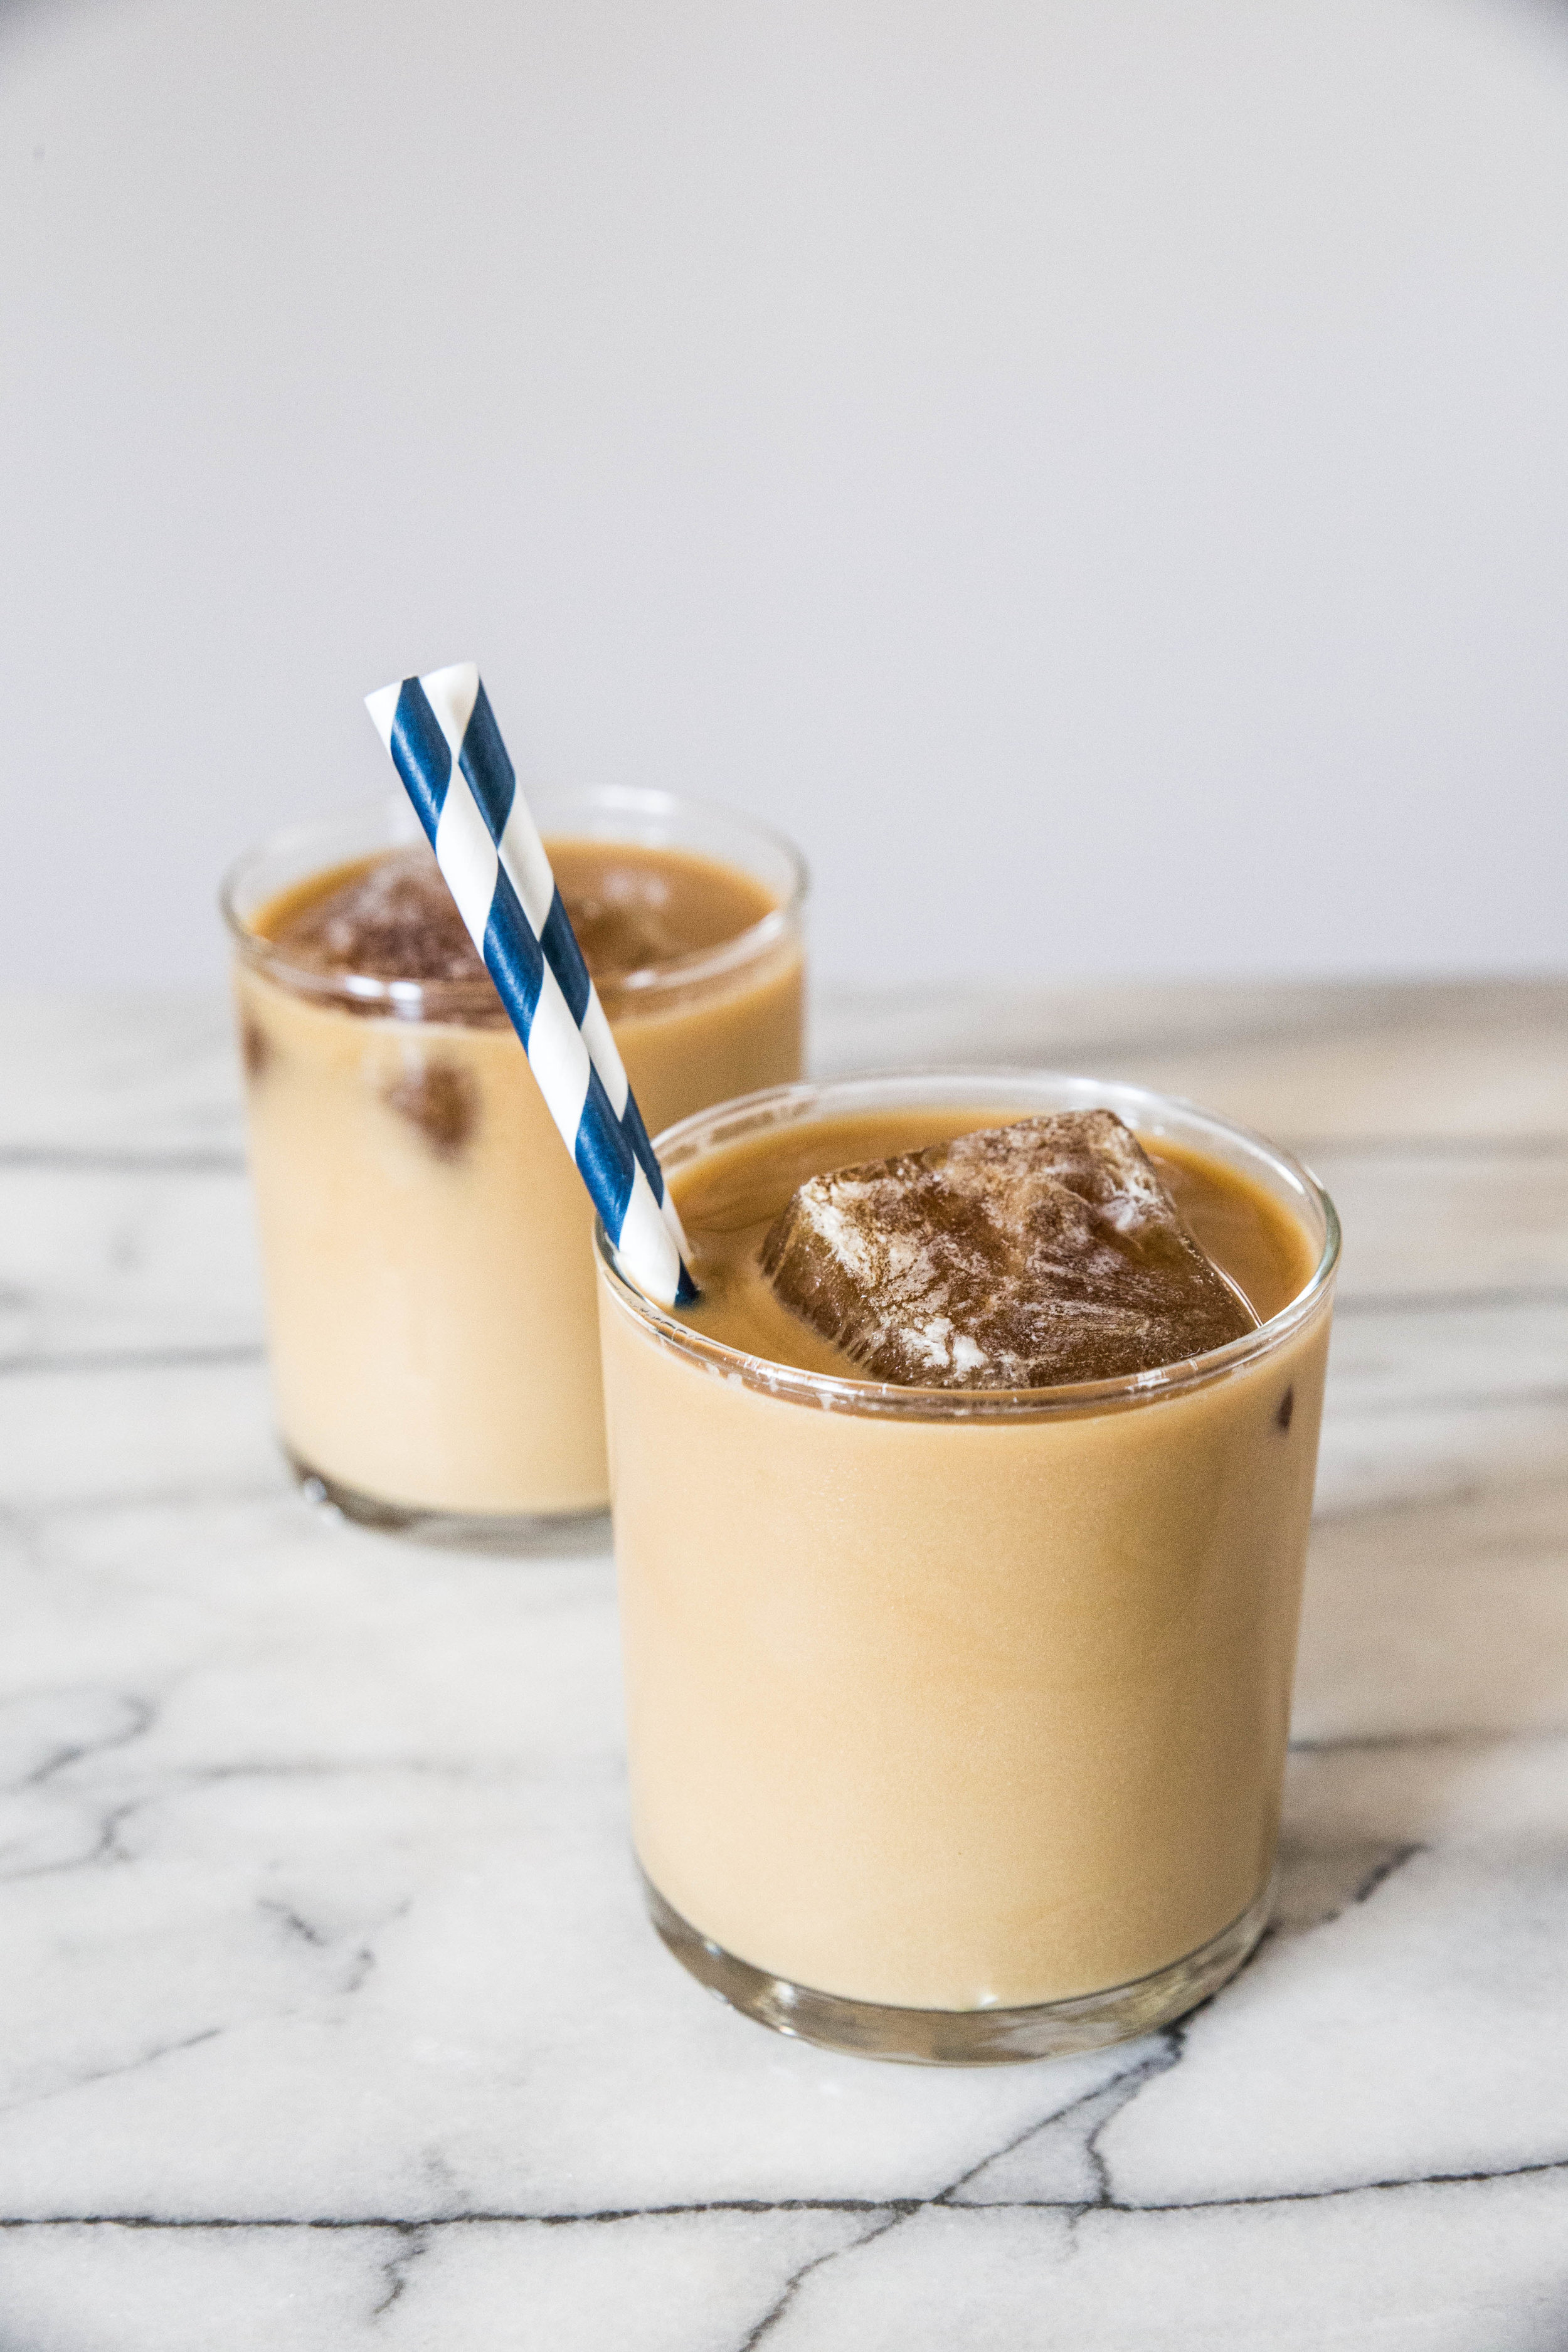
This cold brew with homemade vanilla almond milk creamer works as a great afternoon pick-me-up. Brewed with Dunkin' Donuts Cold Brew Coffee Packs, the coffee has a smooth, rich finish. I prefer to enjoy it with homemade creamer flavored with vanilla and sweetened with maple syrup, but you can customize the drink to your taste. Enjoy!

One Year Ago: Strawberry Scones
Two Years Ago: Chocolate Hazelnut Rolls
Three Years Ago: Blueberry Oat Bars (GF)  & Peanut Butter Chocolate Chunk Cookies (GF)
Four Years Ago: Chocolate Blackberry Cupcakes
Five Years Ago:  Sunflower Seed Bread, Blackberry Fool, Lime Curd Tart, & Honey Chocolate Chunk Cookies
Six Years Ago: Tiramisu Cake, Peanut Butter Cornmeal Cookies, Honey Wheat Cake, & Chocolate Almond Ice Cream
Seven Years Ago:  Chocolate-Filled Buns, Malted Chocolate Chip Cookies, & Parmesan Poppy Seed Crackers

Cold Brew with Vanilla Almond Milk Creamer

Yields 6 servings

1 pouch Dunkin’ Donuts Cold Brew Coffee Packs
1 cup (120 grams) raw almonds
3 1/2 cups (830 mL) filtered water, divided
3-5 tablespoons maple syrup, to taste
2 teaspoons pure vanilla extract

The cold brew and almond milk creamer need to be started the evening before serving.

To prepare the cold brew coffee, follow the directions according to the package.

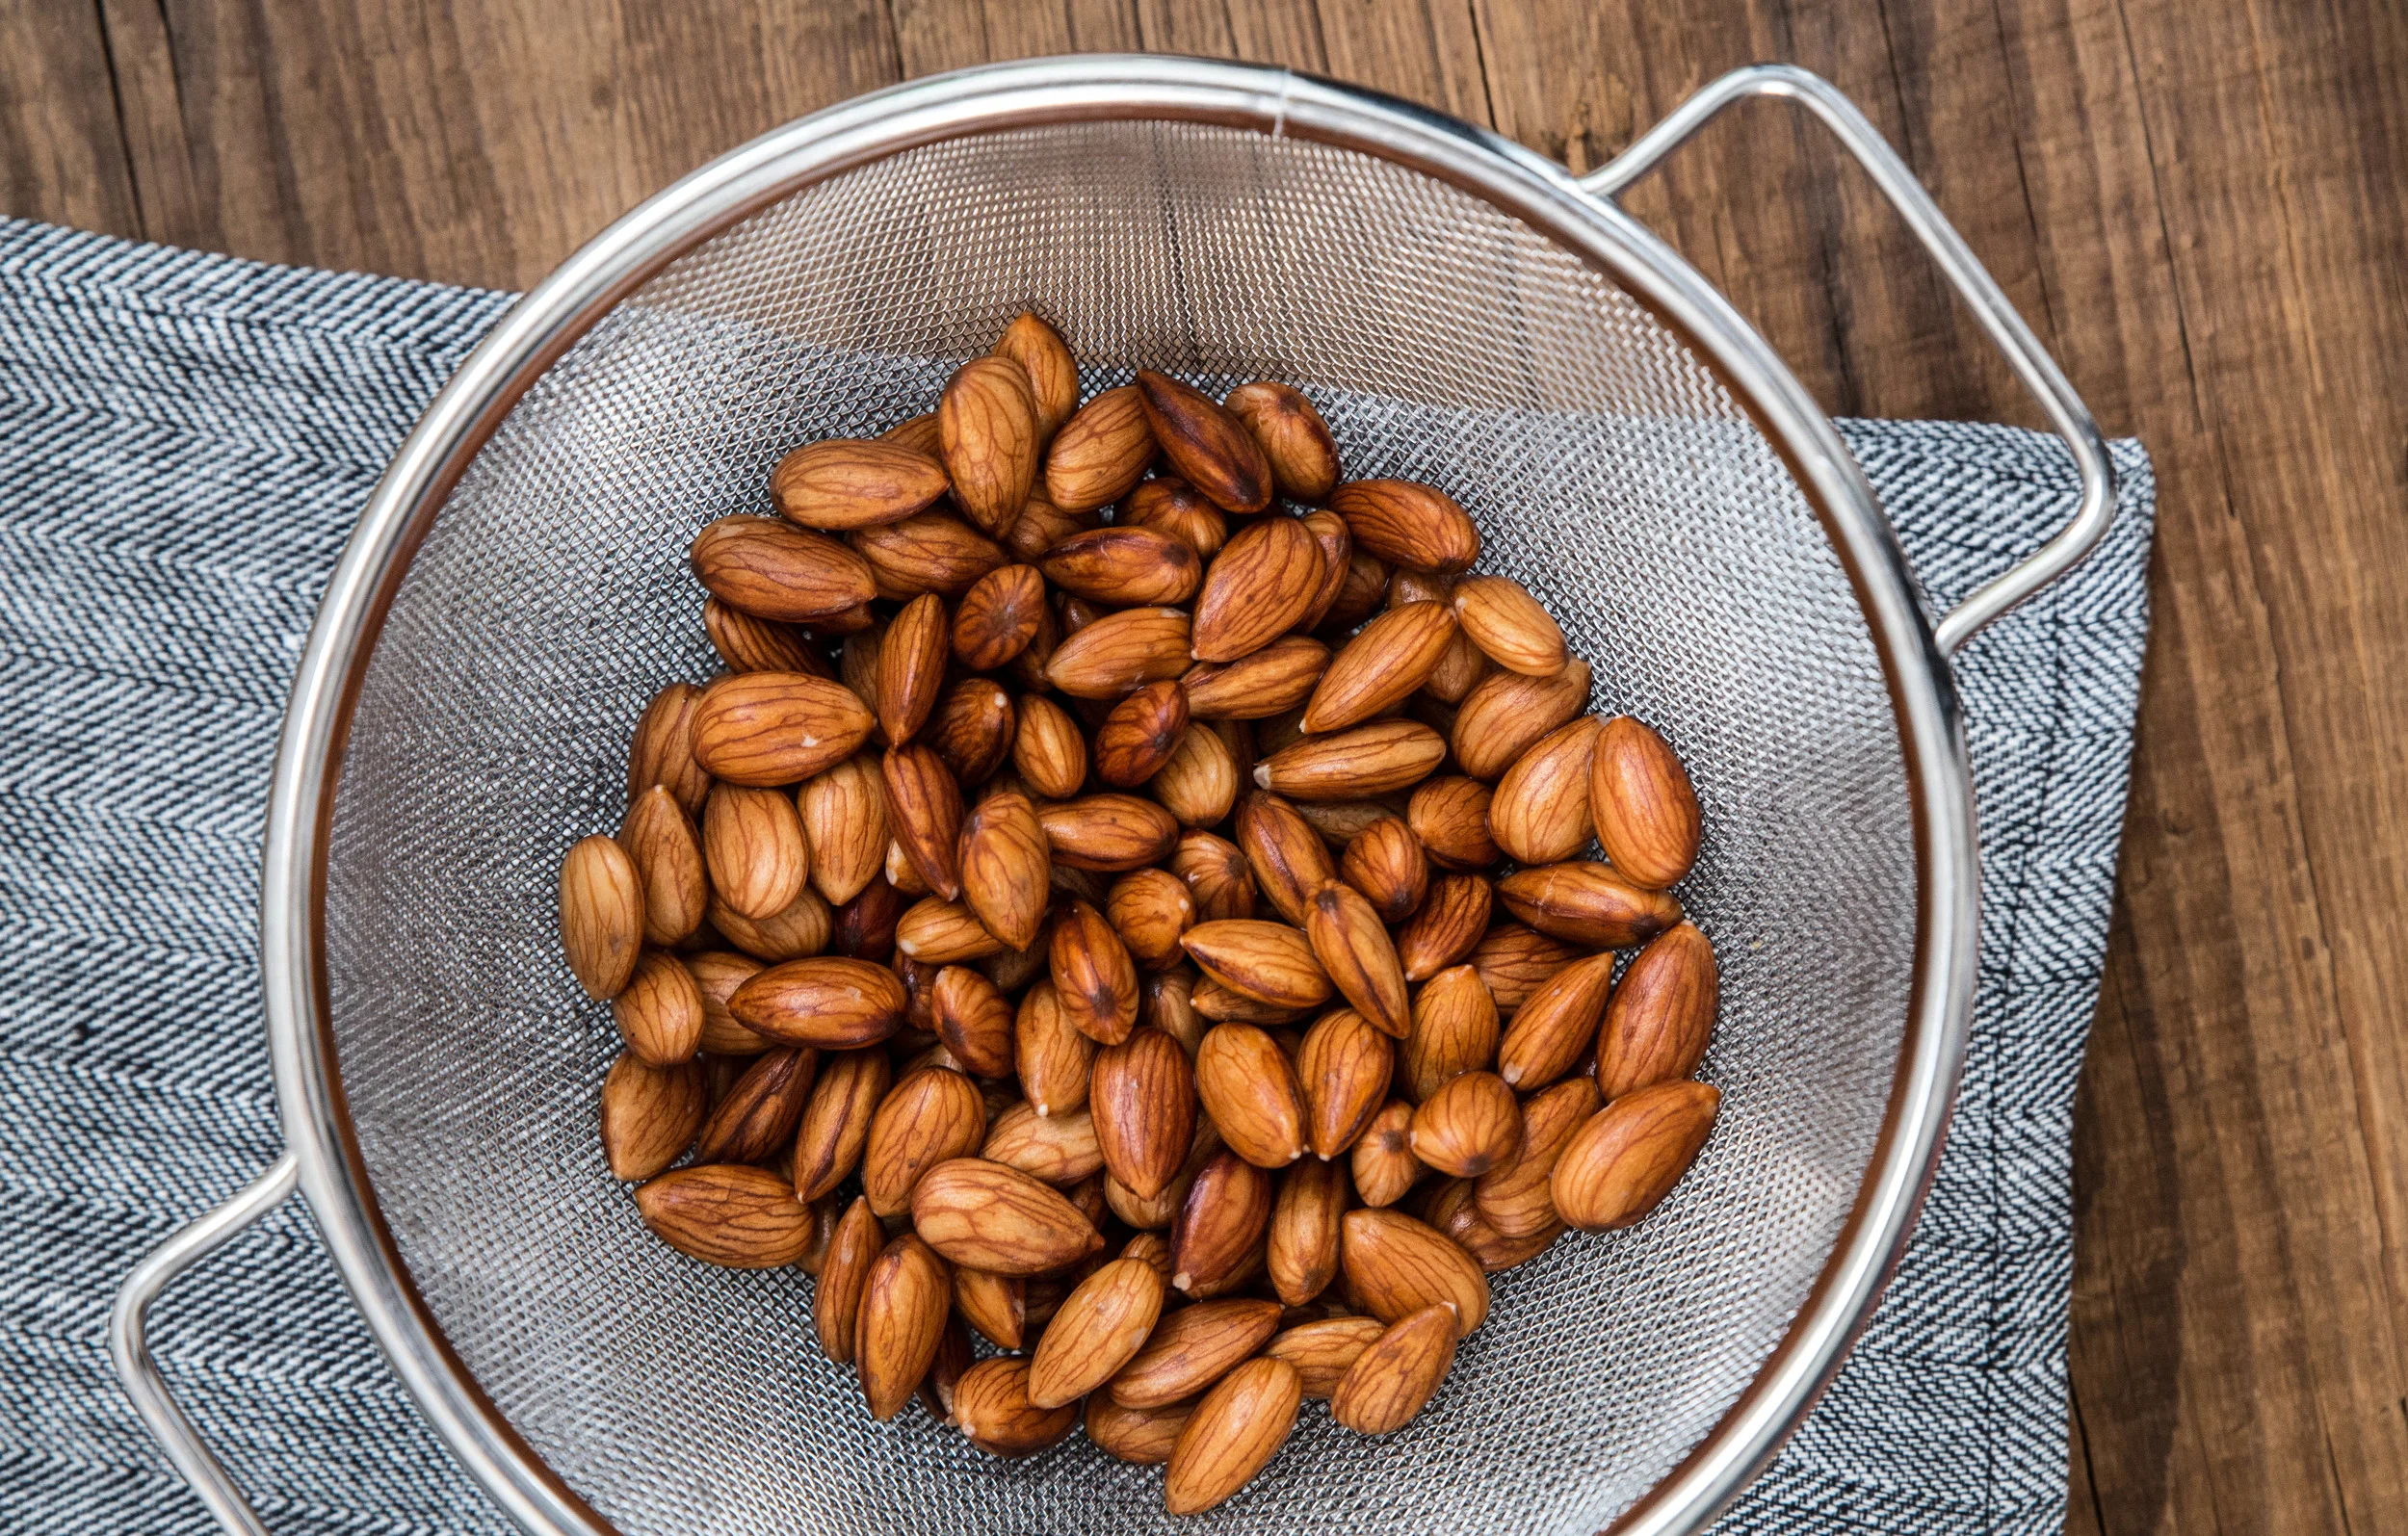
To prepare the almond milk creamer, place almonds in a container and cover with 2 cups filtered water. Seal container and allow to soak overnight, for at least 8 hours or up to 2 days.

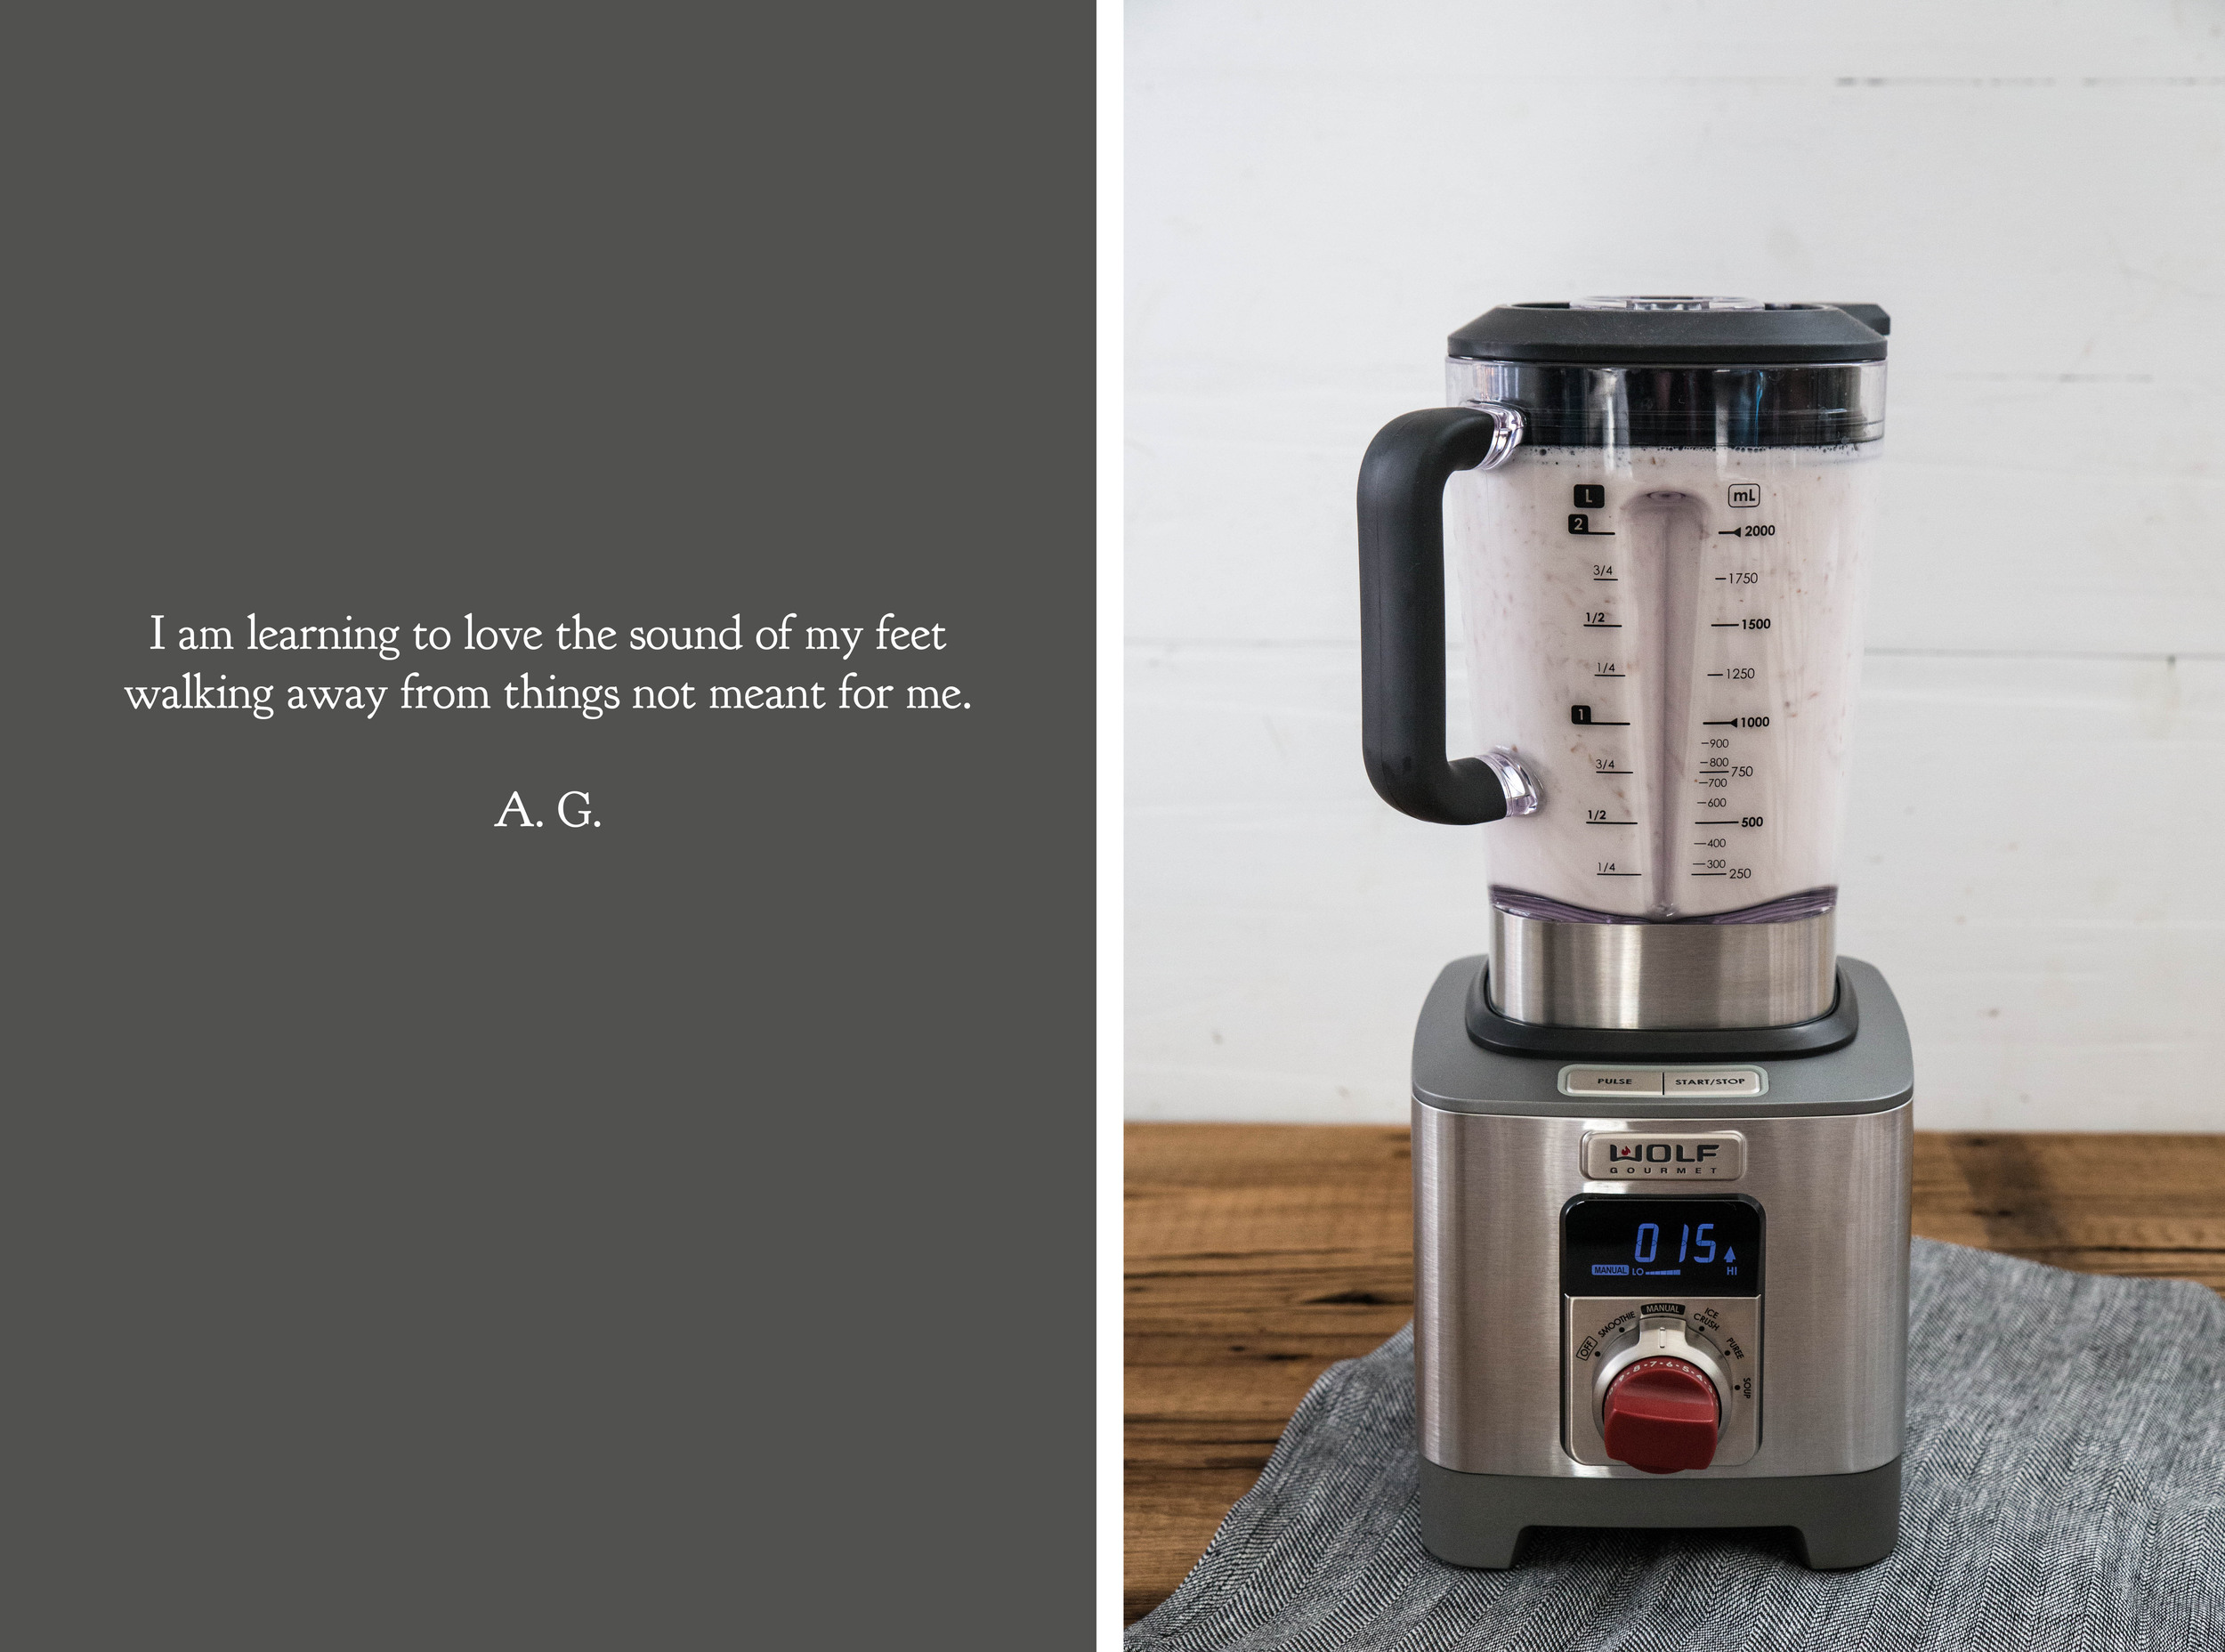
Strain almonds and rinse with fresh water. (The almonds release phytic acid while soaking, which prevents the body from absorbing nutrients; rinsing the almonds removes this acid.) Place almonds and 1 1/2 cups filtered water in a blender. Blend on high for 2-3 minutes. Using a nut bag, layered cheesecloth, or fine mesh strainer, strain the almond milk to remove the pulp. If using the fine mesh strainer, run the milk through several times to eliminate pulp. The leftover pulp can be used in smoothies, muffins, or bread, or it can be dehydrated and used in the same manner as almond flour. Add maple syrup and vanilla extract to the almond milk.

Keep the almond milk creamer refrigerated. It should stay fresh for 5 to 7 days. The creamer may undergo separation in the refrigerator. Give the creamer a good shake and it will come back together quickly.

To prepare the cold brew coffee drink, place prepared cold brew in a glass with ice and add almond milk creamer to taste. For best results, freeze some of the cold brew into ice cubes in advance. This method keeps the cold brew chilled and prevents it from getting watered down as the ice melts.


©The J.M. Smucker Company © 2017. DD IP Holder LLC

Pineapple Coconut Smoothie Bowl

Every four years, I excitedly await the winter Olympics, talking about it ad infinitum in the weeks prior. As a former figure skater during my high school years, it is my chance to watch figure skating's best compete on the world's stage. The beautiful performances, the nervous energy, and the drama bring me an enduring joy.

In fact, when my boyfriend Chris and I started dating before the winter Olympics eight years ago, I warned him that this was my sport, and if he'd want to see me during the next two weeks he would need to brush up on his figure skating knowledge. To my astonishment, he dutifully researched the competitors, learned the scoring, and watched former performances so he could cheer alongside me in appreciation.

When he started one-upping me with knoweldge on men's singles, I knew that he was a keeper.

IMG_9097-2.jpg

As a snub to February's variety of winter monotony, I dusted off my skates and took them down to the nearby ice rink. With the empty rink laid out in front of me, I imagined myself as talented as Michelle Kwan or Tara Lipinski, as I had many times years before. On shaky ankles, I then attempted a few spins and jumps that would have embarrassed my former coach.

I may have lost most of my training over the years, but the fresh air and the feel of the ice beneath my feet felt invigorating after spending so many weeks indoors.

Though Minnesota may still be covered in snow, my food preferences are evolving away from heavy comfort foods towards brighter, fresher flavors. Blending up fruit smoothies is a quick way to reenergize standard breakfasts and mid-day snacks. To bring these bright flavors to you, I have partnered with Dole Sunshine to #SharetheSunshine by sharing this pineapple coconut smoothie bowl.

Topped with toasted coconut, banana slices, and frozen pineapple, the simple smoothie can be elevated into something special.

Frozen fruit is the key to a quick smoothie with bright, vibrant flavor. I keep a steady supply of frozen berries, pineapple, and bananas in my freezer for this purpose. This recipe uses a combination of frozen pineapple and frozen bananas to thicken the smoothie (but ice can also be used in a pinch). The addition of full-fat coconut milk lends a creamy texture and rich flavor.

While the smoothie could be poured into a glass, I prefer to enjoy this one in a bowl. The smoothie is dense enough to support a range of toppings, which takes it from a grab-and-go drink into a complete breakfast.

IMG_9218-2.jpg

This Pineapple Coconut Smoothie Bowl celebrates the flavors of a piña colada in a fresh form. Frozen pineapple, banana, and coconut milk are blended together to form a thick smoothie base. Toppings like banana slices, frozen pineapple, toasted coconut, and chia seeds are layered over the top to bring additional flavor and texture. Serve for breakfast or enjoy as an afternoon snack. 

One Year Ago: Sprouted Wheat Vanilla Chai Bars
Two Years Ago: Coffee Eclairs 
Three Years Ago: Rosemary Soda Bread 
Four Years Ago: Grapefruit Rum Cocktails
Five Years Ago:  Coconut Raisin Granola, Hot Cocoa Popsicles, Chocolate Pudding, & Black Tea Cake with Honey Buttercream
Six Years Ago: Cappuccino Pancakes, Hot Cocoa Cookies, Rosemary Focaccia, Swedish Visiting Cake, & Cinnamon Sugar Muffin
Seven Years Ago: Chocolate Blueberry Ice Cream, Cinnamon Rolls, Brown Butter Crispy Rice Bars, & Meyer Lemon Curd

Pineapple Coconut Smoothie Bowl

Yields 2 servings

Smoothie
2 ripe frozen bananas
2 cups (280 grams) Dole Frozen Tropical Gold® Pineapple Chunks
3/4 cup (180 mL) full-fat coconut milk
3/4 cup (180 mL) milk
Ice, optional

Toppings (optional)
Banana slices
Dole Frozen Tropical Gold® Pineapple Chunks
Toasted coconut flakes
Chia seeds
Granola

Place all smoothie ingredients into a blender and blend until smooth, scraping down the sides as needed. Divide servings equally between two glasses or two bowls. For smoothie bowls, top with desired toppings, and serve immediately.


This post is sponsored through a partnership with Dole Sunshine. As always, all thoughts and opinions are my own. I am incredibly excited to be working with Dole Sunshine because of the excellent quality of their frozen & preserved fruits. Thank you for supporting Pastry Affair & my wonderful sponsors!

Homemade Almond Milk

It has been four years since I was diagnosed with a dairy intolerance. The diagnosis itself was a great relief (I spent the first 22 years of my life with miserable abdominal health issues due to an unknown cause), but it was also a real slap to the face. My diet was based around dairy, and as I had been working as a professional baker at the time, it was my livelihood. Unlike most people with dairy issues, I could not handle dairy in any amount or in any form. I was devastated.

It took me a long time to adjust to my new, unwanted diet. I went through the stages of grief: denial, when I refused to eat dairy-free foods; anger, when I realized I would have to change my approach to food; bargaining, when I convinced myself dairy would be worth the pain (it never was);  depression, when I would stand outside the bakery counter staring at all the food I had given up; and lastly, acceptance. It took me a couple years to fully accept and embrace the dairy-free diet (and even longer to find delicious dairy-free counterparts to my favorite dairy-filled foods).

I am aware there is a certain irony to baking without baking's greatest giftsbutter, cheese, milk, and heavy cream. In fact, I couldn't even steal a lick from the spatula when I spent days preparing cupcakes for my sister's wedding.  Even though I write the recipes on Pastry Affair to include dairy ingredients, you can rest assured that the recipes are created dairy-free in my own kitchen.

The first dairy-free alternative I fell in love with was almond milk. The milk is creamy with a subtle almond flavor, which works beautifully in baking and morning cereal. When Wolf Gourmet asked me to test their High Performance Blender, I knew that homemade almond milk would be my first challenge. I haven't made almond milk with my current low-end blender because it has a difficult time breaking down small foods. For example, the greens are in larger pieces than I prefer in this green smoothie, and there is a visible level of grain in this chocolate hazelnut spread that could be eliminated with a high powered blender. 

Essentially, almond milk is made by blending almonds with filtered water. The almonds are first soaked overnight to soften. Ideally, to create the creamiest milk, you need to extract as much as possible from the almonds by breaking them down into very fine pieces. When I set the Wolf Gourmet blender to task, the leftover almond pulp was finer than almond meal. I have used other high-end blenders, but I prefer this one because it not only includes presets for the most common blended foods (like smoothies and purées), but it also has a timer that helps you keep track of time elapsed.

While the almond milk can be left unsweetened, I added vanilla extract and maple syrup to give it a subtle flavor and sweetness.

Edit: Giveaway is closed and the winner has been chosen.

Homemade Almond Milk is incredibly easy to make at home and can be customized to your tastes. This version uses vanilla extract to provide a light flavor and maple syrup for a subtle sweetness. If you have a sweeter palate, feel free to add more maple syrup, or even honey, to taste. This almond milk has a similar thickness to 2% milk. For almond milk with a thinner consistency, add more water when blending; likewise, for a thicker almond milk, reduce the amount of water. The almond milk can be used in the same manner as dairy milkfor cooking, baking, and drinking.

One Year Ago: Banana PB Green Smoothie and Cherry Hand Pies
Two Years Ago: Lavender Vanilla Bean Cake and Plum Almond Galette
Three Years Ago: Coconut Sorbet, Cherry Almond Crumble, Nutella Espresso Rolls, & Brownie Cookies
Four Years Ago: Almond Butter Cupcakes, Summer Berry PavlovaMango Coconut Popsicles, & French Silk Pie
Five Years Ago: Butterbeer, Butterbeer Cupcakes, Cherry Almond Muffins, & Plum Clafouti
Six Years Ago: Mocha FrappuccinoBerry Lime Panna Cotta, & Grilled Peaches

Homemade Almond Milk

Yields about 6 cups

2 cups (225 grams) whole almonds
8 cups (1.9 L) filtered water, divided
3 tablespoons maple syrup
1-2 teaspoons pure vanilla extract, to taste

Place almonds in a container and cover with 3 cups filtered water. Seal container and allow to soak overnight, for 8 hours up to 2 days.

Strain almonds and rinse with fresh water (the almonds release phytic acid while soaking, which prevents the body from absorbing nutrients; rinsing the almonds removes this acid). Place almonds and remaining 5 cups filtered water in a blender. Add maple syrup and vanilla extract. Blend on high for 2-3 minutes. Using a nut bag, layered cheesecloth, or fine mesh strainer, strain the almond milk to remove the pulp. If using the fine mesh strainer, run the milk through several times to eliminate pulp. The leftover pulp can be used in smoothies, muffins, or breads or it can be dehydrated and used in the same manner as almond flour.

Keep refrigerated. Almond milk stays fresh for 5 to 7 days.

Disclosure: A complimentary High Performance Blender was provided for review by Wolf Gourmet. As always, all thoughts and opinions are my own.