Cold Brew with Vanilla Almond Milk Creamer

 
This post is sponsored through a partnership with The J.M. Smucker Company © 2017. DD IP Holder LLC. All thoughts and opinions are my own.
This post is sponsored through a partnership with The J.M. Smucker Company © 2017. DD IP Holder LLC. All thoughts and opinions are my own.


With warmer days approaching (and the end of the school year), my mind drifts towards the slower days of summer.  I've stuffed the sweaters into the back of the closet, bringing the t-shirts front and center.

A defining line between the cold and warm months, however, is my switch from hot coffee to cold brew. 

As a teacher, I drink my fair share of coffee. My favorite moments to enjoy a cup is relaxing after a long day at work, with my feet up on the couch, or on a slow-moving weekend morning.

Lately, I've been drinking Dunkin' Donuts Cold Brew. It's easy to prepare and has a smooth finish, with no acidity or bitter taste.

On Sunday nights, I prep the cold brew by placing two coffee pouches into a two-quart pitcher with four cups of water and leave it to steep in the refrigerator overnight. The next morning, I remove the pouches, add a few cups of water to dilute it to my taste, and it is ready to enjoy. Best of all, the pitcher lasts the rest of the week so the work is complete in two simple steps.

One of my favorite cold brew tricks is to freeze some of the cold brew into ice cubes after it has finished brewing. Then, when it's time to enjoy the coffee, I add a few cold brew cubes. The drink stays cold longer, and the coffee cubes prevent the drink from becoming watered down as the ice melts. 

IMG_9975-2.jpg
coldbrewcreamer1.jpg

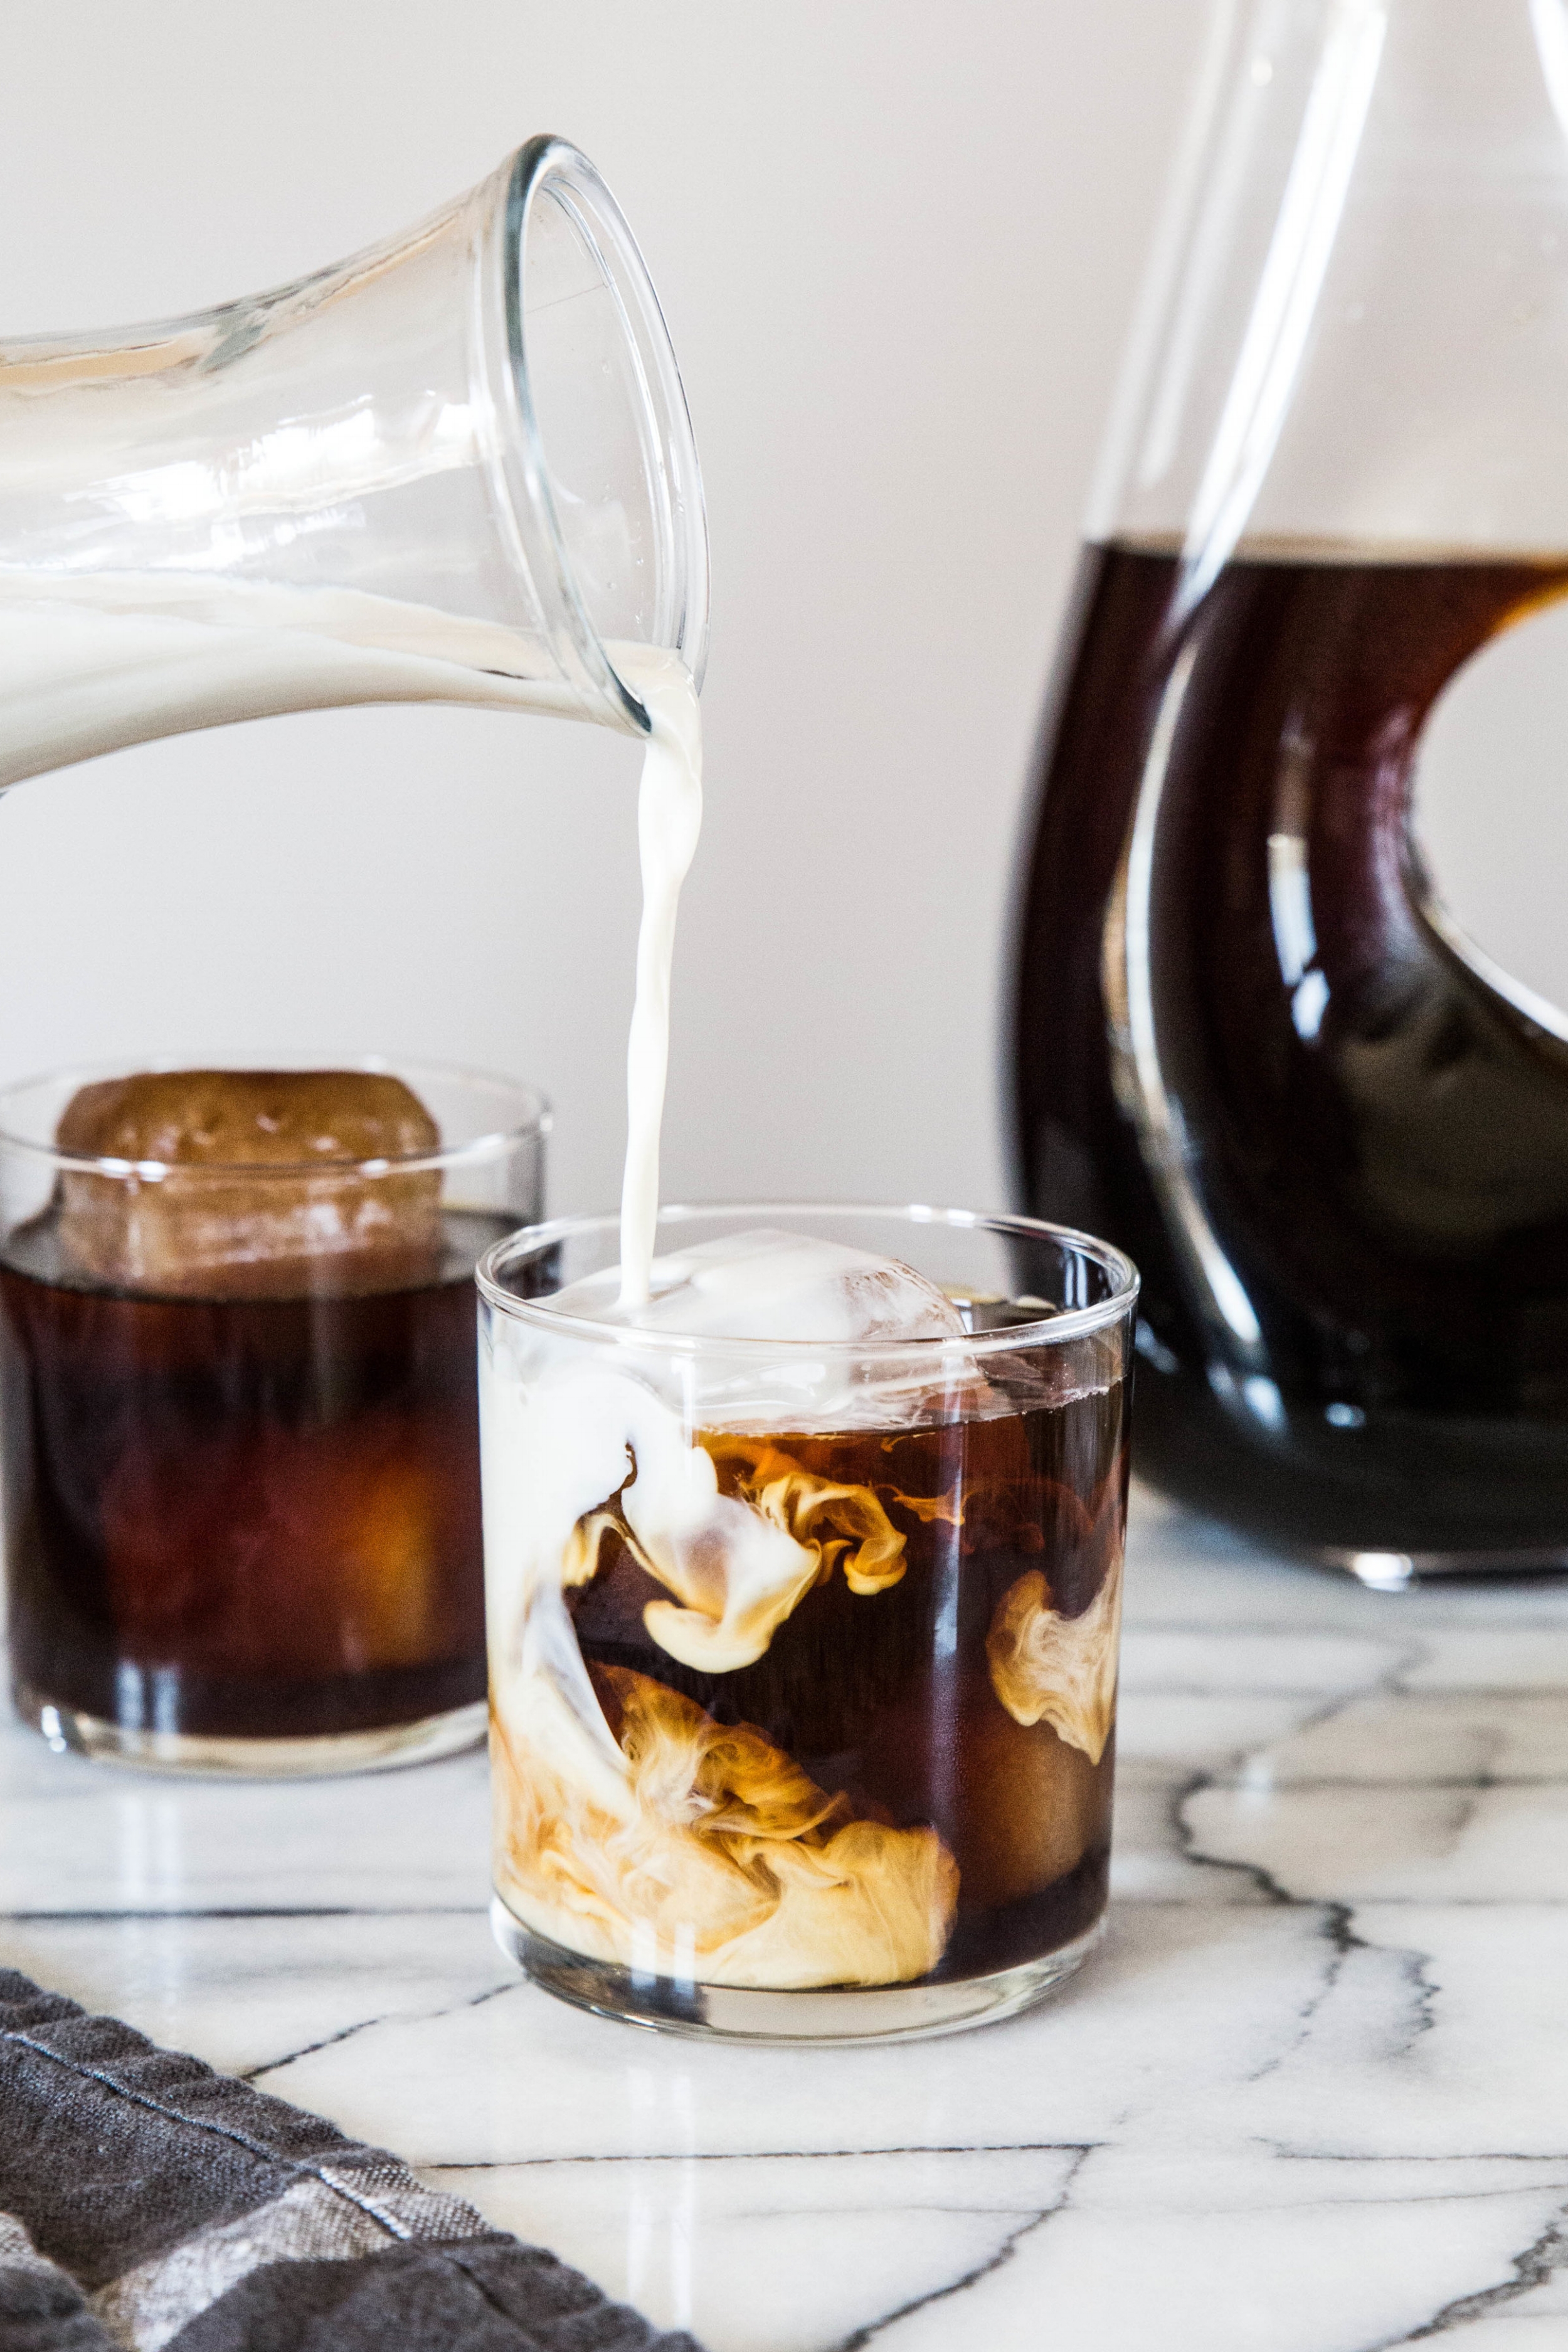
I prefer my cold brew with creamer to add a hint of flavor and sweetness. After finding disappointment with dairy-free brands, I set out to create my own. As I often do for a dairy-free alternative, I reached for the can of full-fat coconut milk. While homemade coconut milk creamer works well in hot beverages, the fat separates to the top when it hits a cold beverage, rendering it undrinkable.

Almonds, however, do the job and do it well.

This homemade almond milk creamer holds together well in a cold drink and lends itself to customization. To give the creamer its creaminess, I follow a similar approach as I do with my recipe for homemade almond milk. The difference is that I add less water when blending so the almond milk is concentrated. 

IMG_0135-2.jpg

With pure vanilla extract for flavor and maple syrup to sweeten to taste, this homemade almond milk creamer is complete. I adore this creamer because it mimics the coffee house experience with simple, wholesome ingredients.

The coffee creamer may appear to separate if it is left to rest, but a quick swirl of the glass will bring it back to a uniform appearance. Use as much or as little as you like in your next glass of cold brew.


This cold brew with homemade vanilla almond milk creamer works as a great afternoon pick-me-up. Brewed with Dunkin' Donuts Cold Brew Coffee Packs, the coffee has a smooth, rich finish. I prefer to enjoy it with homemade creamer flavored with vanilla and sweetened with maple syrup, but you can customize the drink to your taste. Enjoy!

One Year Ago: Strawberry Scones
Two Years Ago: Chocolate Hazelnut Rolls
Three Years Ago: Blueberry Oat Bars (GF)  & Peanut Butter Chocolate Chunk Cookies (GF)
Four Years Ago: Chocolate Blackberry Cupcakes
Five Years Ago:  Sunflower Seed Bread, Blackberry Fool, Lime Curd Tart, & Honey Chocolate Chunk Cookies
Six Years Ago: Tiramisu Cake, Peanut Butter Cornmeal Cookies, Honey Wheat Cake, & Chocolate Almond Ice Cream
Seven Years Ago:  Chocolate-Filled Buns, Malted Chocolate Chip Cookies, & Parmesan Poppy Seed Crackers

Cold Brew with Vanilla Almond Milk Creamer

Yields 6 servings

1 pouch Dunkin’ Donuts Cold Brew Coffee Packs
1 cup (120 grams) raw almonds
3 1/2 cups (830 mL) filtered water, divided
3-5 tablespoons maple syrup, to taste
2 teaspoons pure vanilla extract

The cold brew and almond milk creamer need to be started the evening before serving.

To prepare the cold brew coffee, follow the directions according to the package.

To prepare the almond milk creamer, place almonds in a container and cover with 2 cups filtered water. Seal container and allow to soak overnight, for at least 8 hours or up to 2 days.

Strain almonds and rinse with fresh water. (The almonds release phytic acid while soaking, which prevents the body from absorbing nutrients; rinsing the almonds removes this acid.) Place almonds and 1 1/2 cups filtered water in a blender. Blend on high for 2-3 minutes. Using a nut bag, layered cheesecloth, or fine mesh strainer, strain the almond milk to remove the pulp. If using the fine mesh strainer, run the milk through several times to eliminate pulp. The leftover pulp can be used in smoothies, muffins, or bread, or it can be dehydrated and used in the same manner as almond flour. Add maple syrup and vanilla extract to the almond milk.

Keep the almond milk creamer refrigerated. It should stay fresh for 5 to 7 days. The creamer may undergo separation in the refrigerator. Give the creamer a good shake and it will come back together quickly.

To prepare the cold brew coffee drink, place prepared cold brew in a glass with ice and add almond milk creamer to taste. For best results, freeze some of the cold brew into ice cubes in advance. This method keeps the cold brew chilled and prevents it from getting watered down as the ice melts.


©The J.M. Smucker Company © 2017. DD IP Holder LLC

Sprouted Wheat Vanilla Chai Bars

The world is powered through small acts of compassion: a simple text message to say thinking of you to a friend, taking time to truly listen to another person, giving a voice to the needs of others, a genuine smile towards a stranger. Though compassion comes in many different methods and is as varied as people themselves, showing compassion does not come easily to me. I am sometimes awkward with words, the right order often failing to appear. Instead, I channel my feelings and thoughts of goodwill into the food that I bake. I may not be able to speak away the worry or ease the pain, but I can pull up a chair to the table and share burdens and bars alike.

Compassion towards others, in acts both big and small, comes in many forms—even dessert—which is why I wanted to bake up something sweet and special using one of my new favorite flours: sprouted wheat.

Sprouted wheat flour is a fine, soft textured flour with a mild, nutty flavor. The flour is made from white whole wheat berries which are sprouted, dried, and milled. The process of sprouting enhances the nutritional benefits of the 100% whole grain flour, improving the digestibility and providing a good source of fiber. With an inherent sweetness and creamy appearance, the flour is quickly becoming a pantry staple in my kitchen.

For everyday use, sprouted wheat flour can be substituted 1:1 for whole wheat flour or up to 50% for all-purpose flour in your favorite recipes. For example, if a recipe calls for 1 cup of all-purpose flour, you can use 1/2 cup all-purpose flour and 1/2 cup sprouted wheat flour instead.

These vanilla chai bars are similar to a sweet, spiced blondie. The recipe starts by whisking together sprouted wheat flour with a leavener, chai spice, and salt. The dry ingredients are set aside and the liquid ingredients are prepared.

In a saucepan, butter and brown sugar are melted together until they form a smooth paste. Once the mixture cools, eggs and vanilla extract are stirred into the mixture. The flour is gradually added and the batter is stirred until uniform. Sprouted wheat flour absorbs liquids and holds water better than other flours, resulting in a final product that stays moist.

The batter will be quite stiff when fully mixed. I recommend using a spatula to transfer the batter to a prepared 9" x 13" baking pan. Once there, use your hands to press the batter into an even layer. Using any other tool here is a fool's errand; the batter sticks to the tool and pulls away from the pan, making a simple task into a more complicated process.

The texture of the bars can be customized to fit your taste. For chewy bars, bake for 17-21 minutes, and for bars with a cake-like texture bake between 23-27 minutes. For my ideal texture, I baked the bars for 22 minutes, achieving the best of both worlds.

When the bars come out of the oven, they should be cooled for at least 15 minutes, or until warm to the touch, before adding the topping. The bars are brushed with a layer of butter and sprinkled with chai-spiced sugar. Then, the pan is shaken until the sugar forms an even layer and left to cool completely before slicing. Alternatively, the bars can be topped with a drizzle of white chocolate. However, I prefer the crunchy texture and contrast the sugar adds to the bars. The opportunity to lick granules of chai-spiced sugar from the tips of my fingers and corners of my lips is a source of joy.

For more recipe inspiration or to learn how to incorporate sprouted wheat flour into your favorite recipes – both savory and sweet – take a look at King Arthur Flour’s complete guide.

Sprouted Wheat Vanilla Chai Bars are a sweet, spiced version of a blondie. The bars are moist and chewy due to the addition of brown sugar. Covered with a layer of butter and chai-spiced sugar, the crunchy top and dense interior provide a contrast in textures. The recipe yields two dozen bars. With plenty to go around, these bars are a sweet treat to bake and share with family and friends, or perhaps as a token of compassion. 

One Year Ago: Chocolate Almond Cake & Coffee Eclairs
Two Years Ago: Chocolate Raspberry Tarts & Rosemary Soda Bread
Three Years Ago: Banana Cacao Nib Muffins, Chocolate Almond Biscotti, & Grapefruit Rum Cocktails
Four Years Ago:  Bruleed Grapefruit, Bacon & Chive Beer Bread, Pomegranate White Wine Panna Cotta, Toasted Almond Fig Cookies, Coconut Raisin Granola, Chocolate Pudding, & Black Tea Honey Cake
Five Years Ago: Cheddar Dill Biscuits, S'mores Brownies, Beer Bread, Flourless Chocolate Rum Cake, & Mocha Pancakes
Six Years Ago: Vanilla Rum French Toast, Banana Bread Oatmeal, Chocolate Blueberry Ice Cream, & Chocolate Coffee Cake

Sprouted Wheat Vanilla Chai Bars
Recipe from King Arthur Flour

Bars
2 cups (227 grams) King Arthur Sprouted Wheat Flour
1 teaspoon baking powder
1/4 teaspoon salt
4 teaspoons chai spice*
2/3 cup (150 grams) unsalted butter
2 cups (425 grams) light brown sugar
2 large eggs
1 tablespoon vanilla extract

Chai Spice Topping
3 tablespoons granulated sugar
3/4 teaspoon chai spice
1 tablespoon unsalted butter, melted

Preheat the oven to 350°F (180°C). Lightly grease a 9" x 13" pan.

In a medium bowl, whisk together the flour, baking powder, salt, and chai spice until well blended. Set aside.

In a medium saucepan over medium heat, melt the butter. Add the brown sugar and heat, stirring constantly, until the mixture comes together and forms a fairly smooth, shiny paste, about 3 to 5 minutes. Transfer the hot mixture to a medium bowl and allow it to cool for 5 minutes, stirring occasionally.

Mix in the eggs and vanilla. Add the flour mixture and stir until well combined; the batter will be stiff. Spread the batter evenly into the prepared pan.

Bake the bars for 17 to 21 minutes (for chewy bars) or 23 to 27 minutes (for cakier bars), until a toothpick inserted in the center comes out with a few moist crumbs clinging to it; the top crust will have risen and fallen.

Remove the bars from the oven and allow them to cool for 15 minutes.

For the topping, mix together the sugar and chai spice in a small bowl.

Gently brush the melted butter evenly over the surface of the warm bars, then sprinkle on the spiced sugar, shaking and tilting the pan to distribute the sugar evenly.

Allow the bars to cool completely, then cut them into squares.

*To make homemade chai spice, mix together 1 1/4 teaspoons cinnamon, 1 teaspoon ginger, 1 teaspoon cardamom, 1/2 teaspoon cloves, 1/4 teaspoon finely ground white pepper, and 1/2 to 1 teaspoon orange zest

This post is sponsored through a partnership with King Arthur Flour. All thoughts and opinions are my own. 

Strawberry Layer Cake

Pastry Affair turned five years old earlier this weekan unimaginable milestone when I started this blog so long ago. Originally a place to let out a little creative energy, it has grown and flourished into so much more. This space stayed a constant when my life was going through the many and tumultuous changes of growing up and finding a place in this world. I hope it continues to be one for plenty of years to come. Thank you for accompanying me on this journey, dear friend, and following along wherever it may lead.

I celebrated this anniversary earlier this spring by upgrading my camera from an entry level DSLR to a professional model. I am still learning how to use it (the purpose of many of the buttons remains a mystery), but it is my new summer project. During Pastry Affair's 4th anniversary, I shared that I had been struggling with blogging, losing the motivation to continue in light of my new career as a high school teacher. It took a few months of healing and letting go of my ideas of perfection, but Pastry Affair found its way back into my heart. It feels right.

The past week was not only a big week for Pastry Affair, but it was also the start of summer vacation (!) and my own 27th birthday (!!). Unlike my 25th birthday, when I despaired that my childhood was over, I felt ready to embrace this new age. I have never been more of an adult than I have in this past year, both in mannerisms and responsibilities, but I still feel as if I have a hold on youth. There is a quote that I adore from Leo Rosten that expresses this well:

O, to be sure, we laugh less and play less and wear uncomfortable disguises like adults, but beneath the costume is the child we always are, whose needs are simple, whose daily life is still best described by fairy tales. 

With summer upon me (and three glorious months to call my own), perhaps this disguise will disappear for a moment while I take on a few new adventures of my own.

It is well documented that my personal favorite celebration cake is a Berry Topped Angel Food Cake. With this particular cake and culinary spirit in mind, I fashioned this strawberry layer cake for Pastry Affair's special day. A simple vanilla cake is surrounded by a strawberry infused swiss meringue buttercream, but the taste is something straight from heaven. The "naked" cake is one of my favorite trends because it is so easy to recreate. The frosting is not supposed to be perfect or fully cover the sides, which means that there are very few ways to get this wrong. If you are a bit inexperienced at cake decoration, this style is definitely for you. 

The recipe is designed to create a full-sized three layer cake, so save this for a memorable event when you have eager mouths to please.

Strawberry Layer Cake expands on the idea of strawberries and cream by turning it into a multi-layer masterpiece. My classic vanilla cake recipe has been rewritten for a tall three layer cake. The cake is surrounded with a vanilla swiss meringue buttercream interspersed with fresh strawberries. The recipe may appear extensive at first glance, but do not let this deter you. If you have made cake and frosting before, this cake will be no more difficult nor take you a greater length of time.

One Year Ago: Berry Topped Angel Food Cake
Two Years Ago: White Chocolate Espresso CakePineapple Jam, and Vanilla Chia Pudding
Three Years Ago: Mocha Granola, Multigrain Bread, Blueberry Lemon Crumble, and Vanilla Cupcakes
Four Years Ago: Strawberry Rhubarb Lemonade, Citrus Roasted Rhubarb, and Roasted Cherry Brownies
Five Years Ago: Chocolate Coconut Granola, Sour Cream Sugar Cookies, and Lemon Tarts

Strawberry Layer Cake

Yields 3 layer 8 or 9-inch cake*

Vanilla Cake
3/4 cup (170 grams) unsalted butter, room temperature
2 1/2 cups (560 grams) granulated sugar
5 large eggs
1 cup (240 grams) sour cream (or plain, non-fat yogurt)
2/3 cup (150 grams) olive oil
1 1/2 tablespoons vanilla extract
5 1/3 cups (600 grams) cake flour
4 teaspoons baking powder
2 teaspoons baking soda
1 1/2 teaspoons salt
2 cups (480 ml) milk

Preheat oven to 350 degrees F (180 degrees C). Grease 8 or 9-inch cake pans and set aside.

In a large mixing bowl, cream together the butter and sugar until light and fluffy. Add the eggs one at a time, beating well after each addition. Beat in the sour cream, olive oil, and vanilla extract. Gradually add in the cake flour, baking powder, baking soda, and salt in three additions, alternating with the milk, stirring until batter is uniform and smooth.

Divide batter evenly between cake pans. Keep in mind that the cake layers will be relatively tall. Bake for 35-45 minutes, or until a toothpick inserted into the center comes out clean. Allow to cool to room temperature before frosting. 

Vanilla Strawberry Swiss Meringue Buttercream
Heavily adapted from Sweetapolita

5 large egg whites (150 g)
1 1/4 cups (250 grams) granulated sugar
1 1/2 cups (340 grams) butter
Seeds from 1 vanilla bean (or 2 teaspoons vanilla bean paste or 2 teaspoons vanilla extract)
1/4 teaspoon salt
1/2 pound (225 grams) fresh strawberries, cored and sliced

Using a sharp knife, cube the butter and set aside. While making the frosting, the butter will warm up slightly, but should still be cool to the touch when using it. 

Wipe a large bowl with a paper towel soaked in a small amount of lemon juice or vinegar to remove traces of grease. Add egg whites and sugar and, over a double boiler, whisk constantly over hot water until the sugar dissolves. When rubbed between your fingers, the egg whites should feel hot and smooth (approximately a temperature of 140 degrees F/60 degrees C). This will generally take 3-5 minutes.

Using a mixer, whip the egg whites until thick, glossy peaks form. This may take anywhere from 8-10 minutes. The bottom of the bowl should feel neutral to the touch before moving on to the next step.

Place the mixer on low speed and add the cool butter cubes one at a time, mixing until smooth. The frosting should reach a silky texture. Beat in the vanilla bean seeds. If the butter is too warm and the frosting is too runny, place in the refrigerator for approximately 15 minutes to firm up the butter before mixing again. If the mixture curdles, continue mixing until it comes back together.

To assemble, reserve approximately 1 1/2 cups of frosting to use later. Mix a majority of the sliced strawberries in the remaining frosting, reserving a handful for decoration. 

Place the bottom cake layer on a serving plate. Place approximately 2 cups of strawberry filled frosting on the cake and smooth evenly. Add the second layer of cake and repeat. Place the final layer on top and, using the reserved frosting, smooth frosting onto the top and sides of the cake to fill in any gaps. If there are bare areas showing between the cake layers, push reserved strawberry slices into the frosting and smooth out with an uneven spatula.

Top with halved strawberries and serve.

* A 3 layer 8-inch cake will not use all of the batter so you will have enough leftover batter to create a few cupcakes. If baking 9-inch cakes, you will likely use all of the batter in the creation of the cake.